VW Transporter Full Conversions: Essential Features to Include
Converting a VW Transporter into a fully functional campervan is all about making smart choices. The right features can completely transform your van from a basic shell into a comfortable, practical, and stylish home on wheels.
Having built and customised countless Transporters over the years, I know exactly which upgrades make the biggest difference. From insulation and heating to kitchen setups and sleeping solutions, this guide covers the essential features every VW Transporter conversion should include.
If you want to make the most of your build, here’s everything you need to know!
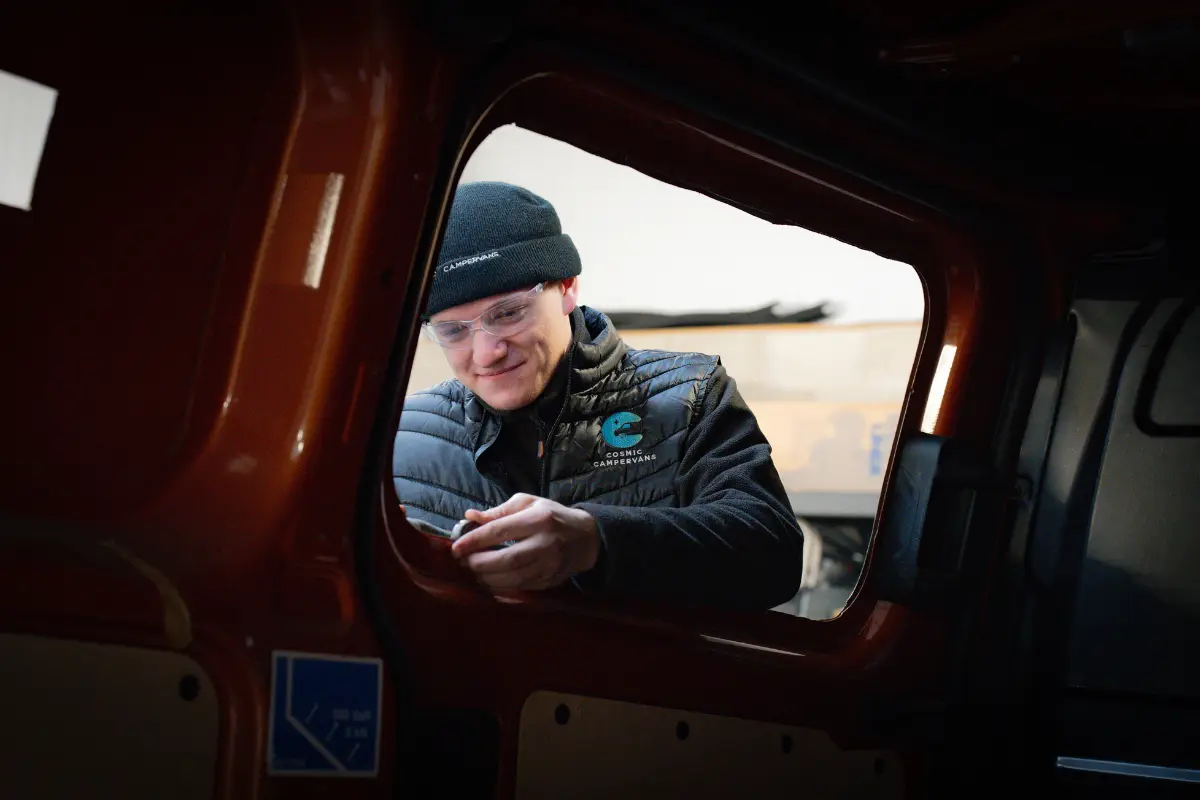
Windows
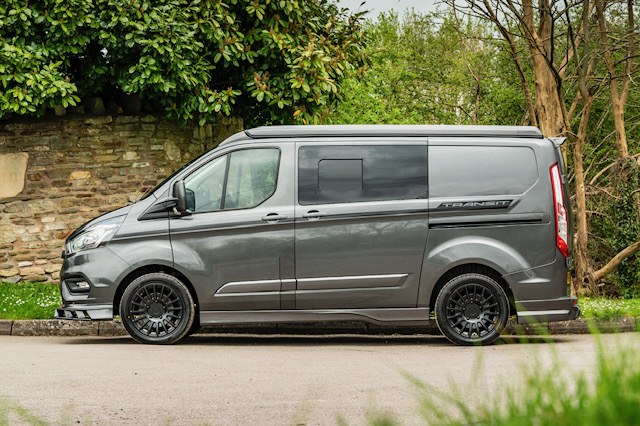
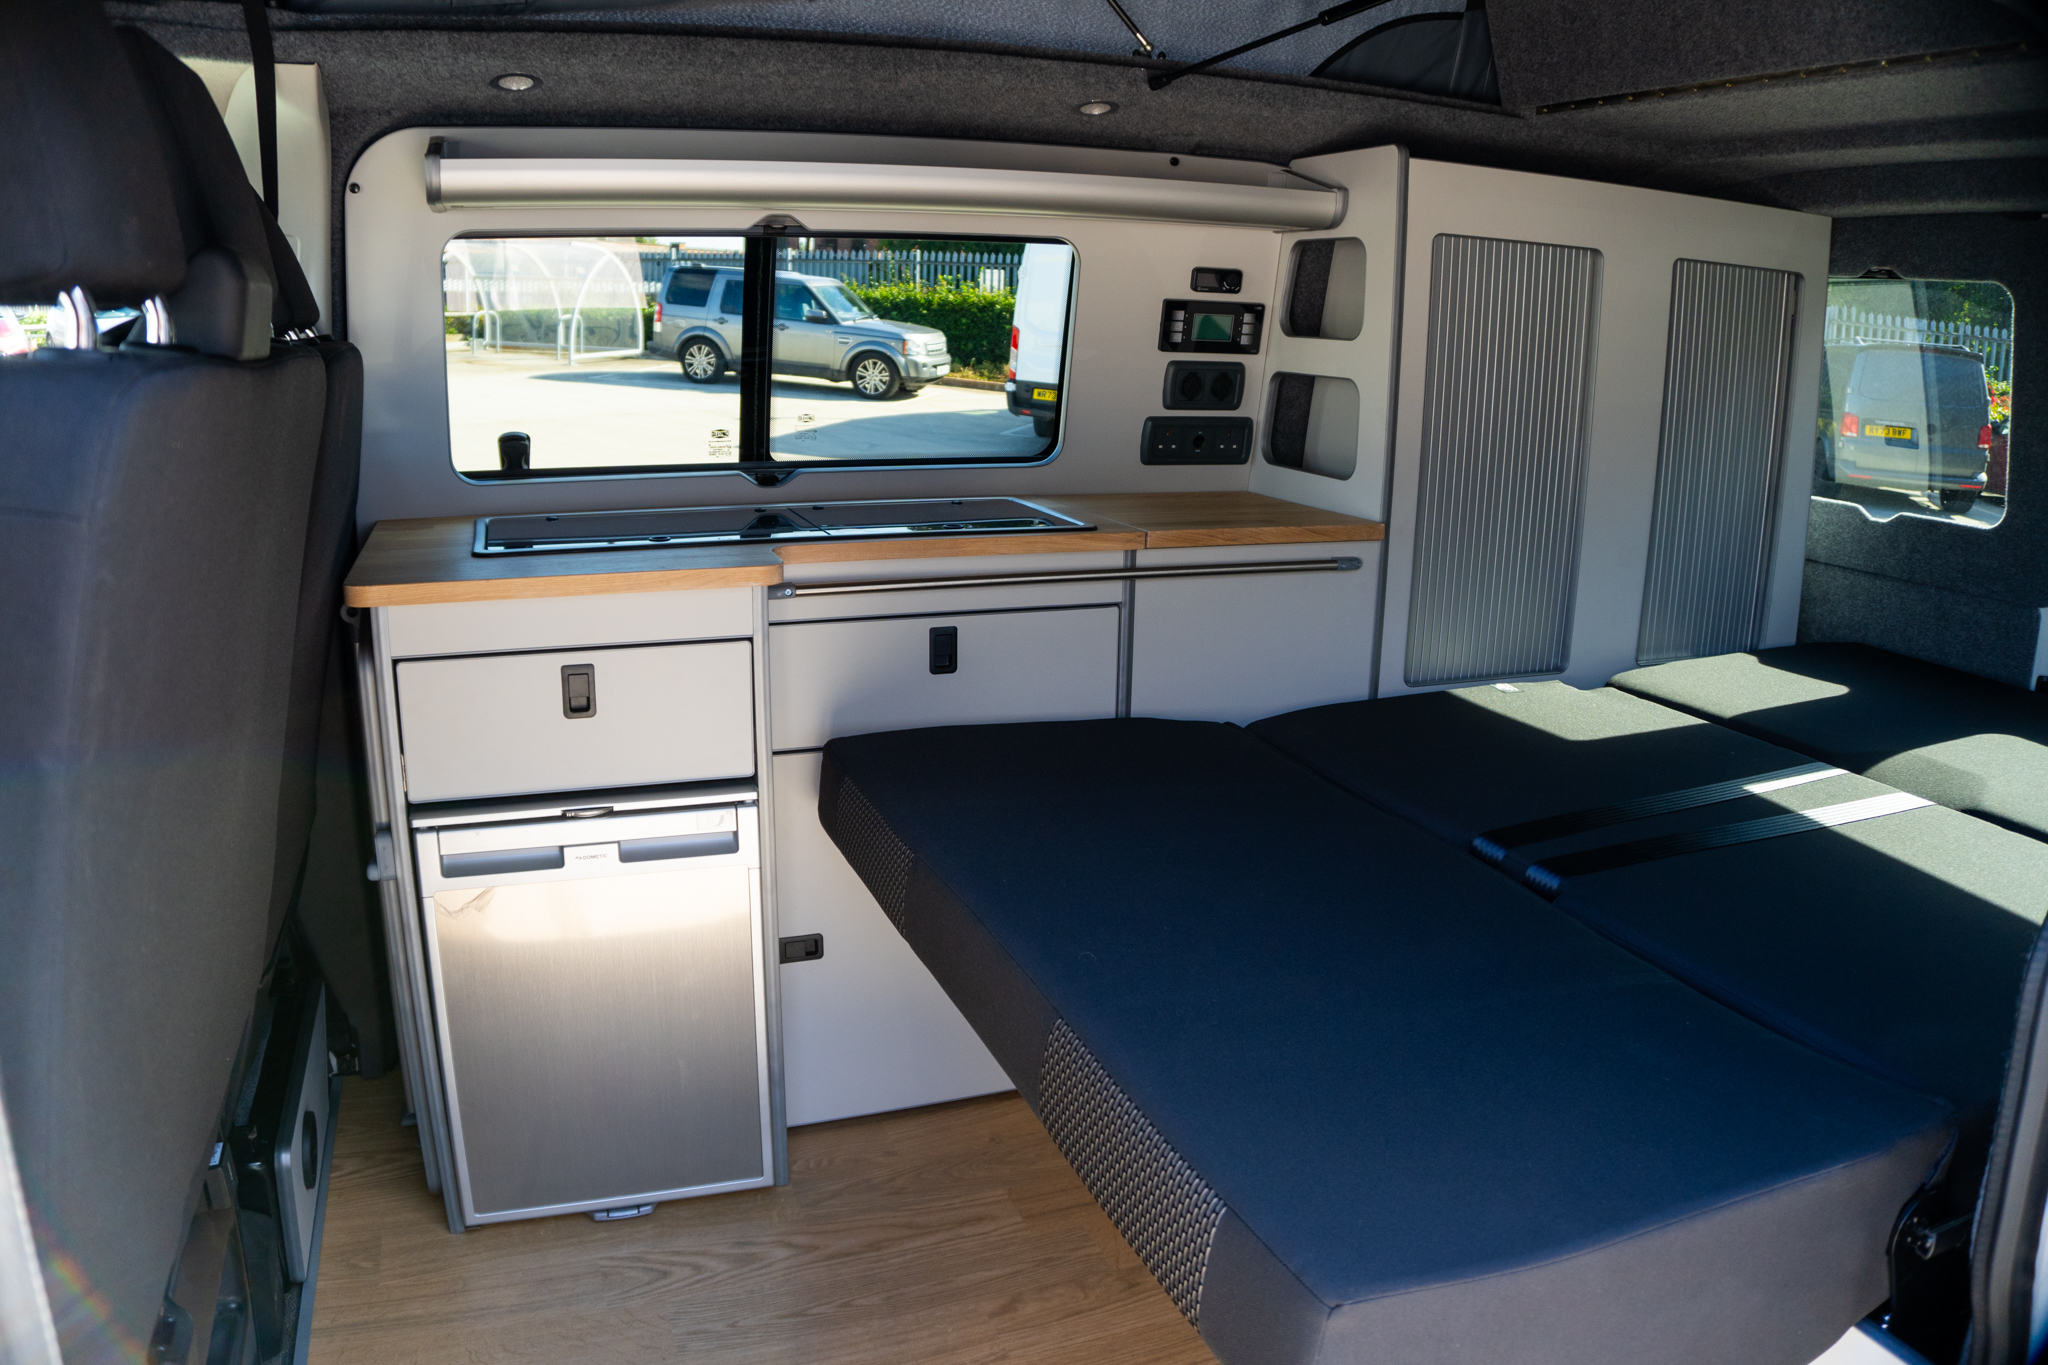
Adding windows to your VW Transporter conversion is one of the best ways to improve natural light, ventilation, and overall comfort inside your van. Without windows, the van will feel a lot more claustrophobic and won’t have the same cosy feel.
If you want a stealth camper, fewer windows (or tinted glass) help keep your van discreet. But if you prefer a more open feel, larger side windows make a huge difference.
Why install windows in your VW transporter?
- More natural light – A van without windows can feel dark and enclosed. Adding windows instantly brightens the space, making it feel bigger and more inviting.
- Better ventilation – Proper airflow is essential to prevent condensation and moisture buildup. I always recommend installing at least one opening window for fresh air, especially if you’re cooking inside.
- Factory-fit look – Professional window fitting looks seamless, blending into the van’s original design. I always use bonded windows for a clean, factory-fitted appearance.
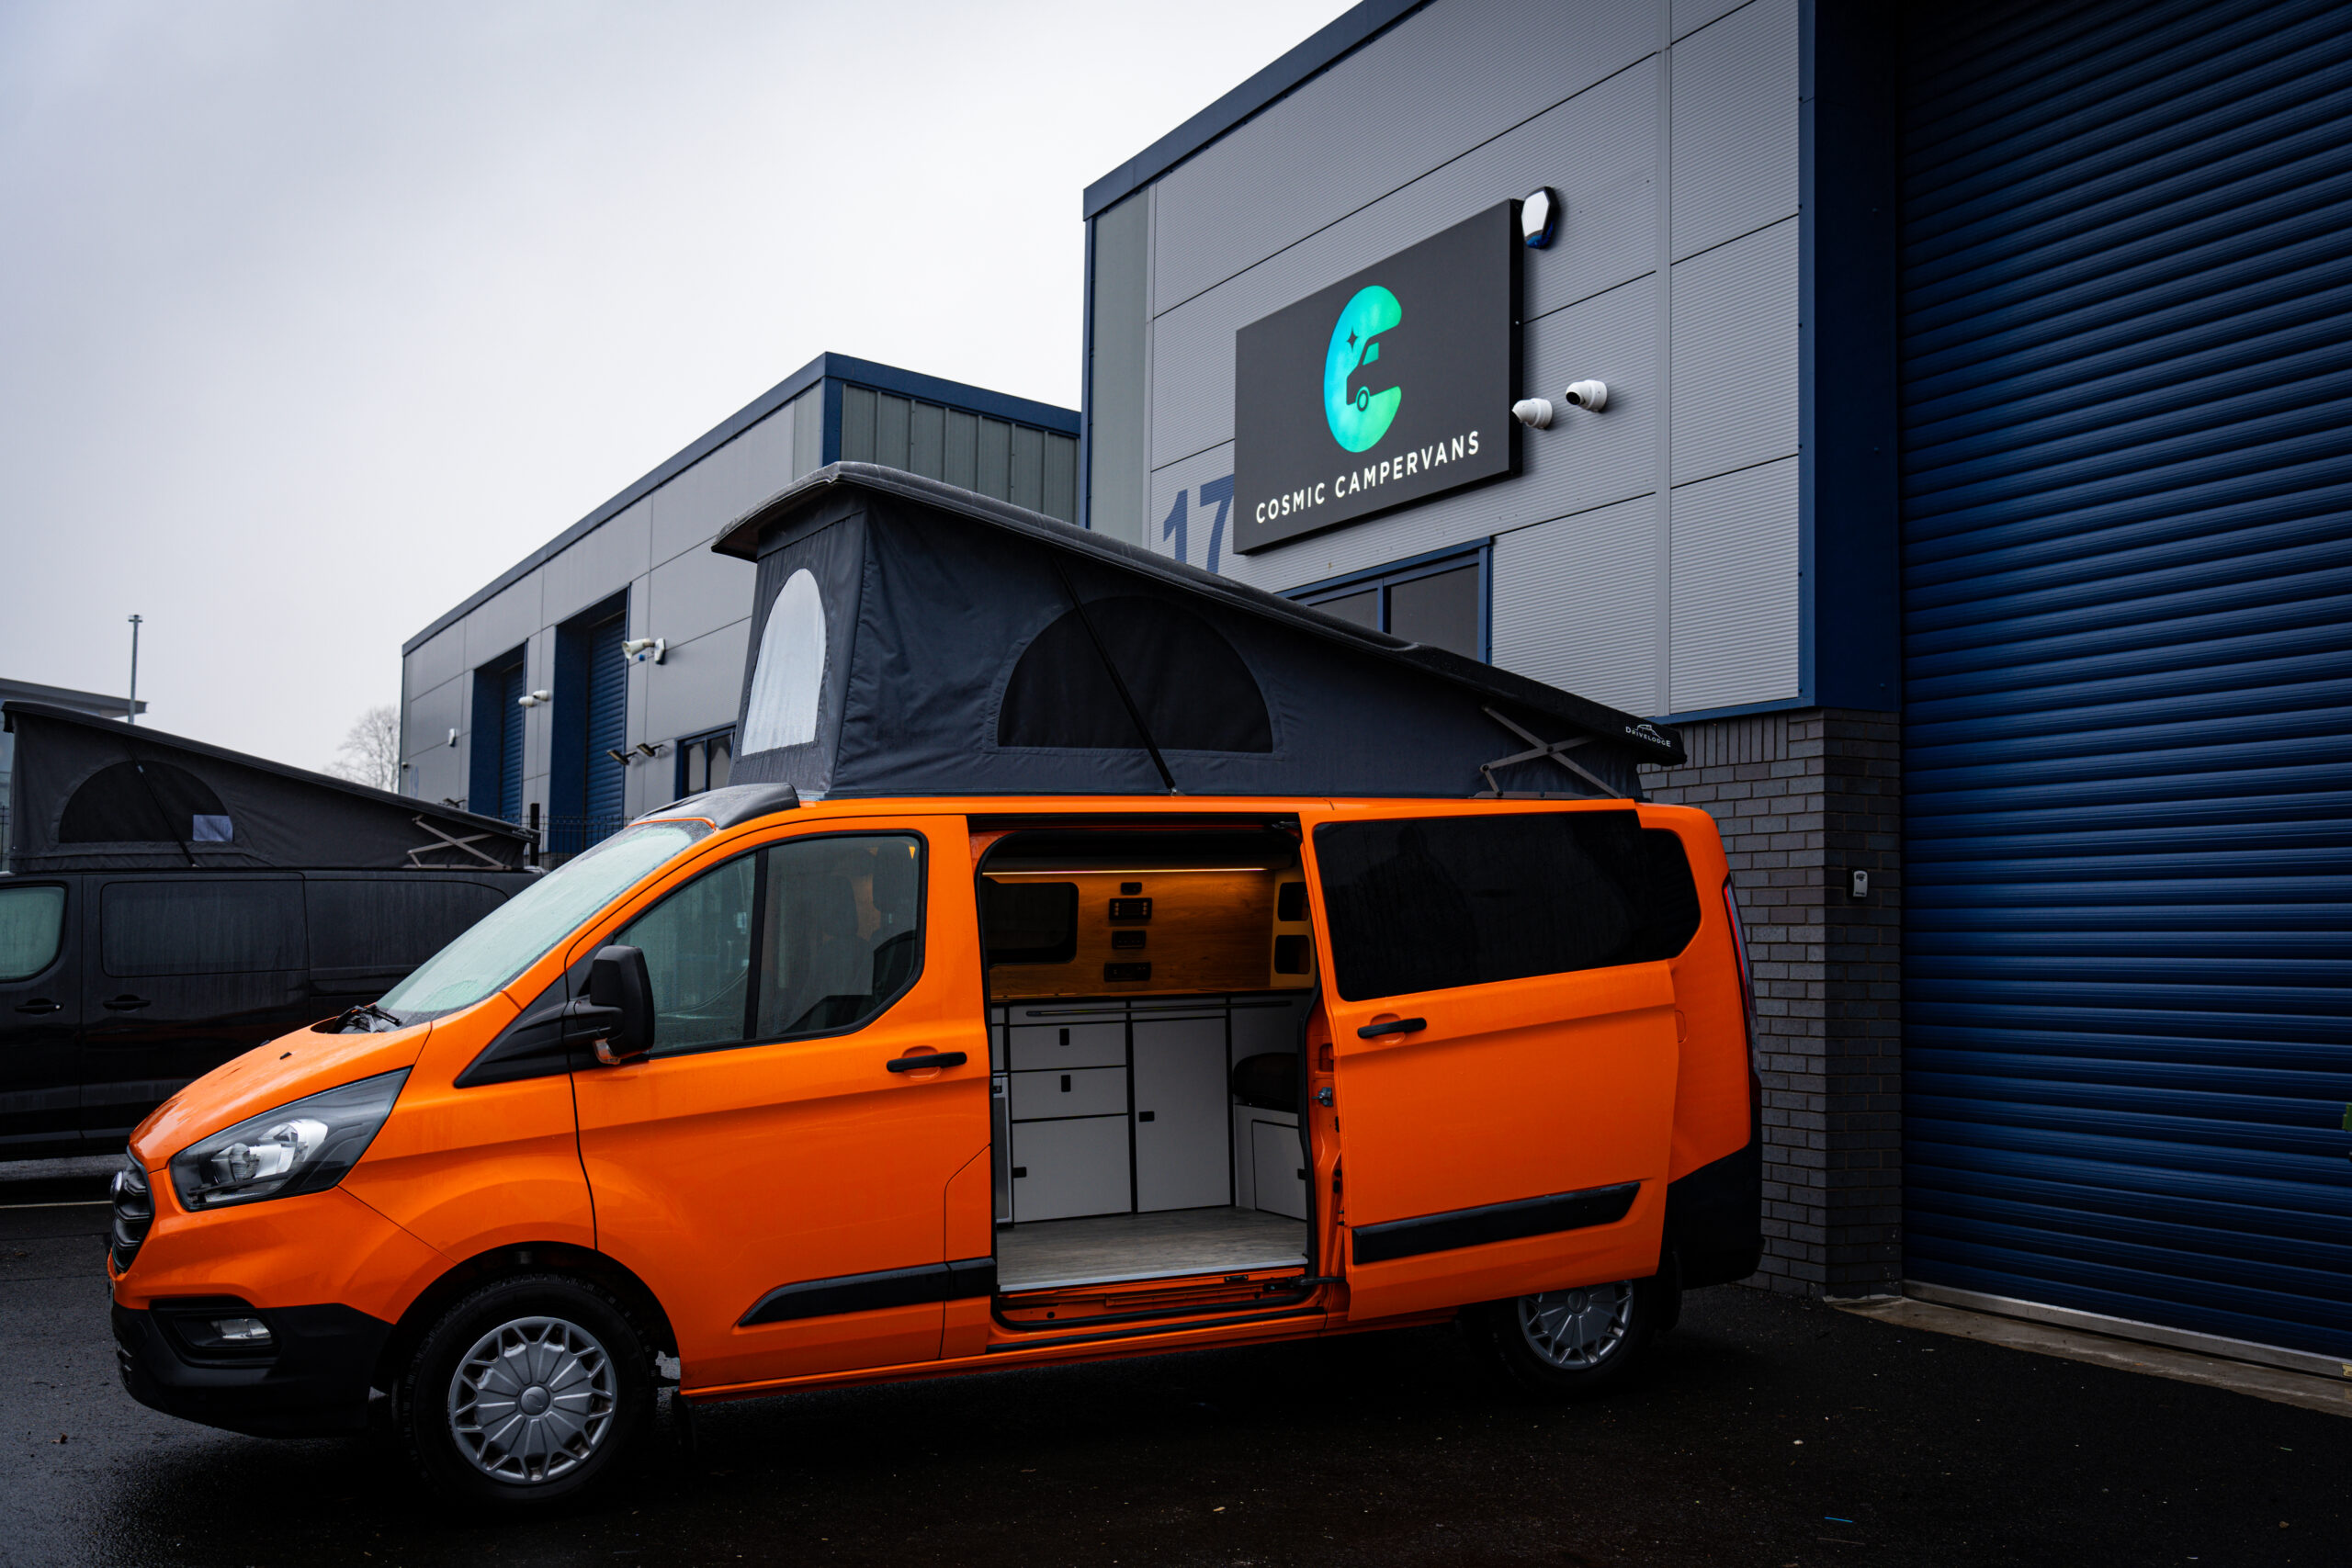
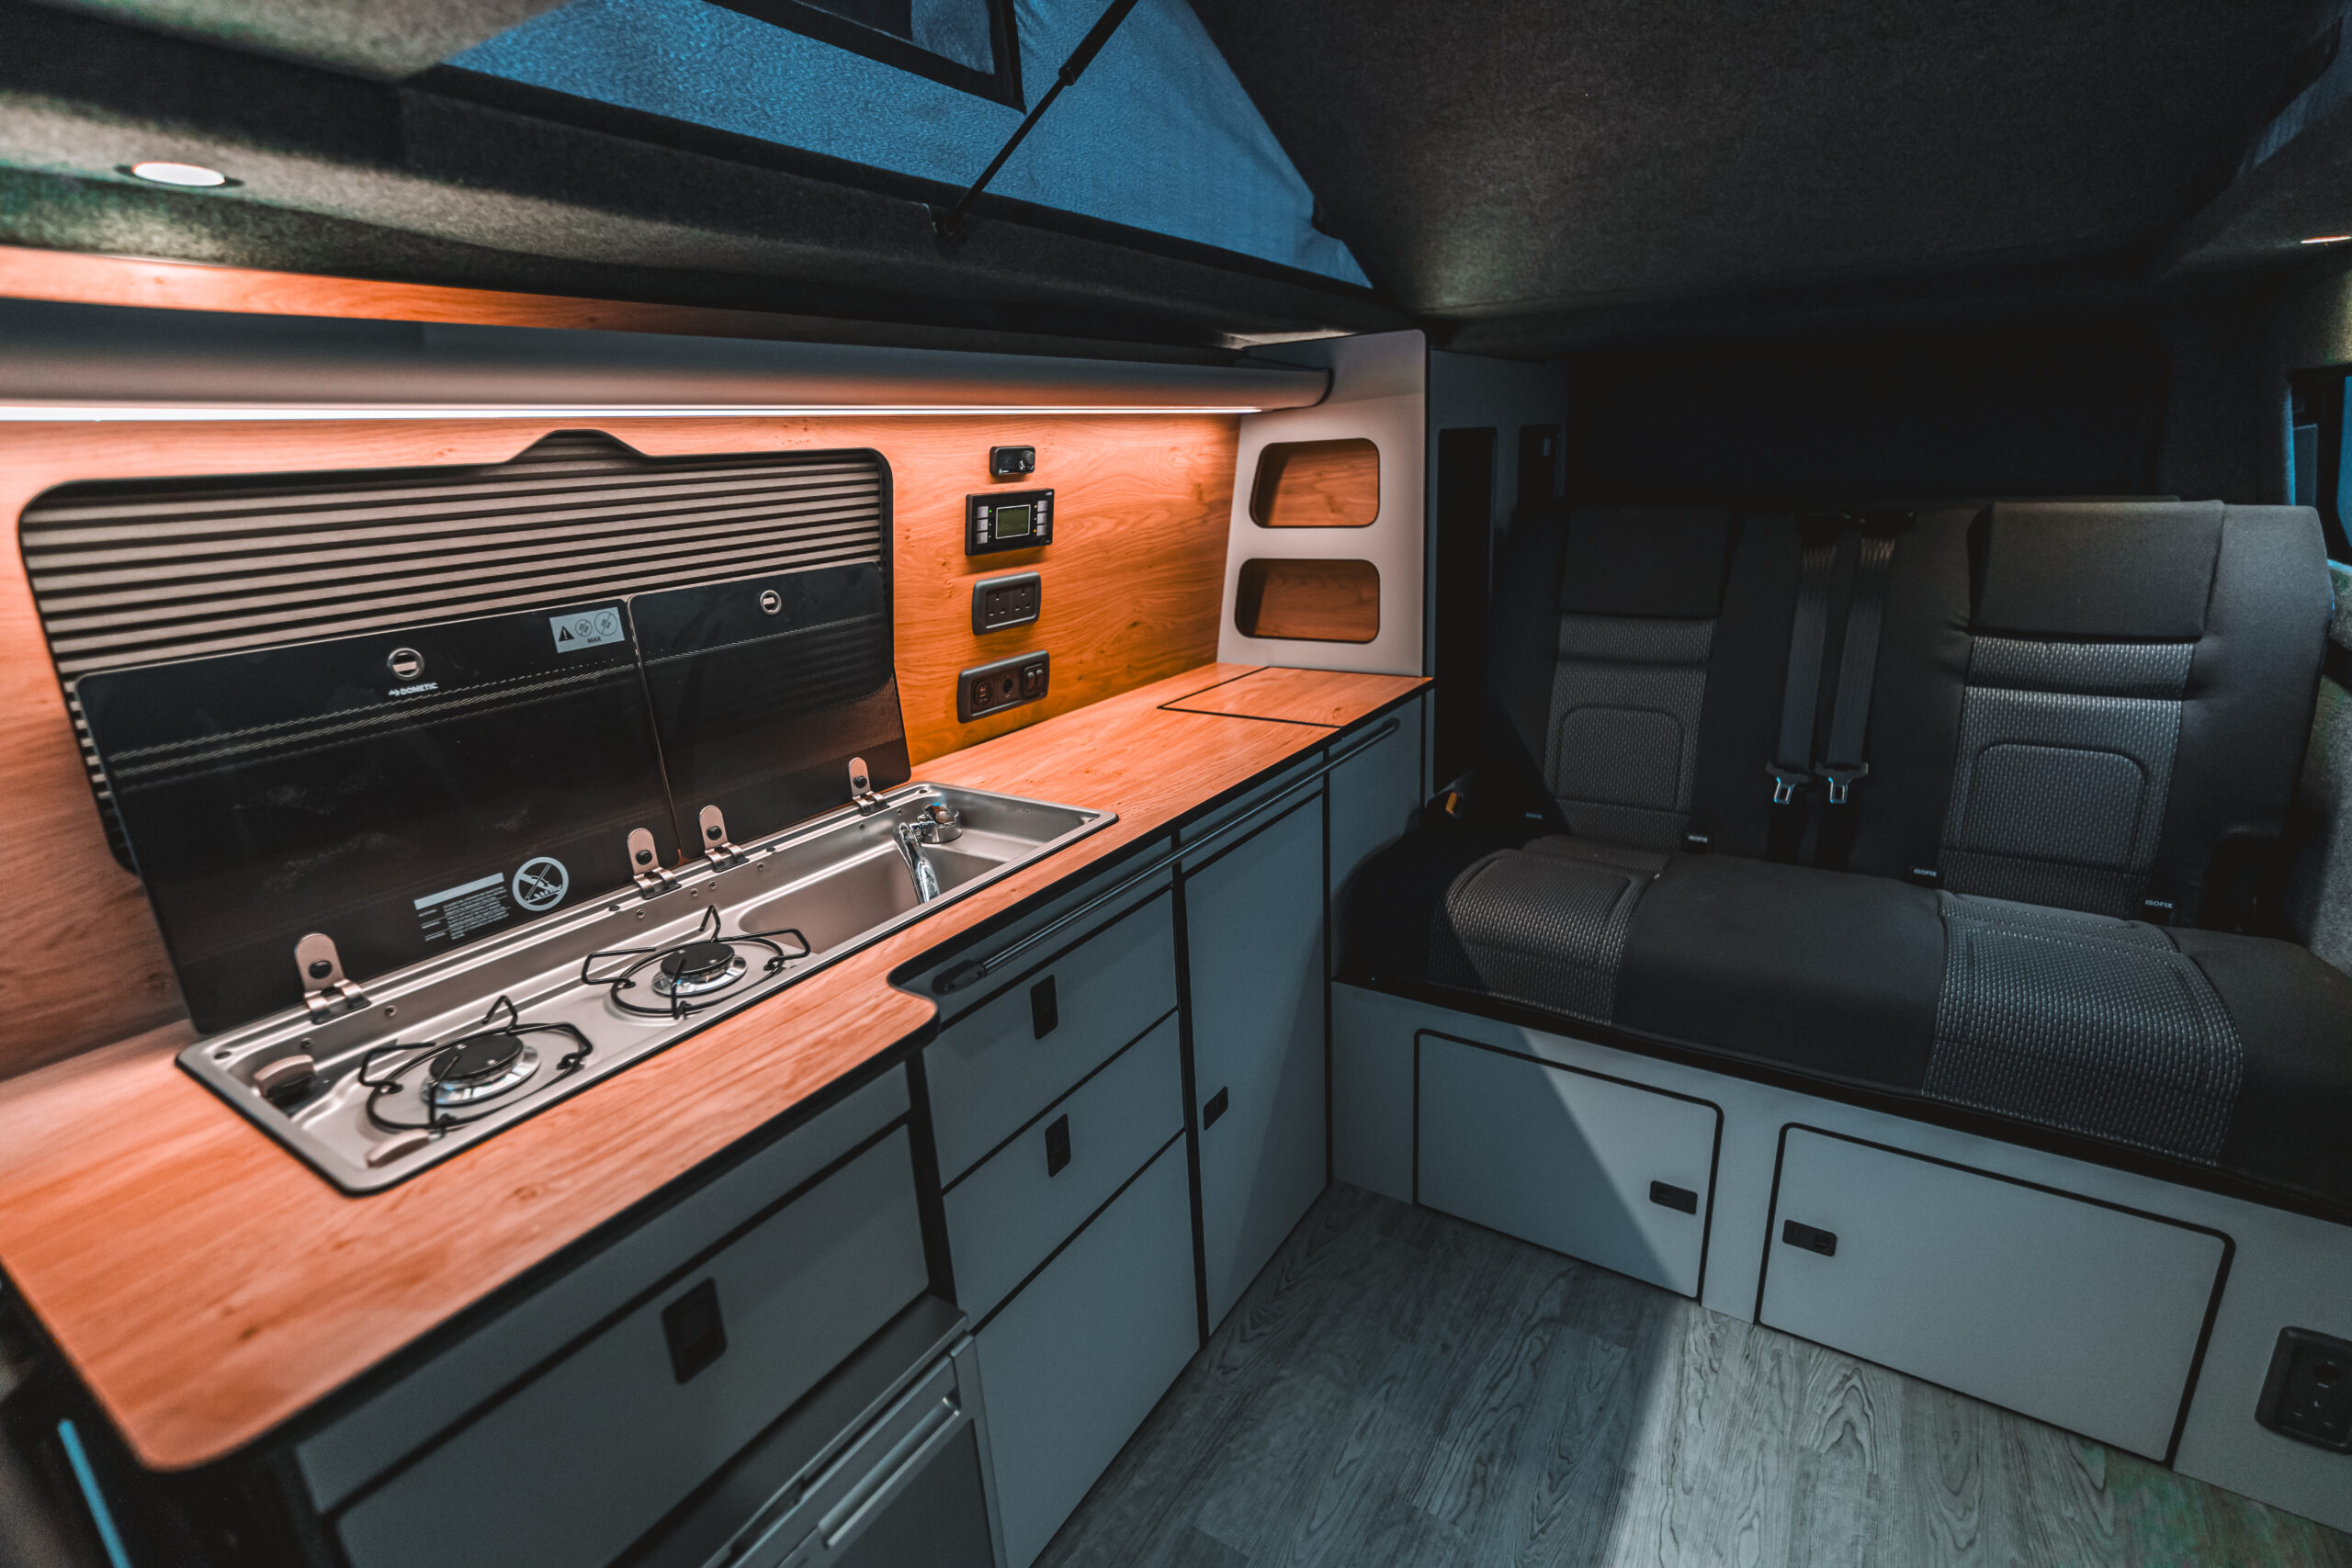
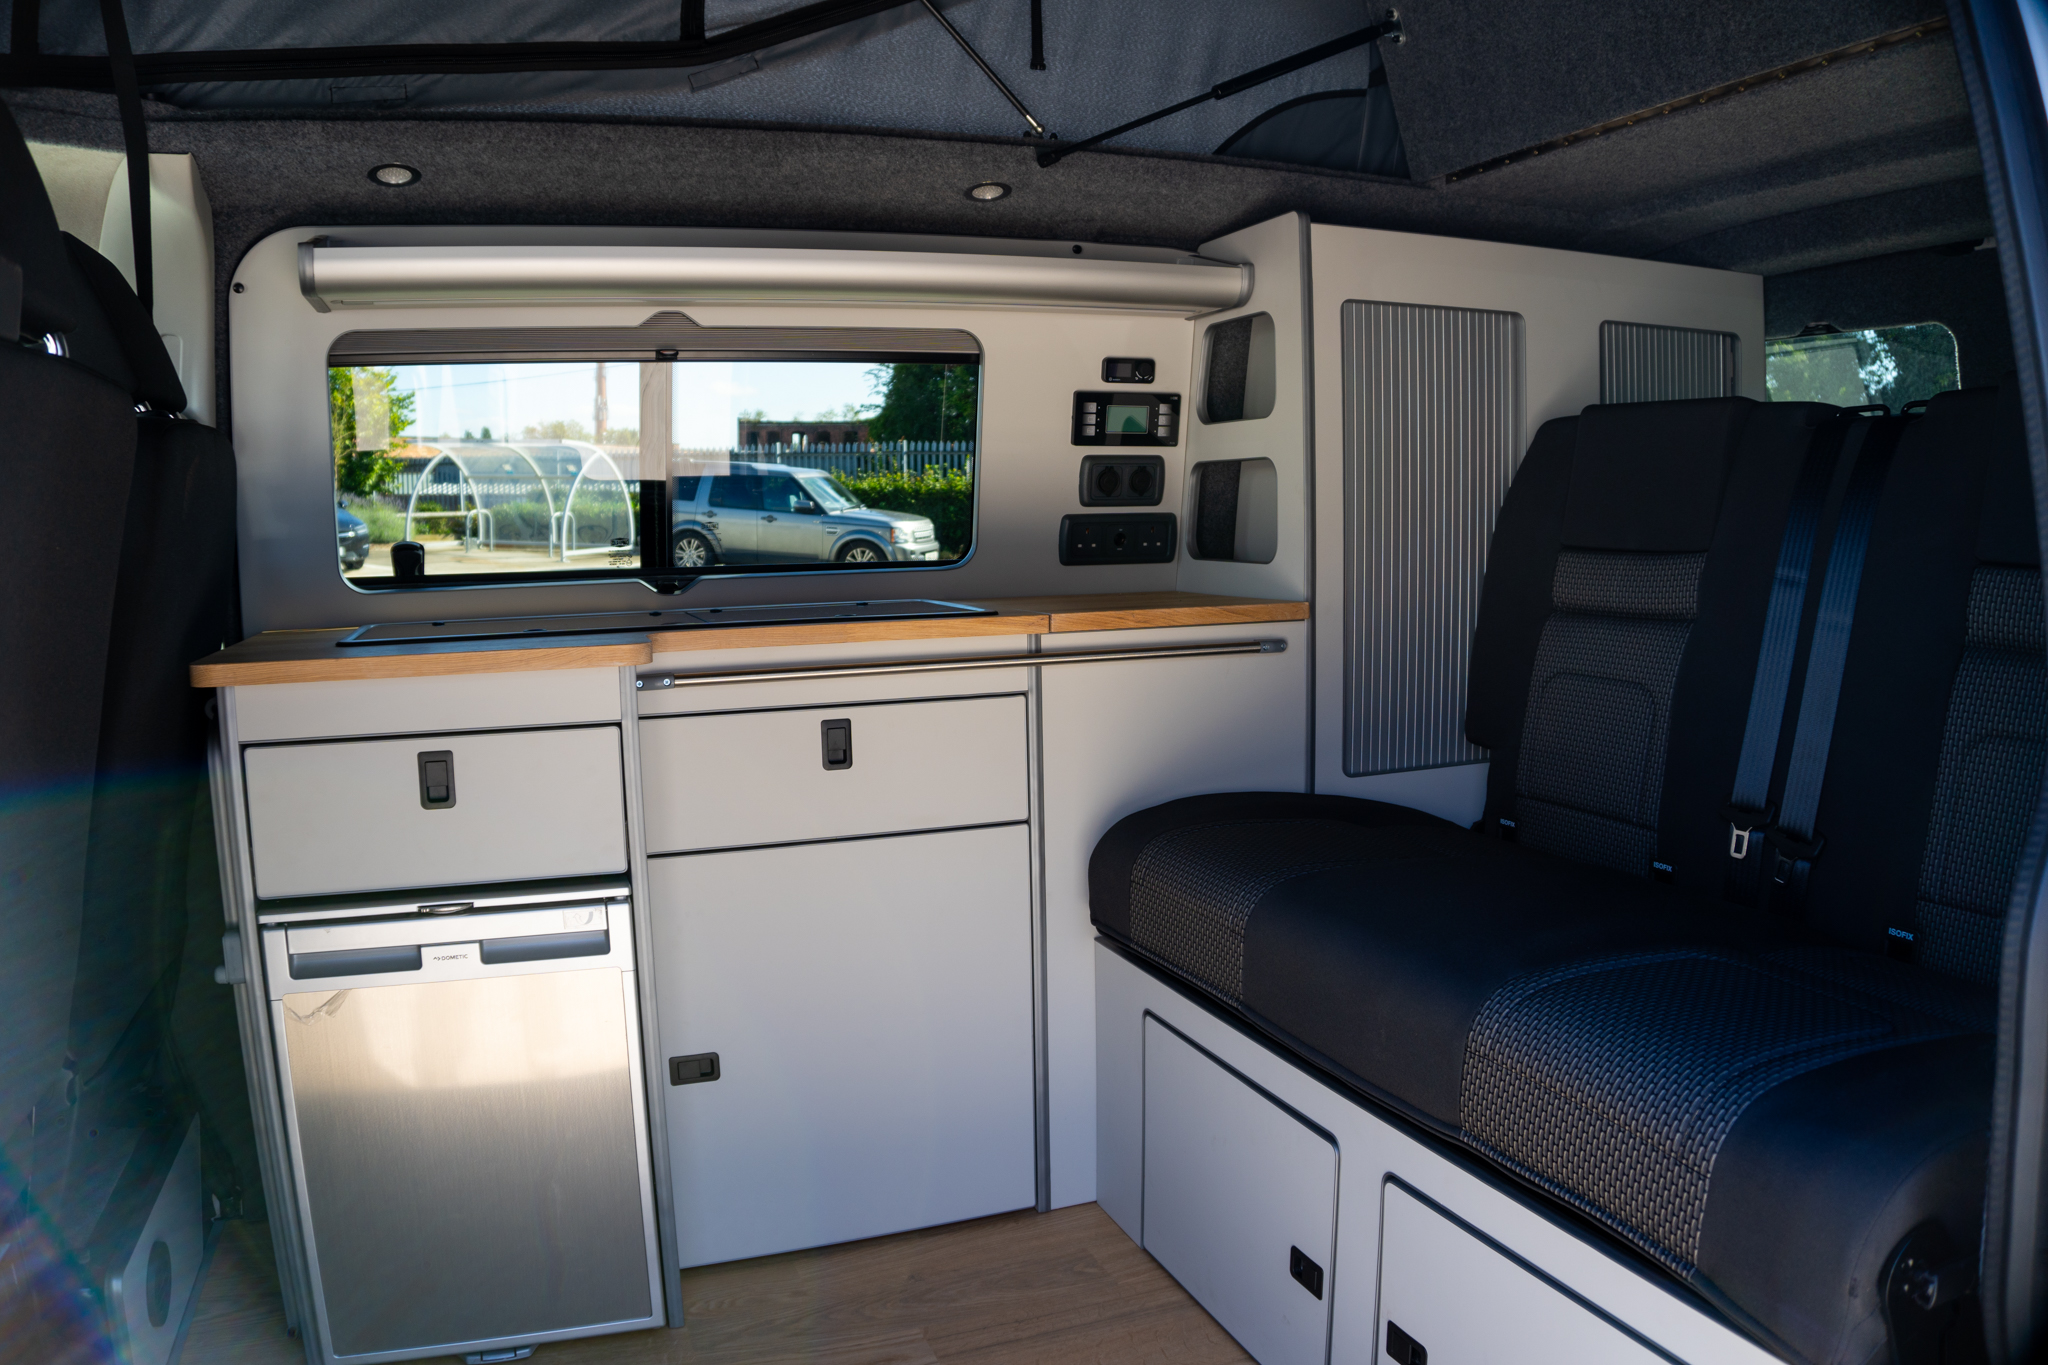
Fit a Functional Kitchen Unit
A well-designed kitchen unit is an absolute must in any full VW Transporter conversion. Whether you’re whipping up a quick coffee on the road or preparing a full meal at camp, having a functional, space-efficient kitchen setup can make all the difference to your van lifestyle.
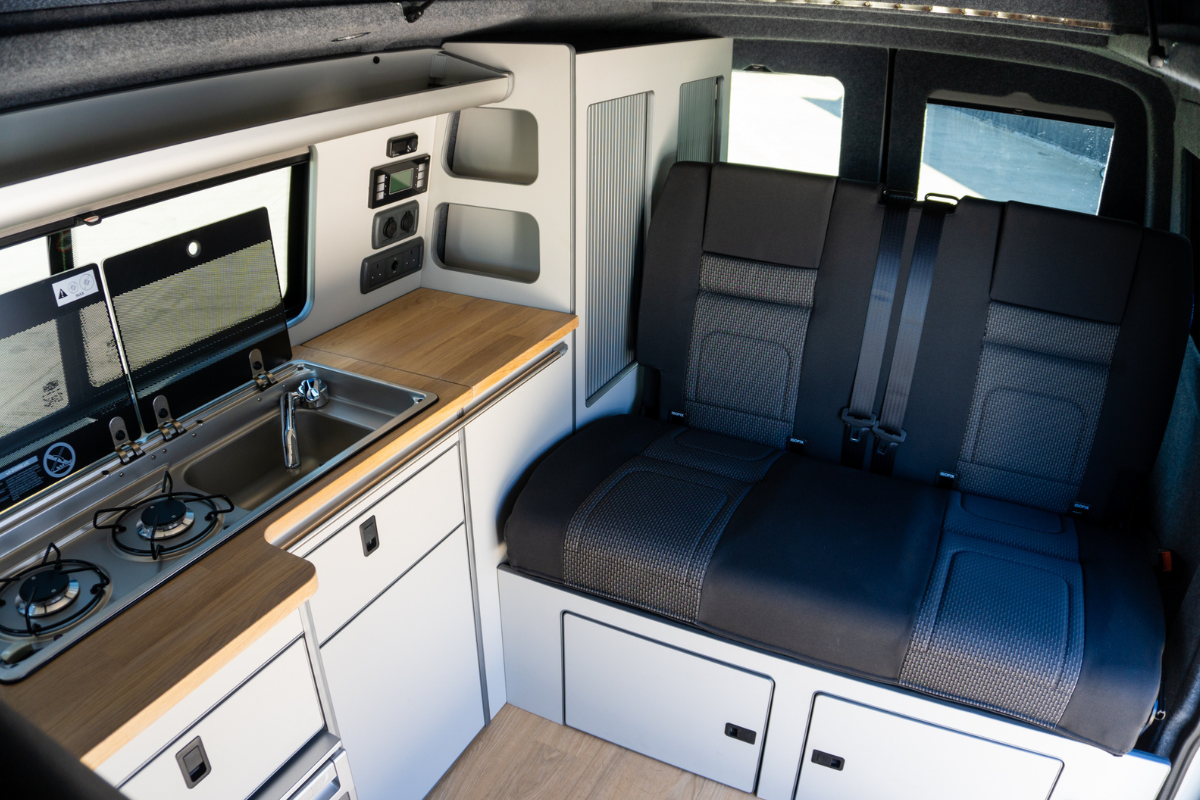
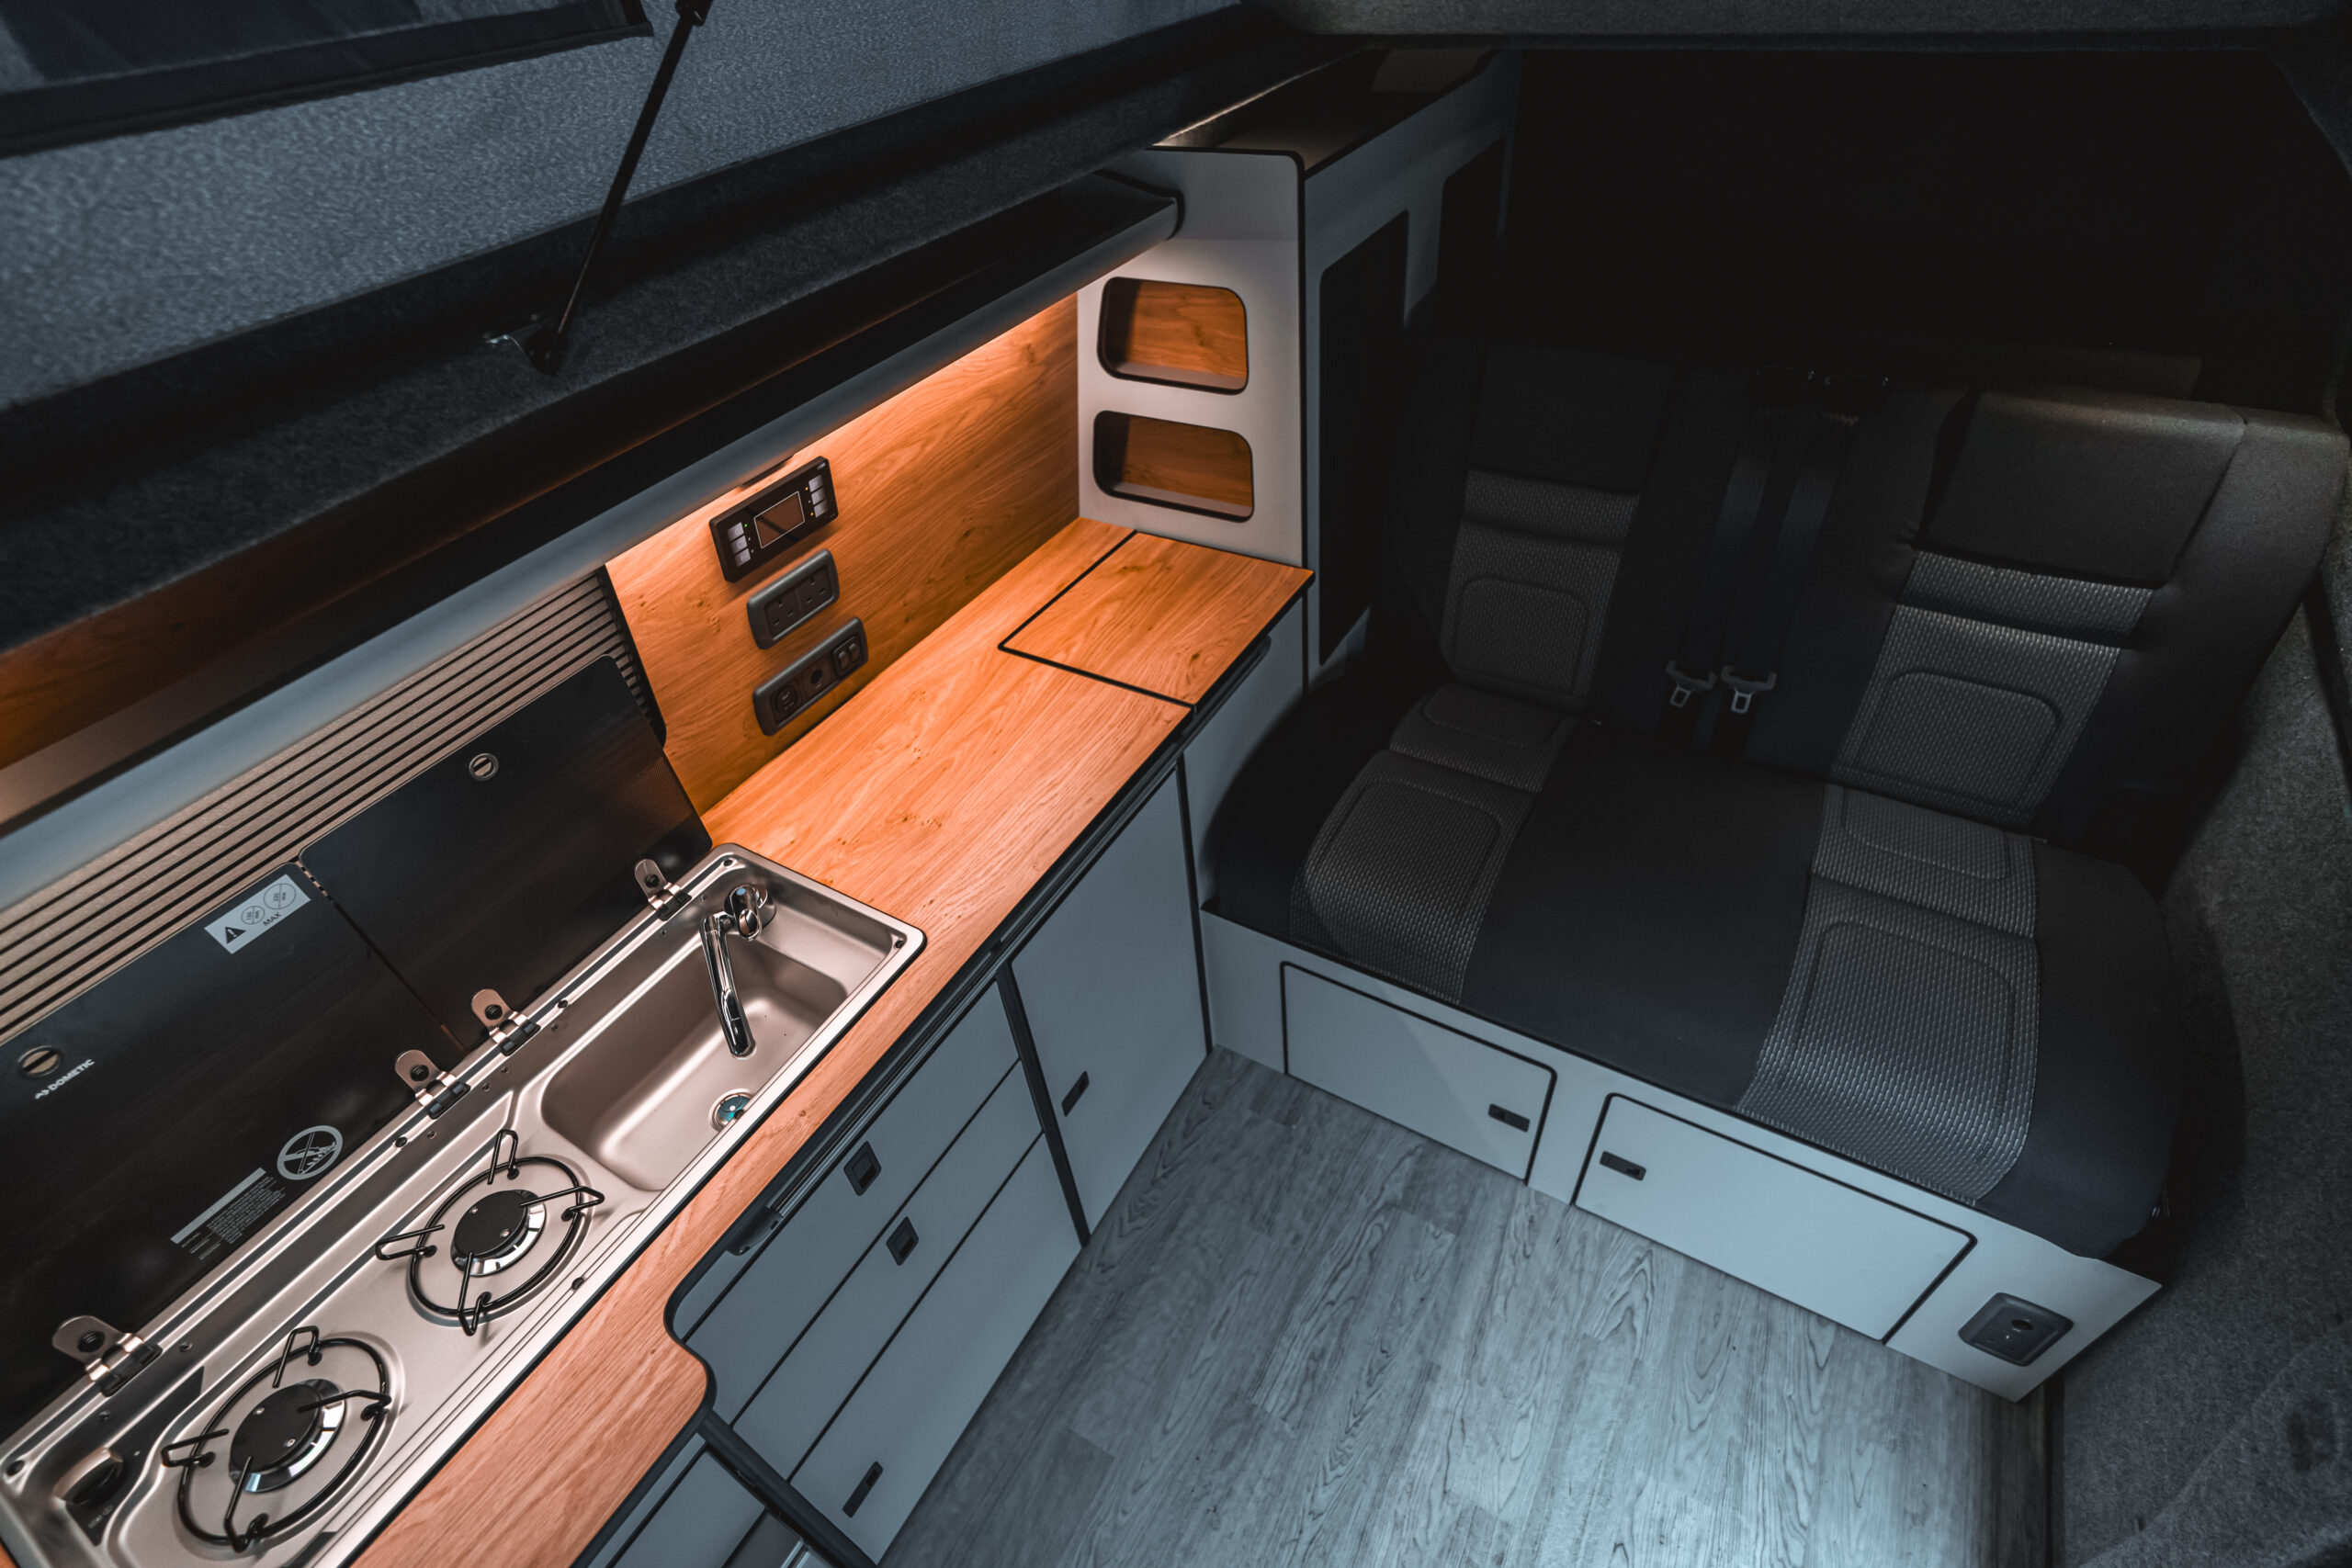
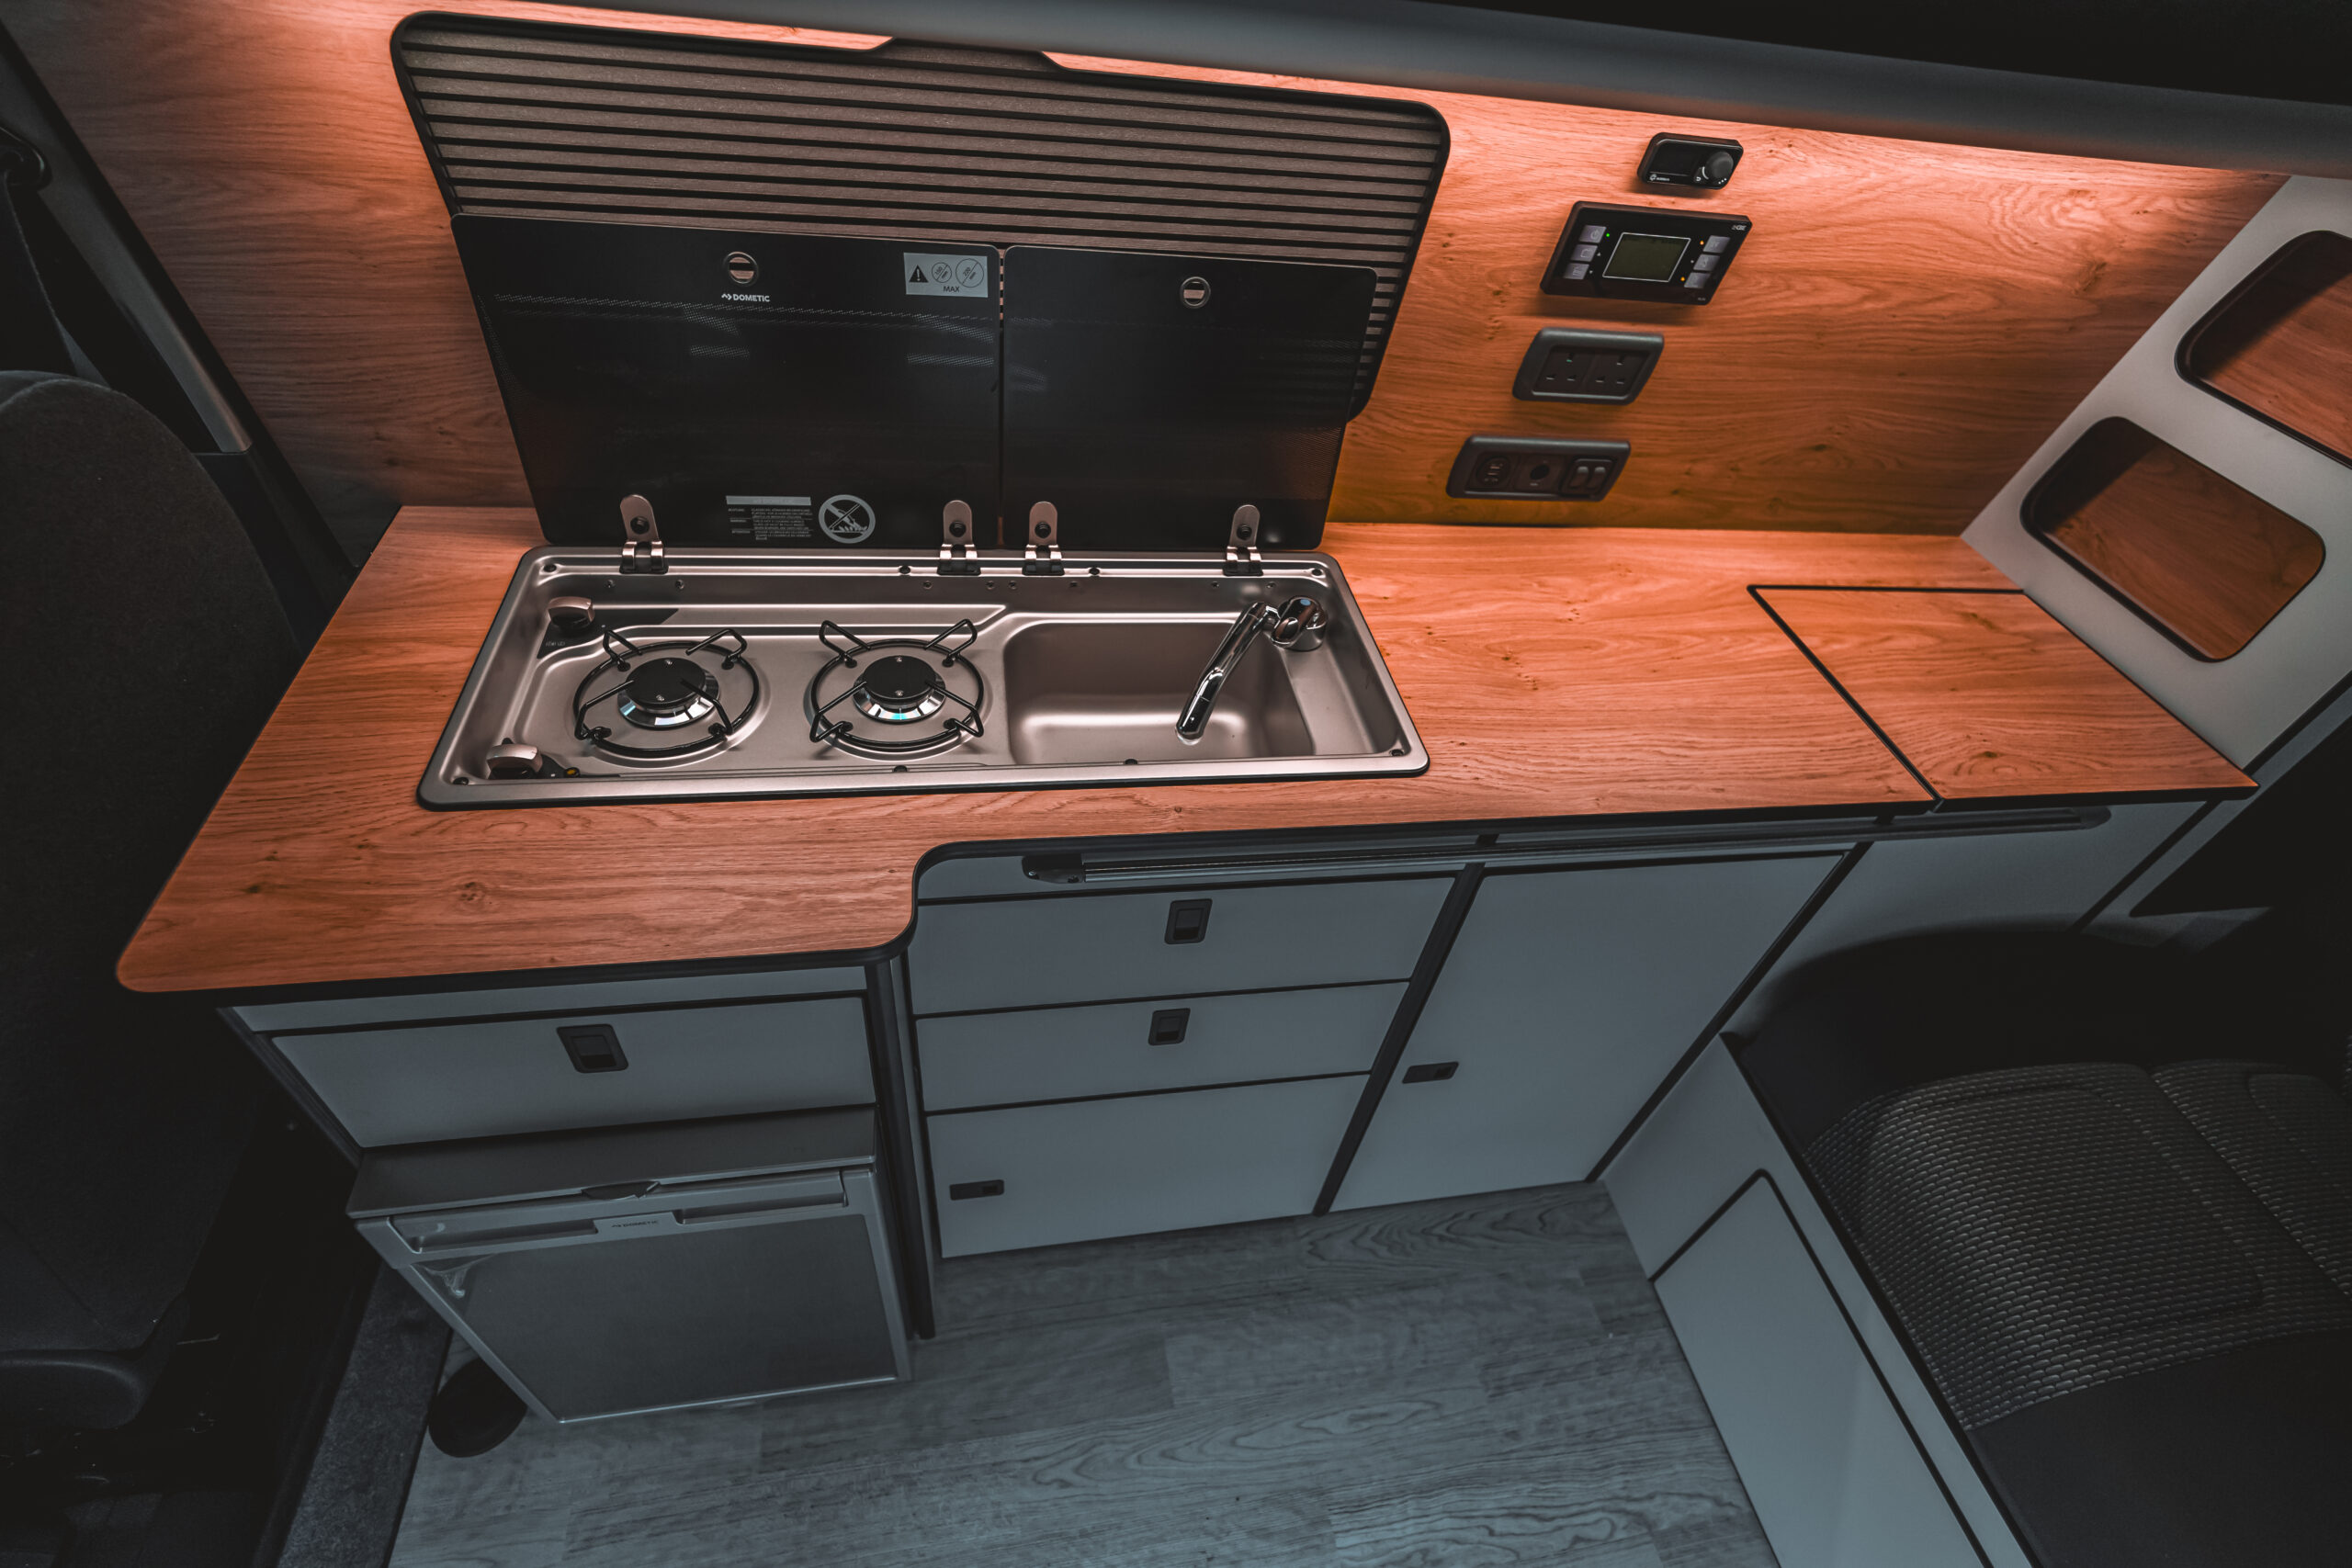
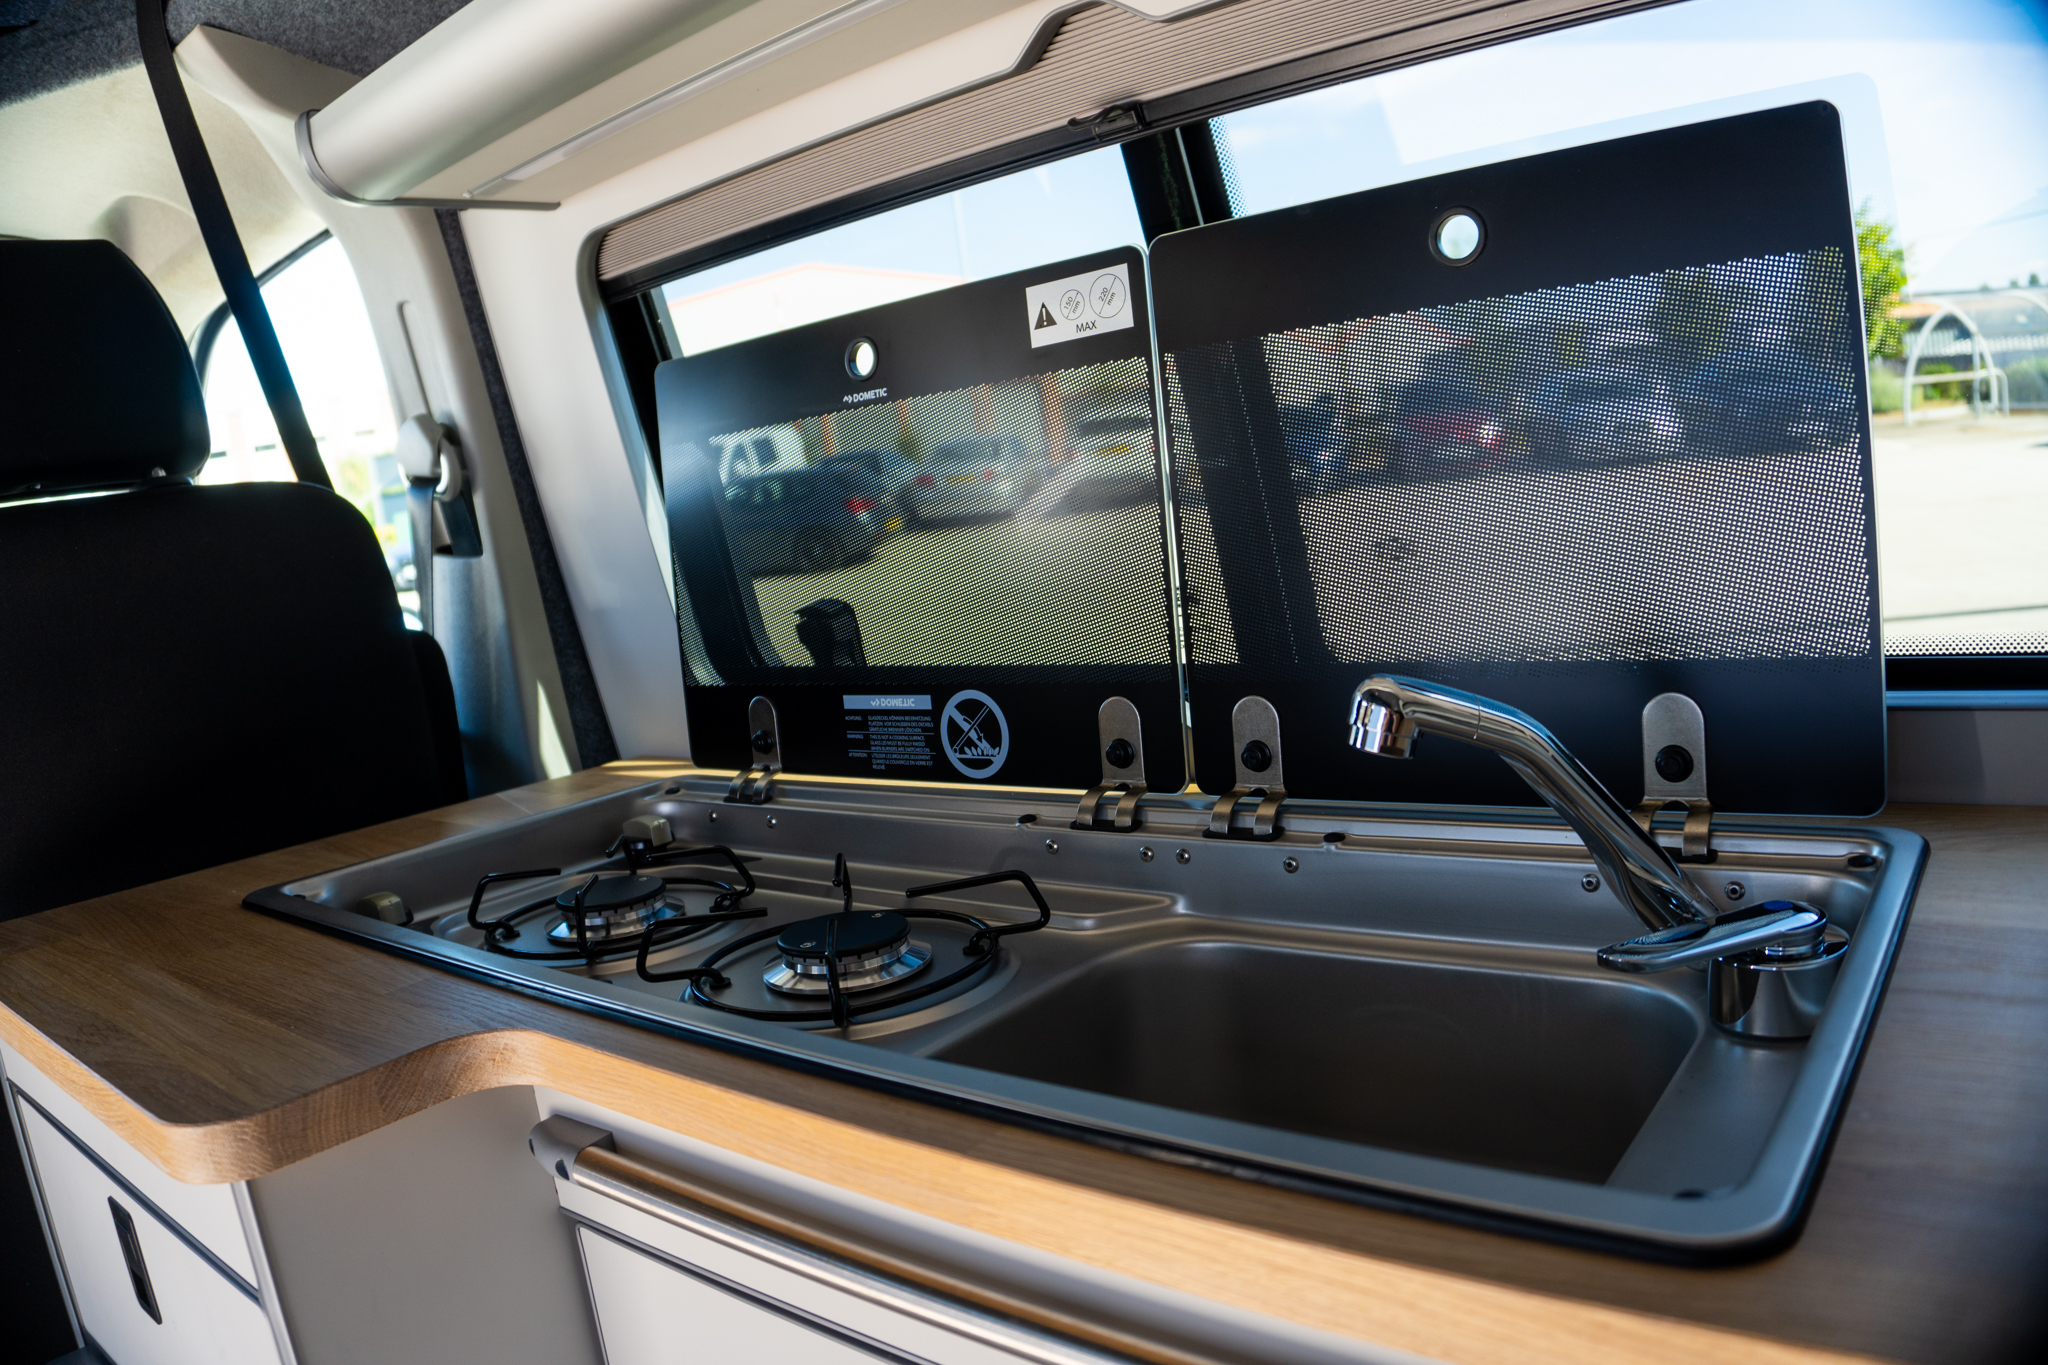
Maximise space with a double sink and hob unit
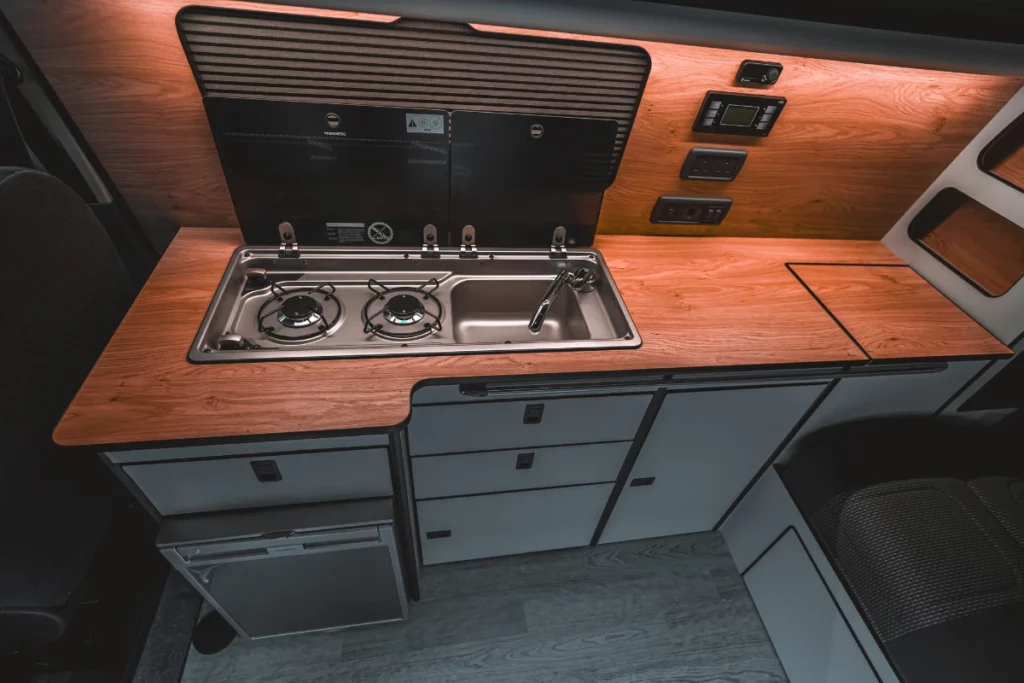
If you’re planning to fit your VW Transporter with an internal kitchen, I always recommend a two-in-one unit. This compact design saves valuable worktop space and keeps everything within easy reach.
I’ve fitted countless Dometic 922 sink/hob units in VW Transporter conversions, and they’re a brilliant way to ensure you have everything you need without taking up too much room.
If you’re designing a pull out kitchen unit at the rear or side of the van, it is most common to have a portable gas stove rather than a built-in unit. In my experience, the Coleman Hyperflame is the best model for this use. It’s great even in the wind, and doesn’t have the annoying whistle issue that some others do at a low heat.
Install a low-power fridge

In my opinion, a fridge is another essential for the van. A fridge means you aren’t at the mercy of a cooler box to keep your food fresh!
I always tailor my recommendations based on how my clients want to use their van. If you’re planning weekend getaways, a Dometic CRX50 is a fantastic, space-saving option. It’s compact yet powerful, with a removable freezer compartment that gives you more flexibility.
For those going off-grid, a larger Dometic CRX65 combined with a reliable leisure battery and solar setup ensures you can keep food fresh for longer.
Designing a fully functional kitchen
Every van and every traveller is different, which is why I always design kitchens based on personal travel habits. Do you cook full meals on the road? Or just need the basics for coffee and snacks?
If you want all the information on how to design the perfect VW Transporter kitchen, check out my detailed guide for expert advice on layouts, materials, and must-have appliances.
Want to discuss your own camper kitchen setup? Drop a comment below—I’d love to hear how you plan to use your van!
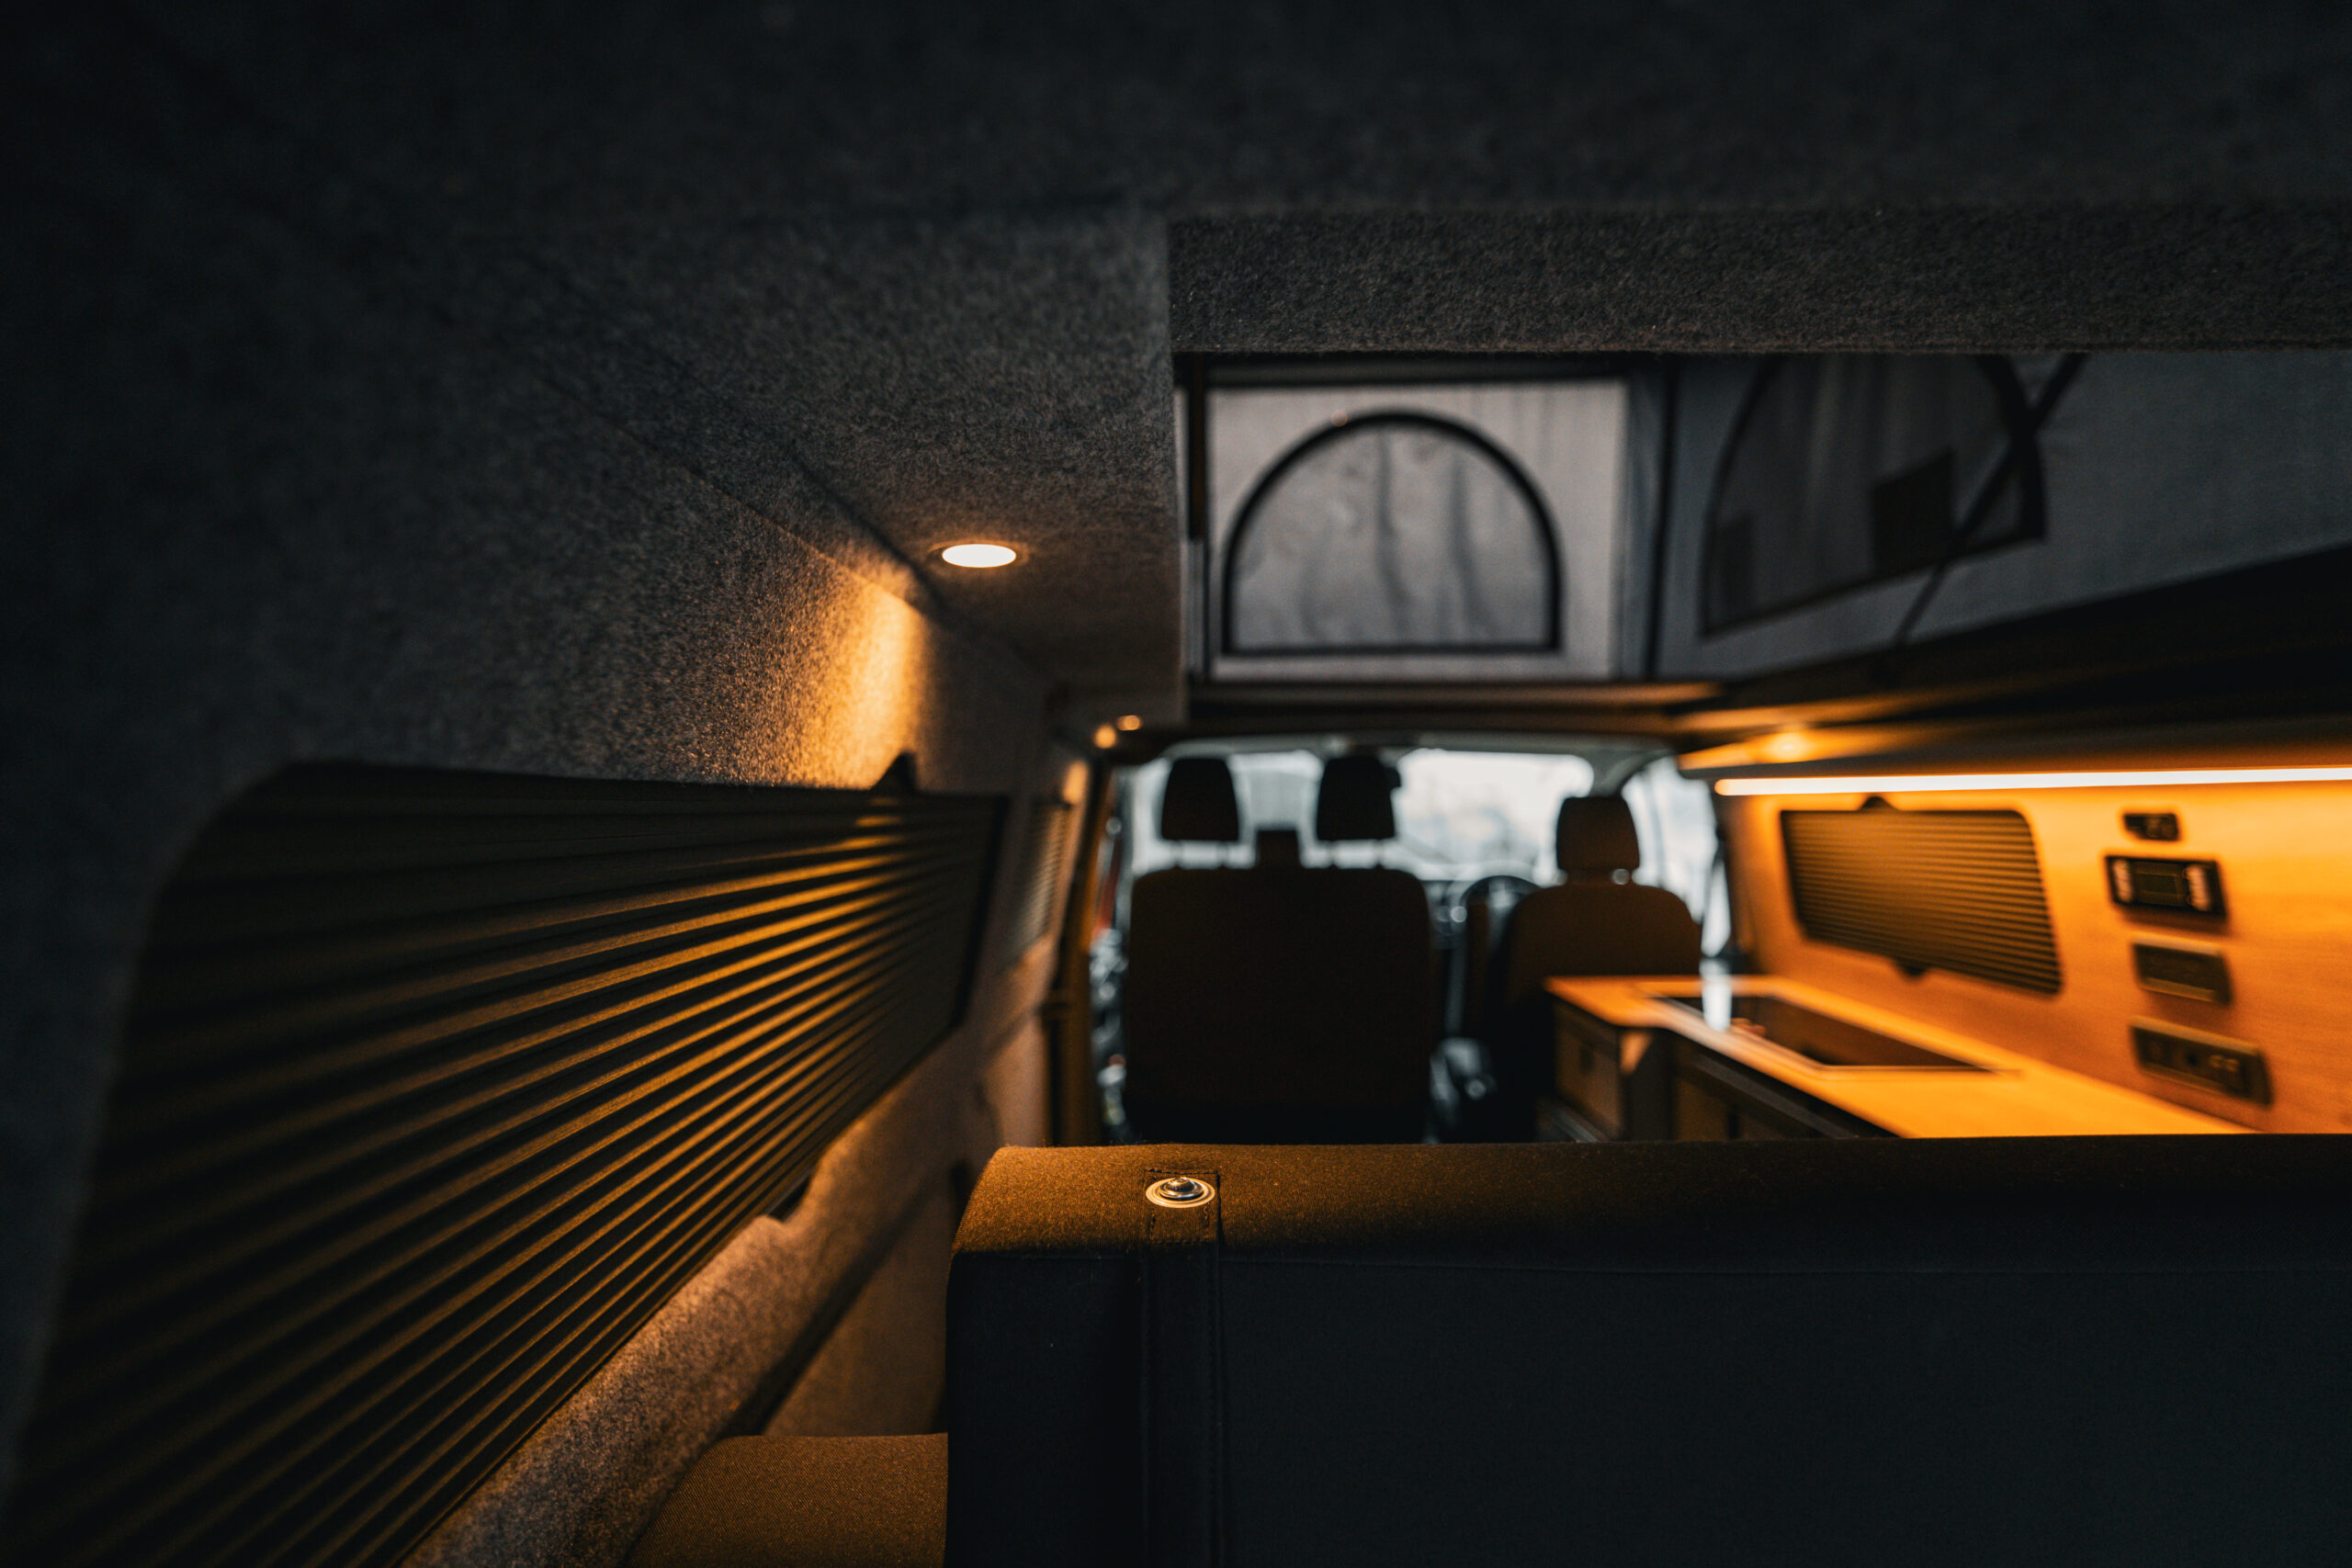
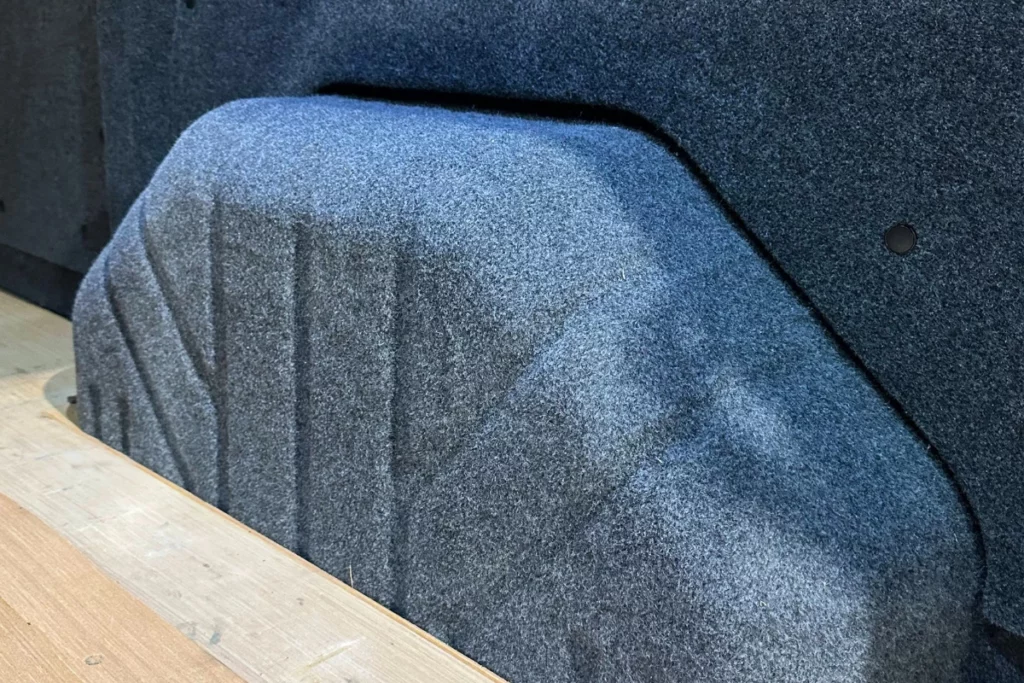
Insulate with Carpet Lining
Carpet lining is one of those finishing touches that makes a huge difference in a VW Transporter conversion. It’s not just about aesthetics, carpet plays a key role in insulation, soundproofing, and overall comfort inside your van. I’ve worked on countless Transporter builds, and trust me, getting the right carpet lining setup is well worth the effort.
Carpet lining keeps the van warm
A properly insulated van is essential if you’re planning to camp in colder months. Before fitting carpet lining, I always install high-quality insulation. In my experience, the best choices are Thermafleece or Dodo Thermo Liner.
These materials help retain heat, keeping the interior warm while also reducing condensation – something every van owner wants to avoid!
I always recommend a layered approach: a combination of closed-cell foam and recycled wool insulation ensures the best results. This setup works brilliantly to keep the warmth in during winter and the heat out in summer.
Carpet lining sound proofs the van
If you’ve ever driven an empty panel van, you’ll know how noisy it can be. Road noise, rattles, and vibrations can make long drives exhausting. Plus, busy campsites can get noisy if you like to sleep past dawn!
That’s why I always install sound-deadening mats before applying carpet lining, even on the wheel arches. I recommend using Dodo Mat Deadn Hex—it’s self-adhesive, easy to apply, and significantly reduces external noise.
Layering carpet lining with sound-proofing materials makes your van feel a lot more cosy and relaxing. This is especially important when you’re planning to ‘stealth camp’ in the van, possibly surrounded by street noise.
Carpet lining isn’t just about looks; it makes the van feel like a proper home on wheels. If you want a warm, quiet, and well-finished interior, it’s an absolute must-have in any full VW Transporter conversion.
Transform Your VW into the Ultimate Camper
Save yourself the headache and let us do the heavy lifting! We’ve converted over 500+ VW Transporters.
Water and Plumbing
A well-planned water and plumbing system is key to making your VW Transporter conversion fully functional. Over the years, I’ve installed everything from basic portable tanks to fully plumbed underslung systems, so here’s my take on the best options for your van.
Decide on your freshwater set up
Every campervan needs a reliable fresh water supply, but the type of tank you choose depends on how much space you have and how often you plan to use it.
- Internal Freshwater Tanks – Perfect for smaller builds or those who want a simple, easy-to-maintain system. I usually fit a 10-20L removable tank under the sink with a submersible pump, ideal for casual trips and easy refilling.
- Underslung Freshwater Tanks – If you need more water storage without sacrificing interior space, an underslung tank (usually 30-60L) is a great choice. I often install these for clients who want to go off-grid for longer periods. With a 12V pump, you get running water just like at home, and they keep your van’s interior clutter-free.
Decide where to locate your wastewater tank
Managing wastewater properly is just as important as your freshwater setup. I always recommend using a dedicated grey water system to ensure easy drainage and prevent unwanted smells inside the van.
- Internal Wastewater Tanks – A basic 10-20L waste tank stored inside the van is great for shorter trips. It’s simple to remove and empty, but you’ll need to remember to empty it regularly.
- Underslung Wastewater Tanks – For longer trips or fully off-grid setups, I prefer installing a permanent underslung grey water tank. With a drainage tap fitted underneath, it makes disposing of wastewater much easier. Just make sure to empty it responsibly at a designated site.
Which set up I recommend
In my opinion, a simple internal tank and removable wastewater container is usually enough for weekend campers. But if you’re planning extended road trips or off-grid living, I’d recommend an underslung fresh and wastewater system with a built-in pump for a more seamless experience.
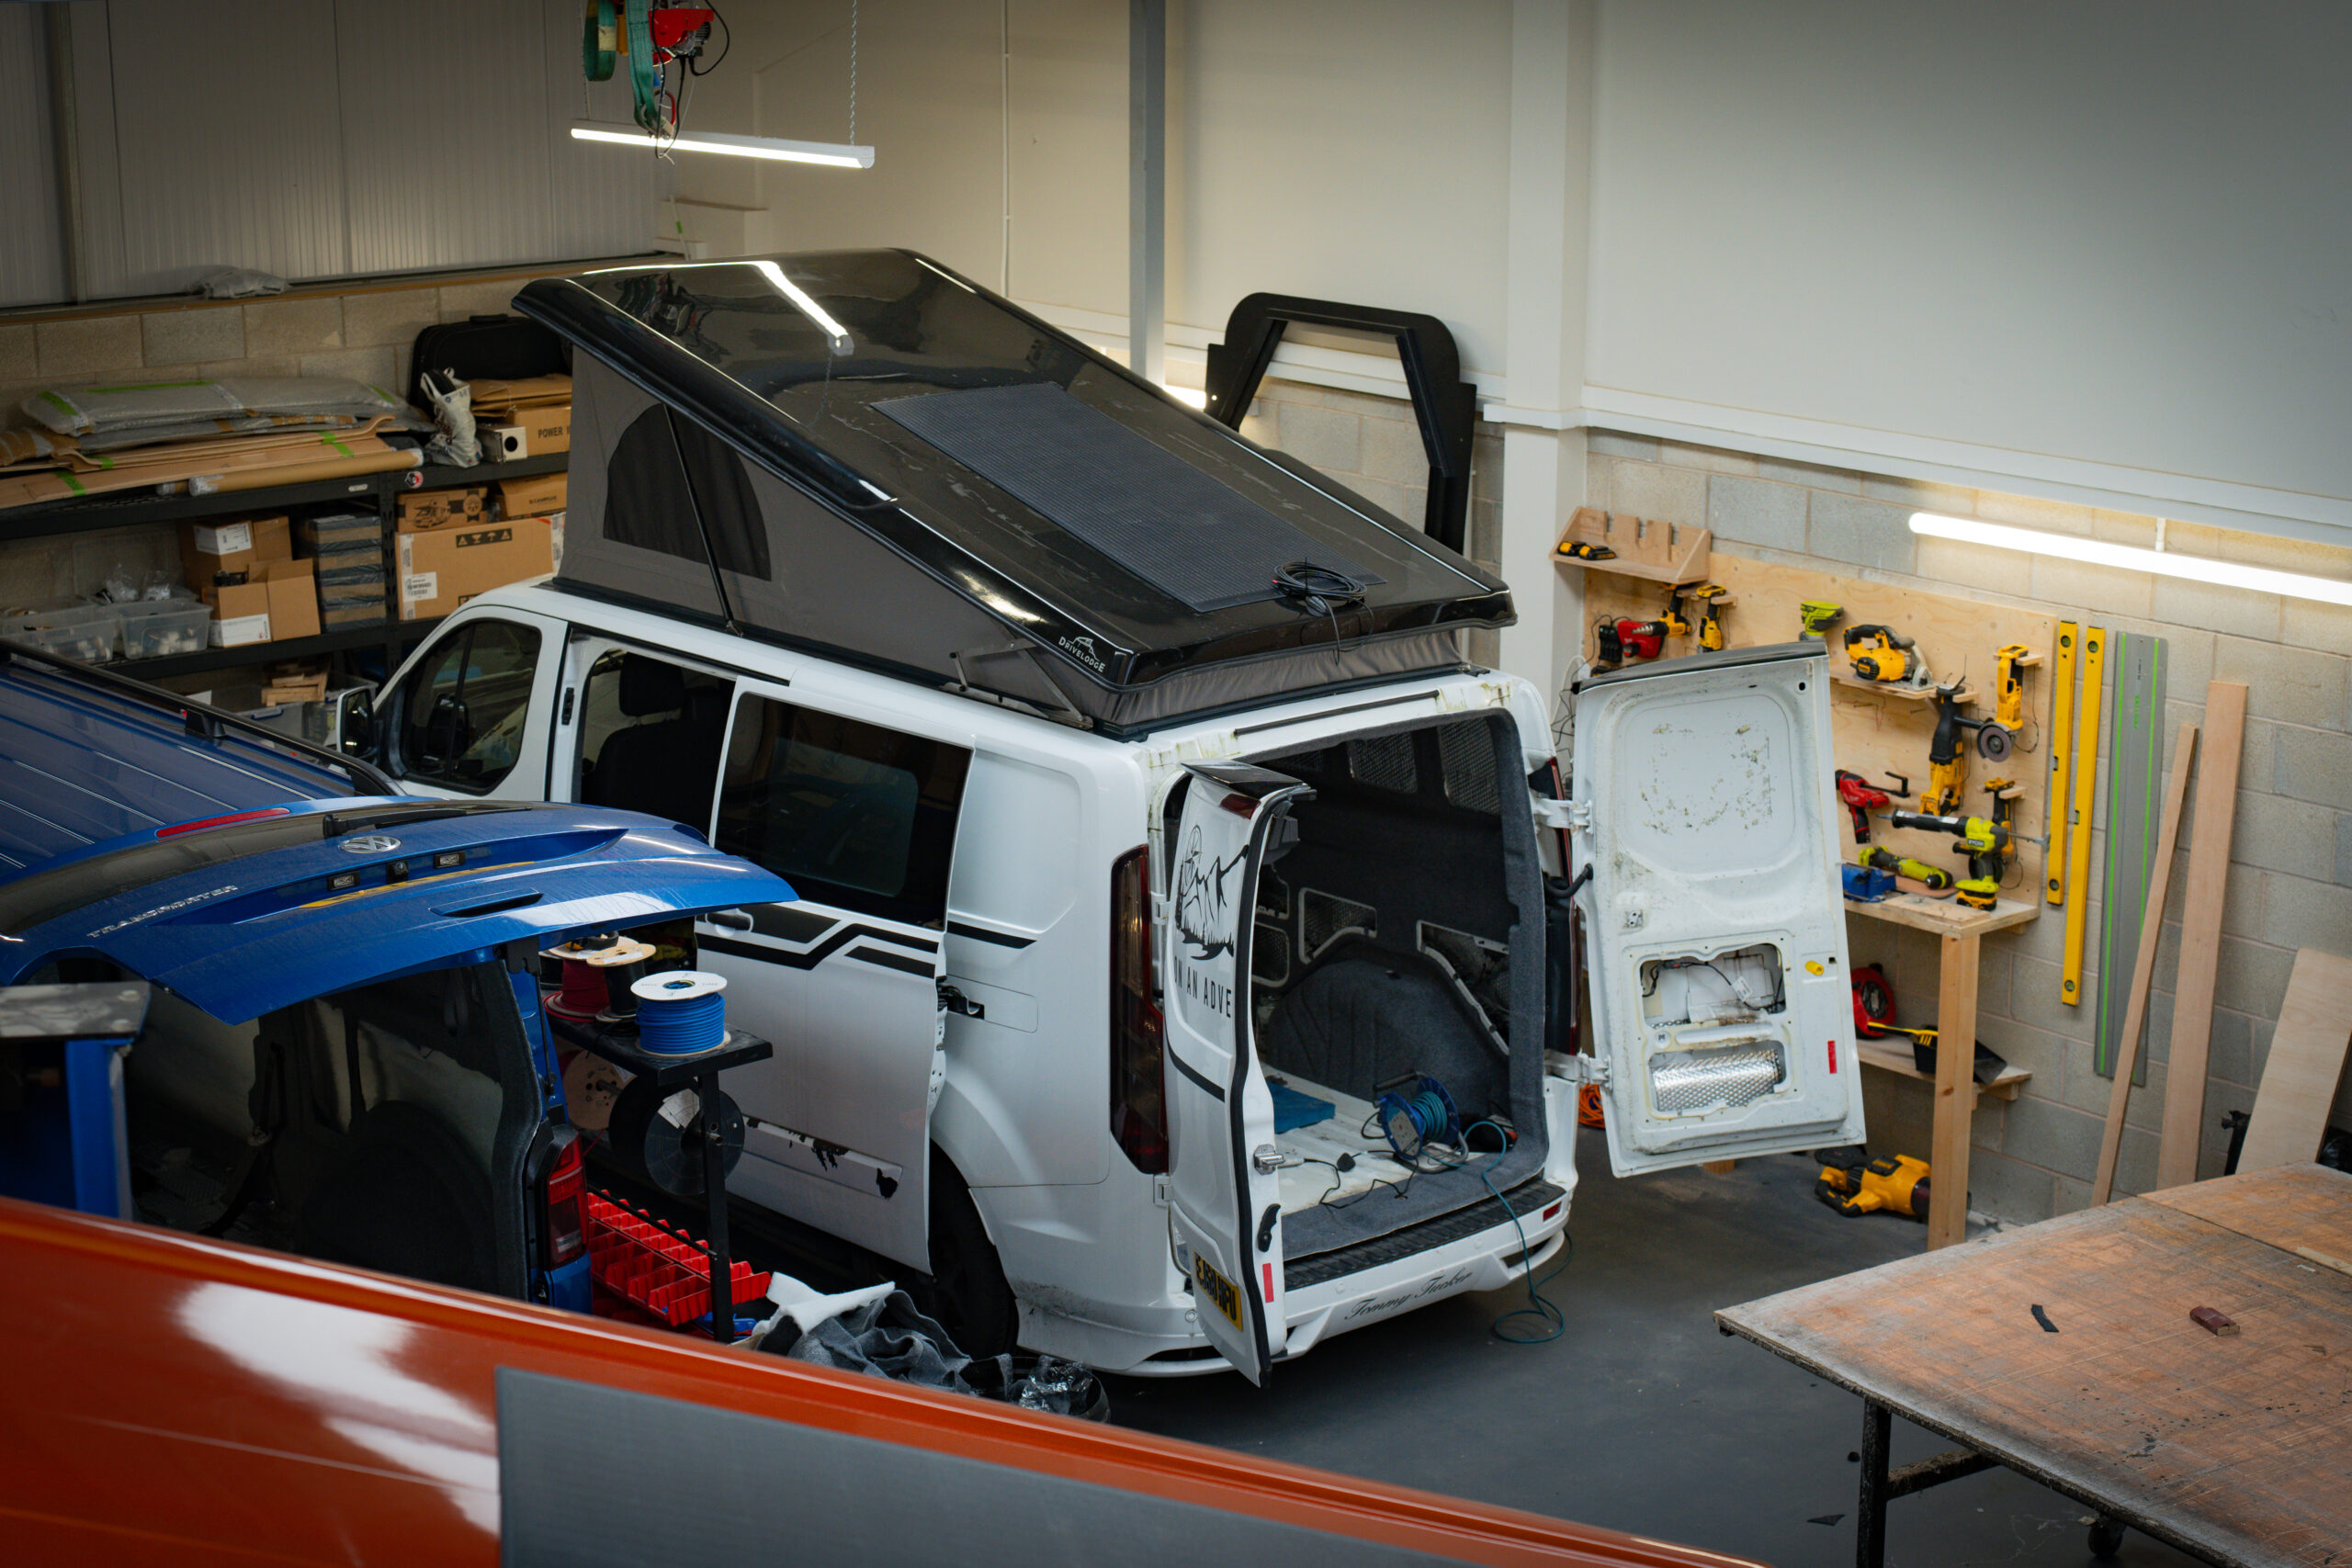
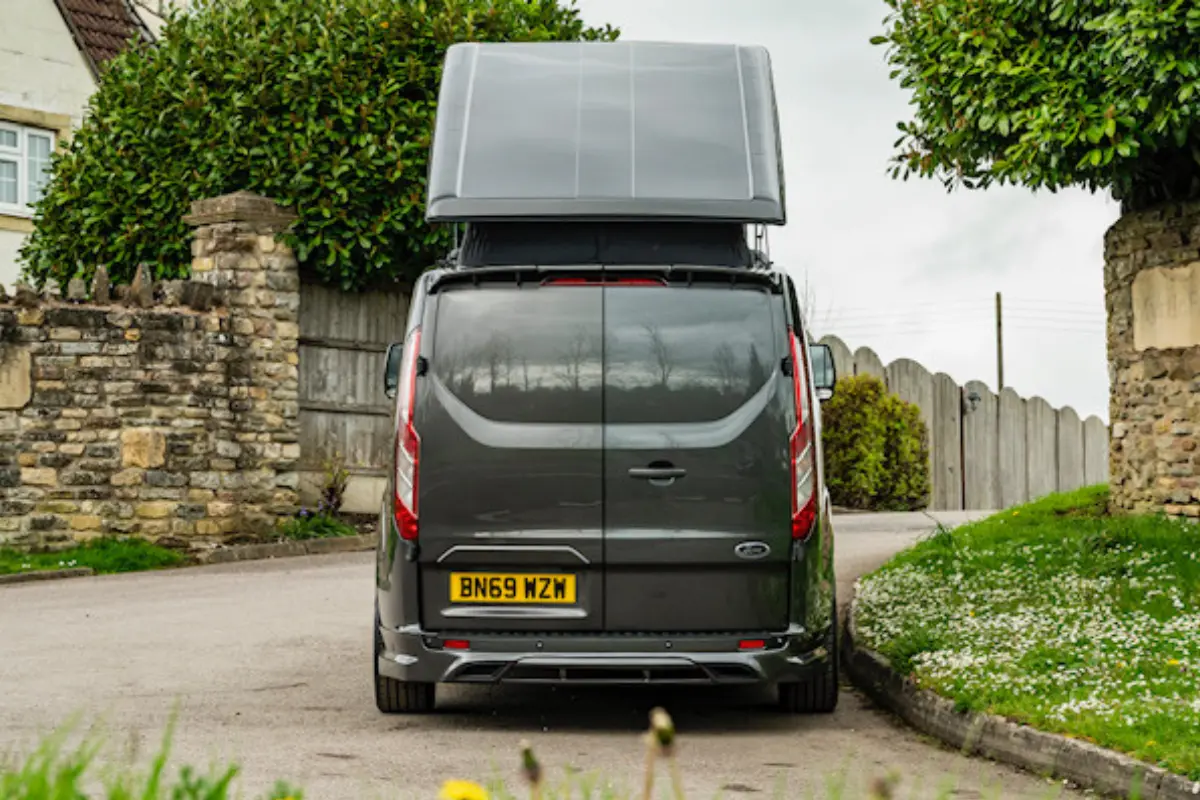
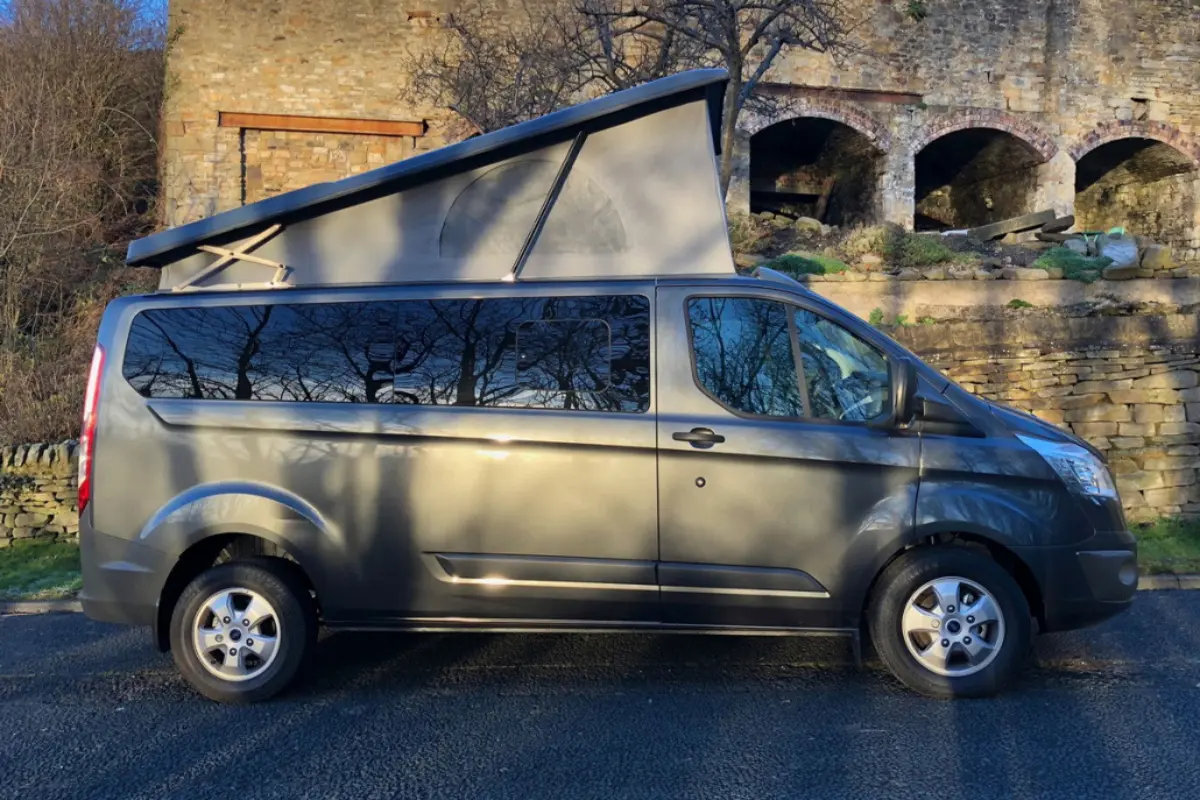
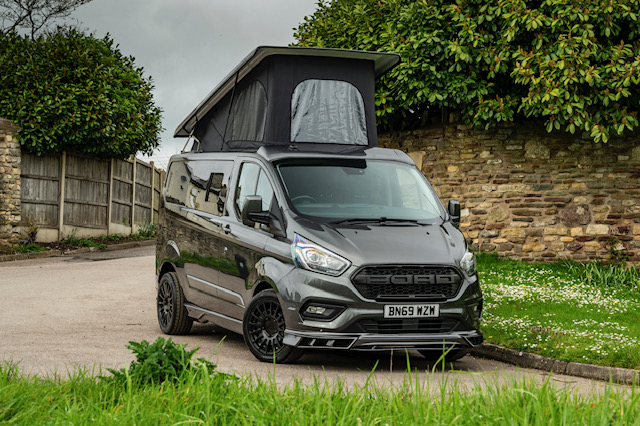
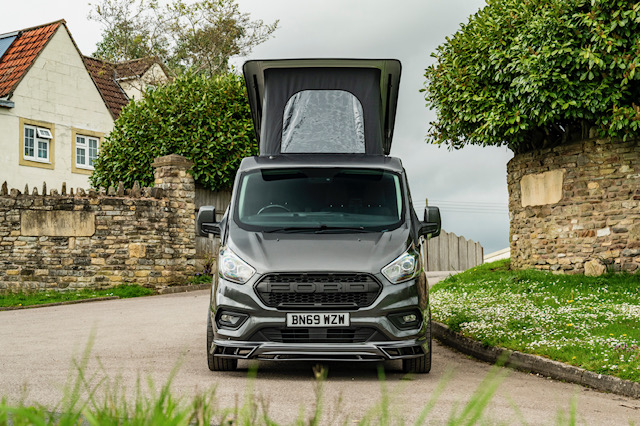
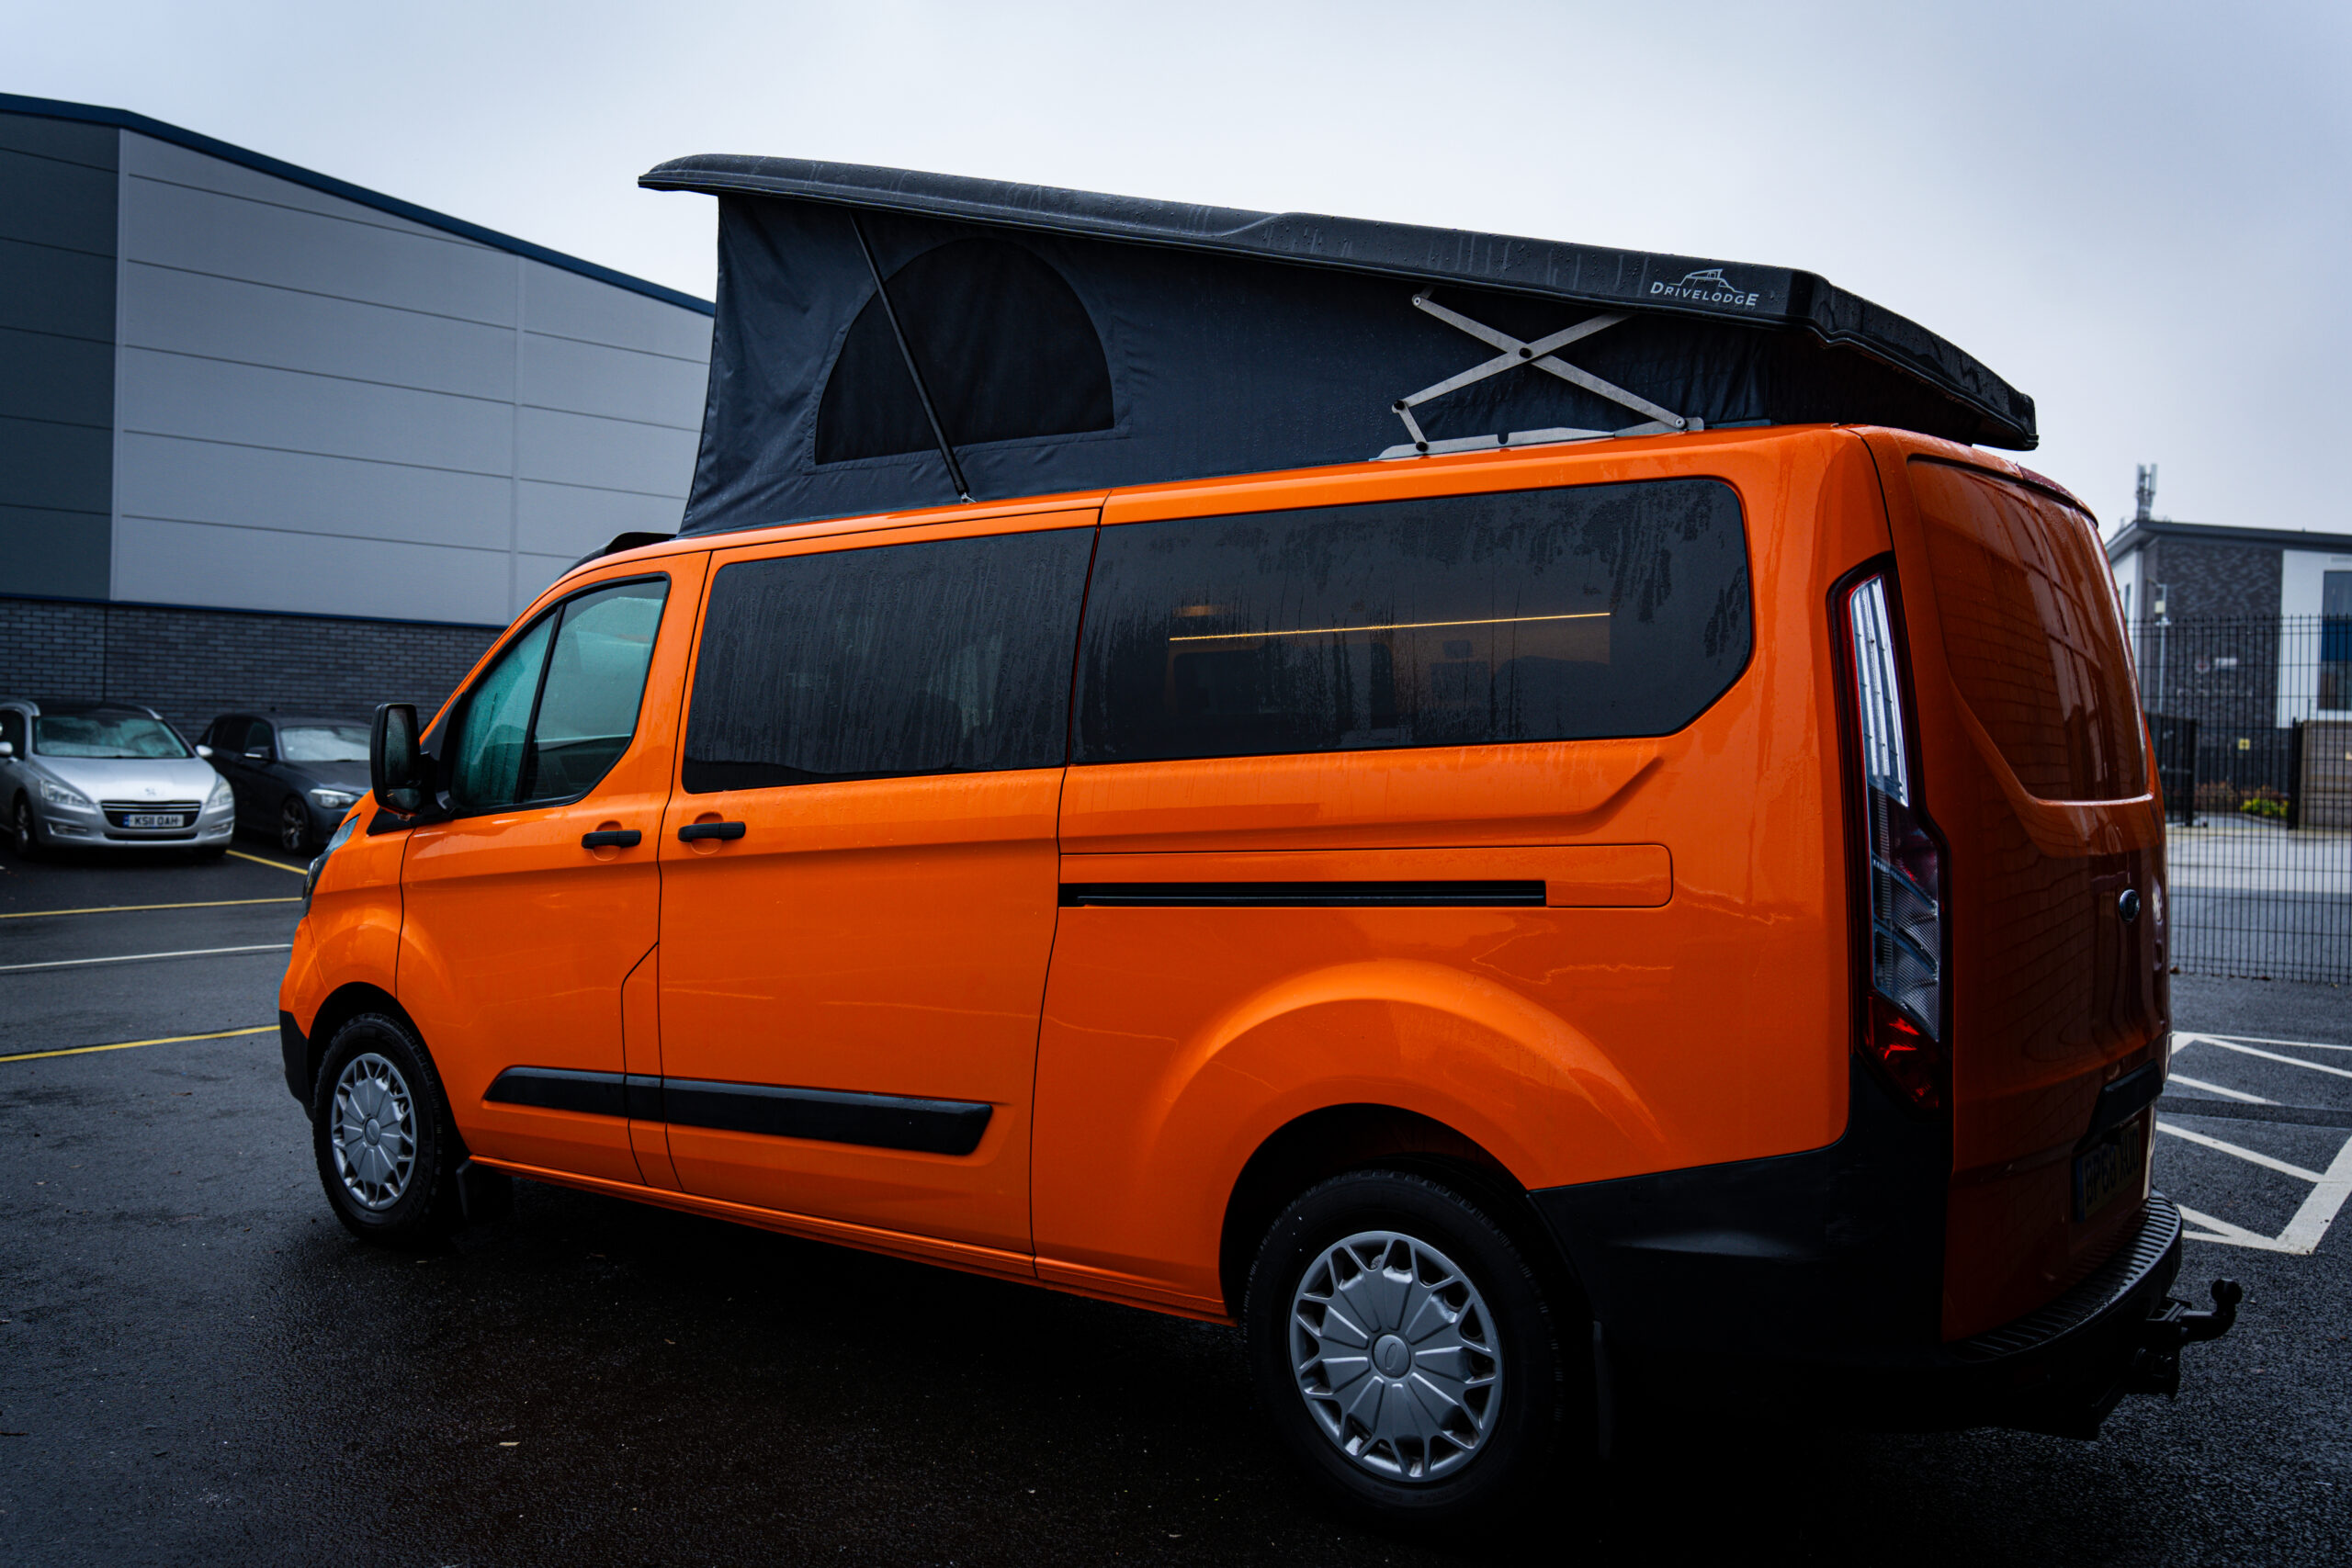
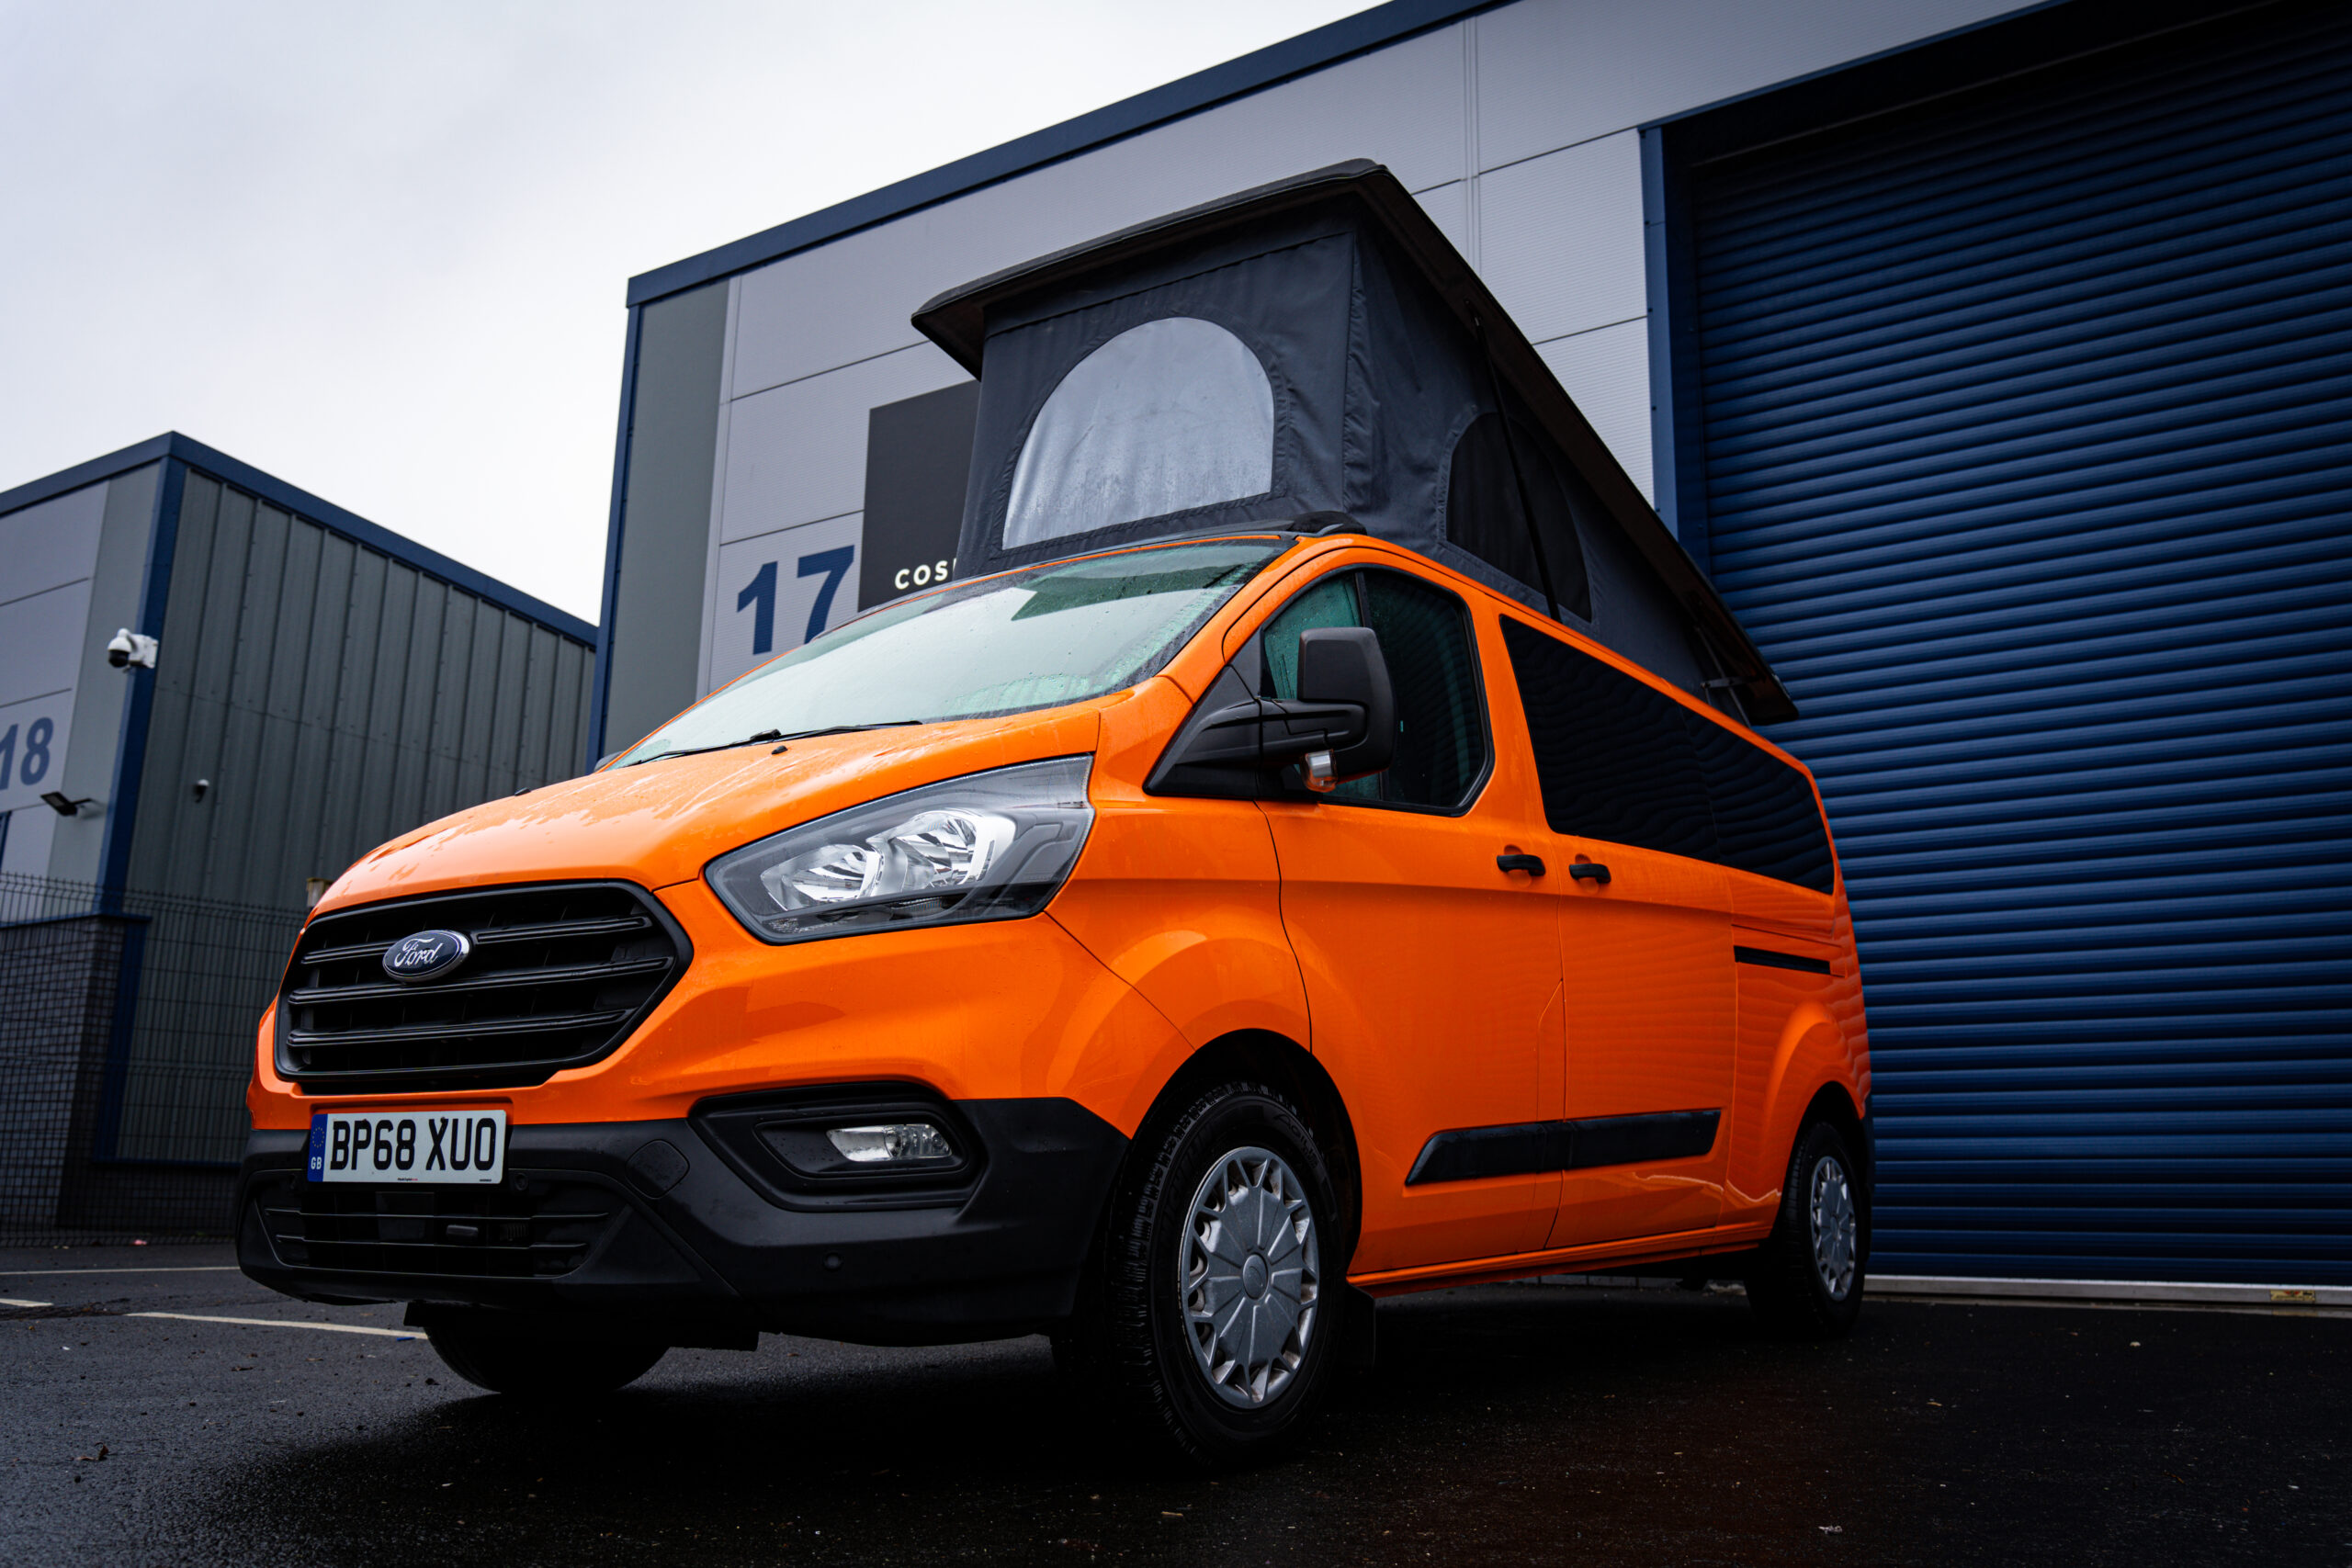
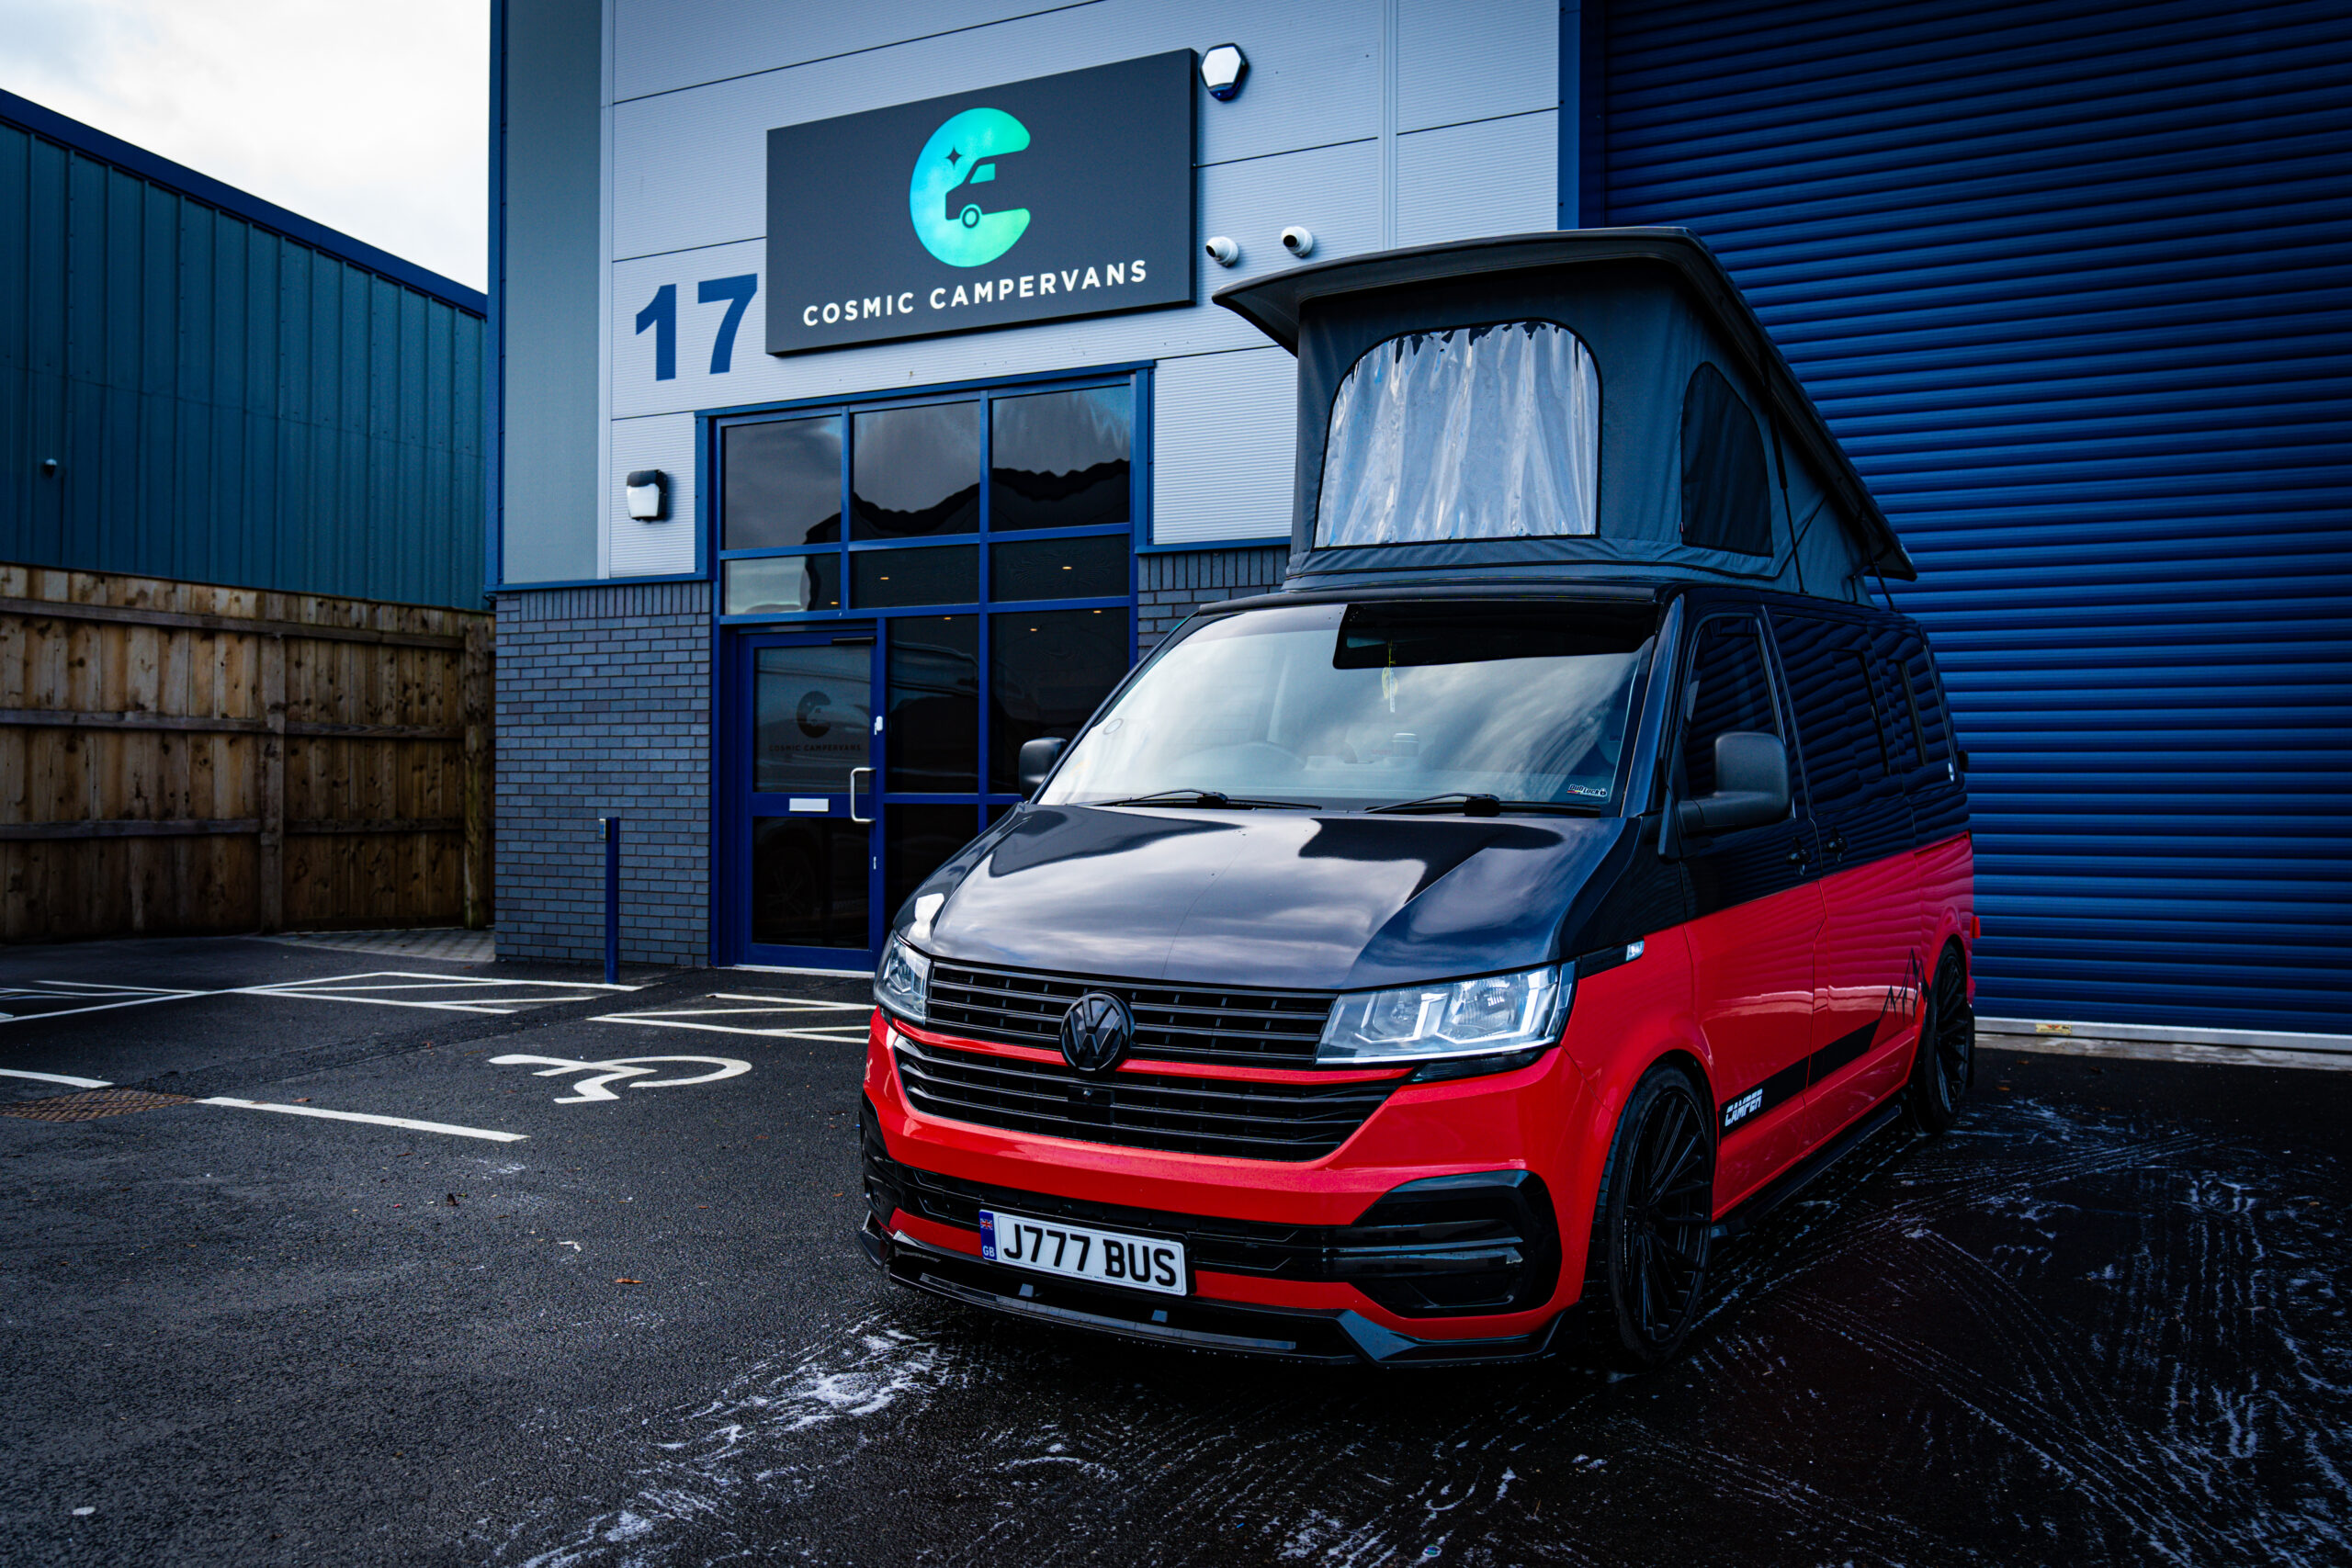
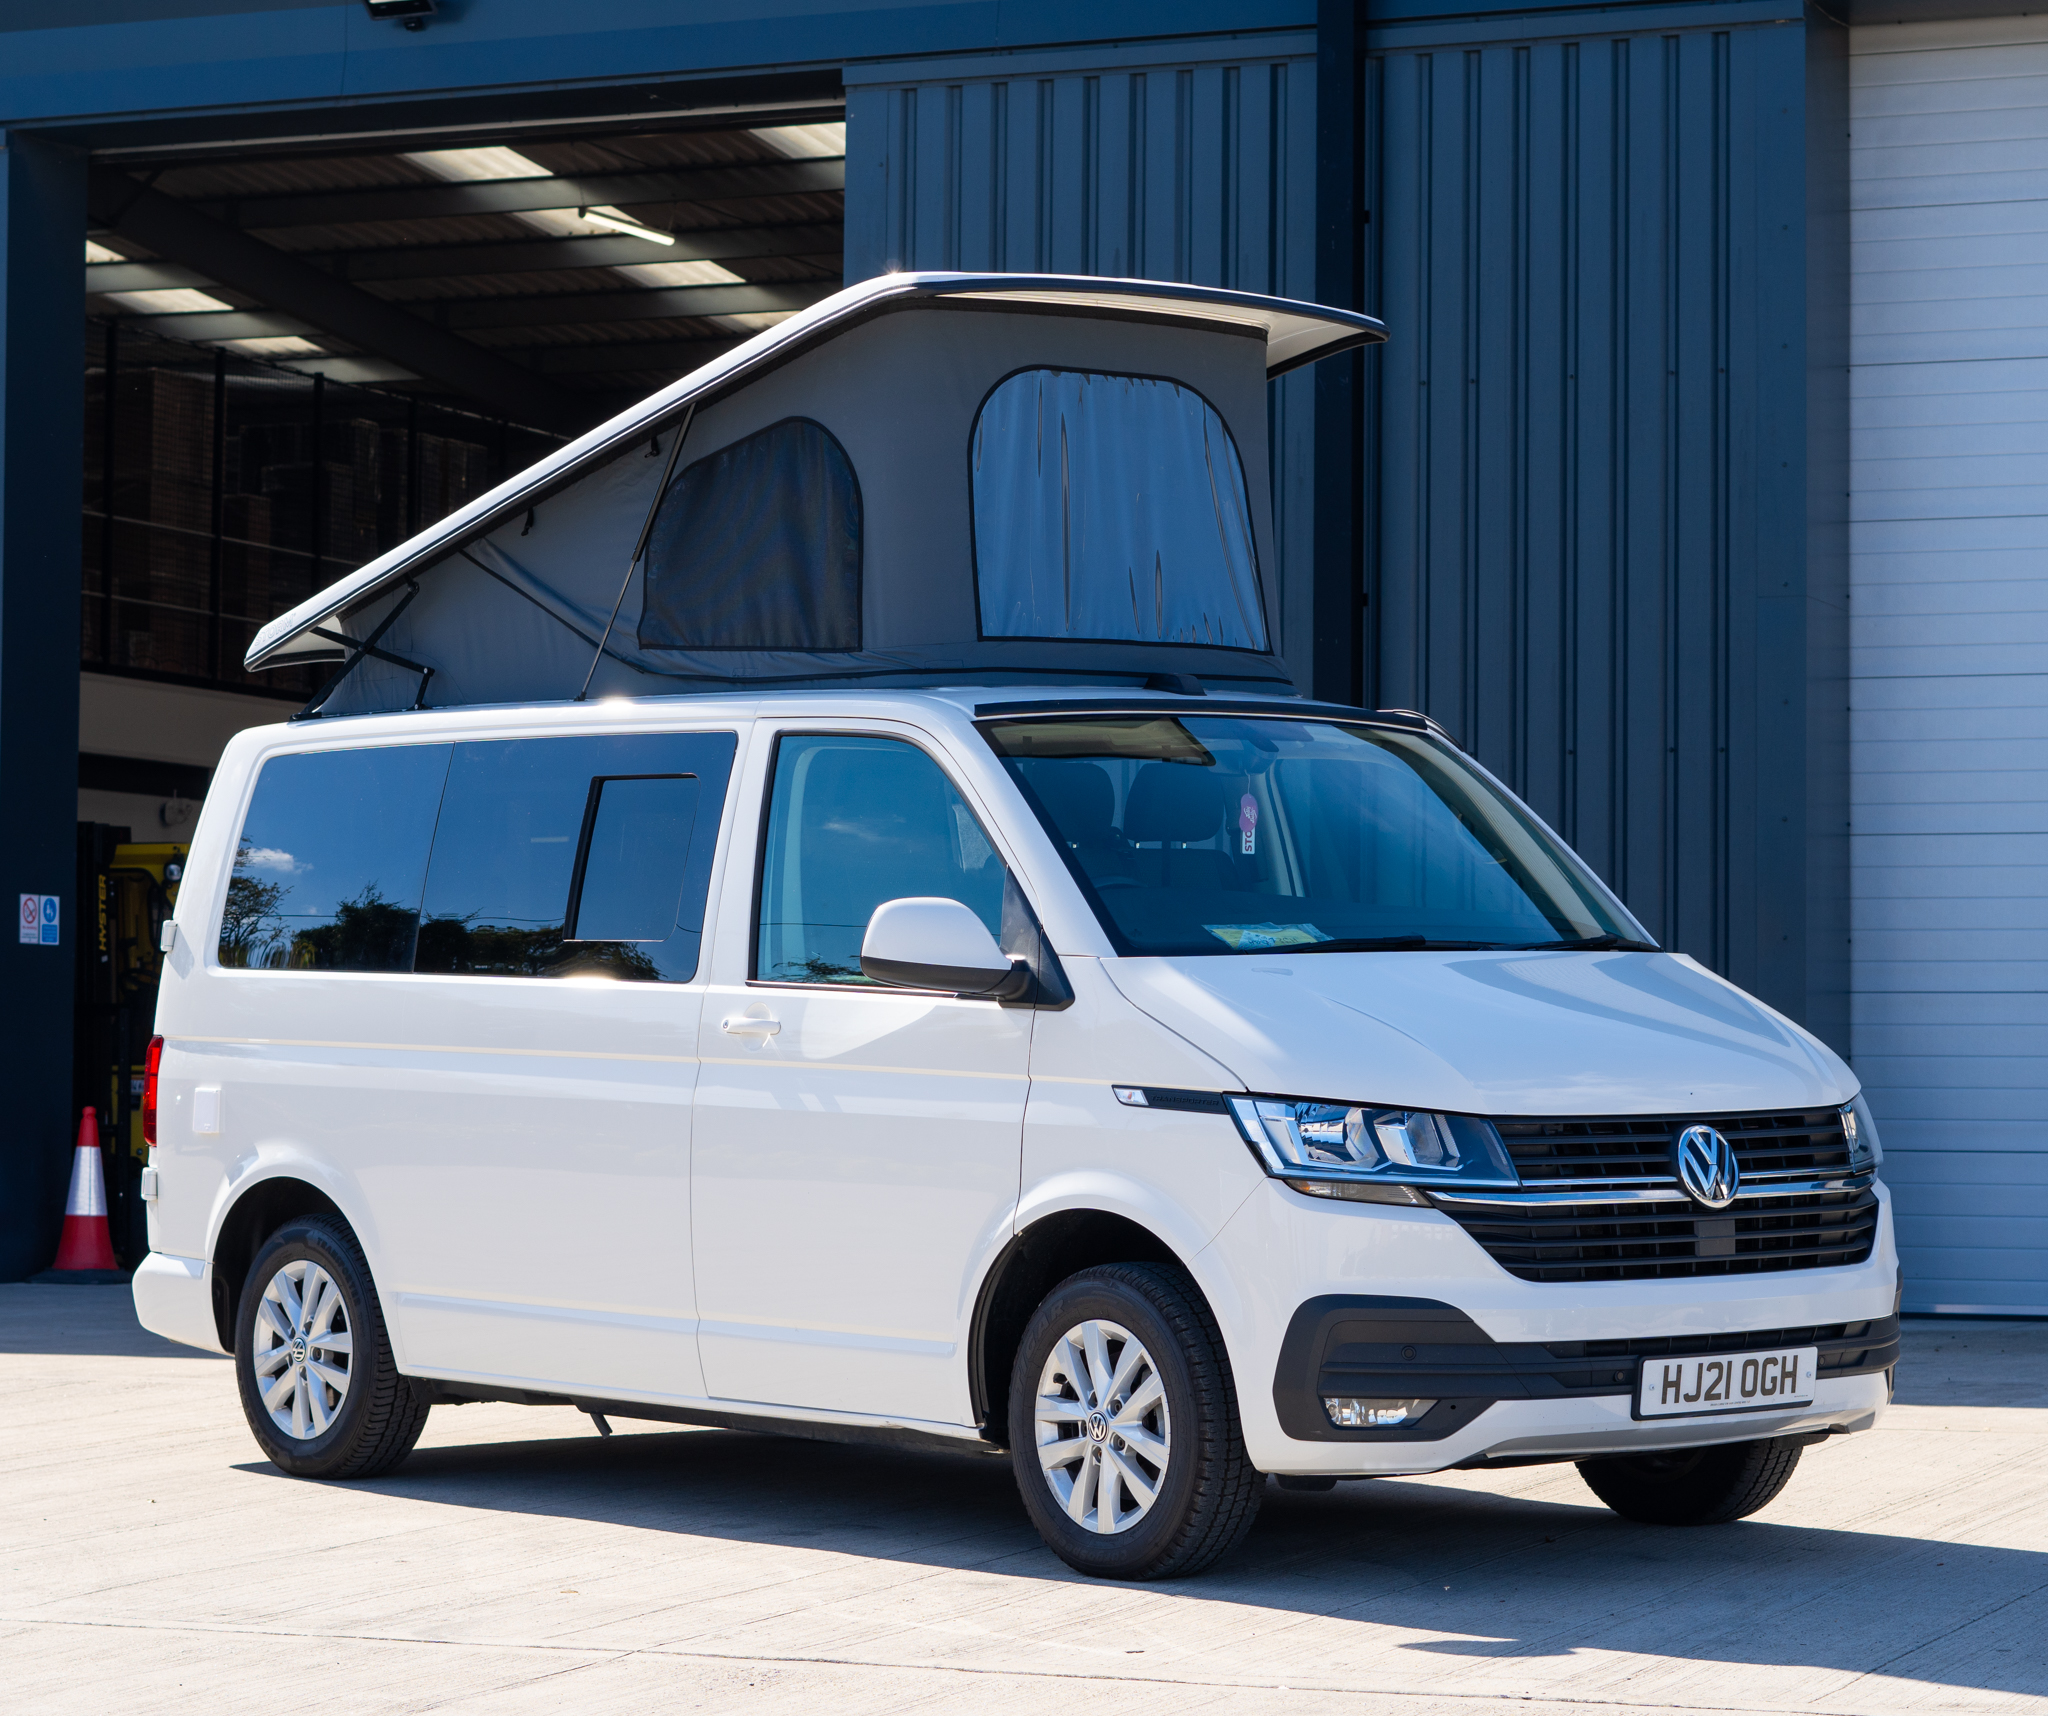
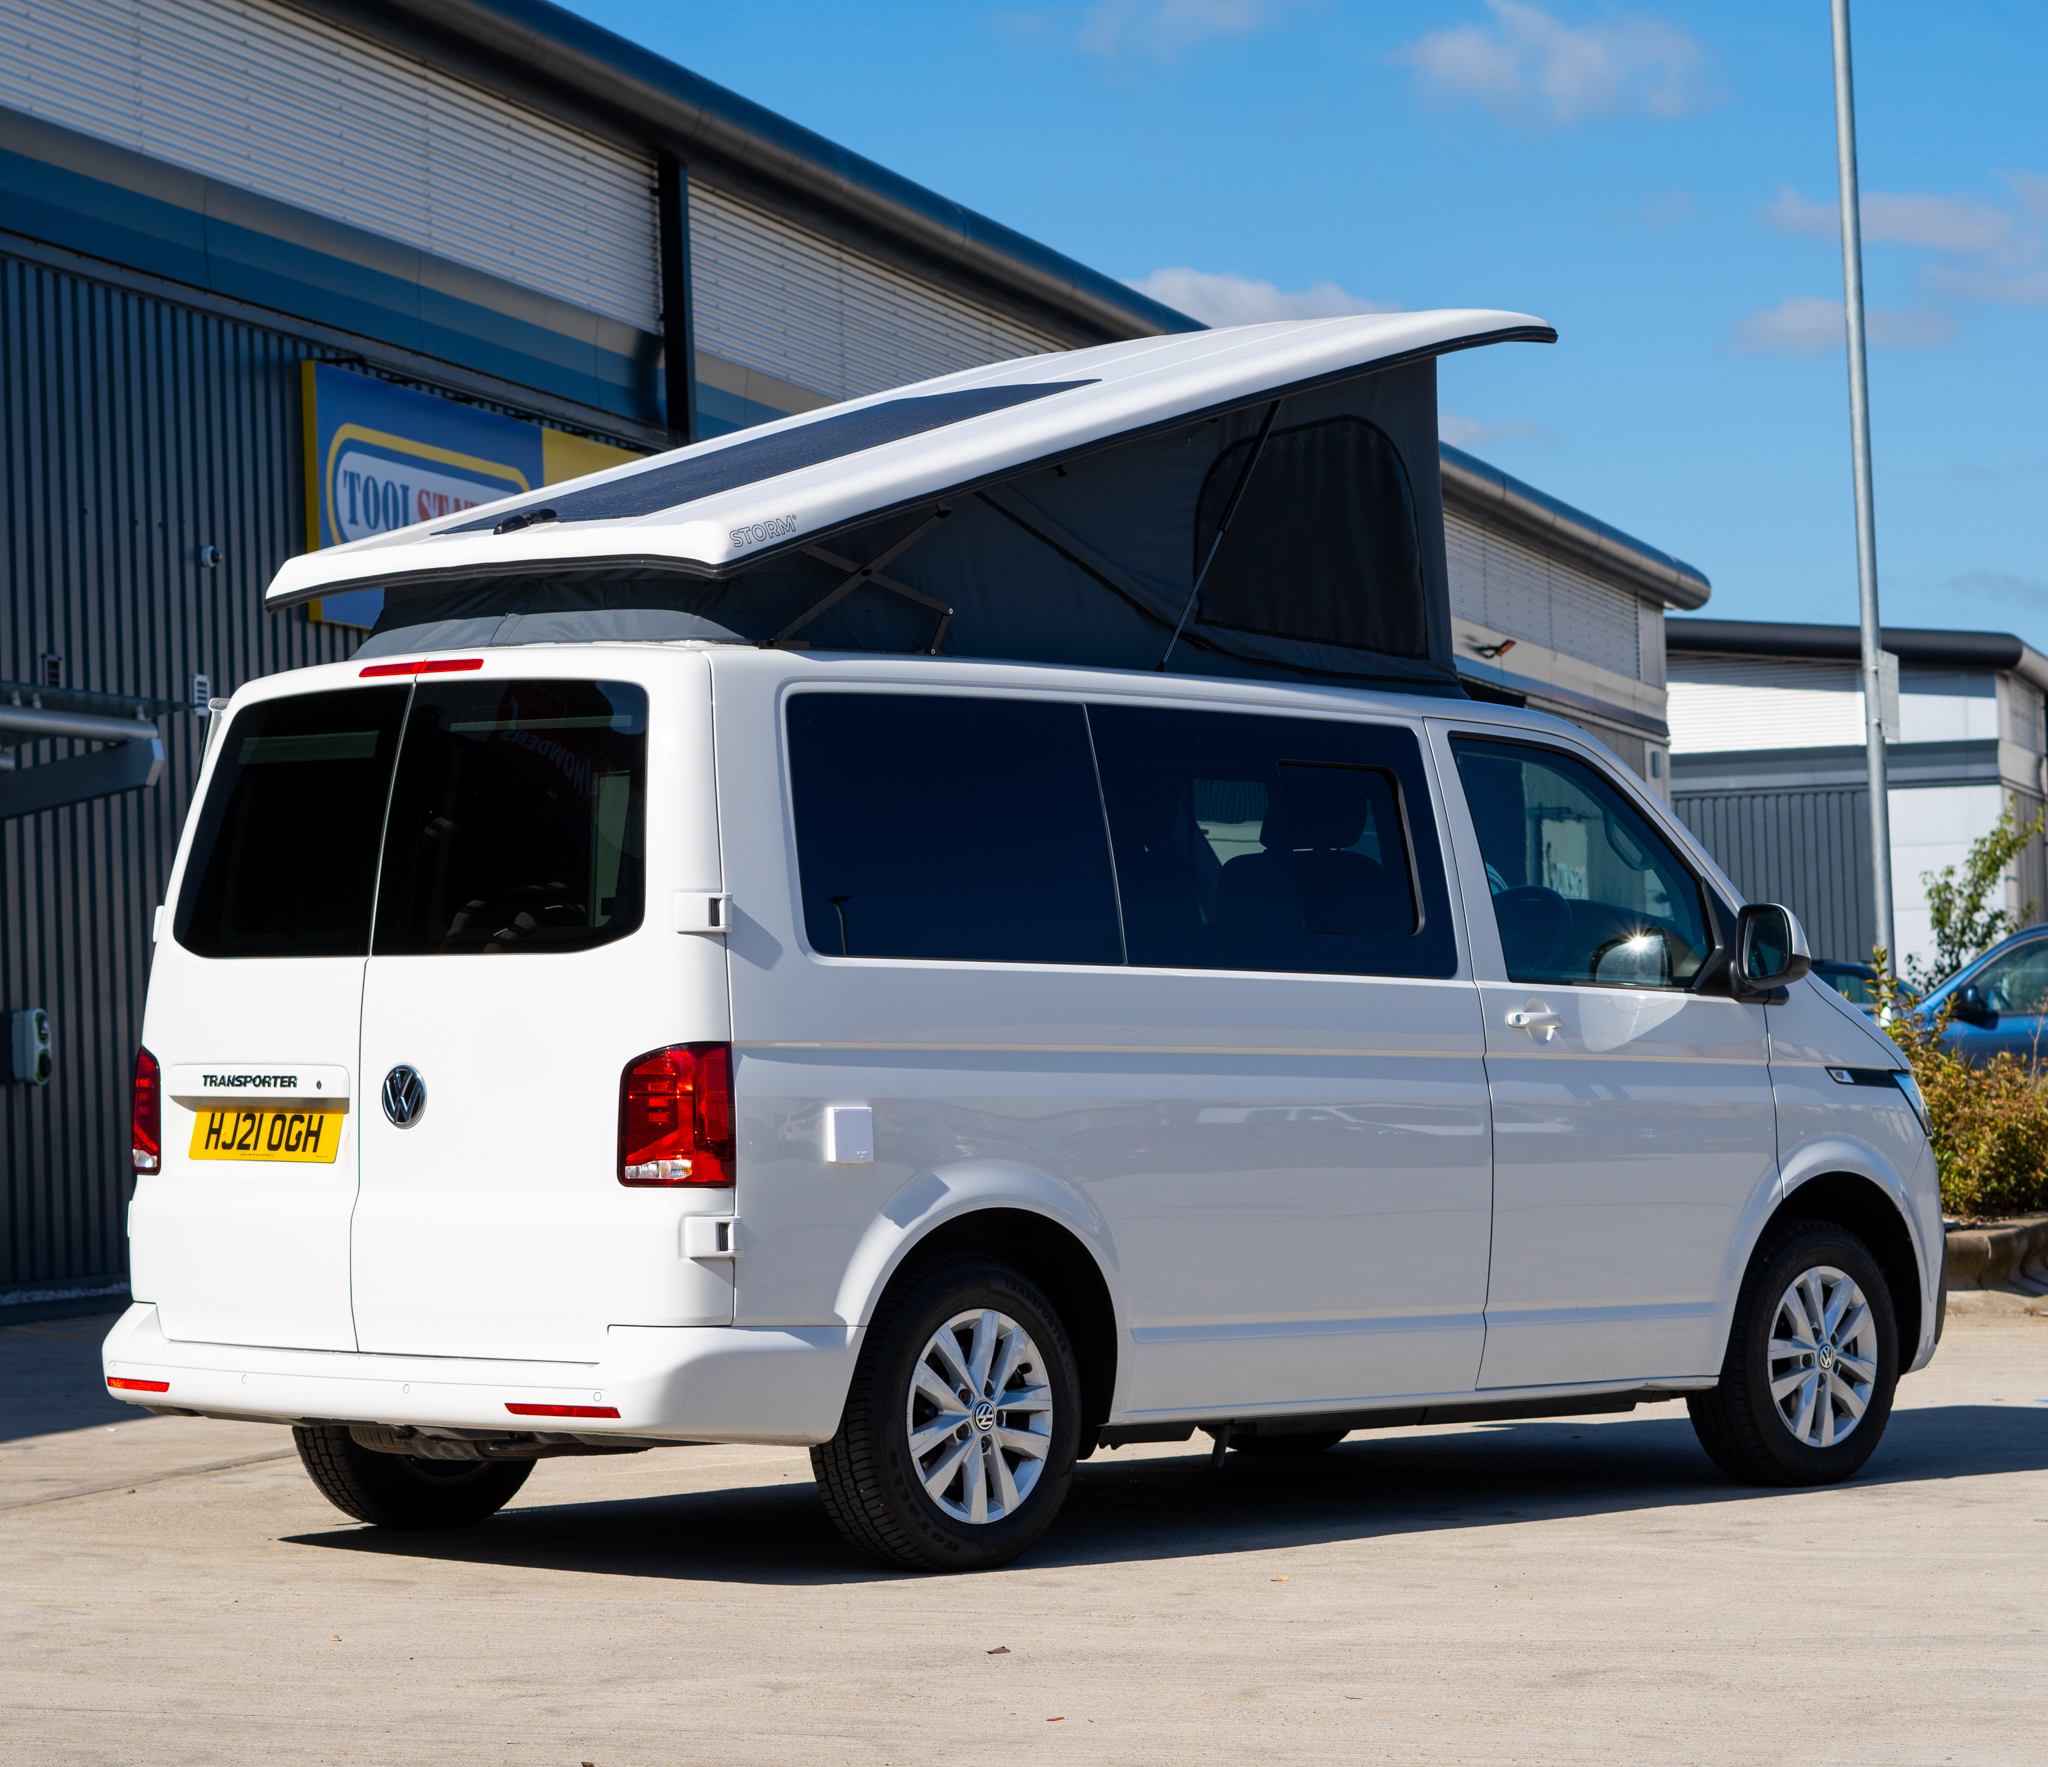
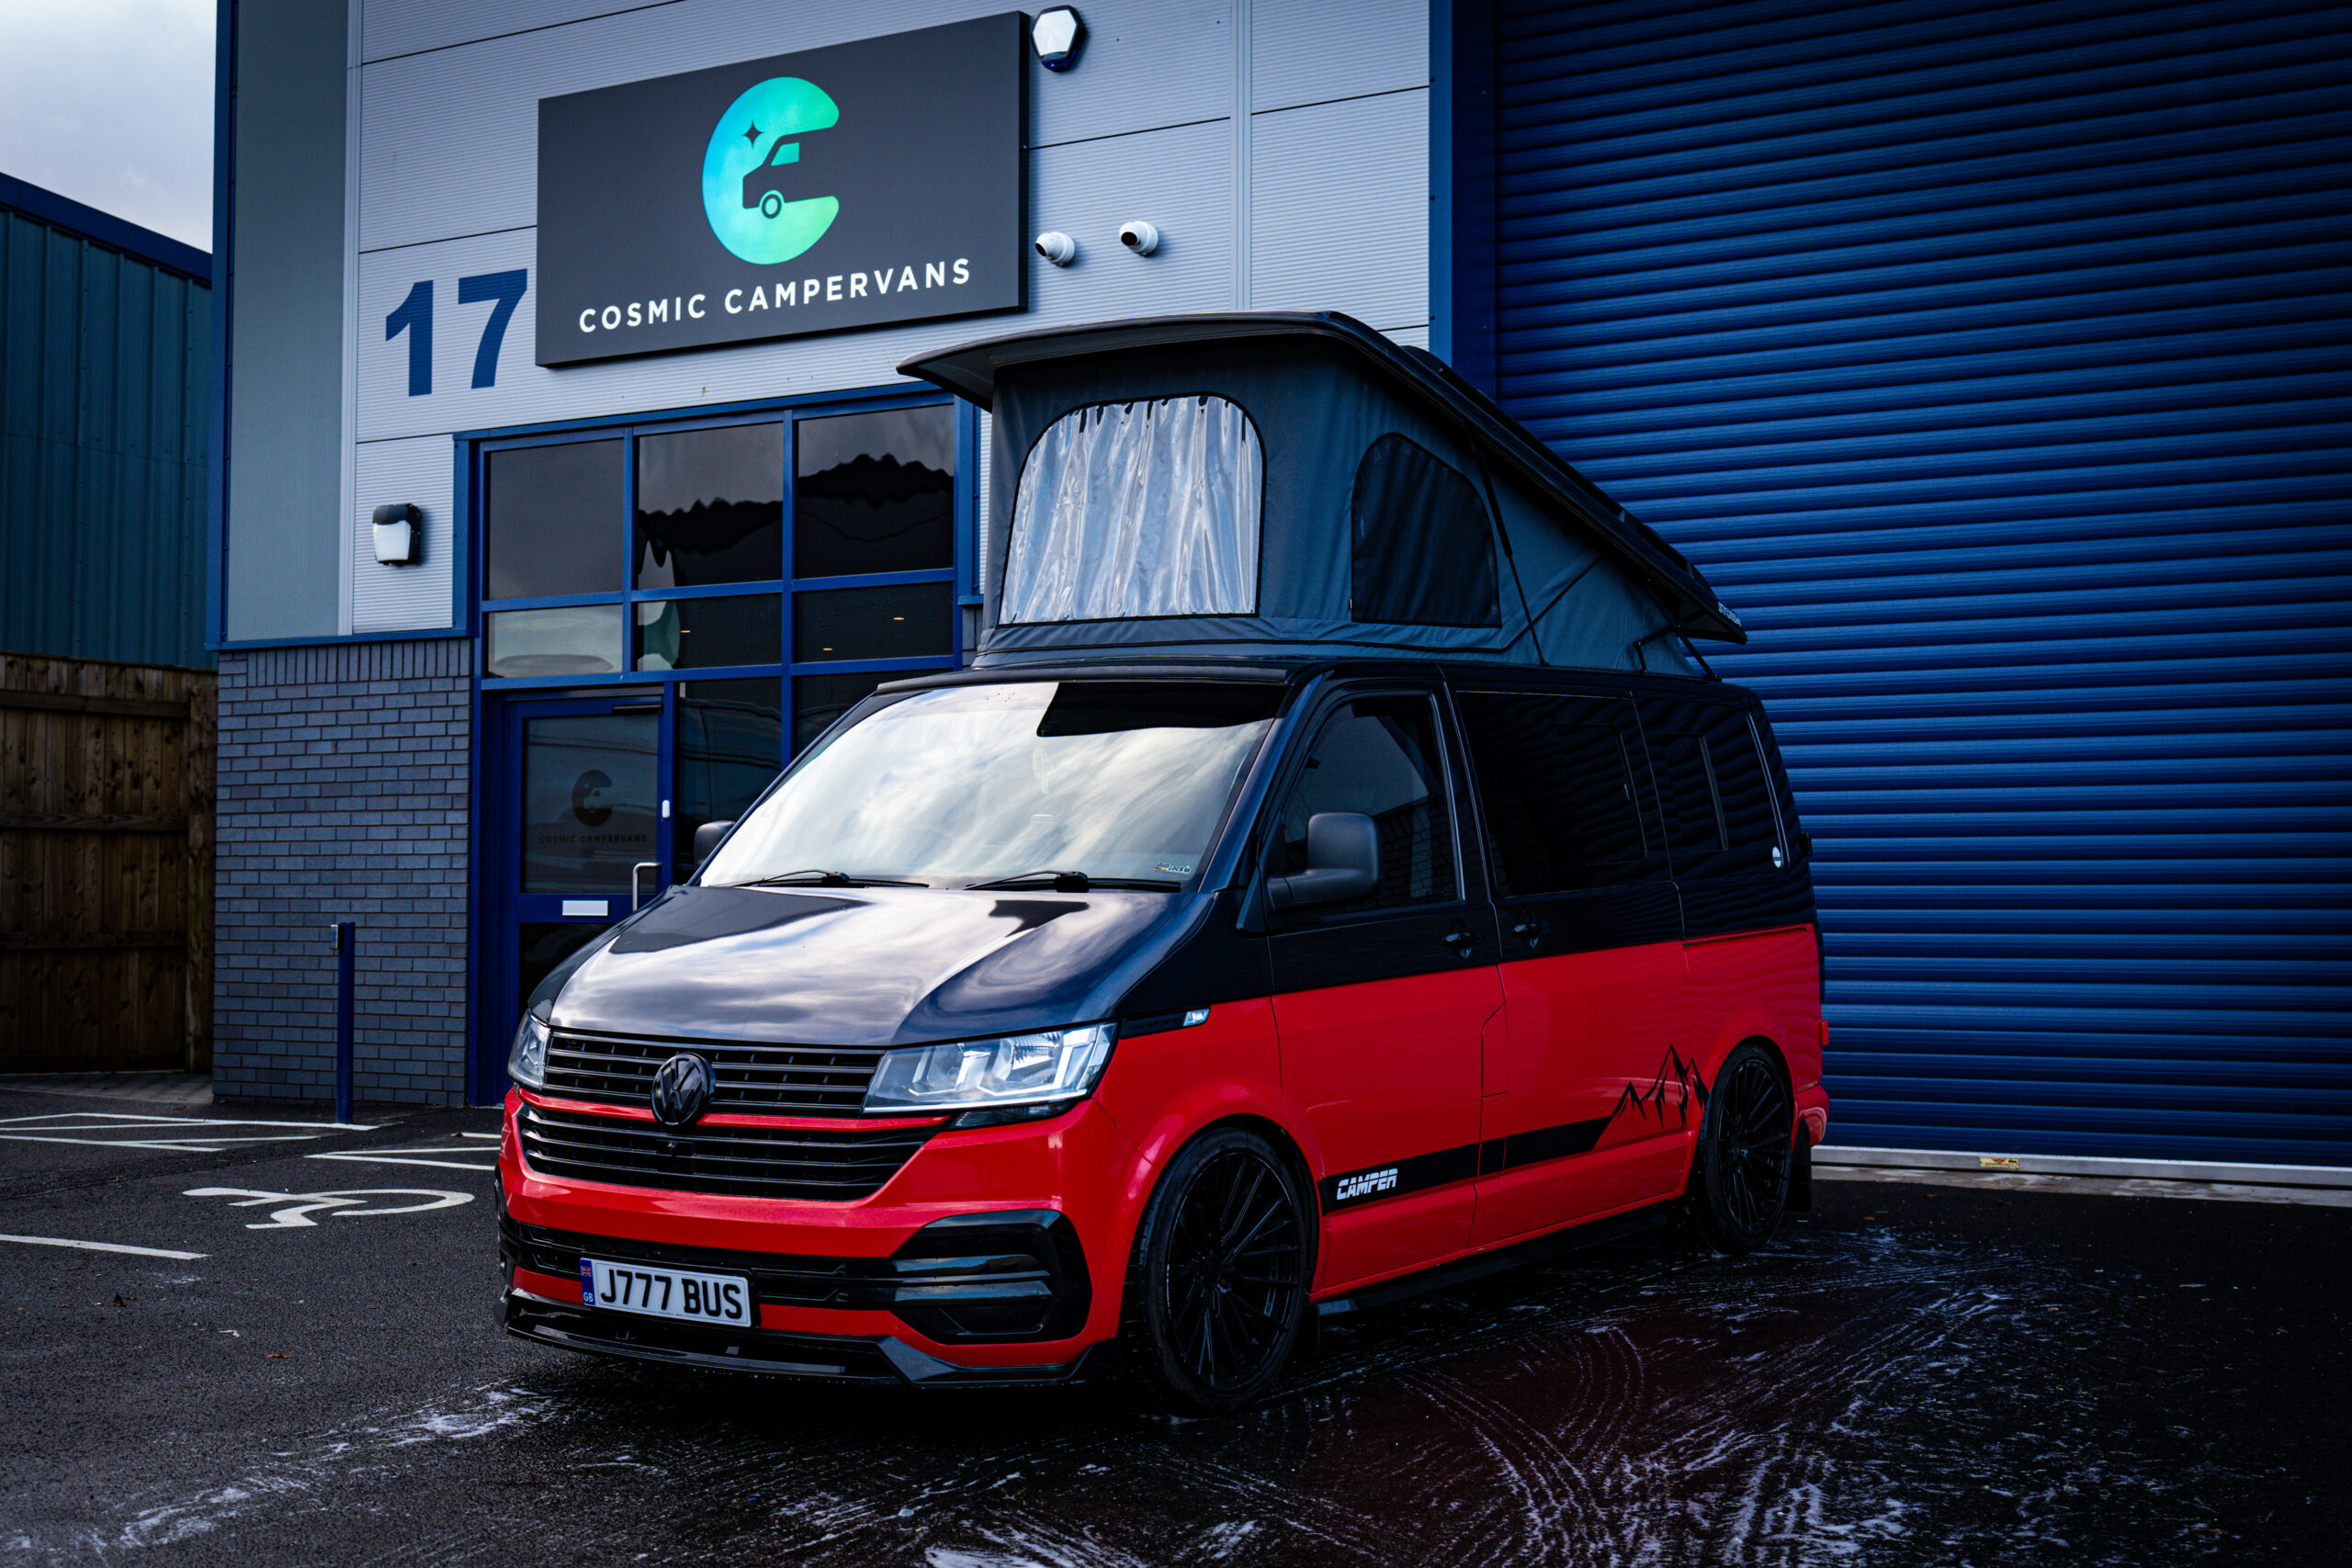
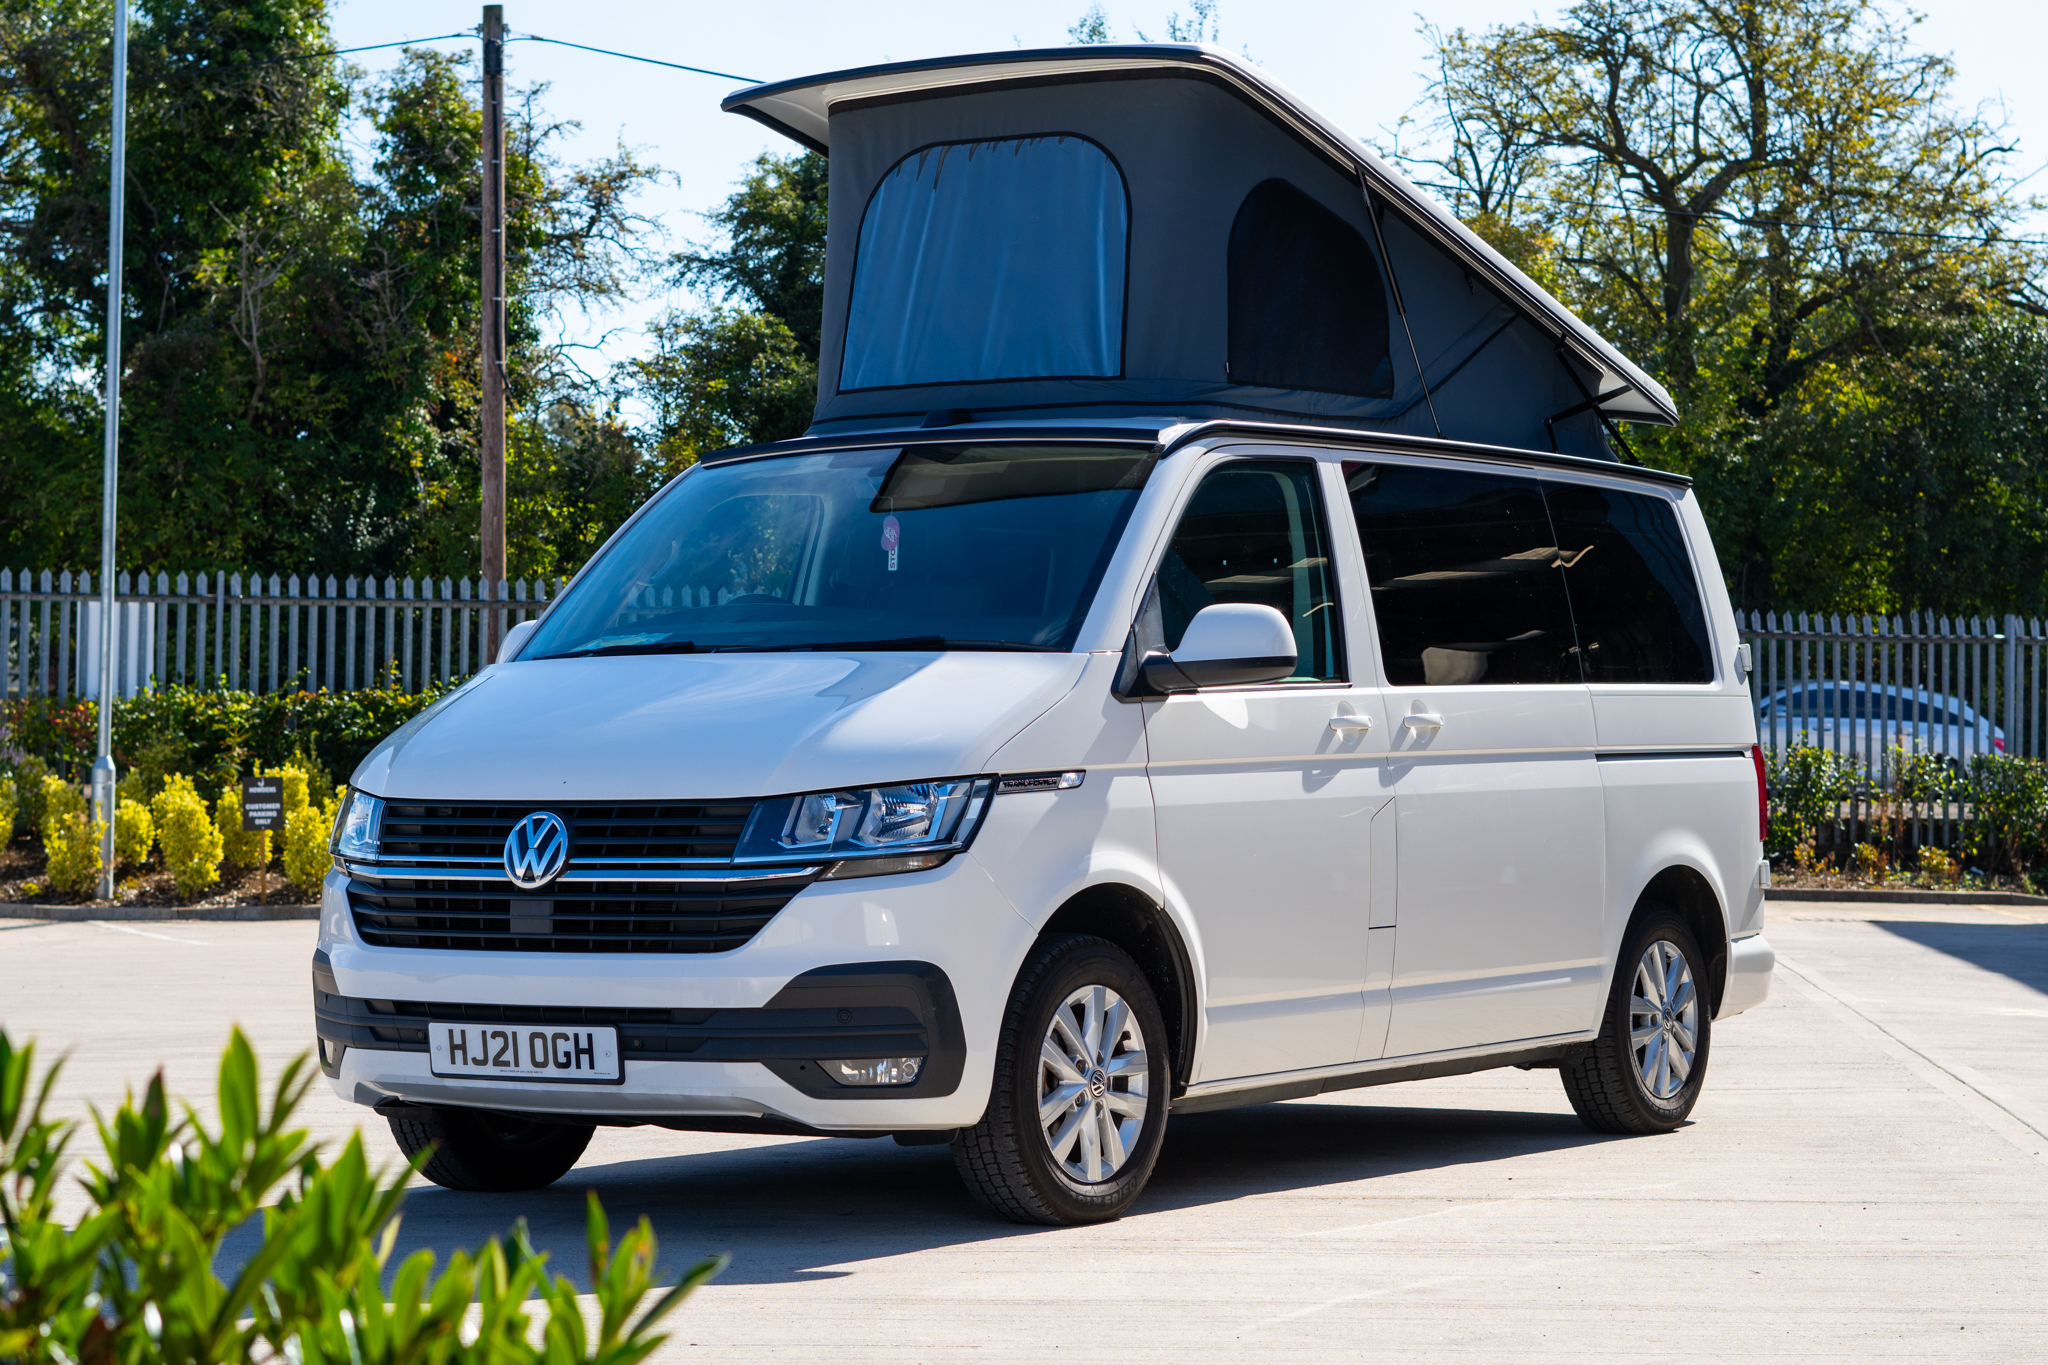
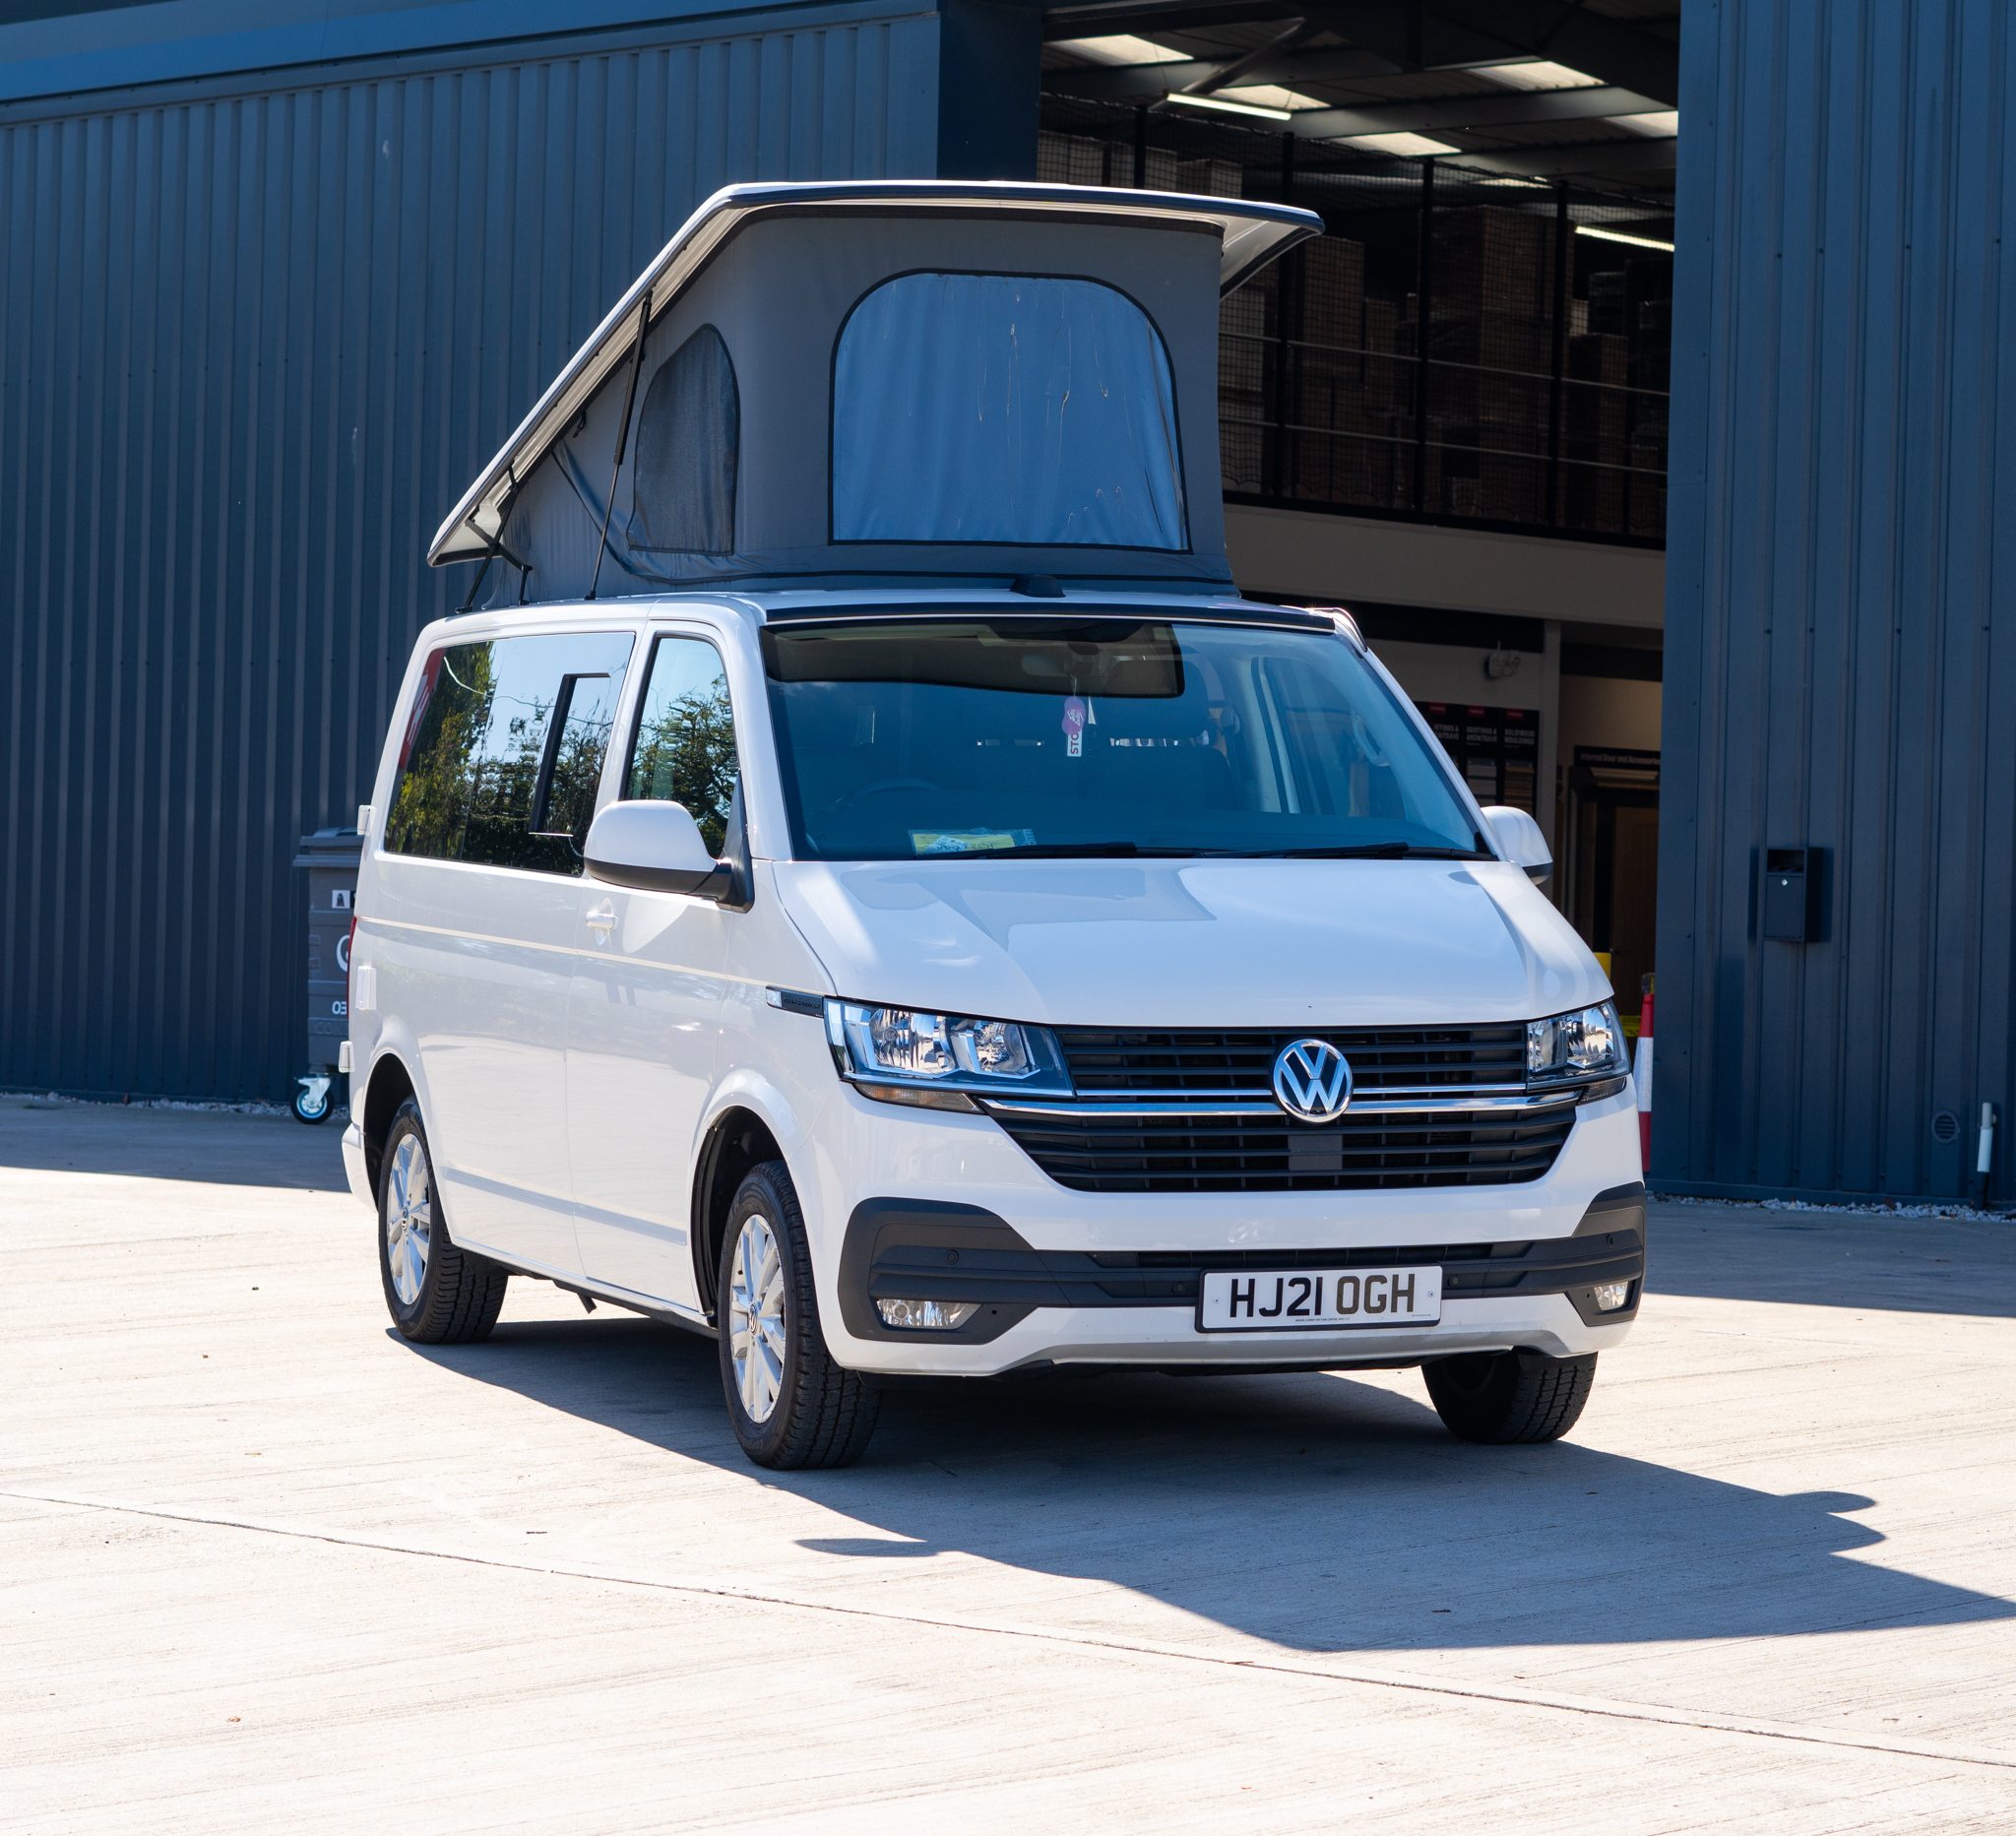
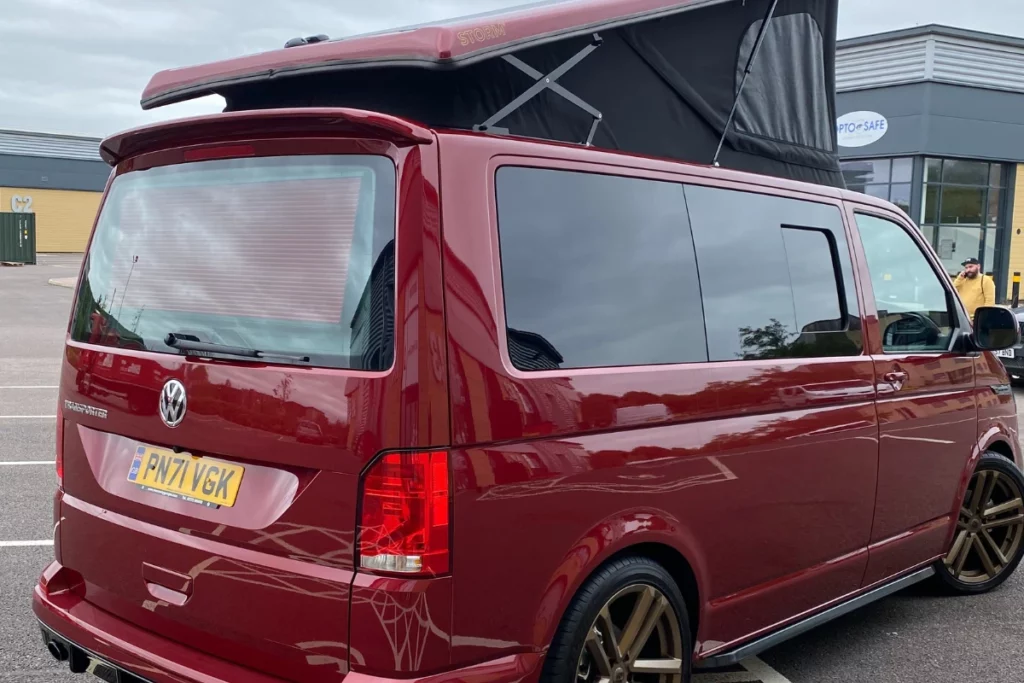
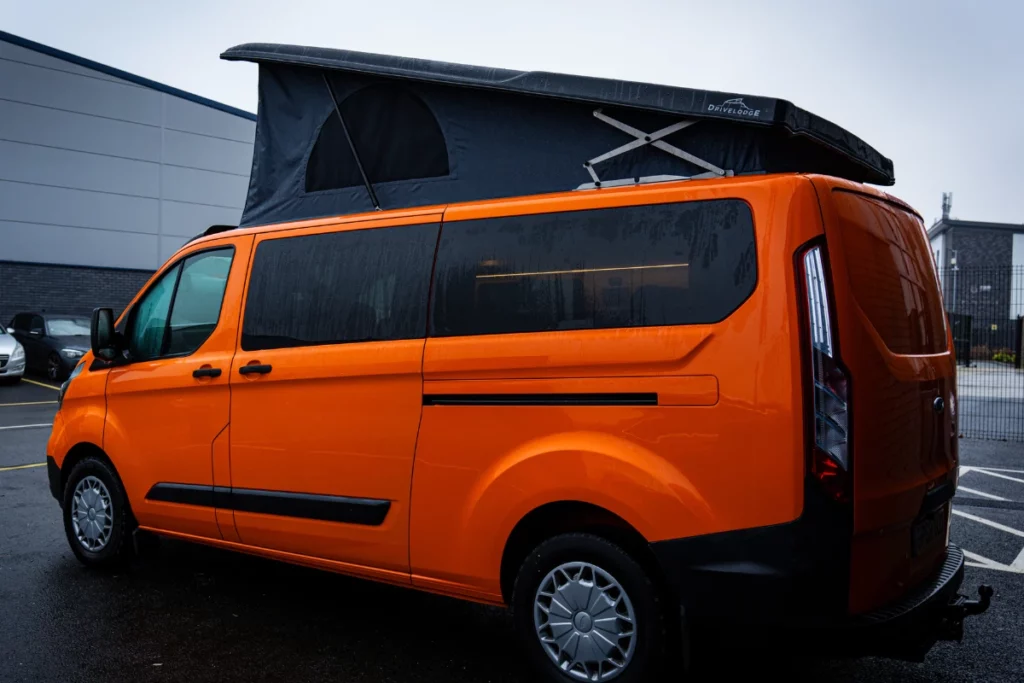
Pop Top Roof
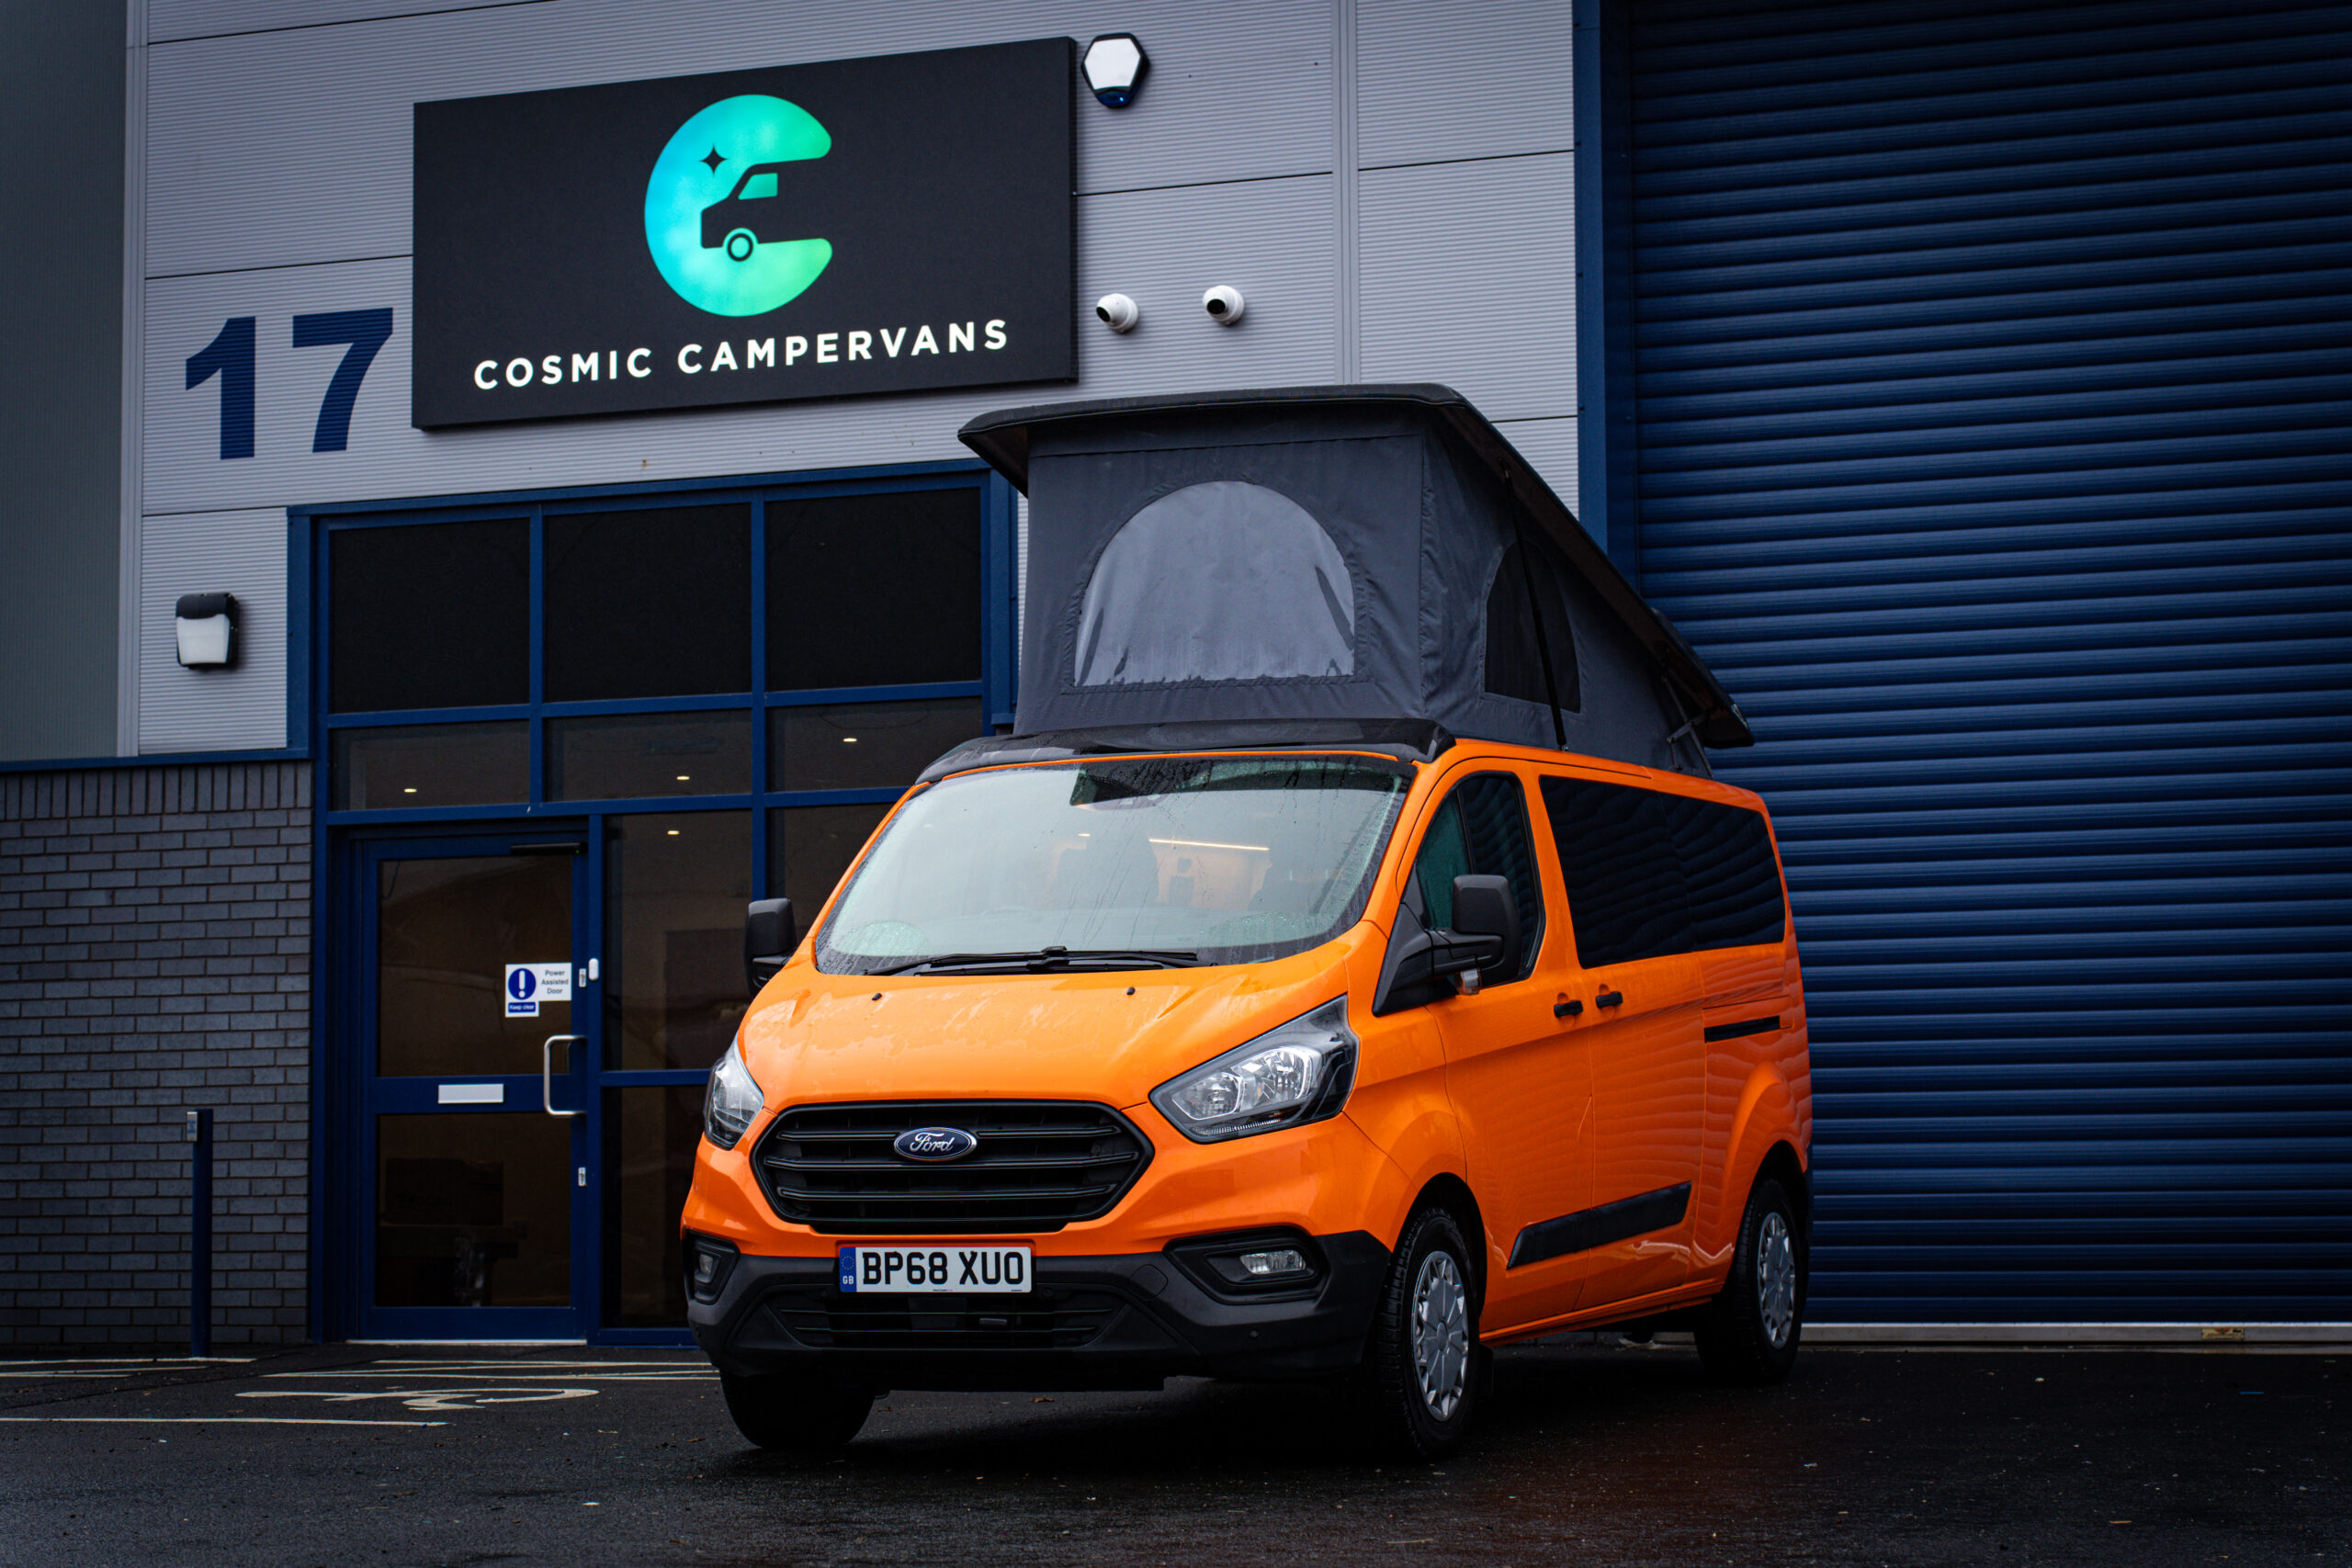
If you want to take your VW Transporter conversion to the next level, a pop top roof is one of the best upgrades you can invest in. It completely transforms the usability of your van, giving you extra headroom, better ventilation, and even an additional sleeping area—all while keeping your van compact and easy to drive.
What are the benefits of a pop top roof?
Having fitted countless pop tops over the years, I’ve seen firsthand how much they improve a van’s functionality. Here’s a few of the biggest benefits of a pop top:
- More headroom – No more crouching! With a pop top, you can stand up comfortably inside your van. This makes cooking, getting dressed, and moving around SO much easier.
- Extra sleeping space – Most pop tops come with a fold-down bed, turning your Transporter into a proper four-berth camper. Perfect if you’re travelling with family or friends.
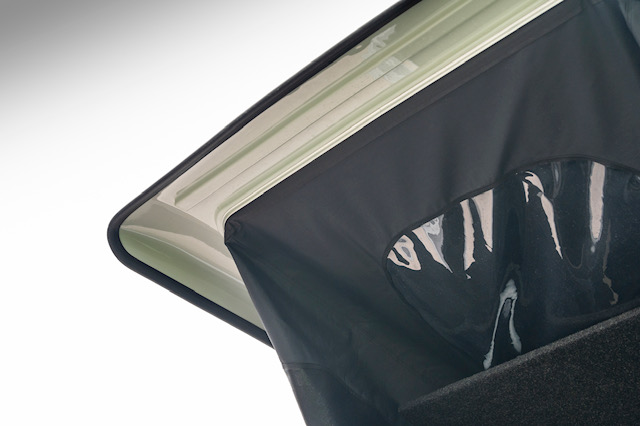
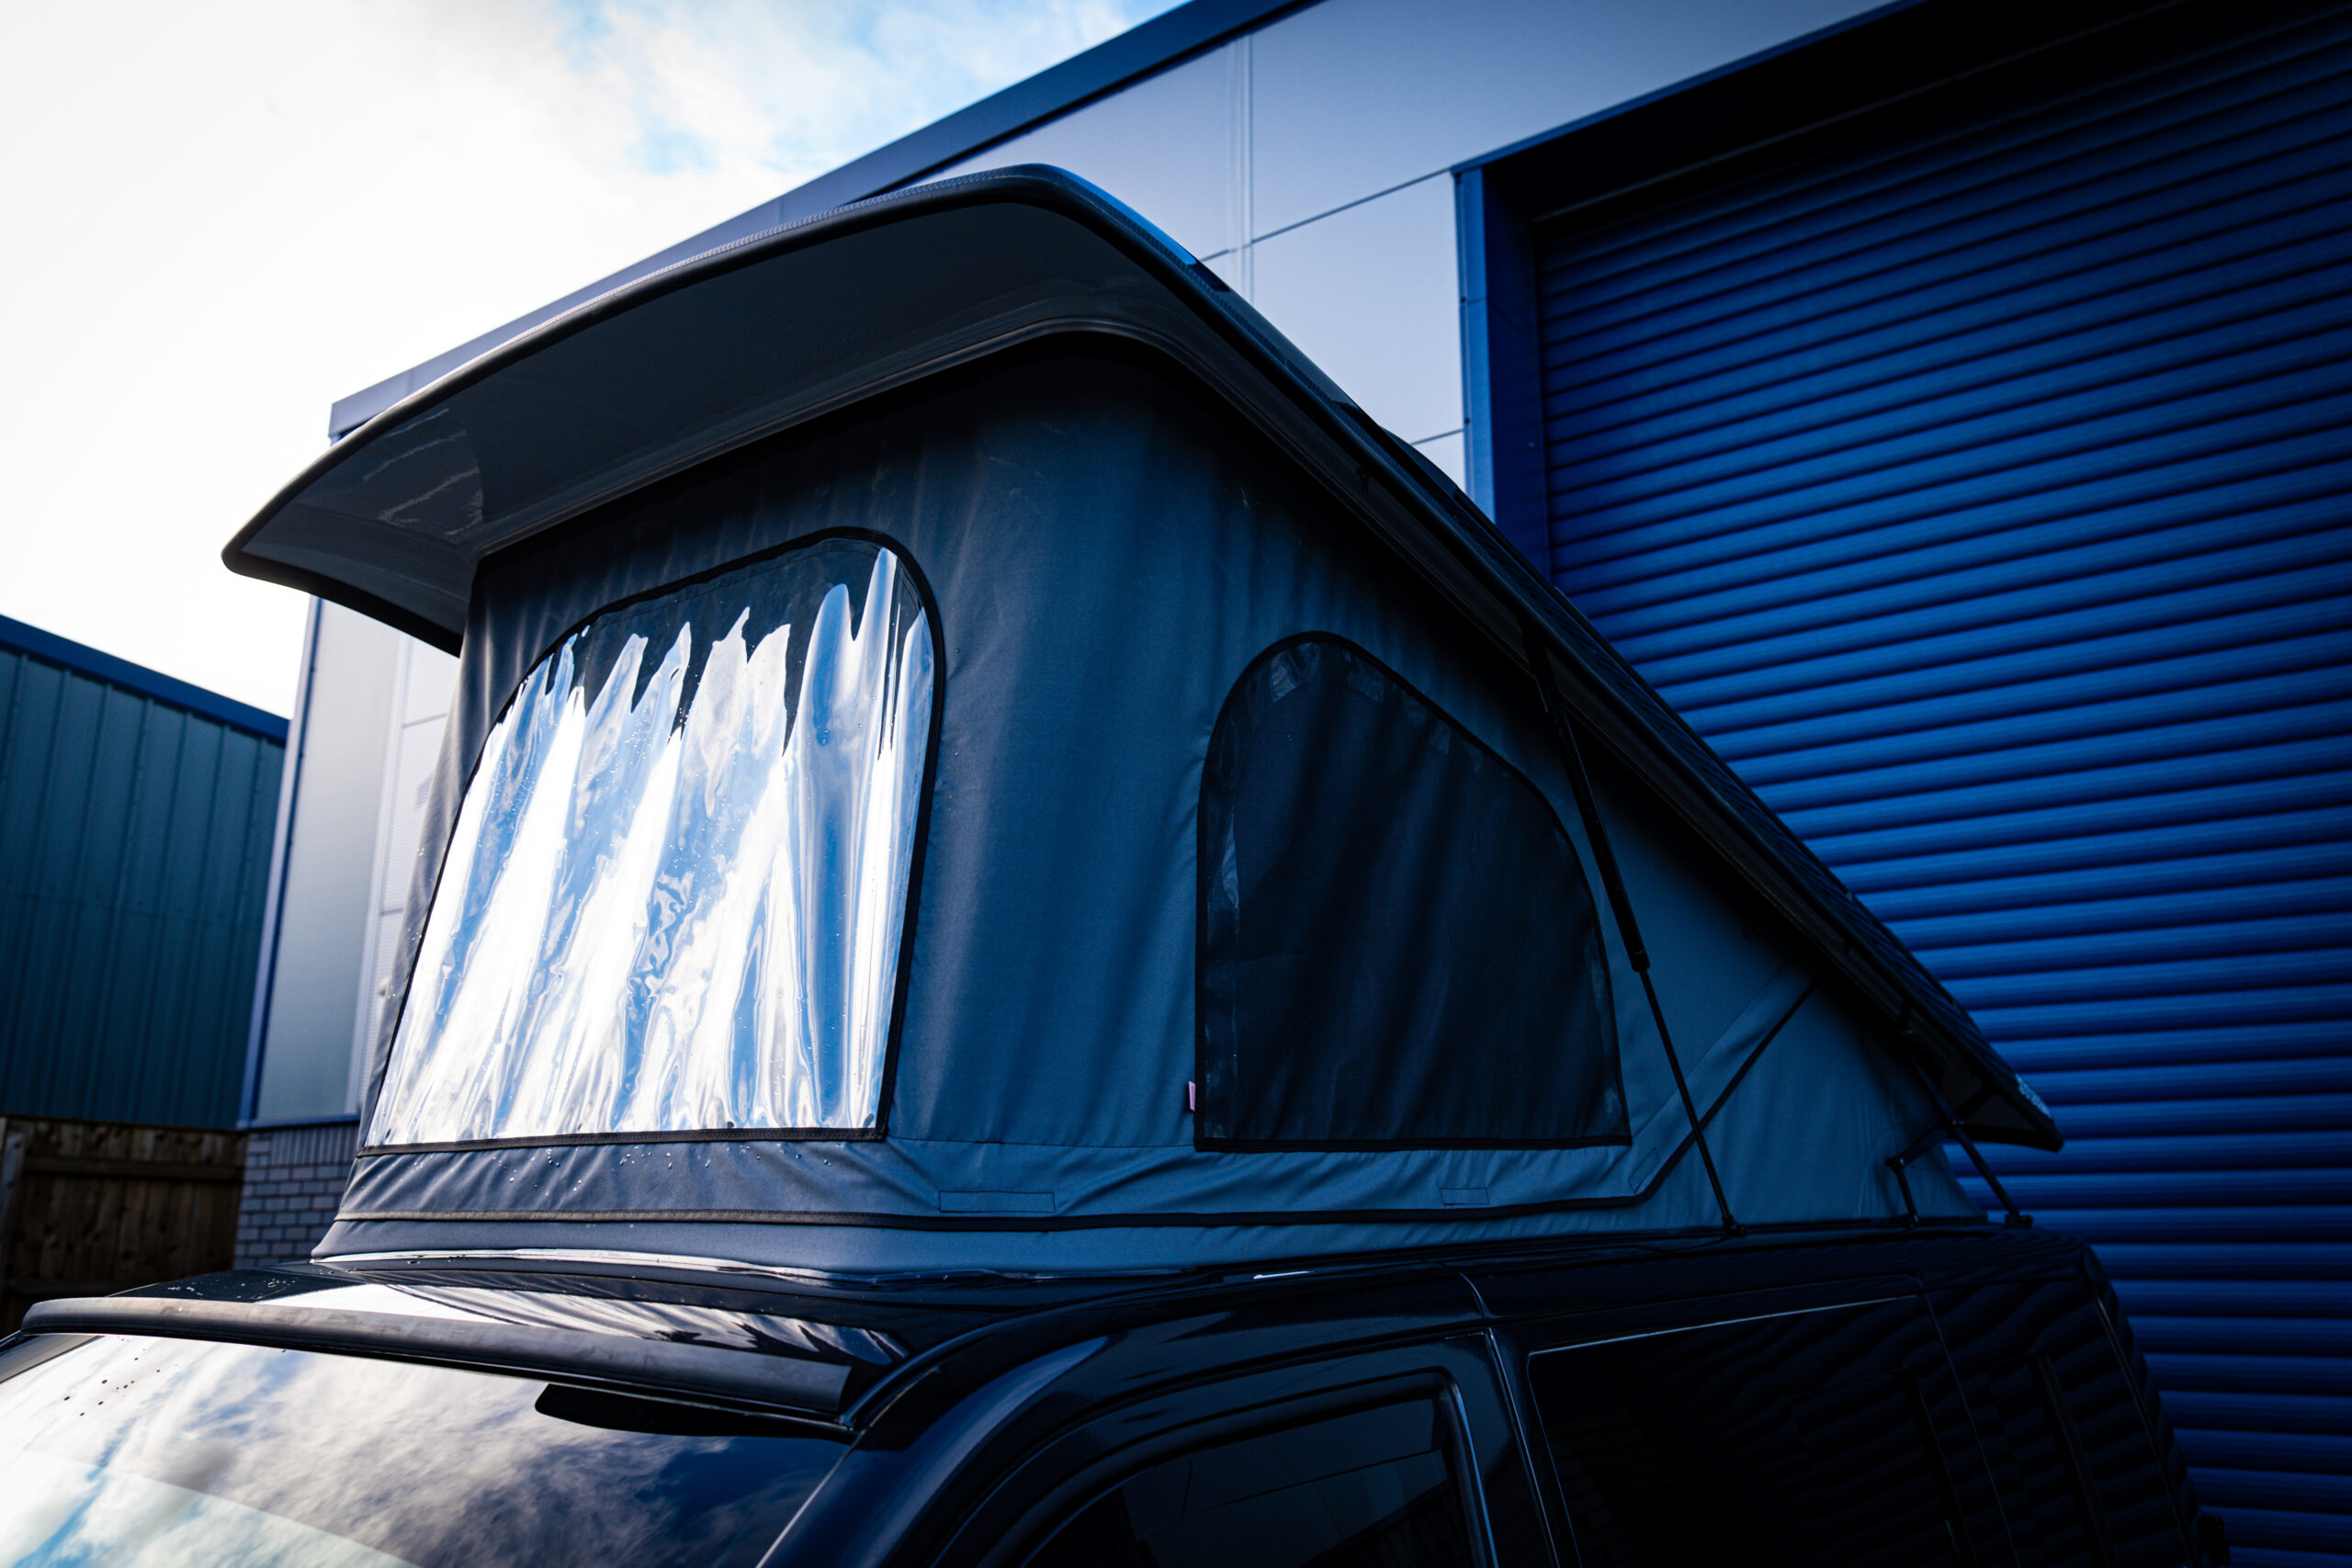
- Better ventilation – Most pop tops include mesh windows, allowing for excellent airflow, which is great for keeping your van cool in the summer and when cooking.
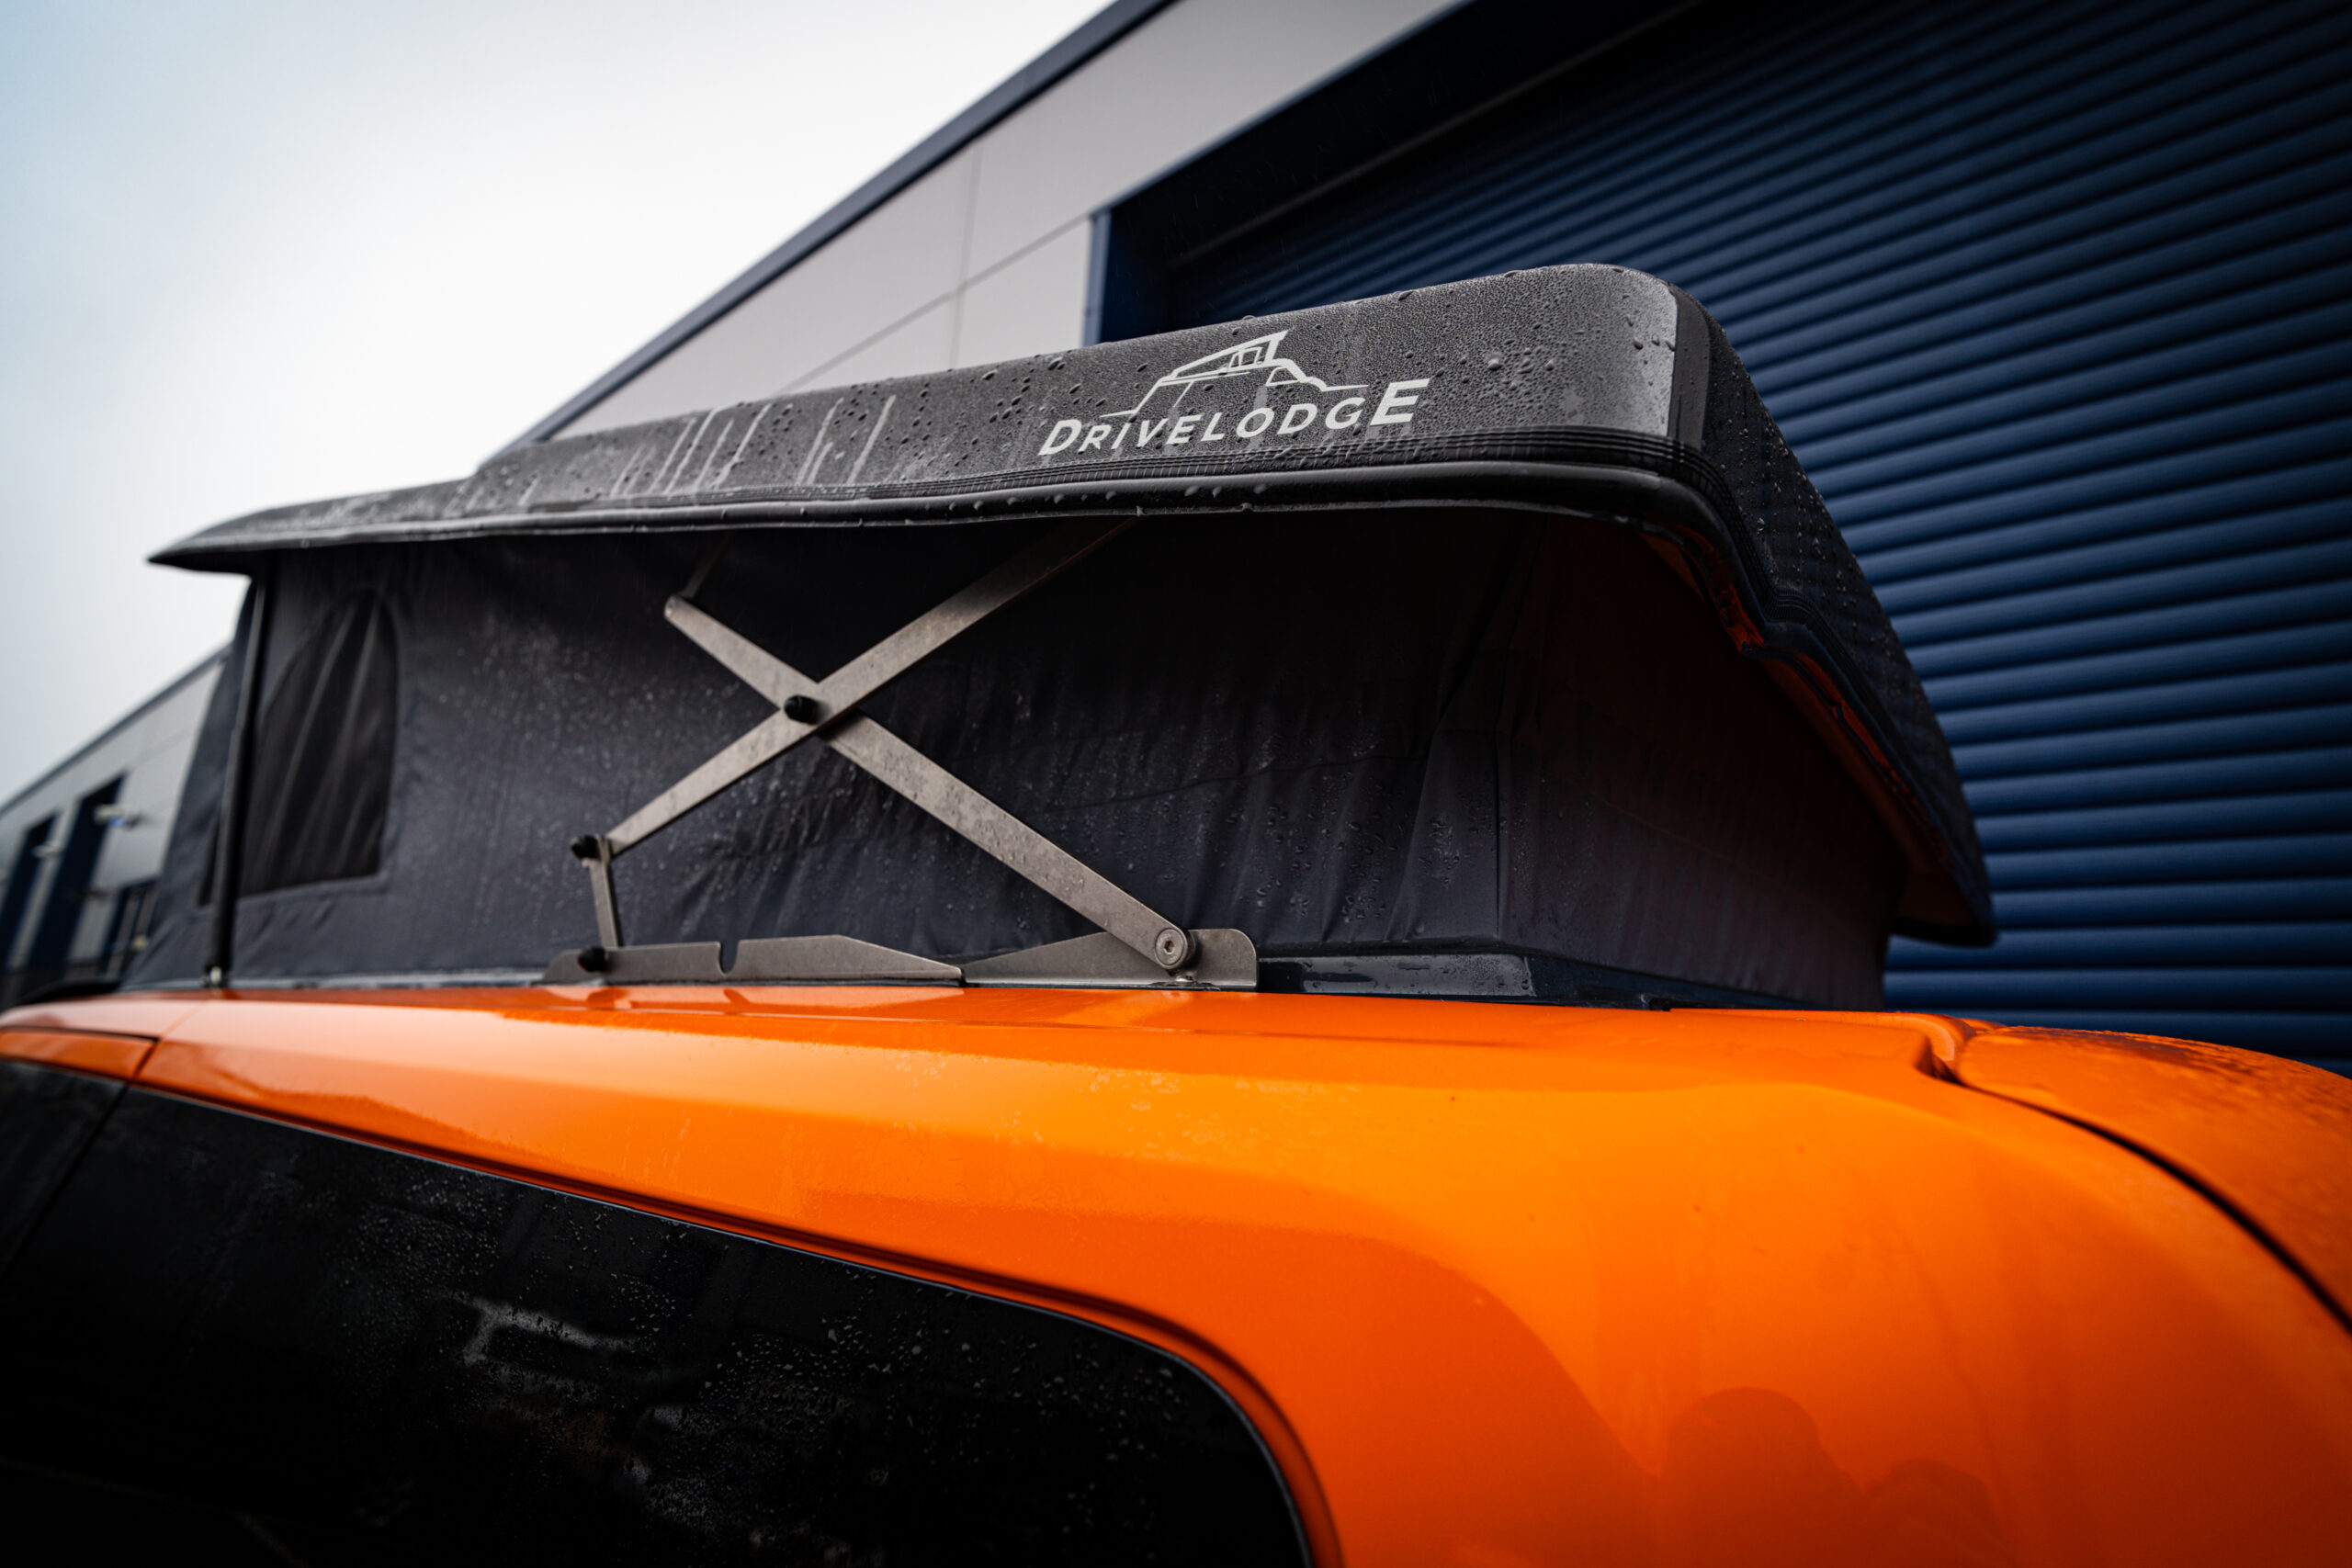
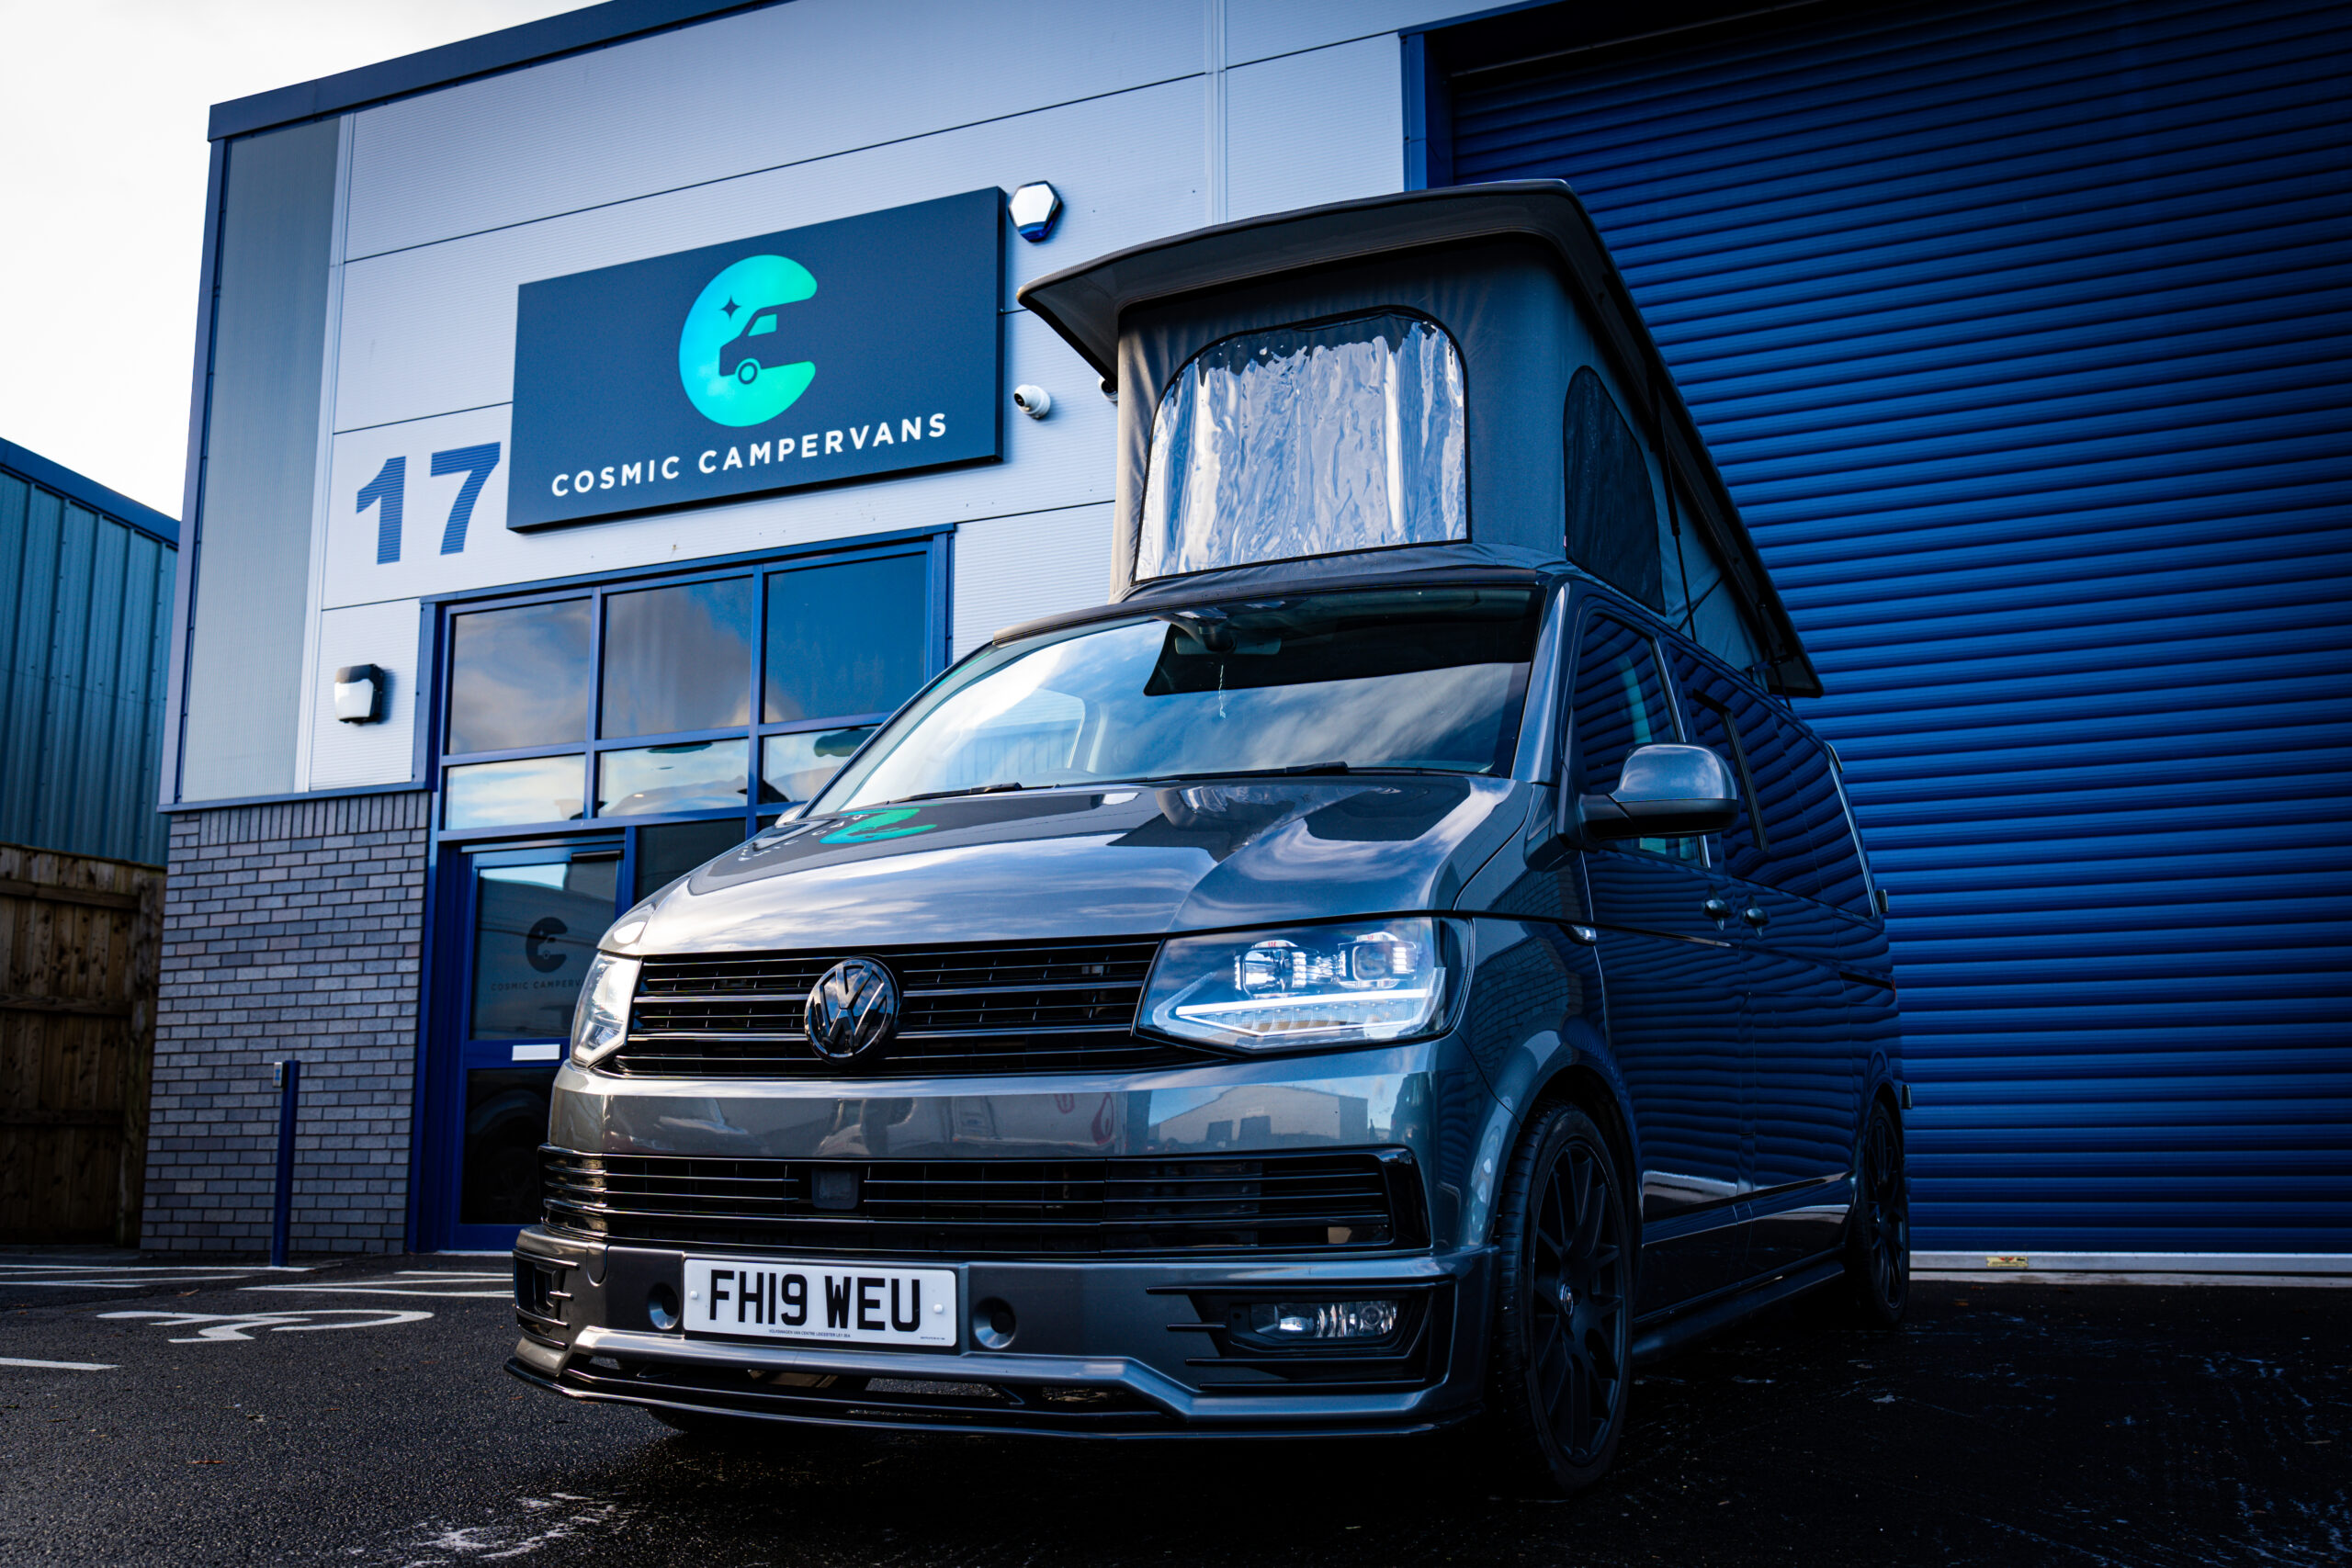
- Flexible set-up – Unlike a high-top conversion, a pop top keeps your van’s exterior low-profile when closed, meaning you can still easily fit into multi-storey car parks and garages. If you want to hear more about the benefits of pop top roof vs high top roofs, I’ve got a whole guide on it in another post!
For most VW Transporter conversions, a pop top roof is hands down the best way to maximise space and flexibility without compromising on drivability. If you’re thinking of adding one to your build, let me know – I’m always happy to chat through the options!
Dreaming of More Space in Your Van?
Upgrade your campervan with a Pop-Top Roof for extra sleeping space and extra head height.
Electrics
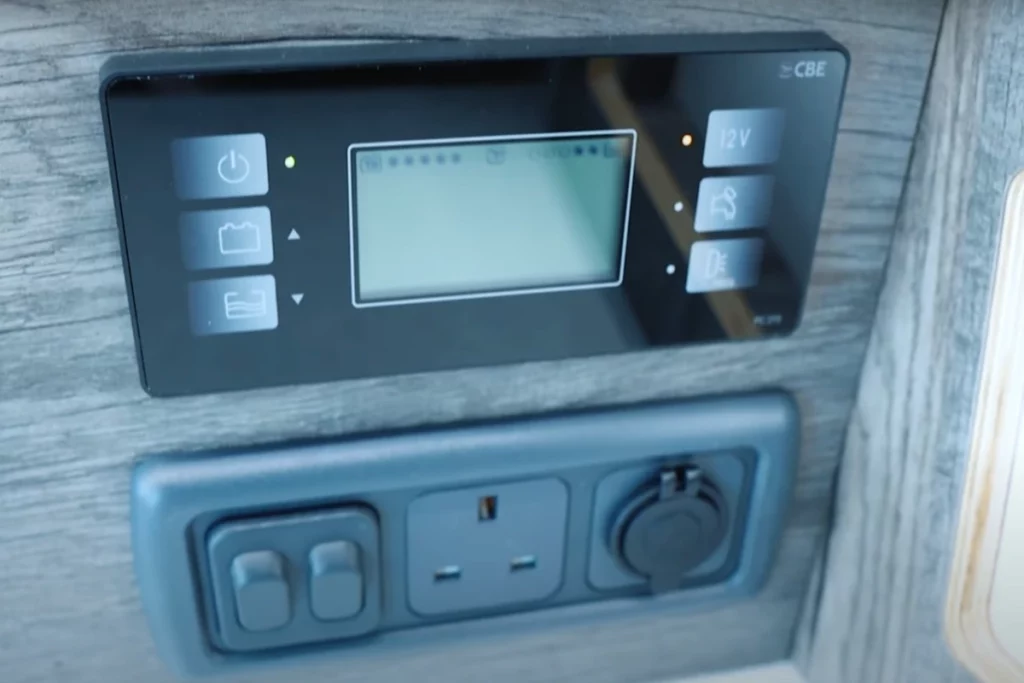
Getting your electrical setup right is super important if you plan to live off-grid or even if you just like the convenience of a light switch in the van. I’ve installed everything from basic leisure battery setups to full off-grid solar systems, so here’s what you need to know when setting up your van’s electrics.
What’s a leisure battery?
A leisure battery stores energy to power your lights, fridge, water pump, and other 12V appliances without draining your van’s main battery.
Types of leisure batteries
- AGM Batteries – Budget-friendly and maintenance-free but take longer to charge.
- Lithium (LiFePO4) Batteries – More expensive but lighter, faster-charging, and longer-lasting. If you’re serious about off-grid power, lithium is the way to go.
For most of my clients, a 100Ah-200Ah battery is ideal, depending on how much power they need. I usually recommend Victron or Renogy for top-quality performance.
What’s the difference between 12V and 240V?
- 12V System – Efficient, reliable, and ideal for running LED lights, USB ports, fridges, and water pumps. Best for off-grid setups.
- 240V System – Allows you to run household appliances but requires an inverter or a hookup at campsites.
For most van conversions, I recommend a solid 12V setup with an inverter for occasional 240V use – it’s the most practical and efficient choice.
Powering 240V appliances with an inverter
An inverter converts 12V DC from your leisure battery into 240V AC, allowing you to run things like laptops, chargers, and even kettles.
For most conversions, a 1000W-2000W pure sine wave inverter is perfect, but if you’re only charging small devices, a 300W-500W inverter will do the job.
Do I need solar panels?

If you want off-grid freedom, solar panels are an essential add-on to your electrical system. Let’s face it, powered campsites are expensive and difficult to find, so you need another option to keep your power on. Solar can be a hefty investment, but it will pay off in the long run.
Solar panels harness the sun to keep your leisure battery topped up, reducing the need for powered campsites or external charging.
What size solar panel is best?
- 100W – Good for minimal use (lights, USB charging).
- 200W-300W – Ideal for running a fridge, lights, and occasional laptop charging.
- 400W+ – Best for full-time van life with high power needs or extended off-grid stays
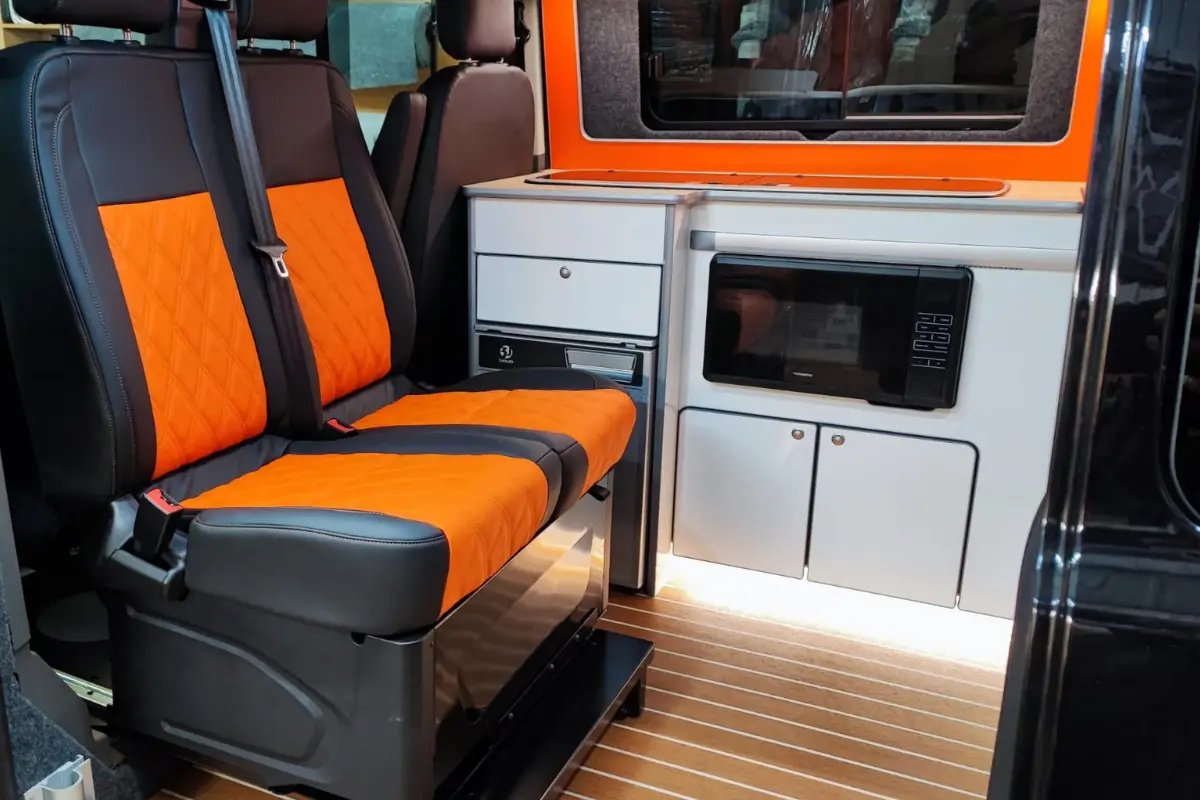
Swivel Seats Create a Social Layout
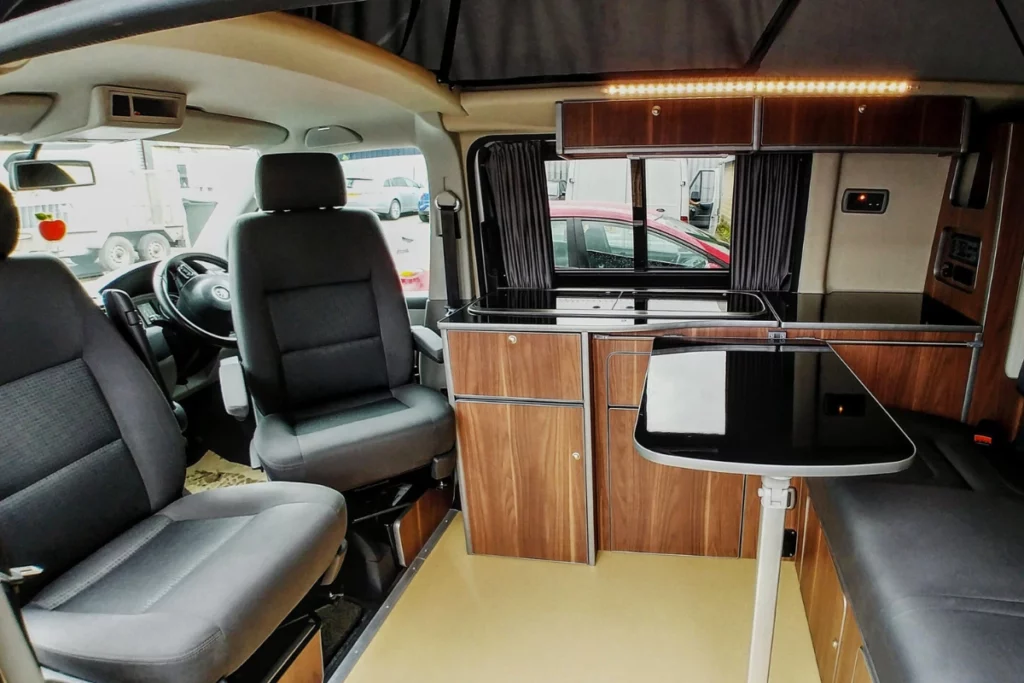
A swivel seat is one of the simplest yet most effective upgrades you can add to your VW Transporter conversion. It instantly transforms your van’s interior by allowing the front seats to rotate to the back of the van, creating a more open, functional layout.
Benefits of swivel seats
- Maximises space – Instead of having fixed front seats that only face forward, a swivel base allows them to rotate and become part of your living area. Perfect for dining, relaxing, or even working on the road. Unlike fixed benches or bulky seating setups, swivel seats make use of the seats you already have, saving space without adding extra weight.
- Creates a social layout – With both front seats turned around, it makes the van feel much more open and sociable—ideal for when you’re parked up at a campsite.
- Easy to install – A high-quality swivel base plate can be fitted to most Transporter seats, and installation is relatively straightforward. I’ve installed loads of these, and they’re one of the quickest ways to improve a camper’s layout.
Driver’s seat vs. passenger seat: which one should you swivel?
You can fit a swivel base to both front seats, but if you’re only doing one, I’d recommend starting with the passenger seat. Here’s why:
- Passenger seat swivel – The easiest option, as there are no obstructions like the steering wheel or handbrake. Works well with both single and double seats (though double-seat swivels require a specific base).
- Driver’s seat swivel – A bit trickier due to the handbrake and steering column, but still possible. Some bases include a handbrake lowering kit to allow full rotation.
Choose a reliable swivel base
I always recommend TUV-approved swivel bases for safety and durability. Brands like Scopema and Sportscraft are excellent choices—they’re solid, smooth to rotate, and built to last. If you’ve got a double passenger seat, a Kiravans Double Seat Swivel is a great option, giving you extra seating without losing storage.
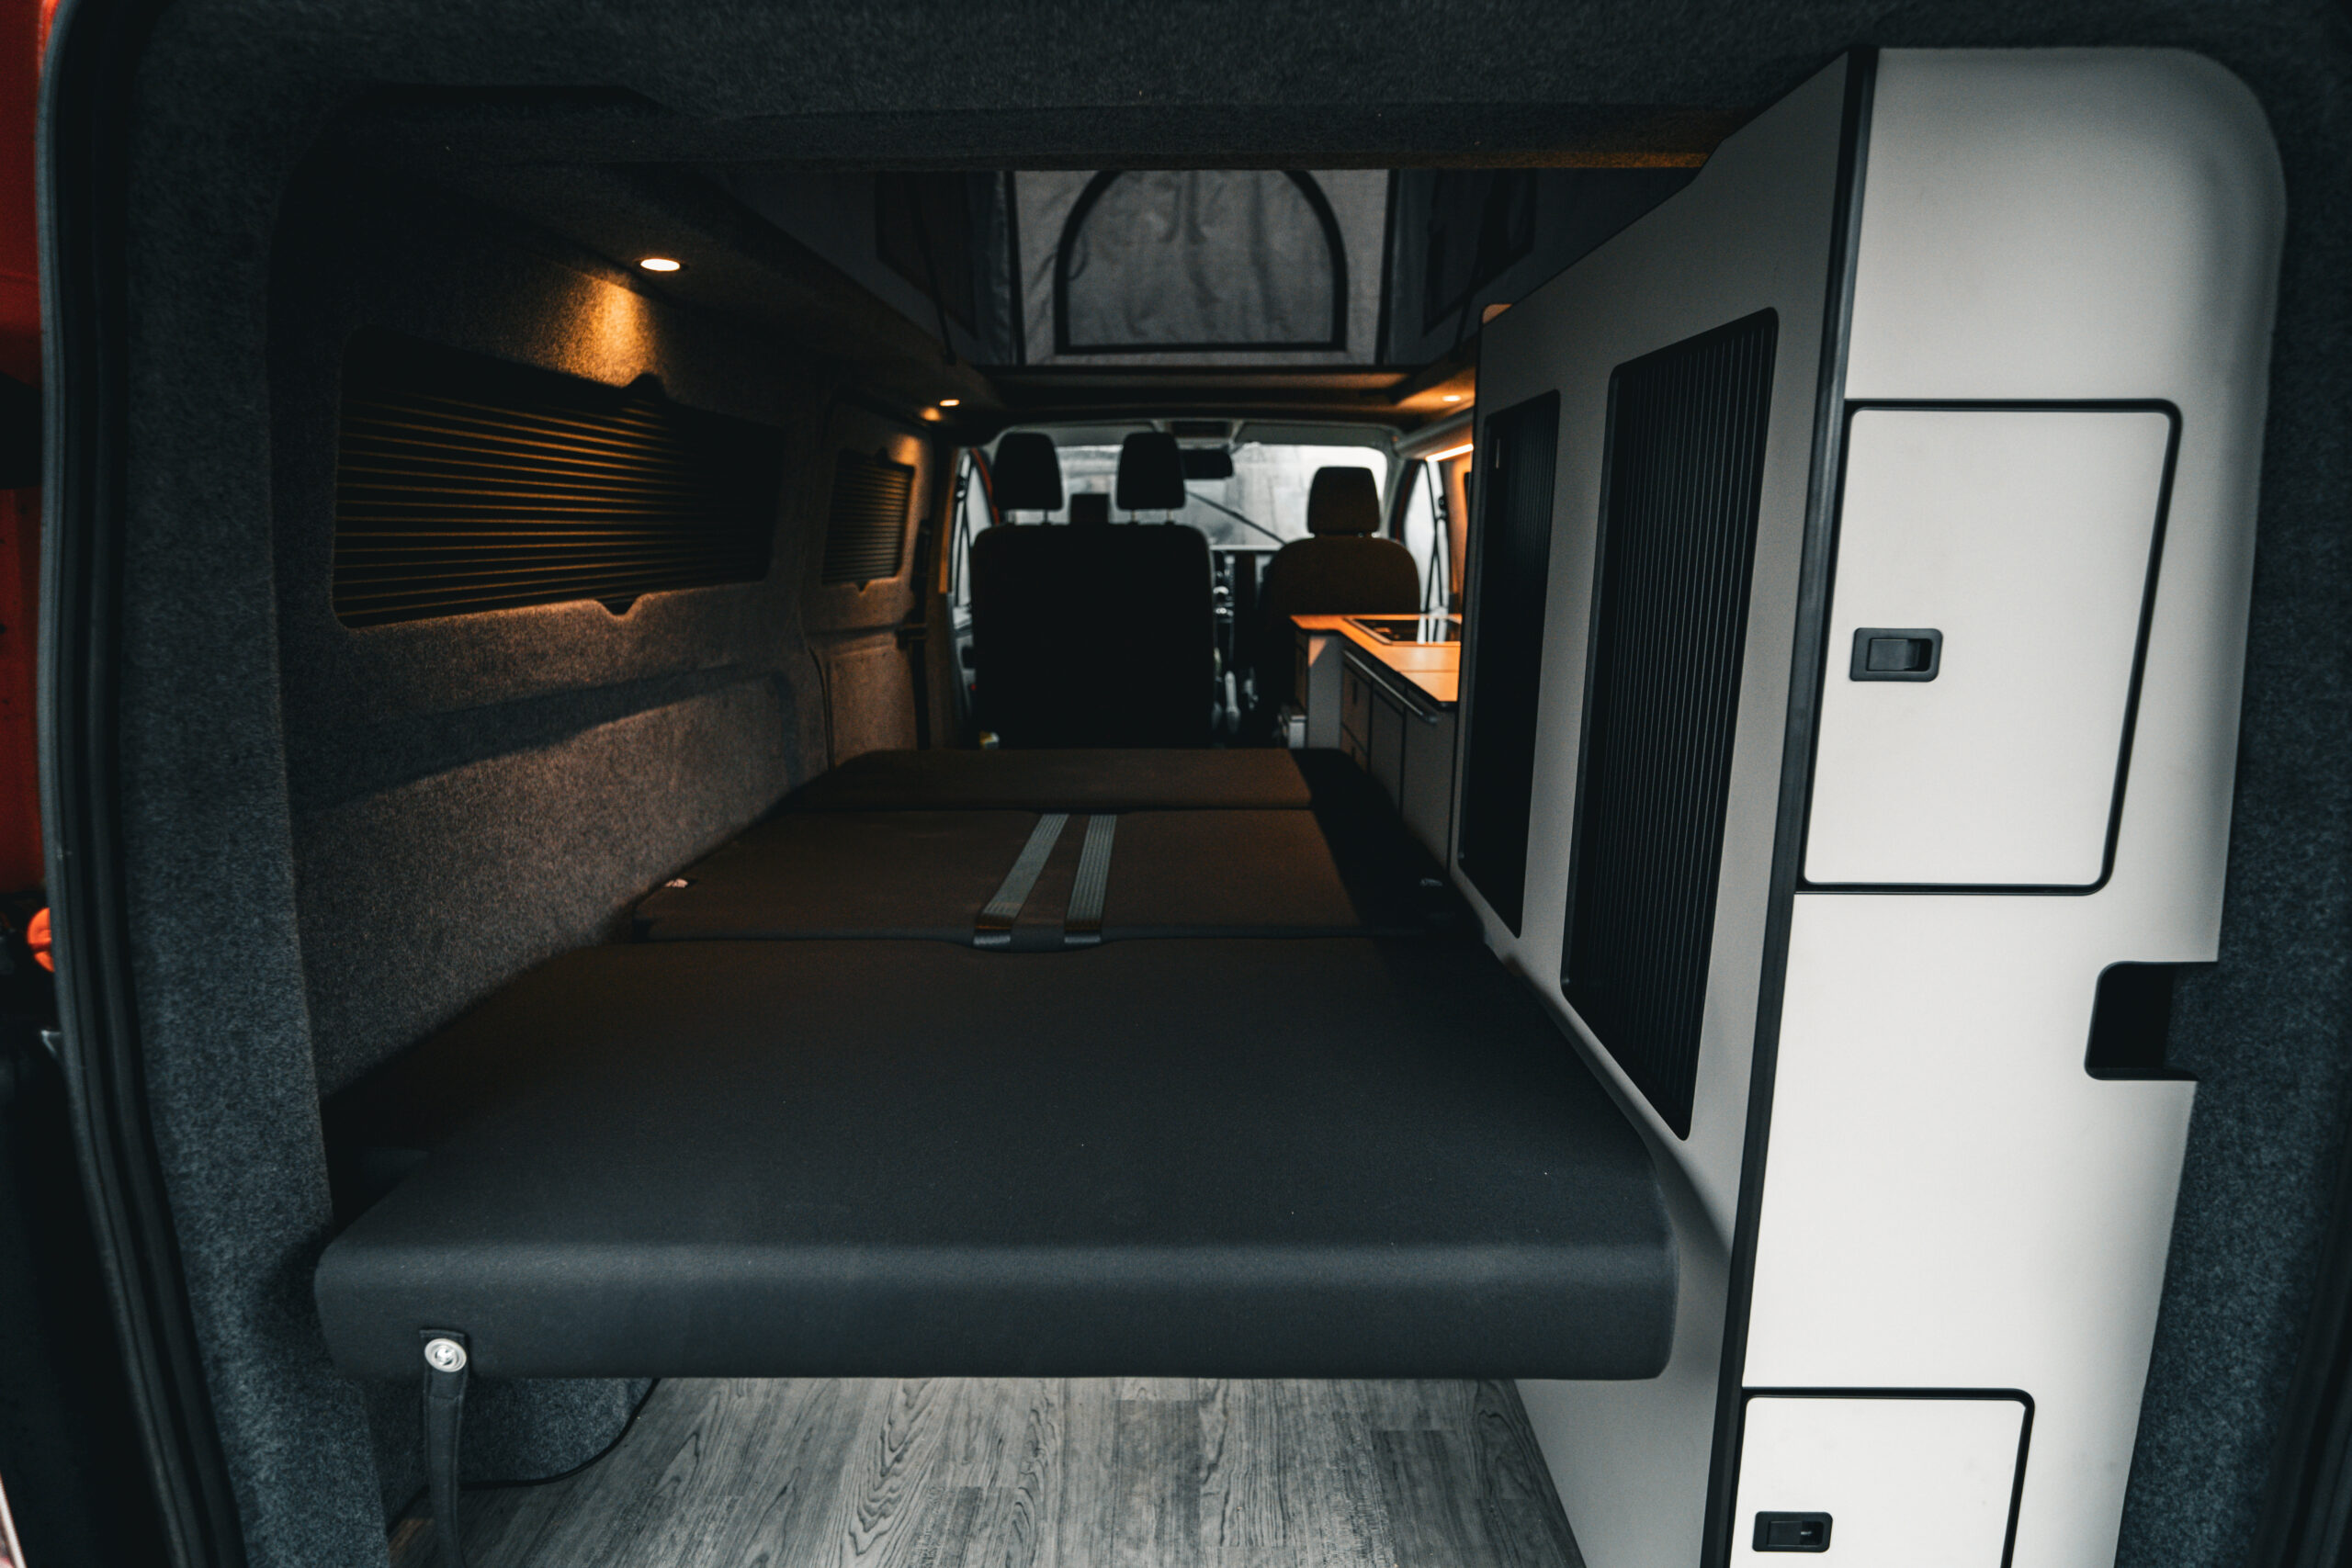
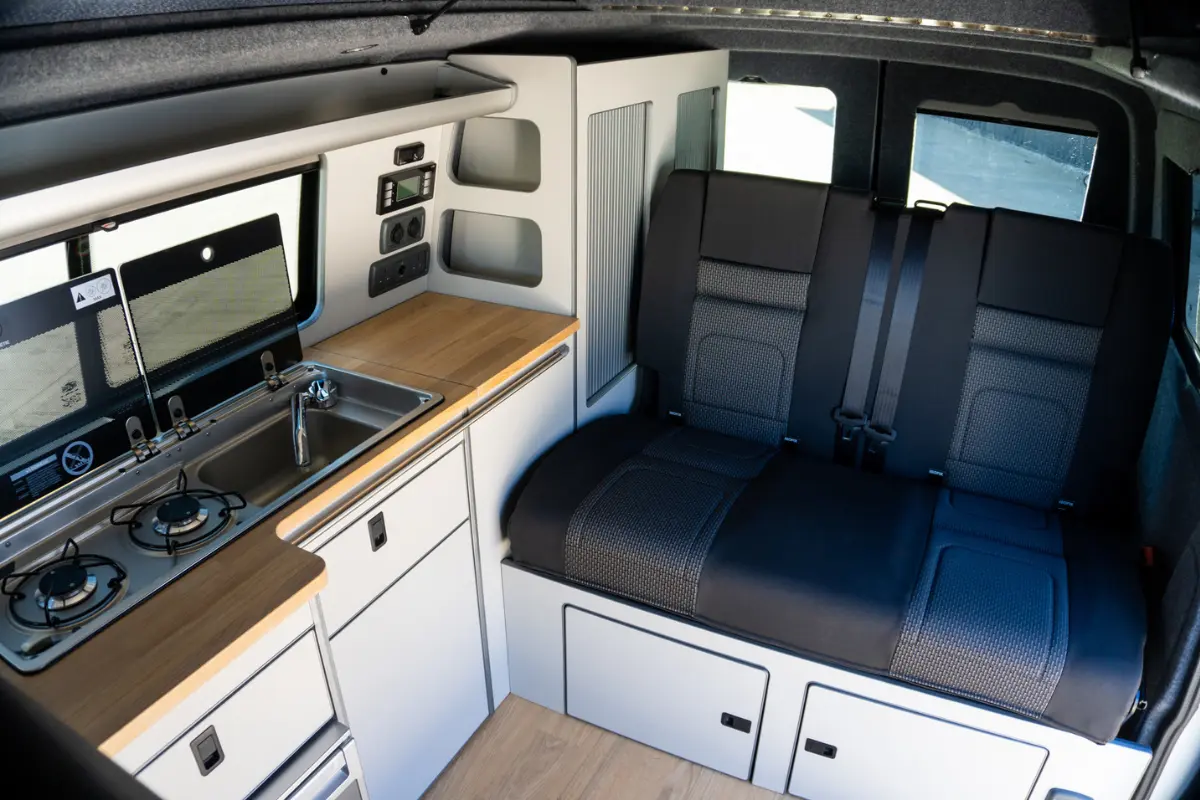
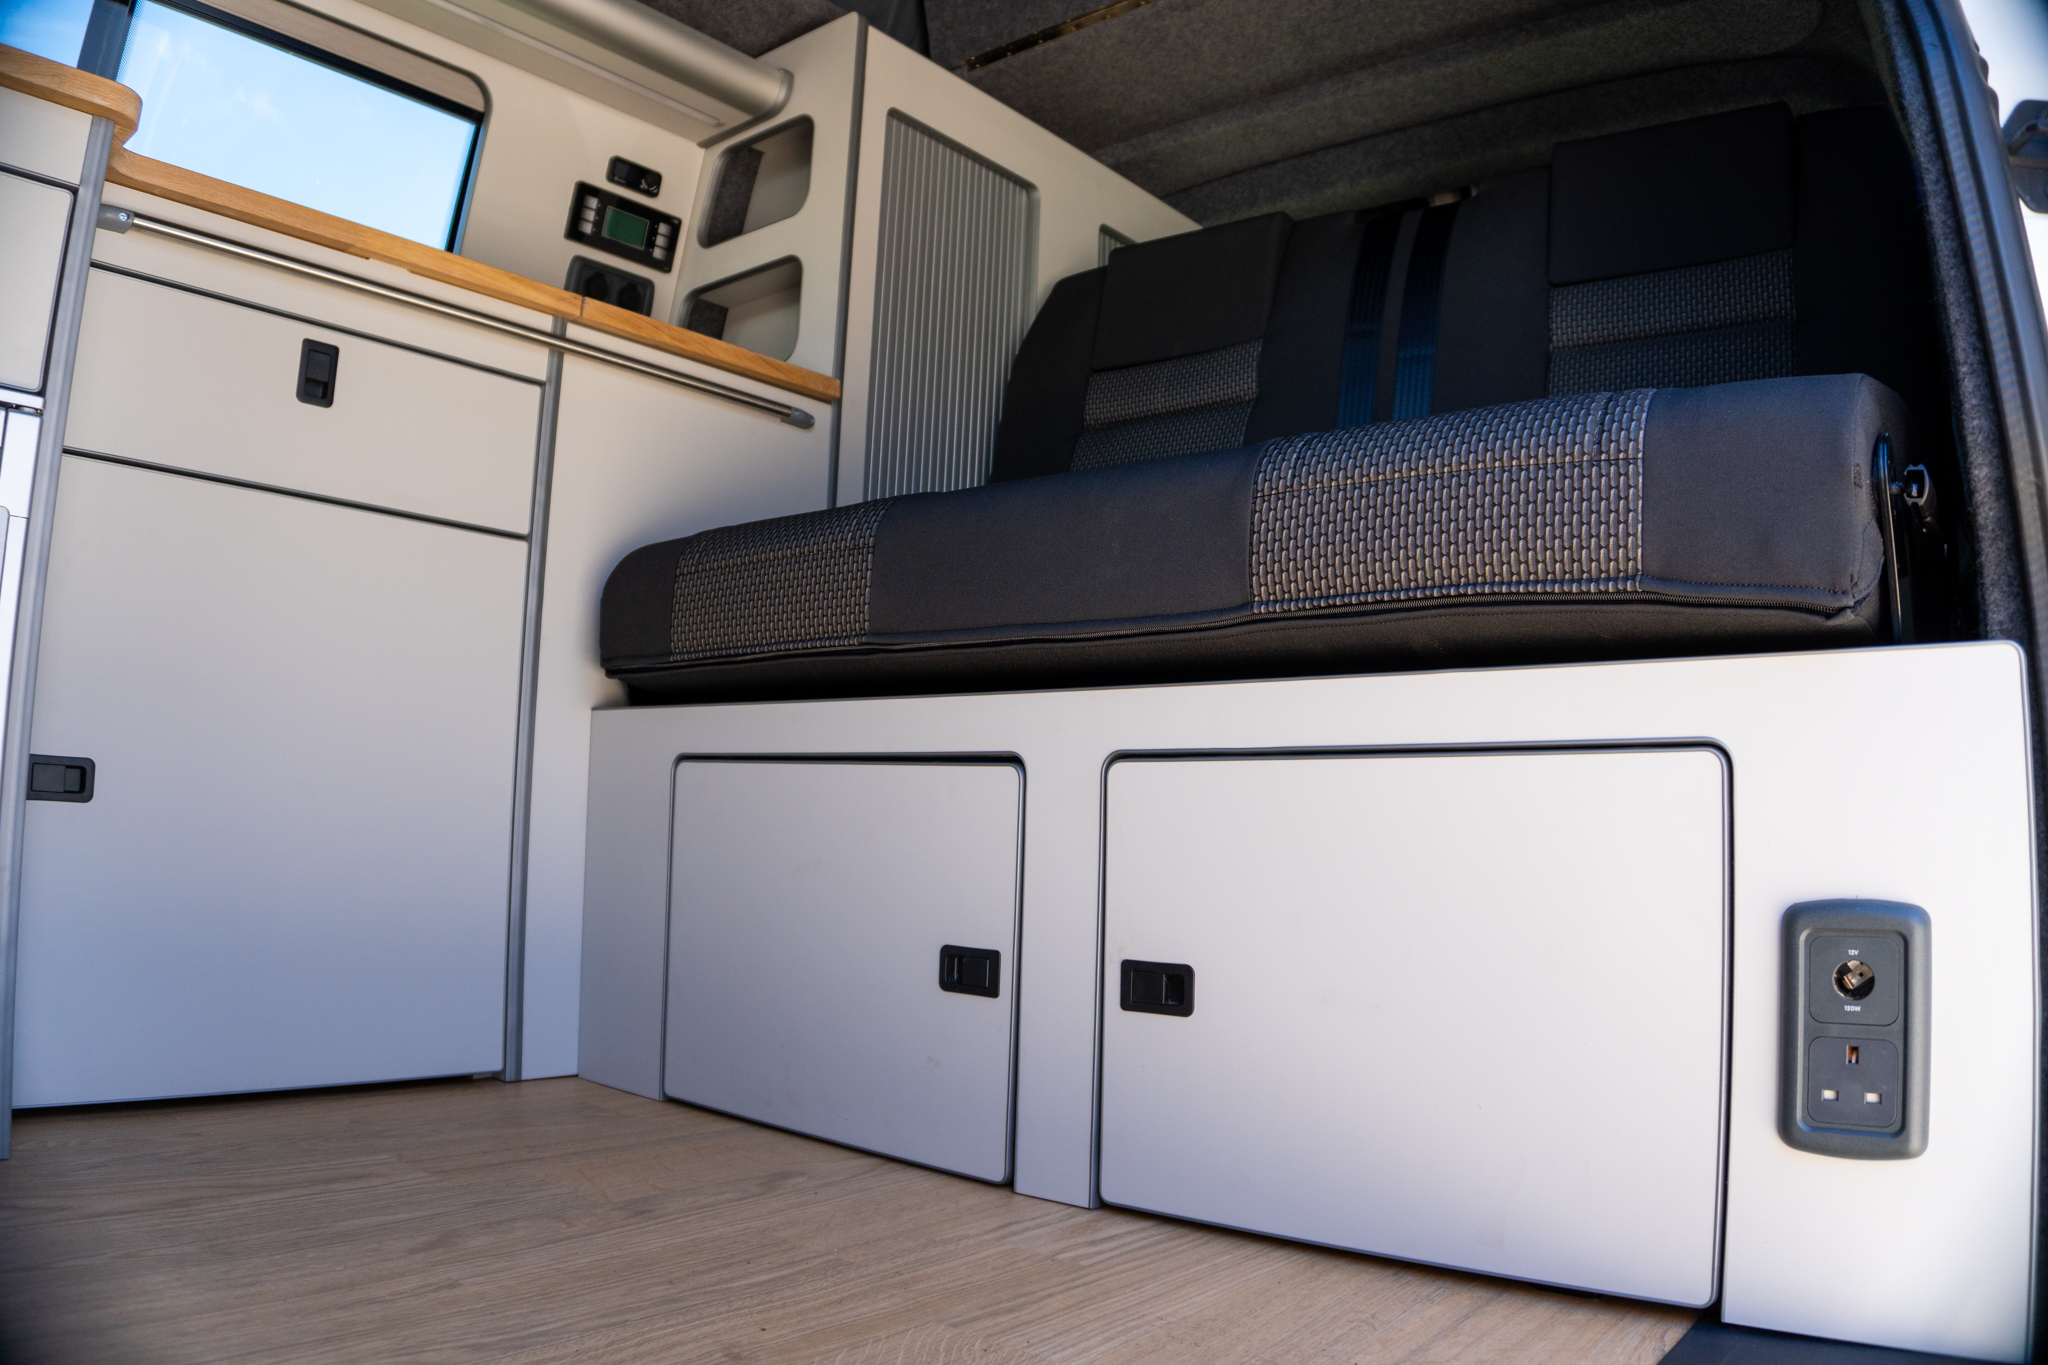
RIB Bed
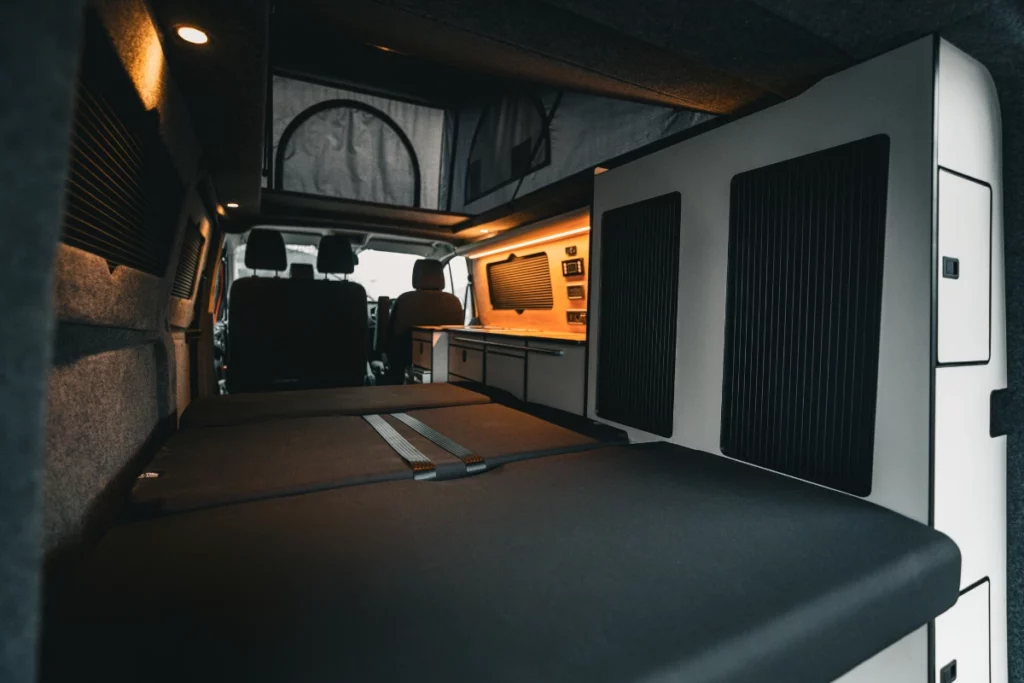
A RIB bed is the sleeping set-up that I recommend to all of my clients because it takes advantage of the VW Transporter design to create a great day/night configuration for the camper.
Benefits of a RIB bed
One of the biggest advantages of a RIB bed is the underneath storage it provides. Unlike Rock N Roll beds, which rely on fold-out legs for support, the RIB bed’s design allows only the cushions to move. This means there’s plenty of room underneath for extra storage. This is storage space that would otherwise be taken up by supporting legs.
Another awesome benefit is how easy it is to convert. Unlike traditional Rock N Roll beds, which can be awkward and cumbersome to set up, the RIB bed operates with a smooth, single-motion mechanism.
This makes it far more accessible, especially for those with limited mobility, as it eliminates the strain and effort often required with other bed designs. Over the years, I’ve seen firsthand how much of a difference this makes for van owners, allowing them to set up their sleeping area quickly and safely without the risk of injury.
Diesel Heating
A diesel heater is an absolute game-changer for anyone wanting to use their VW Transporter year-round, especially in the UK’s unpredictable climate. Without proper heating, your trips will be limited to late spring and summer, and trust me, winter van life without a heater is no fun.
I’ve tried winter camping with just insulation and high-rated sleeping bags, and it’s still freezing!
Install a Diesel Heater For Warmth
A fuel efficient solution for comfortable winter camping
Why You Need a Diesel Heater
- Year-round comfort – Without heating, a campervan in winter is basically a fridge. A diesel heater keeps your van warm and comfortable, meaning you can enjoy road trips in any season. Many people assume insulation alone will do the job, but insulation only retains heat—you still need a heat source in the first place.
- Low running costs – Diesel heaters are incredibly efficient, using minimal fuel drawn straight from your van’s main diesel tank. That means no extra fuel canisters or managing separate heating systems—just turn it on and stay warm.
- Safe and reliable – The heater vents exhaust fumes outside, so there’s no risk of carbon monoxide buildup like you might get with log burners or gas heaters. Plus, every heater we install comes with a 3-year warranty, so you get total peace of mind.
- Seamless setup – I install these heaters underslung, with a discreet vent near the driver’s seat. This keeps the setup compact and unobtrusive, without taking up valuable space inside the van. Plus, they run off your 12V leisure battery, so they won’t drain your power system.
If you’re serious about using your van in autumn, winter, or early spring, a diesel heater is a must-have. It keeps your space warm, prevents condensation, and makes camping in colder months comfortable and enjoyable.
Key Takeaways
A full VW Transporter conversion is about more than just adding a bed and some storage. It’s about creating a space that’s functional, comfortable, and suited to your travel needs.
Whether it’s maximising space with a RIB bed, keeping warm with diesel heating, or going off-grid with solar power, each feature plays a key role in making your campervan the perfect adventure vehicle.
Every van build is unique, so it’s important to tailor your setup to your lifestyle. If you’re planning your own conversion and need advice on layouts, materials, or must-have features, drop a comment below! I’d love to hear how you’re designing your dream VW Transporter.