How to Design a Fully Functional Kitchen in Your VW Transporter Camper Van
A well-designed camper van kitchen can make all the difference in your van life experience. Whether you’re planning weekend getaways or full-time van living, having a functional and efficient kitchen setup is key. A good VW camper van conversion is all about maximising space, because at the end of the day they aren’t very big vans.
I’ve built countless VW camper van kitchens, and I’ve seen everything from minimalist setups to fully equipped gourmet-style kitchens. In this guide, I’ll walk you through all the key components to consider, from cooking appliances to storage solutions. I’ll also discuss different kitchen layouts to help you decide which one suits your van best.
What Should I Include in a Camper Van Kitchen?
Two burner gas hob

For most people, a camper van kitchen will include a stove of some sort. Without it, you’re pretty much reduced to eating sandwiches and cereal, which isn’t exactly luxurious. So in my opinion, it’s the most essential thing to include in your kitchen unit.
Now, you have two major options when it comes to your hob. You can get a fixed hob that is actually built into the bench, or you can use a portable camp stove. Obviously, a fixed unit is much more convenient and requires less faffing about when it’s time to set up or pack down.
But, on the other hand, it is nice to have the option of taking the hob out and cooking outside on a trestle table or a picnic table next to the beach (when the weather allows).
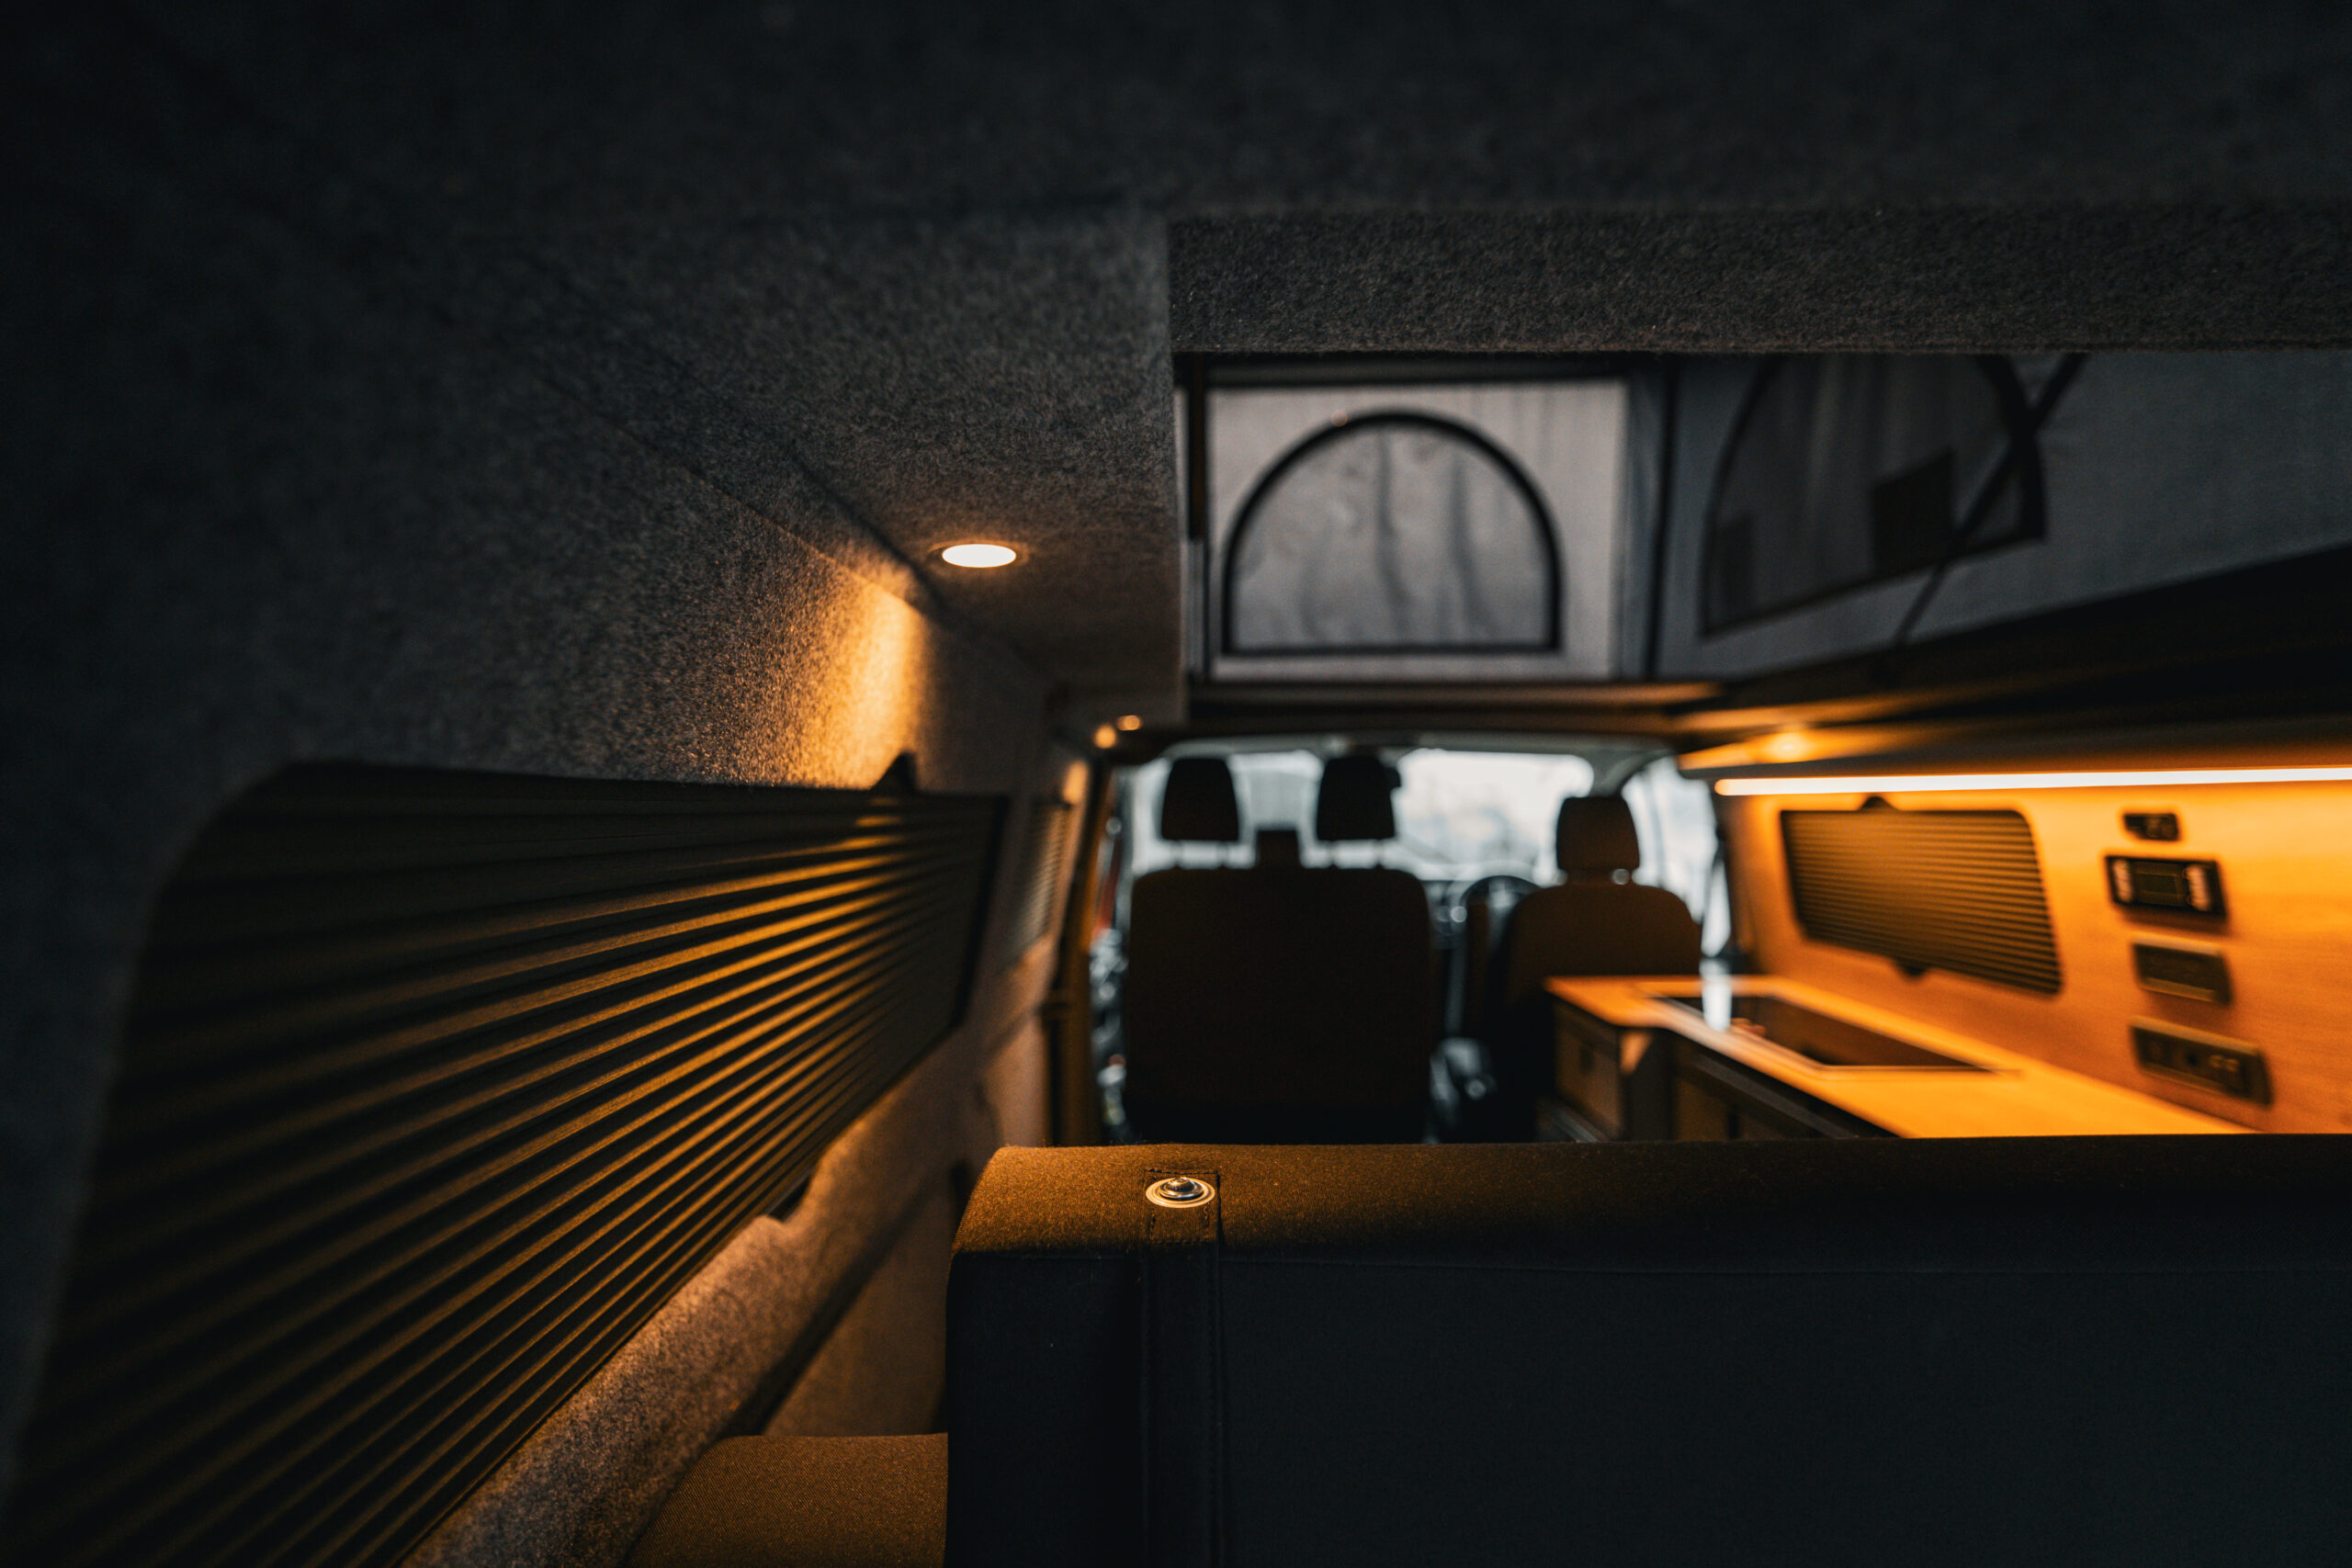
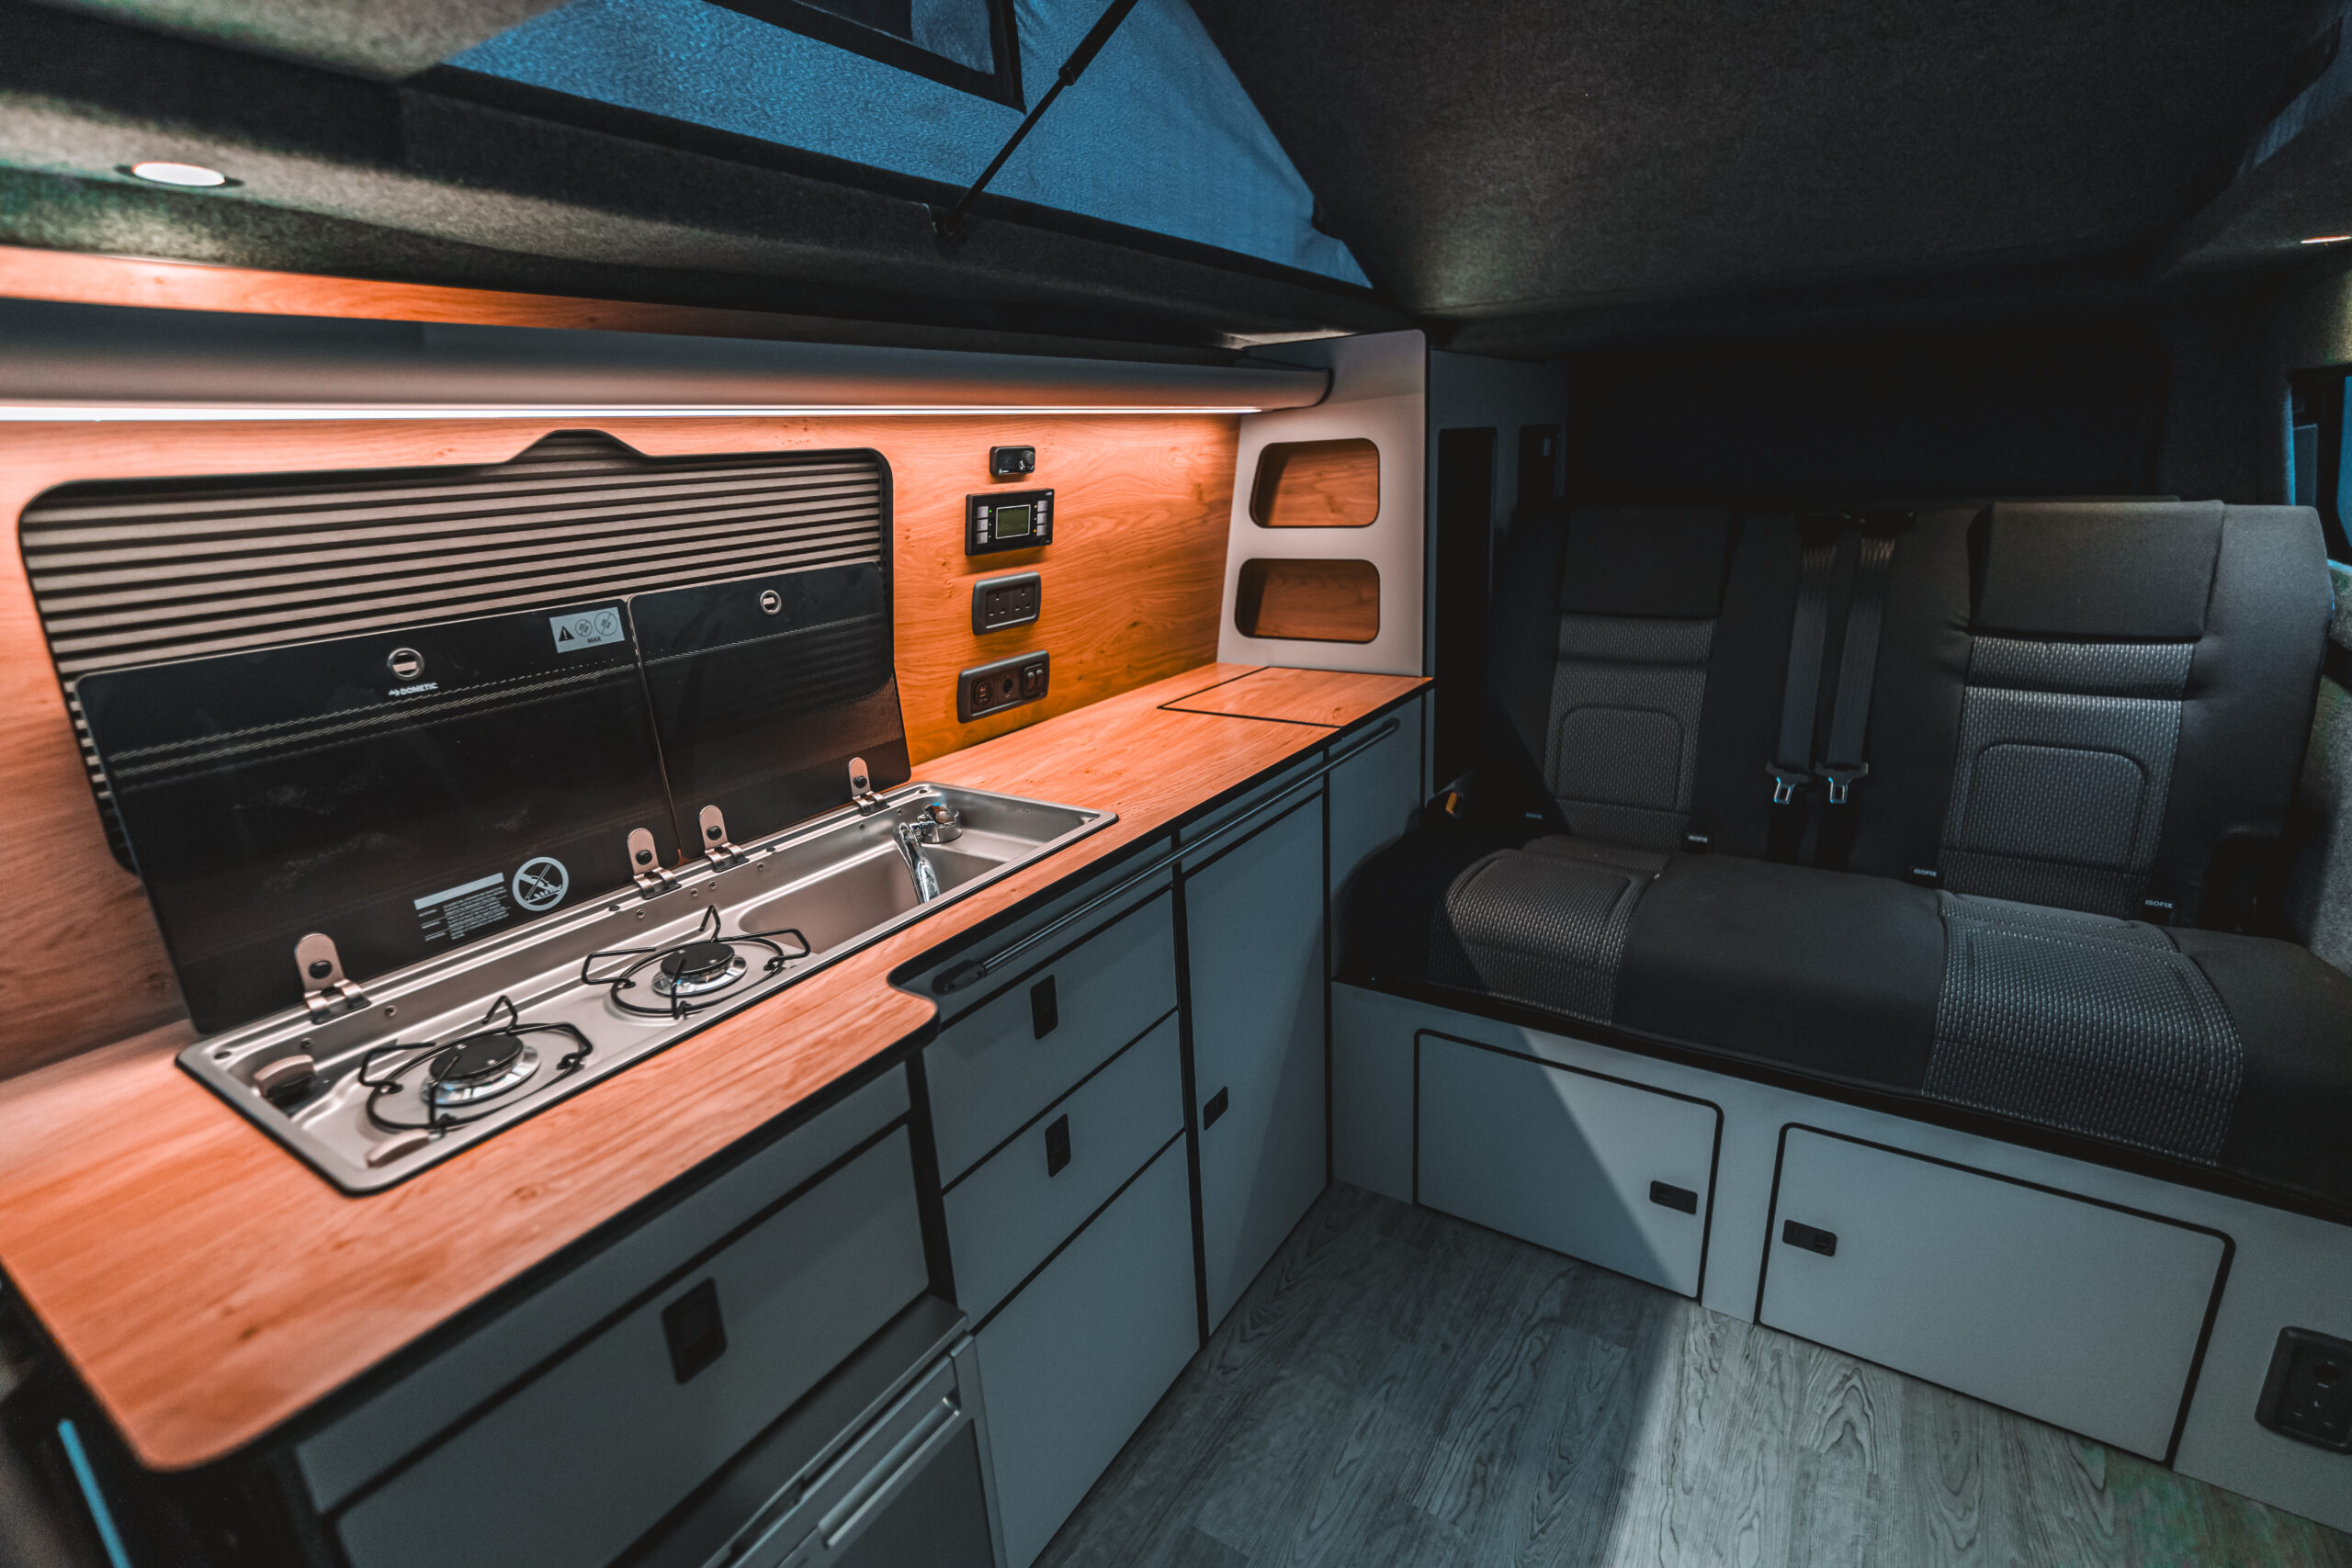
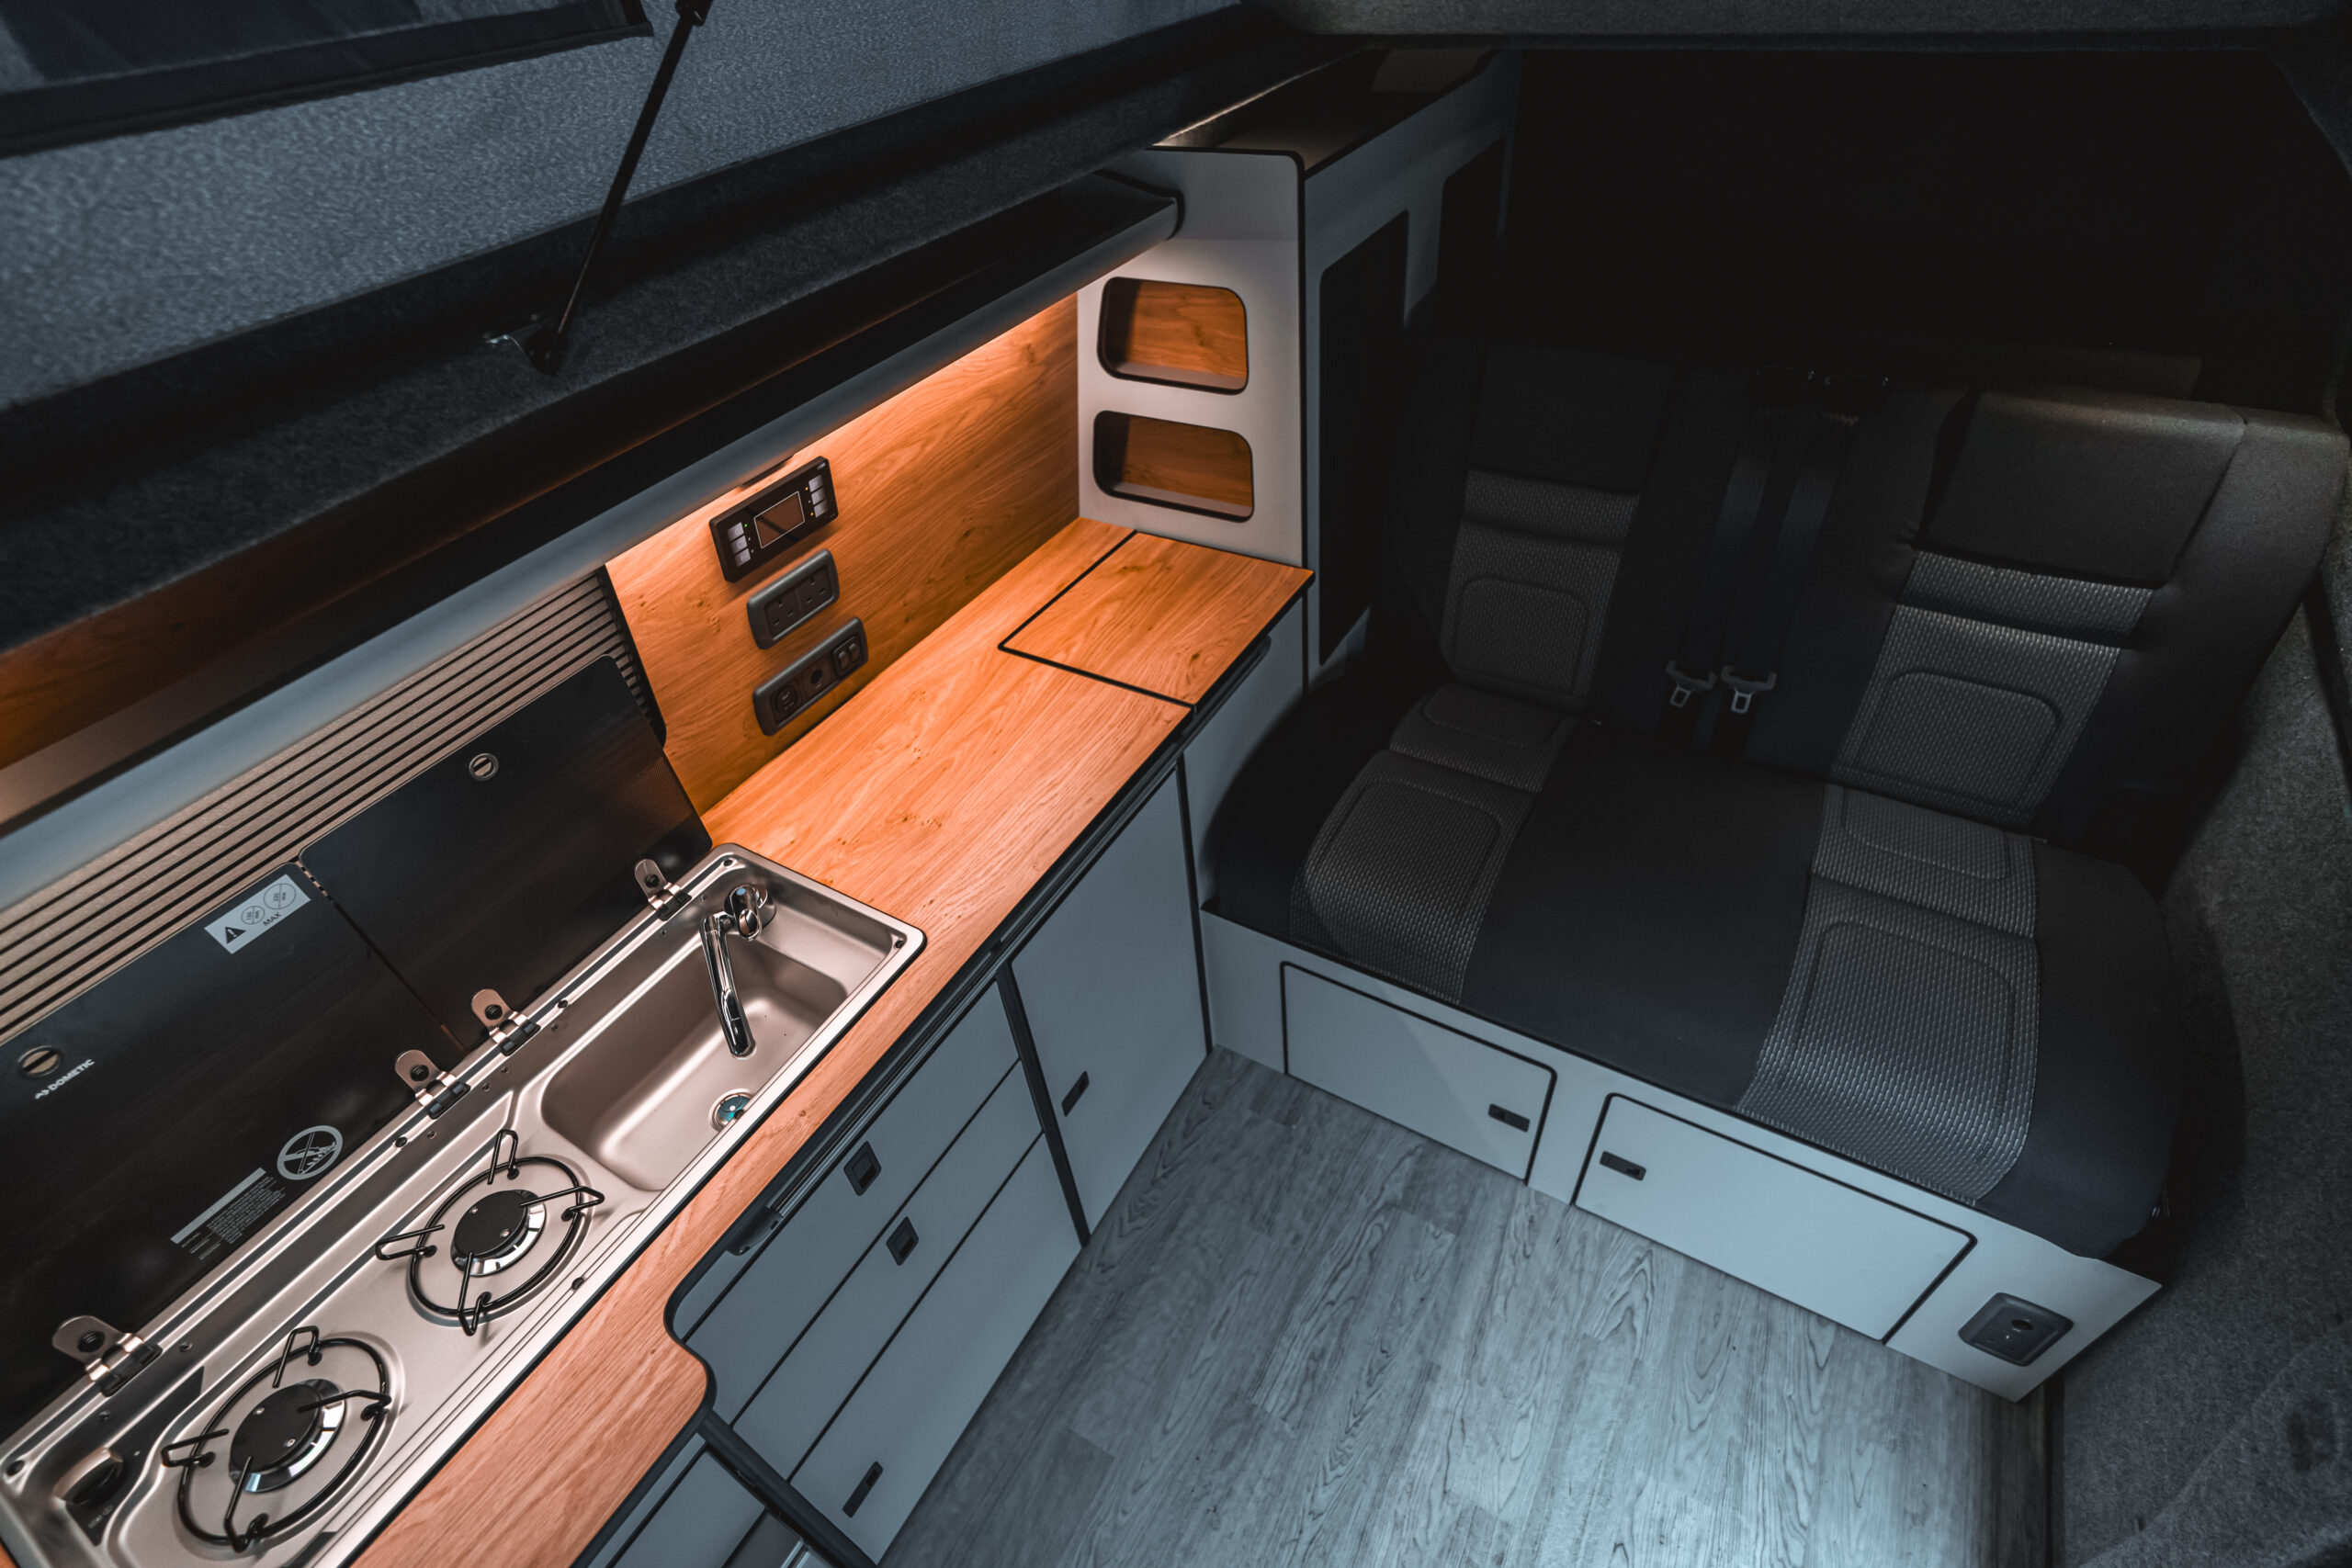
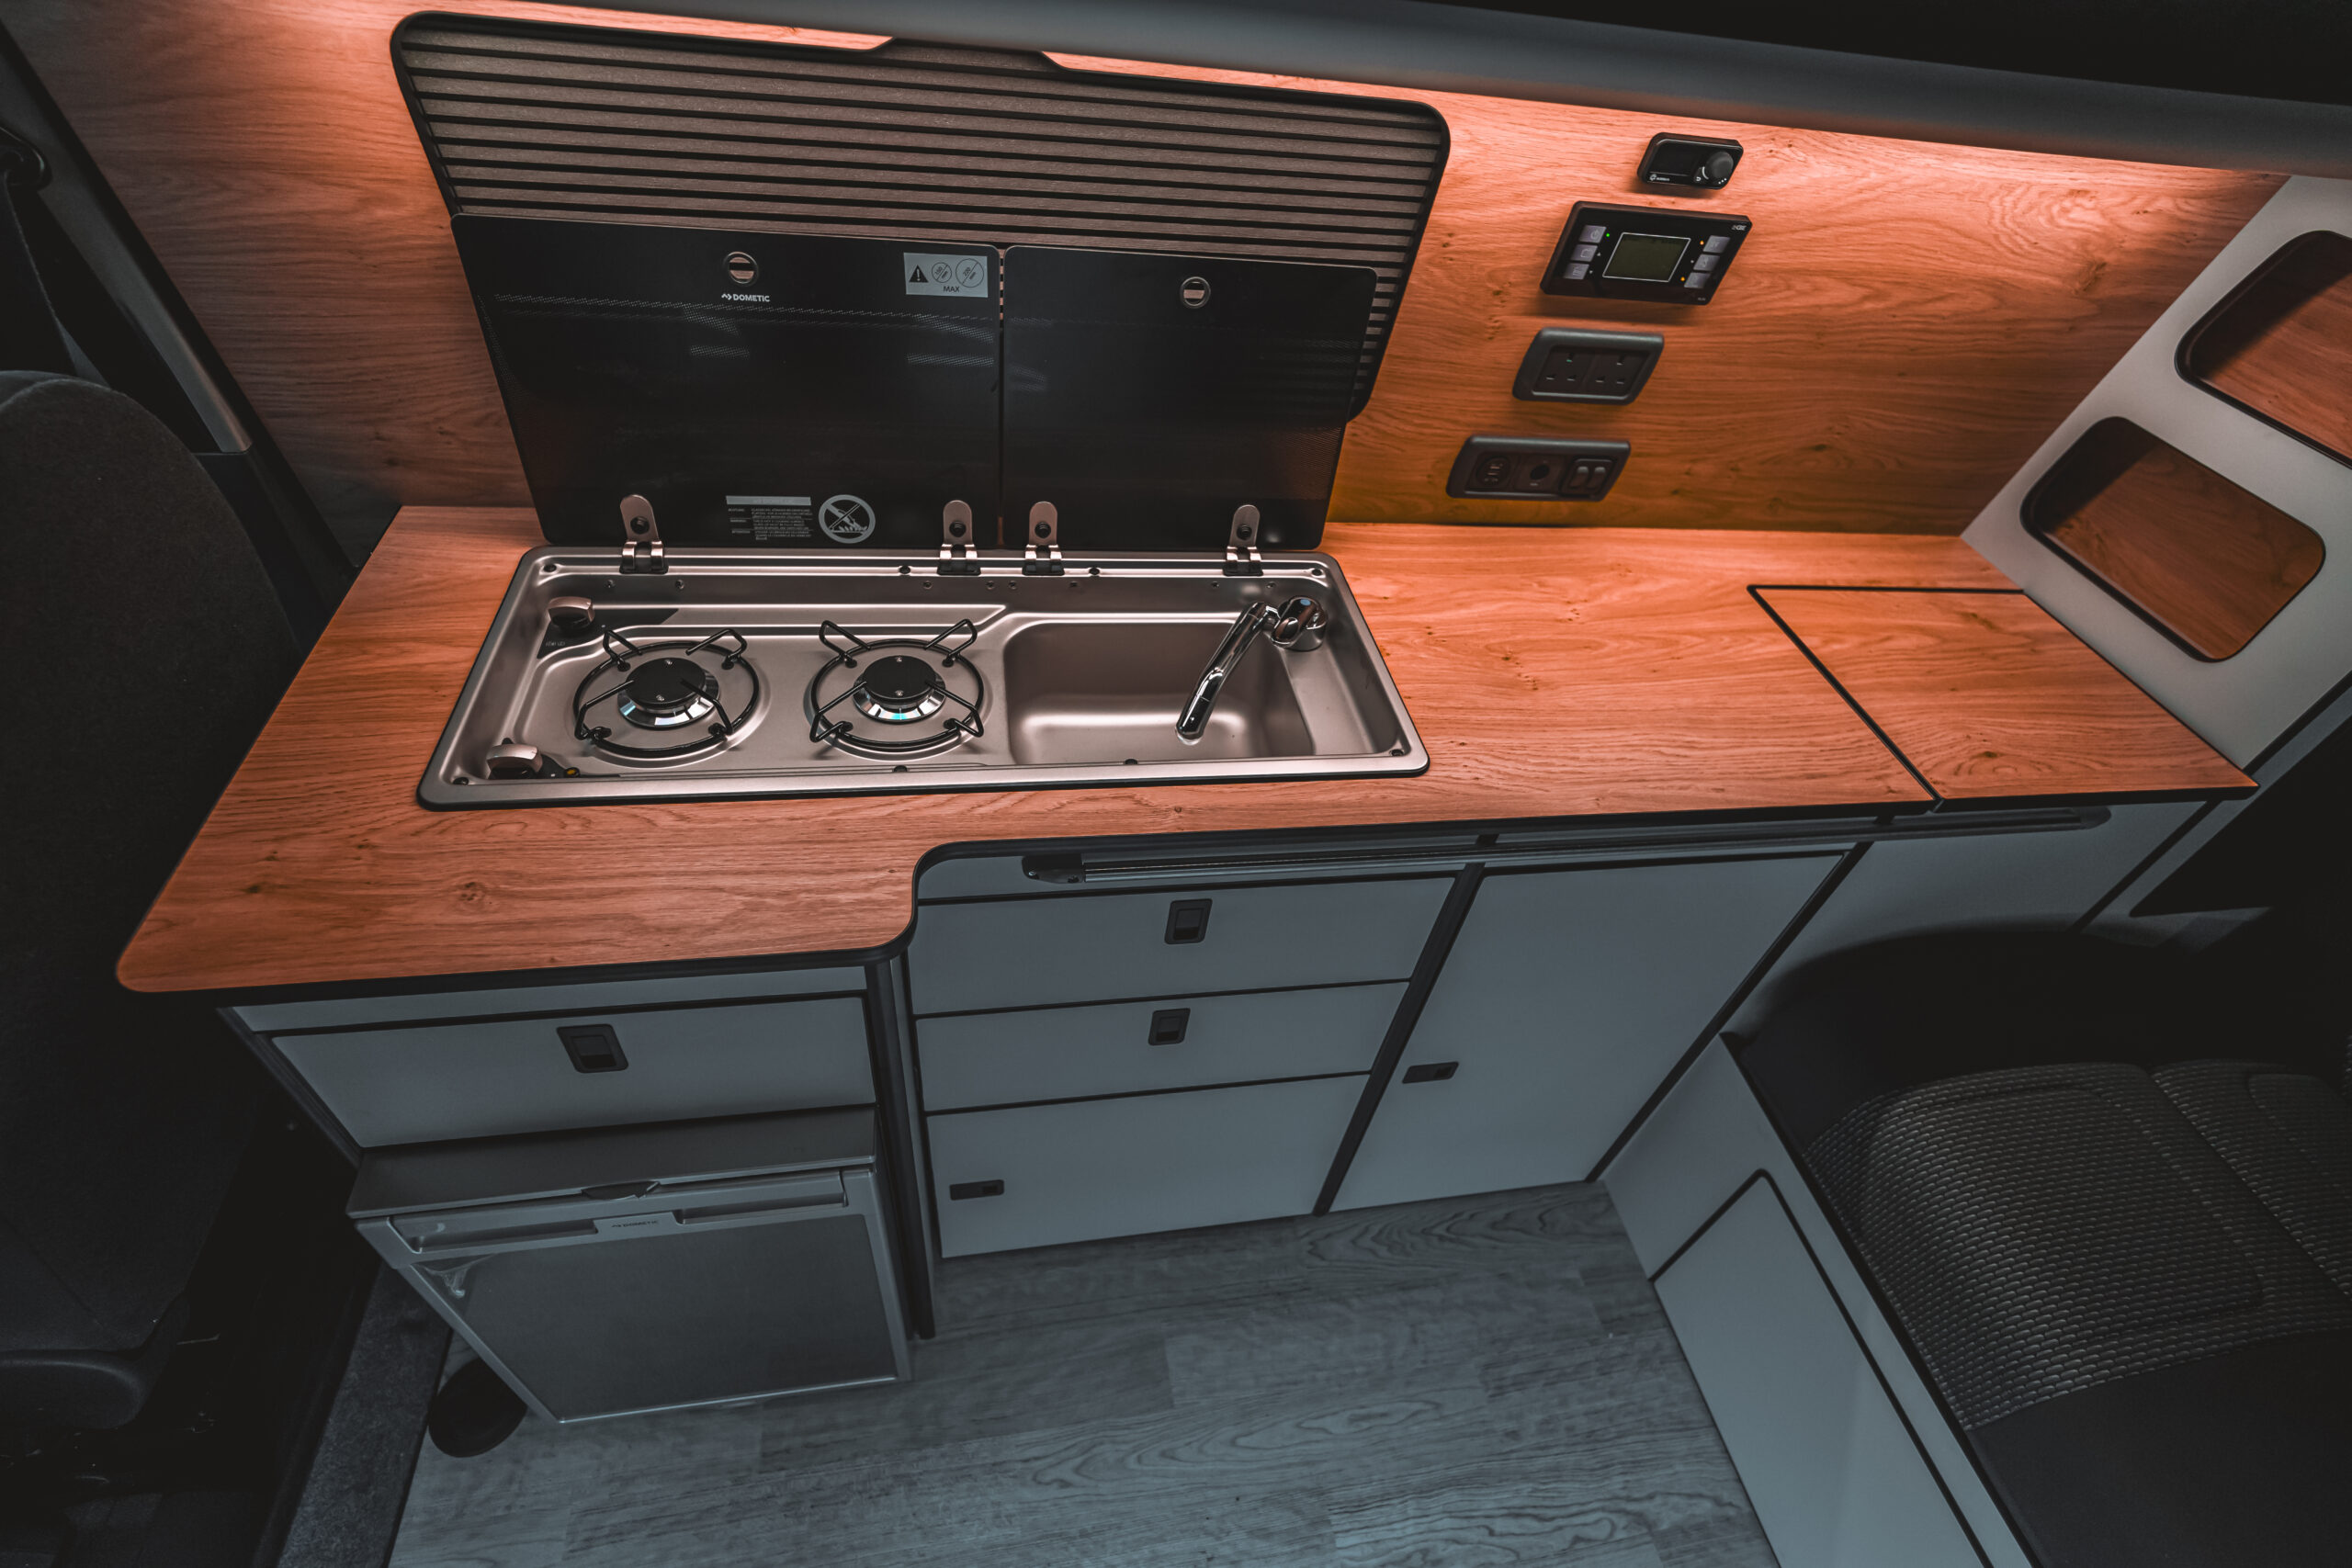
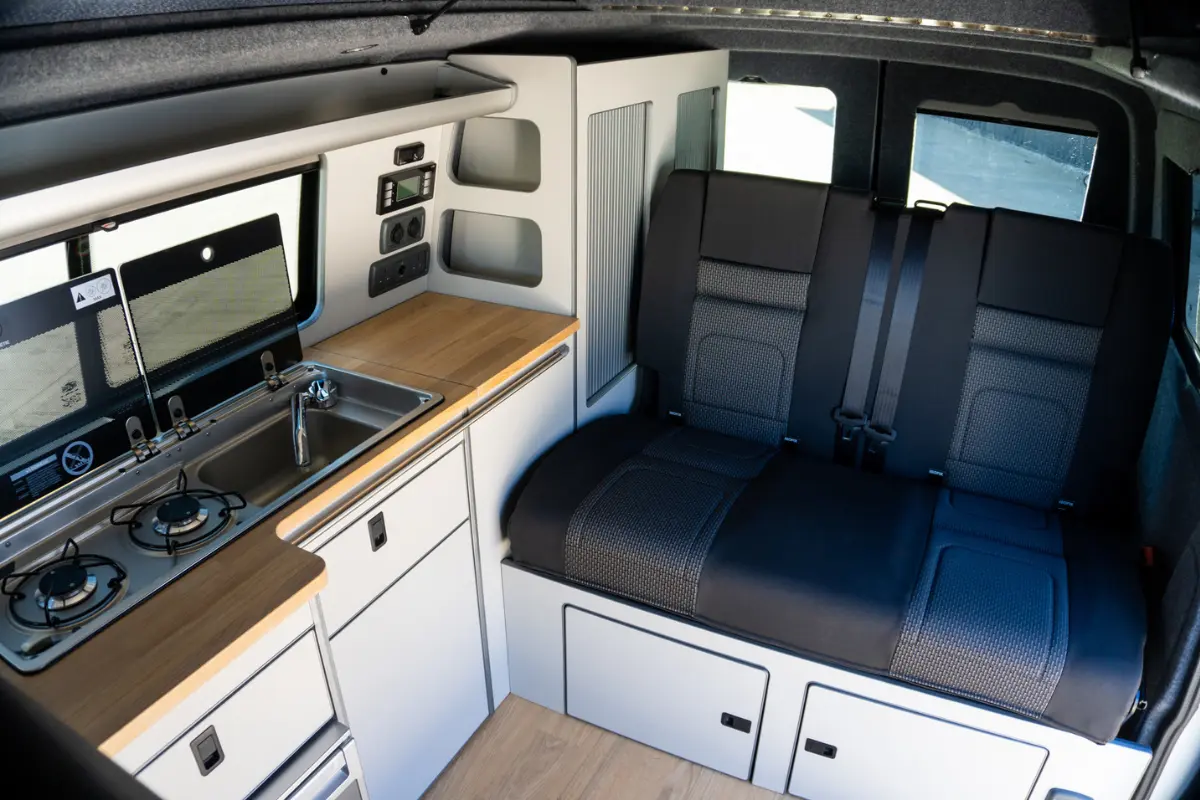
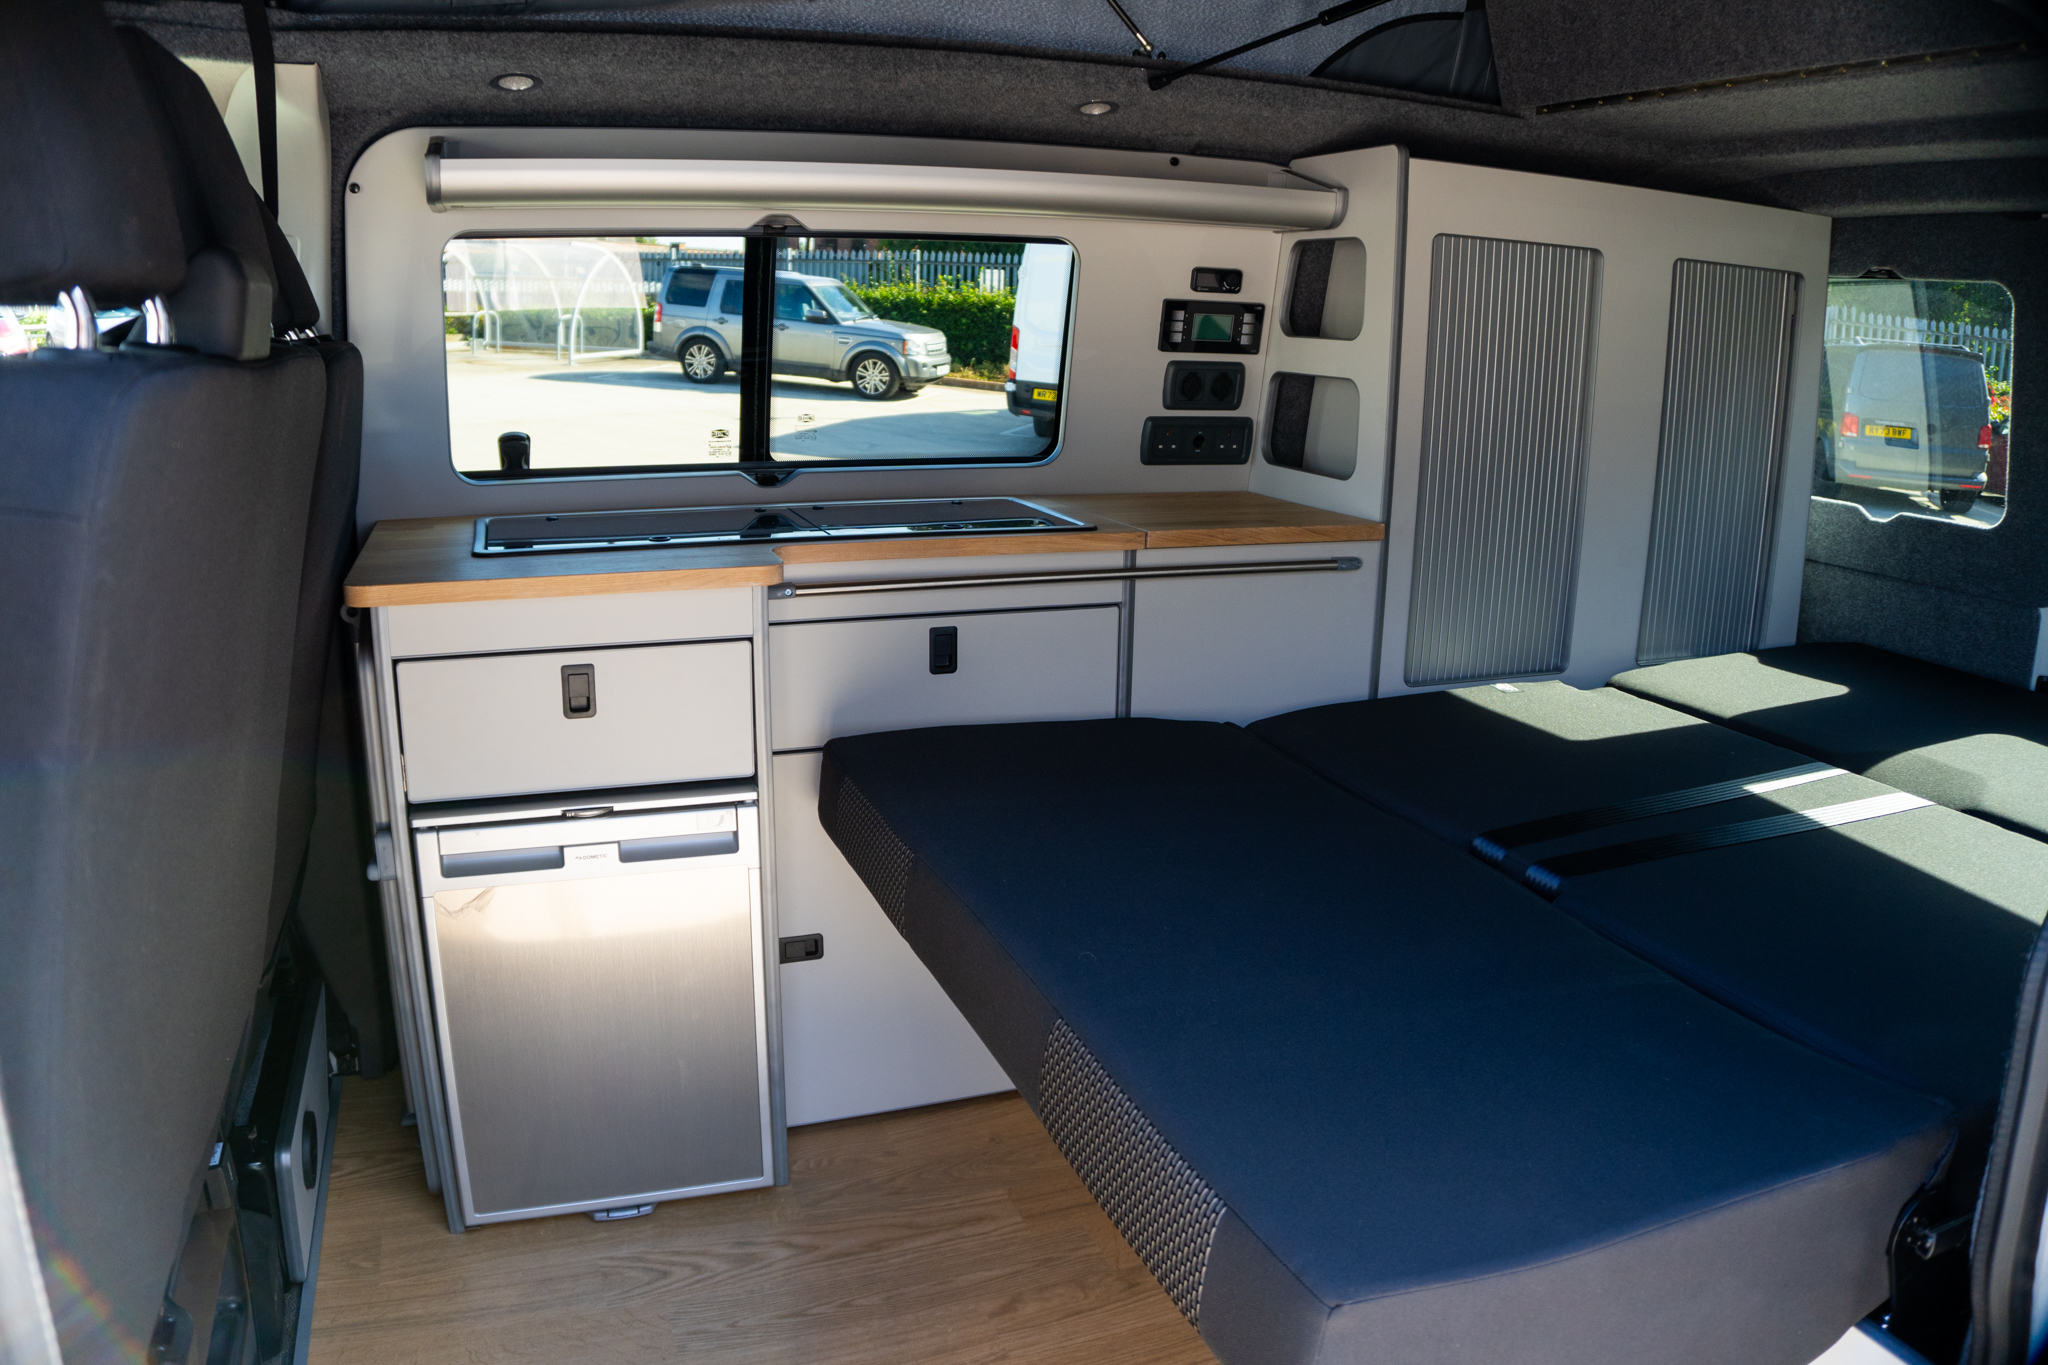
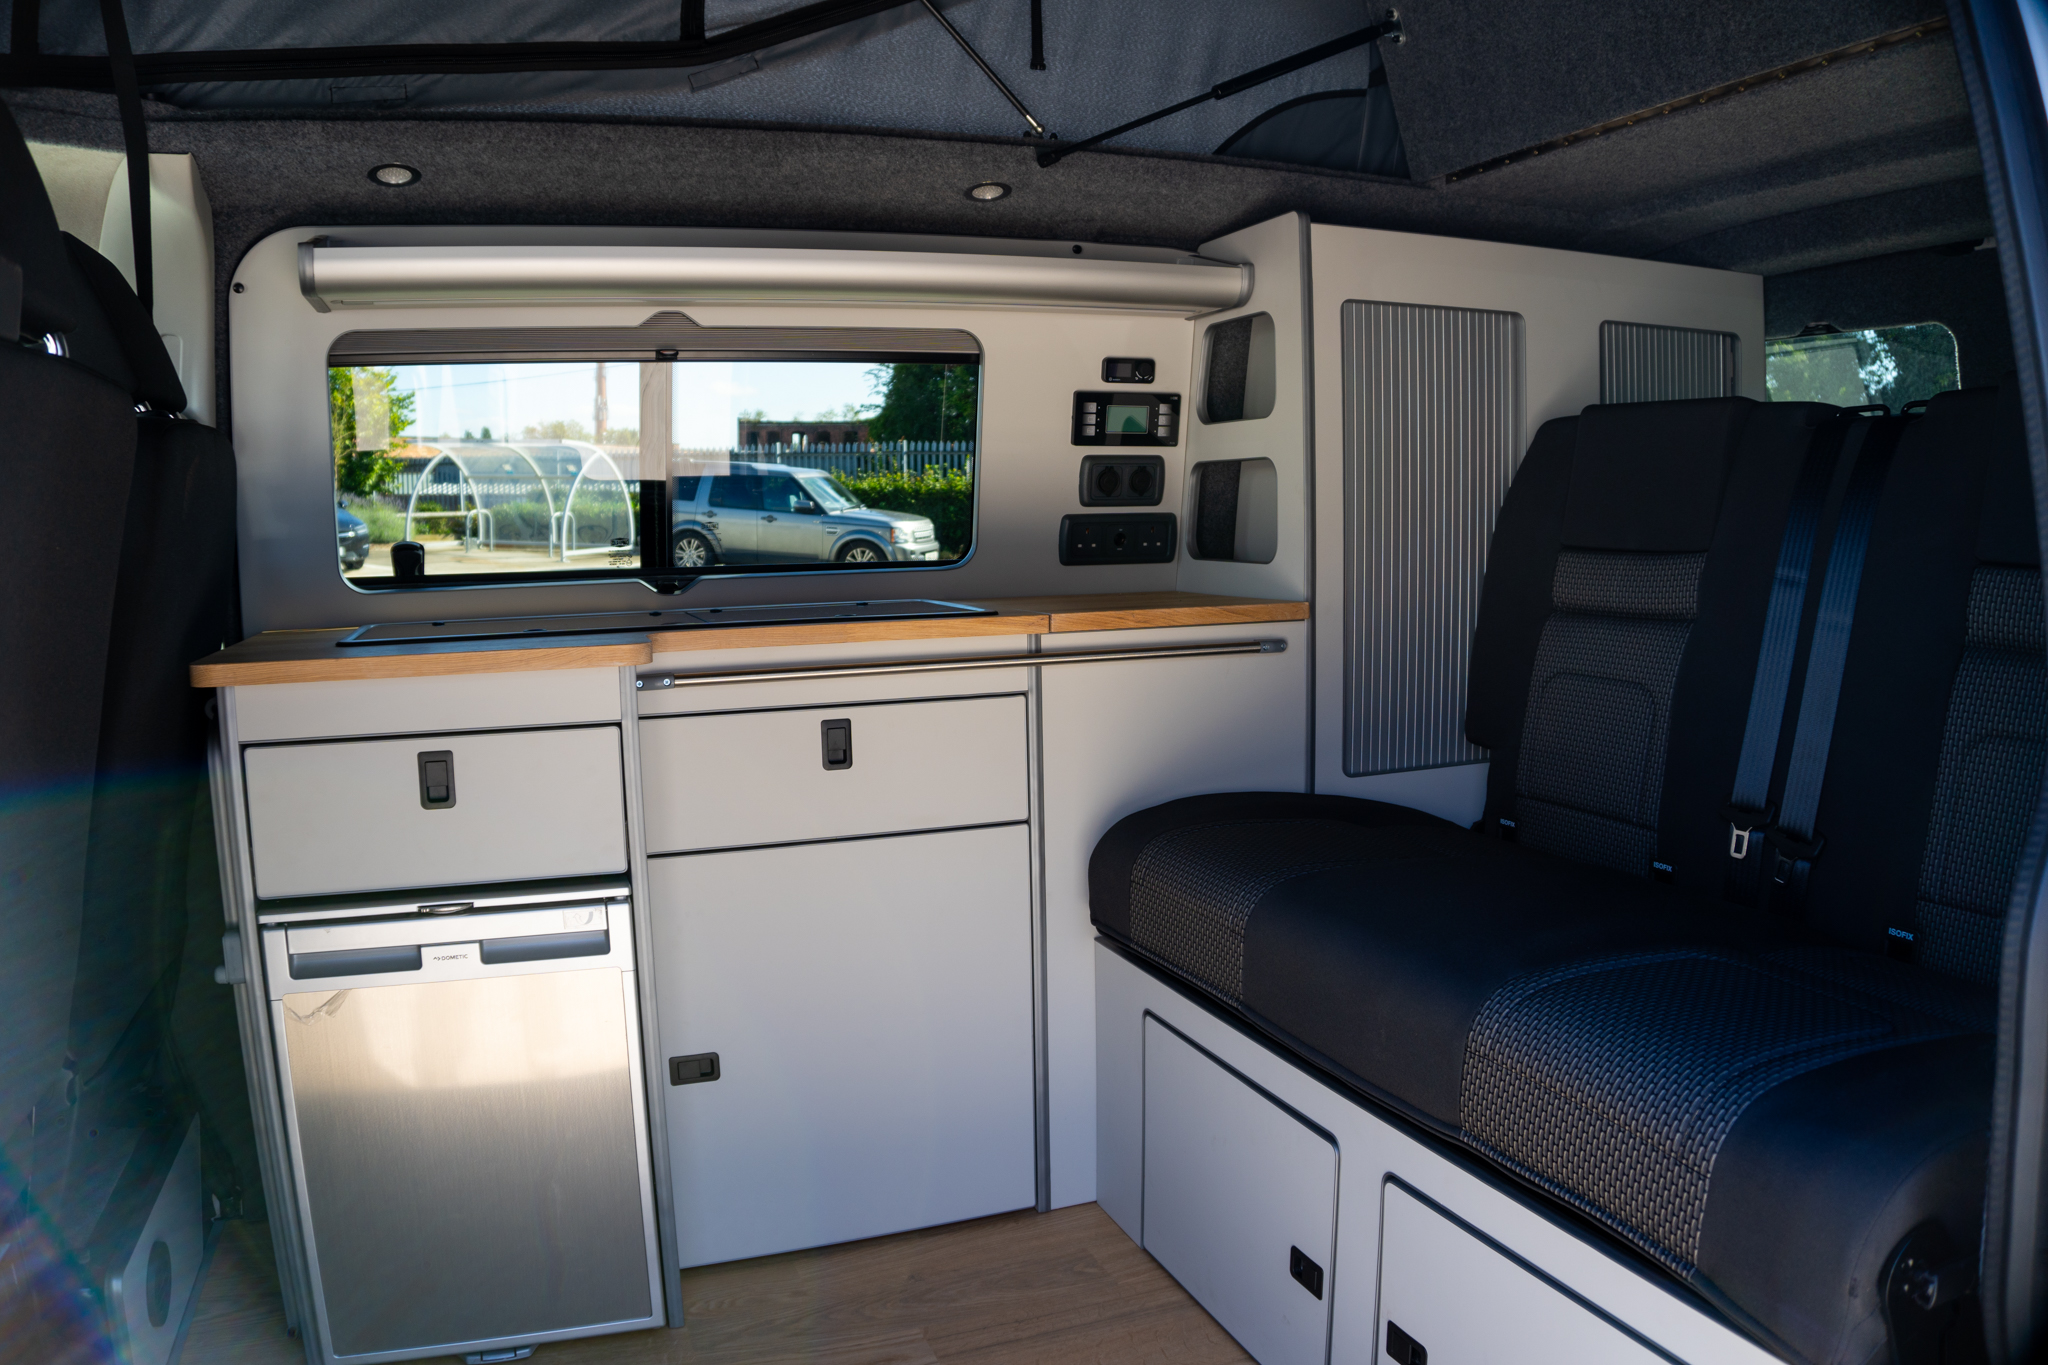
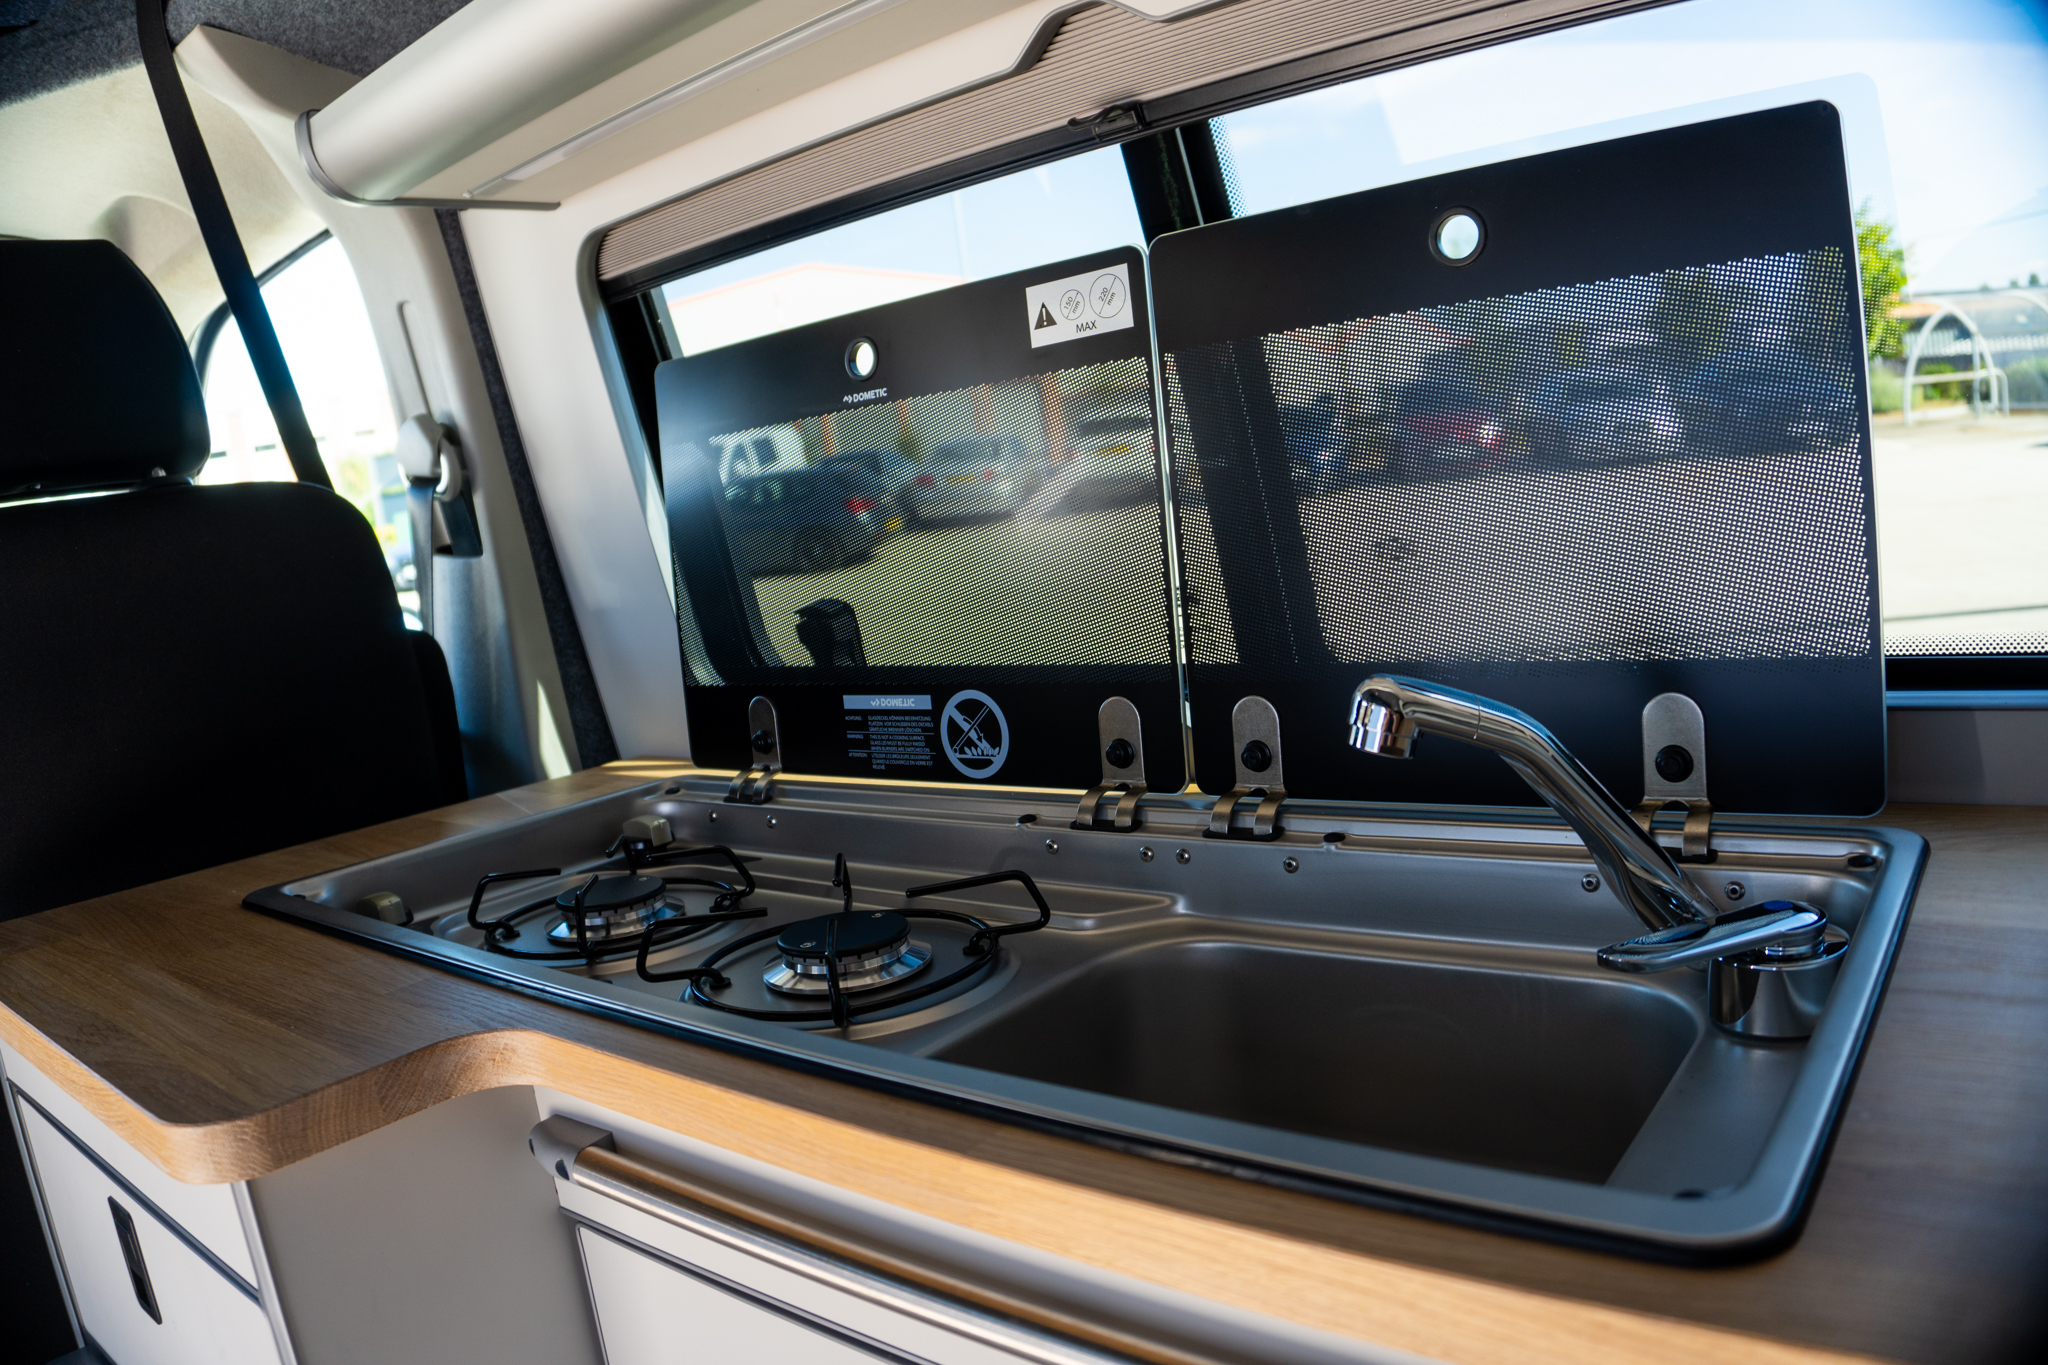
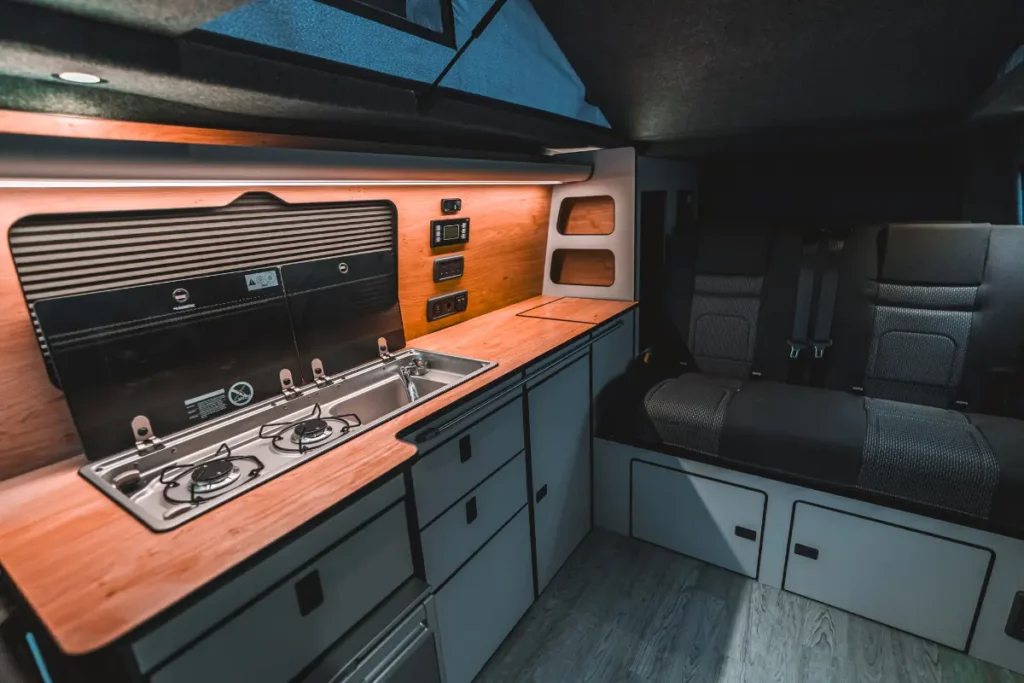
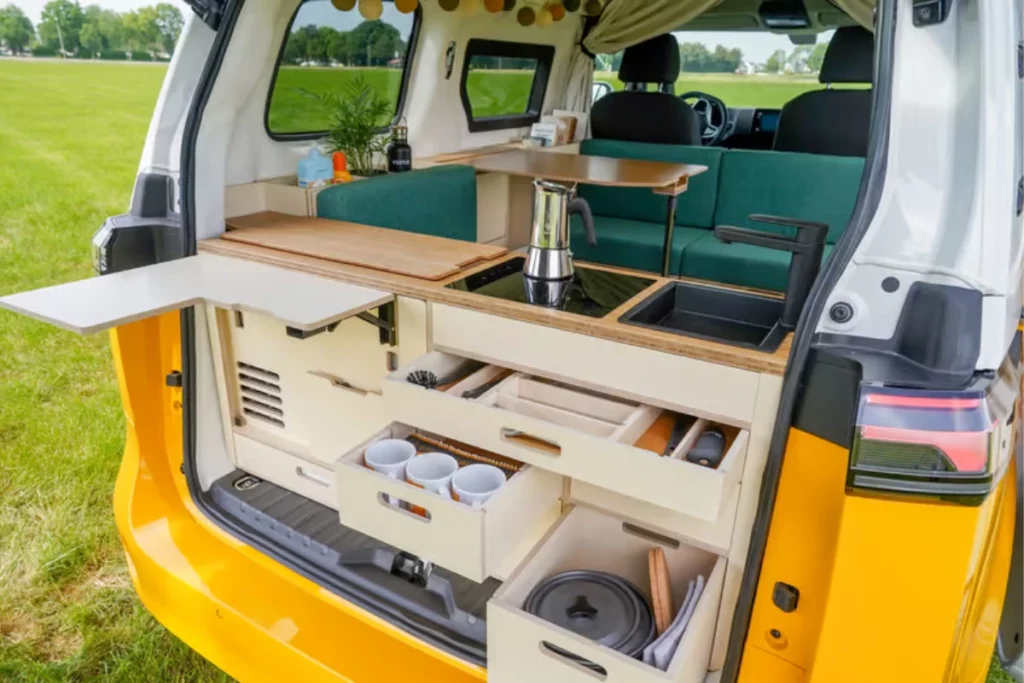
When we fit kitchen units, we fit a Dometic 922 which is a double burner gas hob and sink unit. The reason I love this is that it is so sleek and space efficient. You have two covers that cover the sink and hob, then lift up to form a small splash back when cooking. This is an awesome design because you can enjoy the extended bench space when the cover is down. Then, when you’re cooking or washing up, the splash back protects your van shades and carpet lining from any mess.
Sink with a connected water pump
A sink is another component of the kitchen unit that I think is really essential. When I do a VW Transporter camper van build, I know that clients are going to be most happy in it when it feels like home.
Having a sink makes the van feel a lot more homey because it makes everyday tasks more effortless. This will become your bathroom sink, laundry sink and kitchen sink all in one. When you need water so often throughout the day, you just can’t beat the convenience of turning on a tap.
Like I mentioned, our kitchen units include a Dometic hob/sink combo unit, which is really compact and well designed. These come with a 12V water pump so the tap functions like you’re used to at home with good pressure and a nice, even flow. The other option is to have a hand pump, but trust me, this gets pretty cumbersome after a while.
We also have the option to install the water tank under-slung if you’d like some extra space for storage in the main cab.
So, I recommend installing a sink with a 12V water pump in your kitchen unit. Having this will make everyday tasks easier and help elevate your van experience – you won’t feel like you’re just camping out of a regular car!
At the very least, install a water tank
If you’re not convinced that a sink is worth sacrificing the extra bench space, I will say that you should, at the very least, include a water tank connected to a hose. Unless you’re always parked at a campsite that has running water, without a water tank you’re very limited in where you can camp.
Think about it… washing up, brushing your teeth, making a coffee or boiling pasta all require (potable) water. Of course, you could carry around a bunch of 10L water containers and a bucket as a back up option, but they take up so much space and they’re just not convenient for longer trips. Plus, it’s a huge waste of plastic.
Do you really want to be stopping by the store every few days for plastic water containers? Talk about a trip dampener!
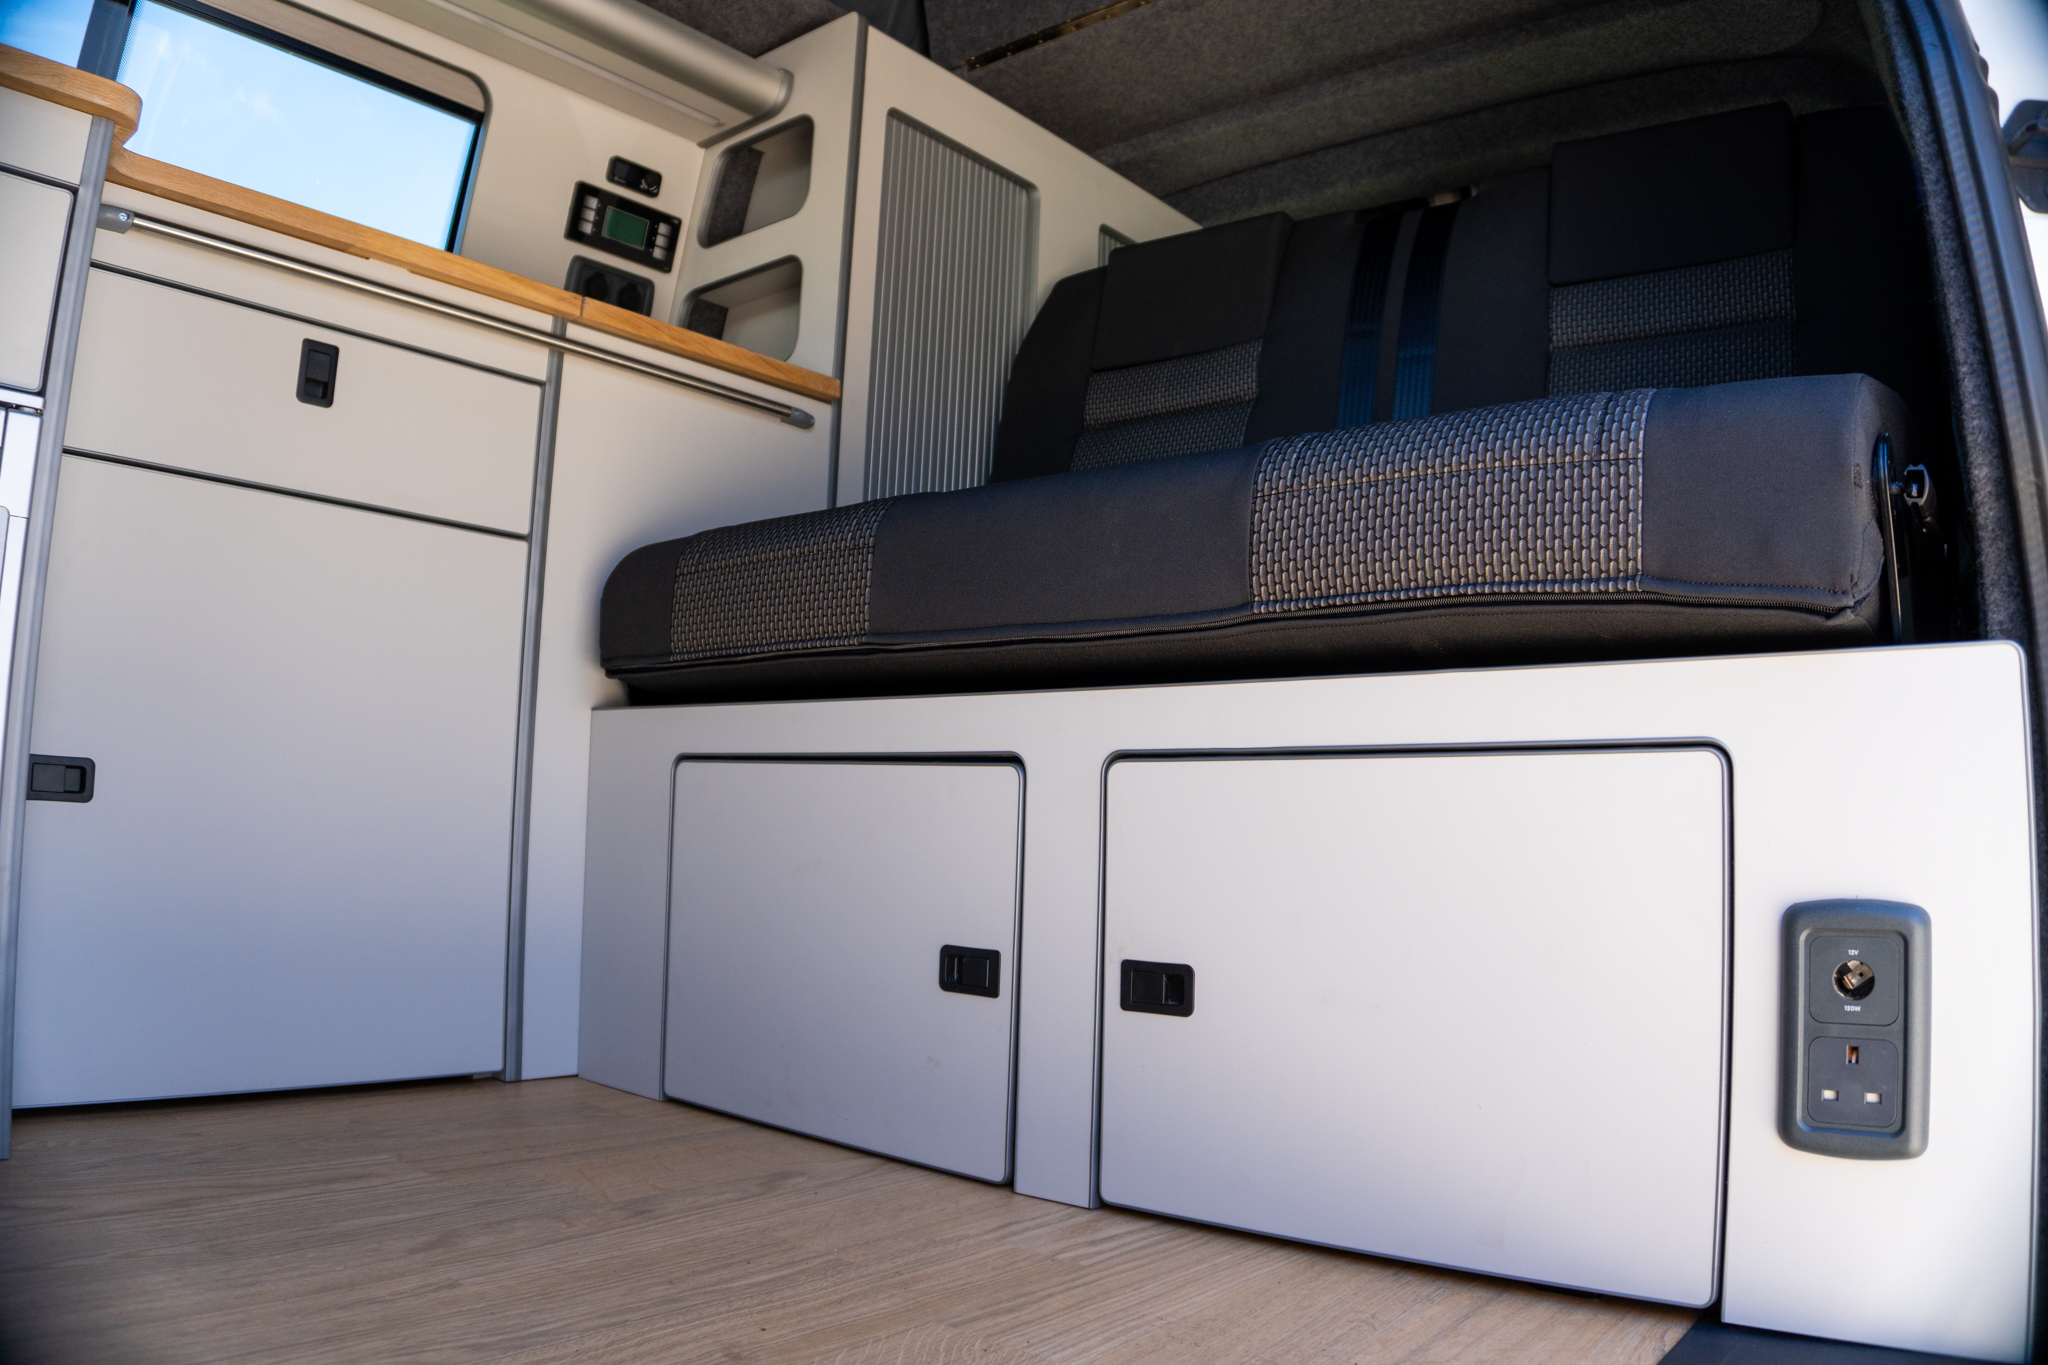
Storage space
Obviously, everyone aims to include heaps of storage space in their van, but not everyone succeeds. When it comes to the kitchen area, this is super important because you want super easy access to your spices, kitchen utensils and groceries all at once.
My biggest tip when building a kitchen unit is to design it around your kitchen essentials, rather than the opposite. I recommend thinking about where you’ll store the bulky essentials like your stove, pans and pots. Sometimes a big cupboard with everything stacked on top of each other is much less user-friendly than shelves or nooks that fit the items individually.
This is especially important to think about if you’re installing a kitchen pod outside the cab (at the rear or side of the van), because you don’t want to be going back and forth to fish things out of the main cab while cooking.
For instance, I love this design for fitting your stove in a custom-made nook in the kitchen unit rather than shoving it in a cupboard.
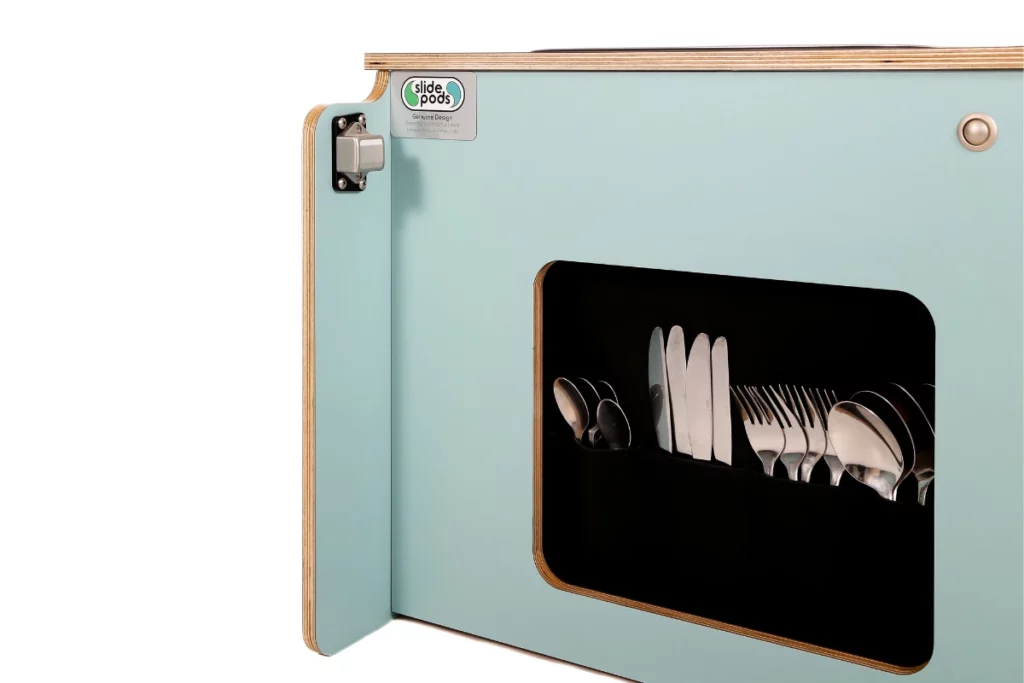
Another good example of excellent storage design is the cutlery pocket on the side of Slidepod units, which saves you needing an extra drawer but keeps cutlery really accessible.
Basically, what I’m saying is get creative and plan out your storage space for your needs! In my experience, it’s the little details like this that will make all the difference.
Low-power fridge

A fridge is another thing that, in my opinion, is non-negotiable for a VW camper van. Without a fridge, you’re basically at the mercy of how quickly the ice is melting in your cool box. Plus, buying ice all the time can get expensive and become a hassle (now imagine you ALSO have to buy containers of water… you see what I mean?).
The other option is to not have any cold things at all, but staples like milk and butter are annoying to go without when you’re living off grid, even for a few days. Not to mention, no one likes a warm beer!
We fit our kitchen units with a Dometic CRX50 low-power consumption fridge, which includes a freezer section too. Ice in my drink while camping in the middle of nowhere? Now that’s luxury!
Power sockets
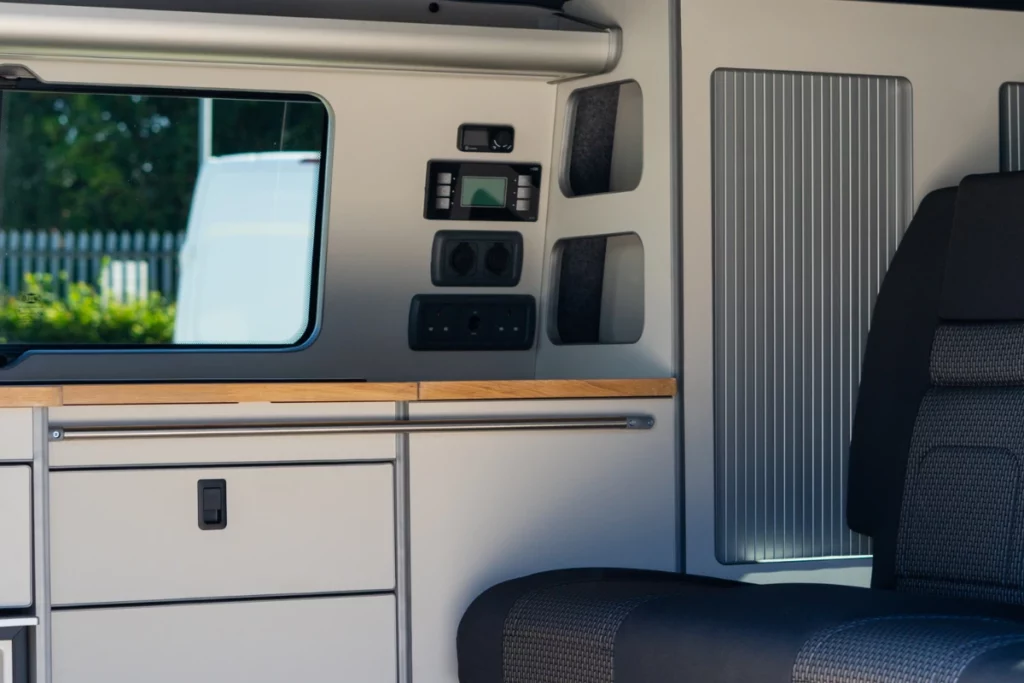
Power sockets are good to include if you need to power any kitchen appliances, like a toaster, kettle or blender. Keep in mind that while a 12V socket is sufficient to charge your phone or laptop, you’ll need a 240V socket for most kitchen appliances.
In all honesty, these aren’t essential but they are nice to have. From my experience, clients end up using these sockets more often than they had originally thought. It’s another level of luxury to be able to plug in whatever appliance you can at home, rather than being limited to 12V sockets.
A microwave
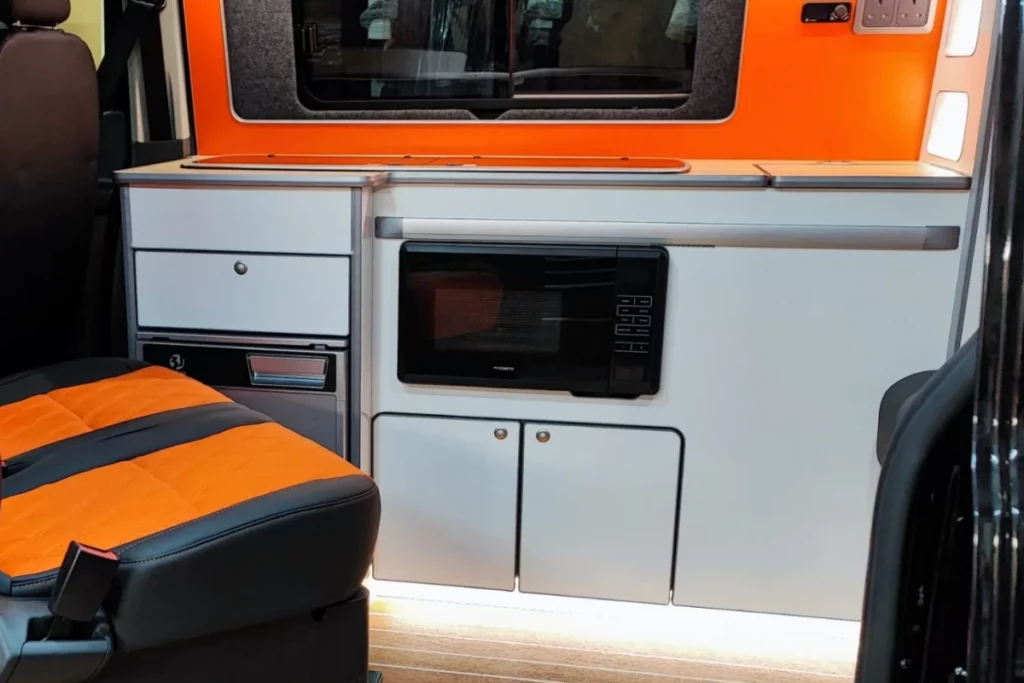
A microwave is another optional add-on that we include only for customers that specifically request it. In my opinion, this is a ‘nice-to-have’ and makes reheating food or cooking microwave meals like ready-made rice or TV dinners really easy.
In my opinion, it’s probably not worth sacrificing the extra storage space. If you’re really pining for a microwave, I recommend installing the kitchen unit without it first and see how you go. If you really find yourself lost without it, it’s super easy to install at a later date.
What Layout Option Should I Choose for my Camper Van Kitchen?
Option 1 - internal kitchen unit
BEST FOR:
- You don’t like the idea of cooking outside and want minimal set up/pack down
- Anyone wanting a quick conversion. A fixed unit is much easier to DIY compared to other fixed set ups and this design is more common for my team too, so you’ll get a quicker turn around!
- You have mobility issues or an injury that makes a slide out unit impractical
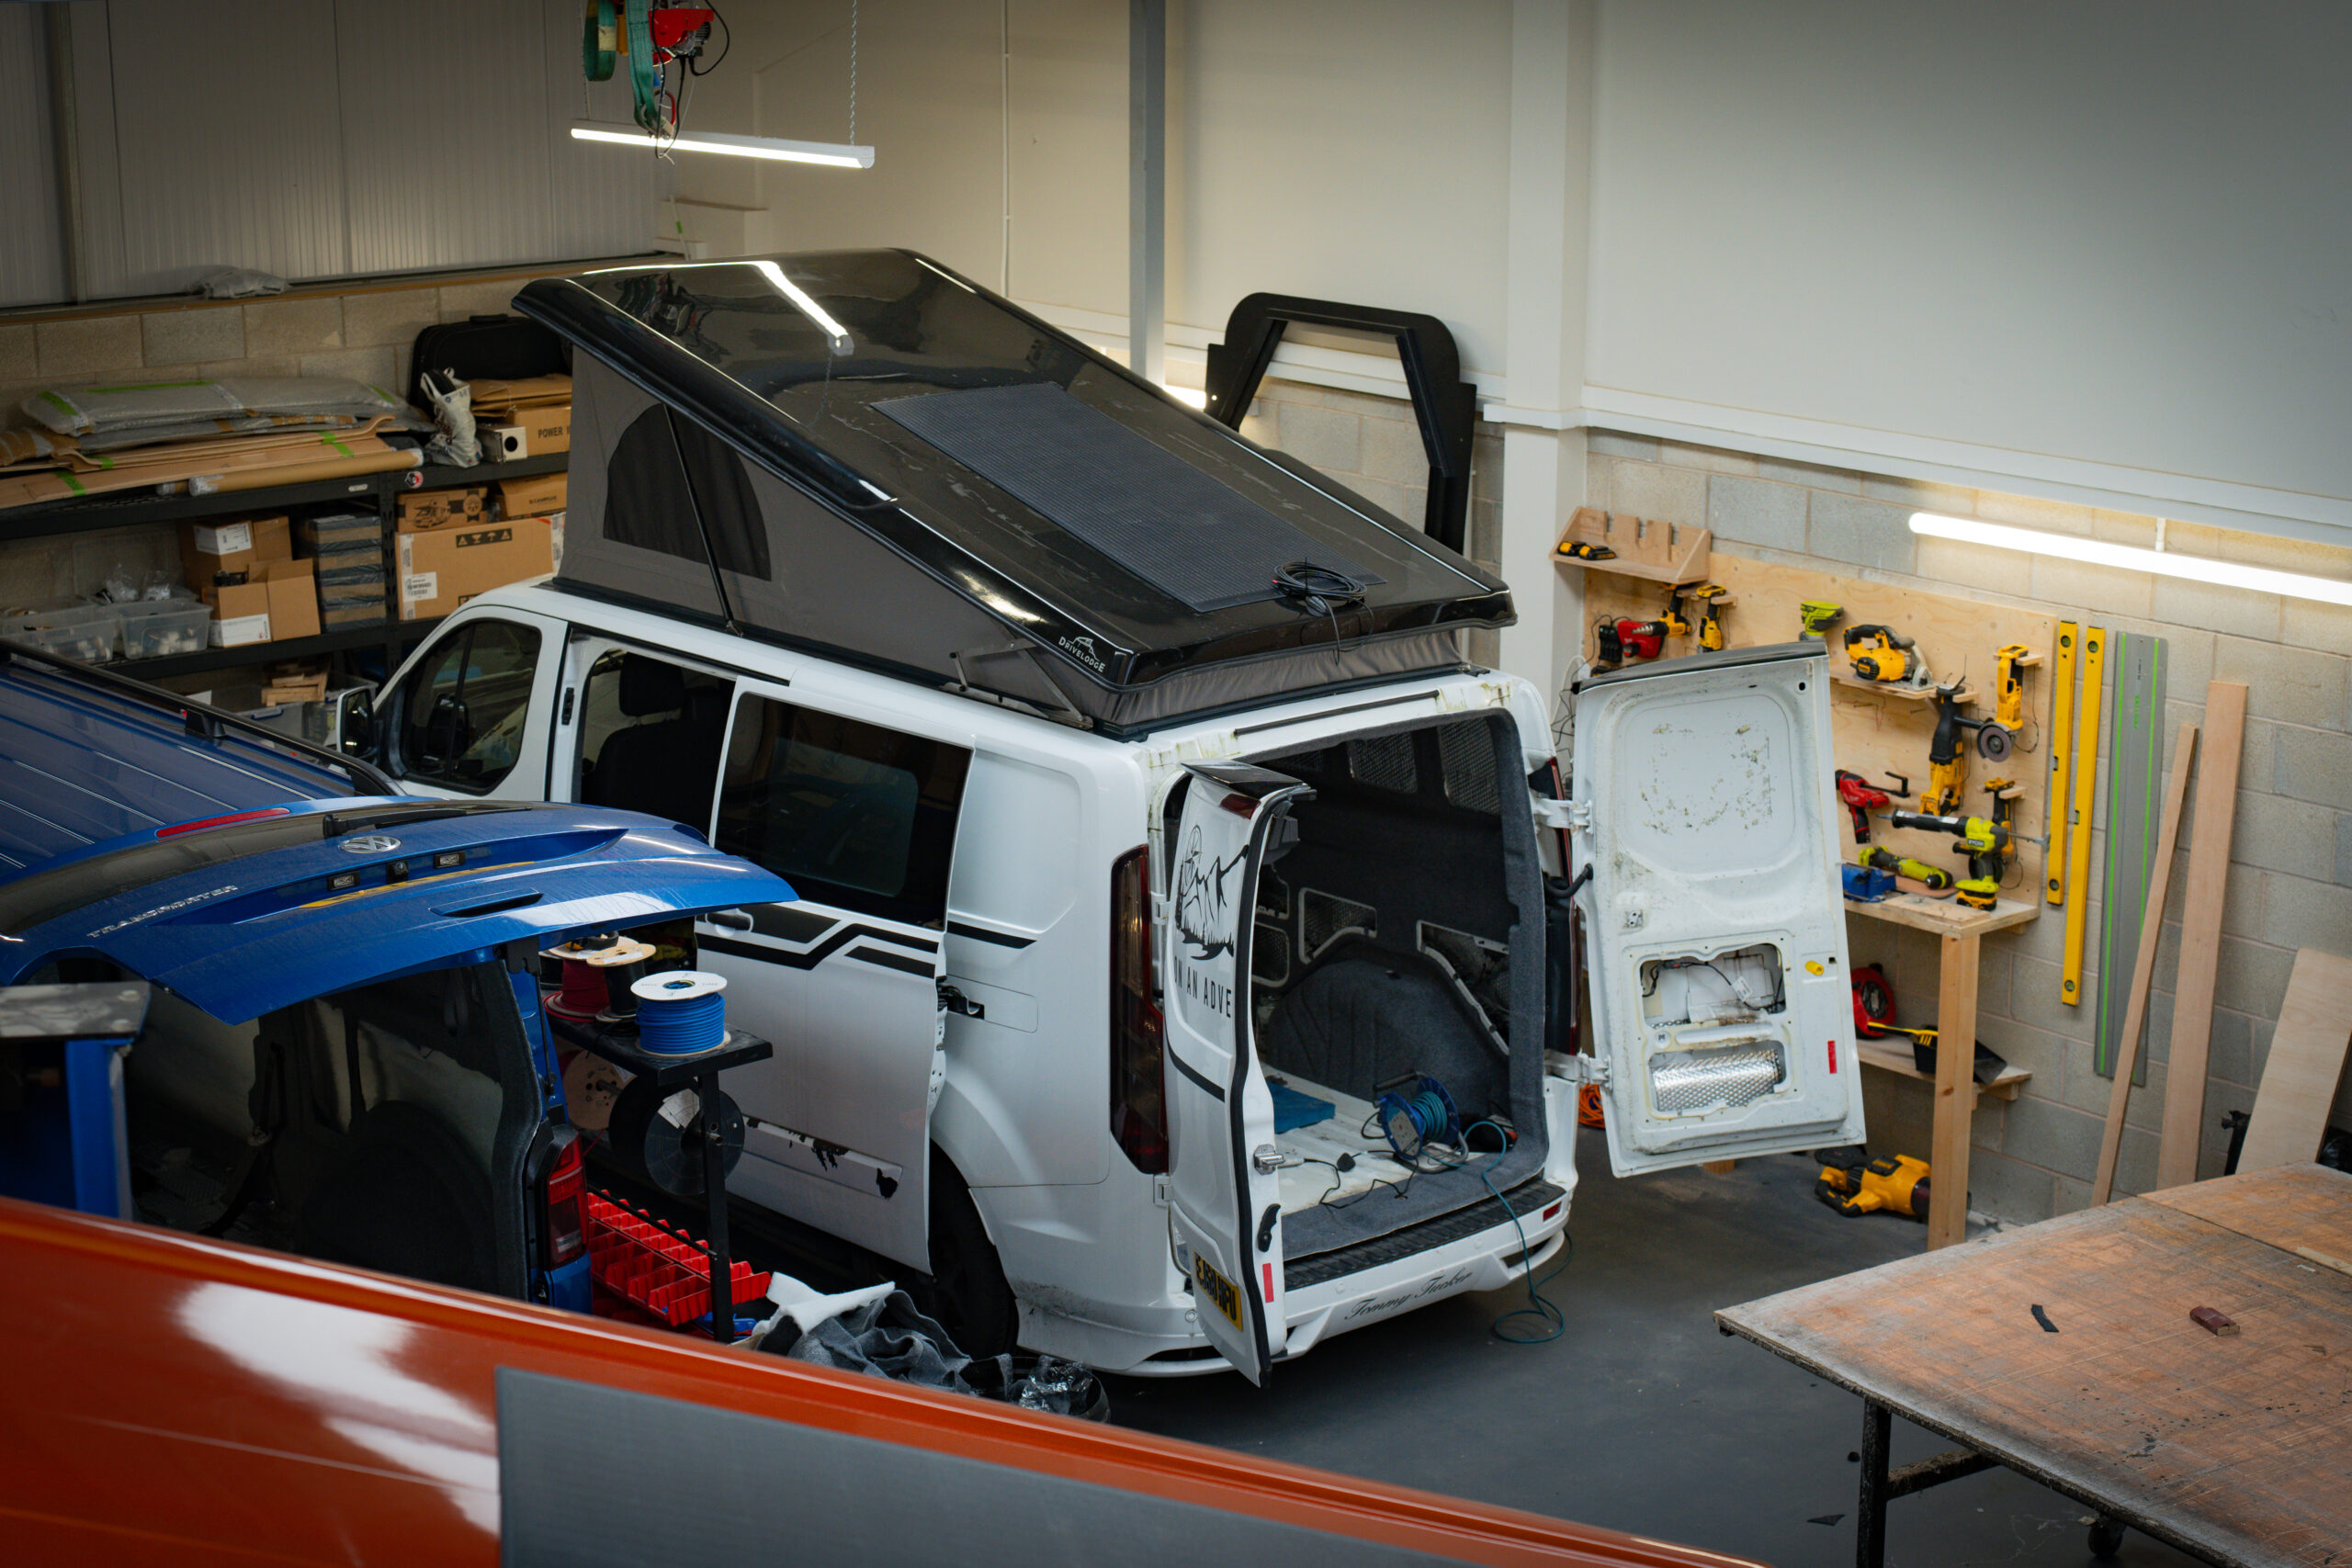
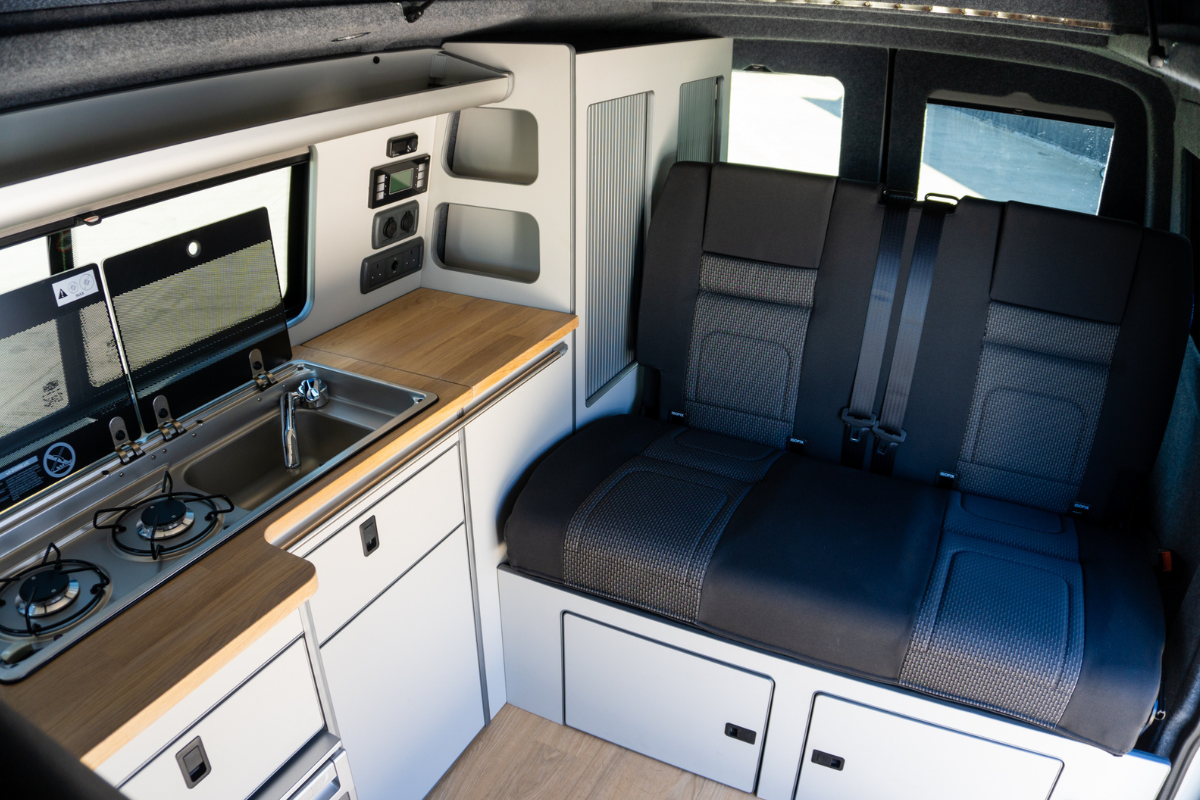
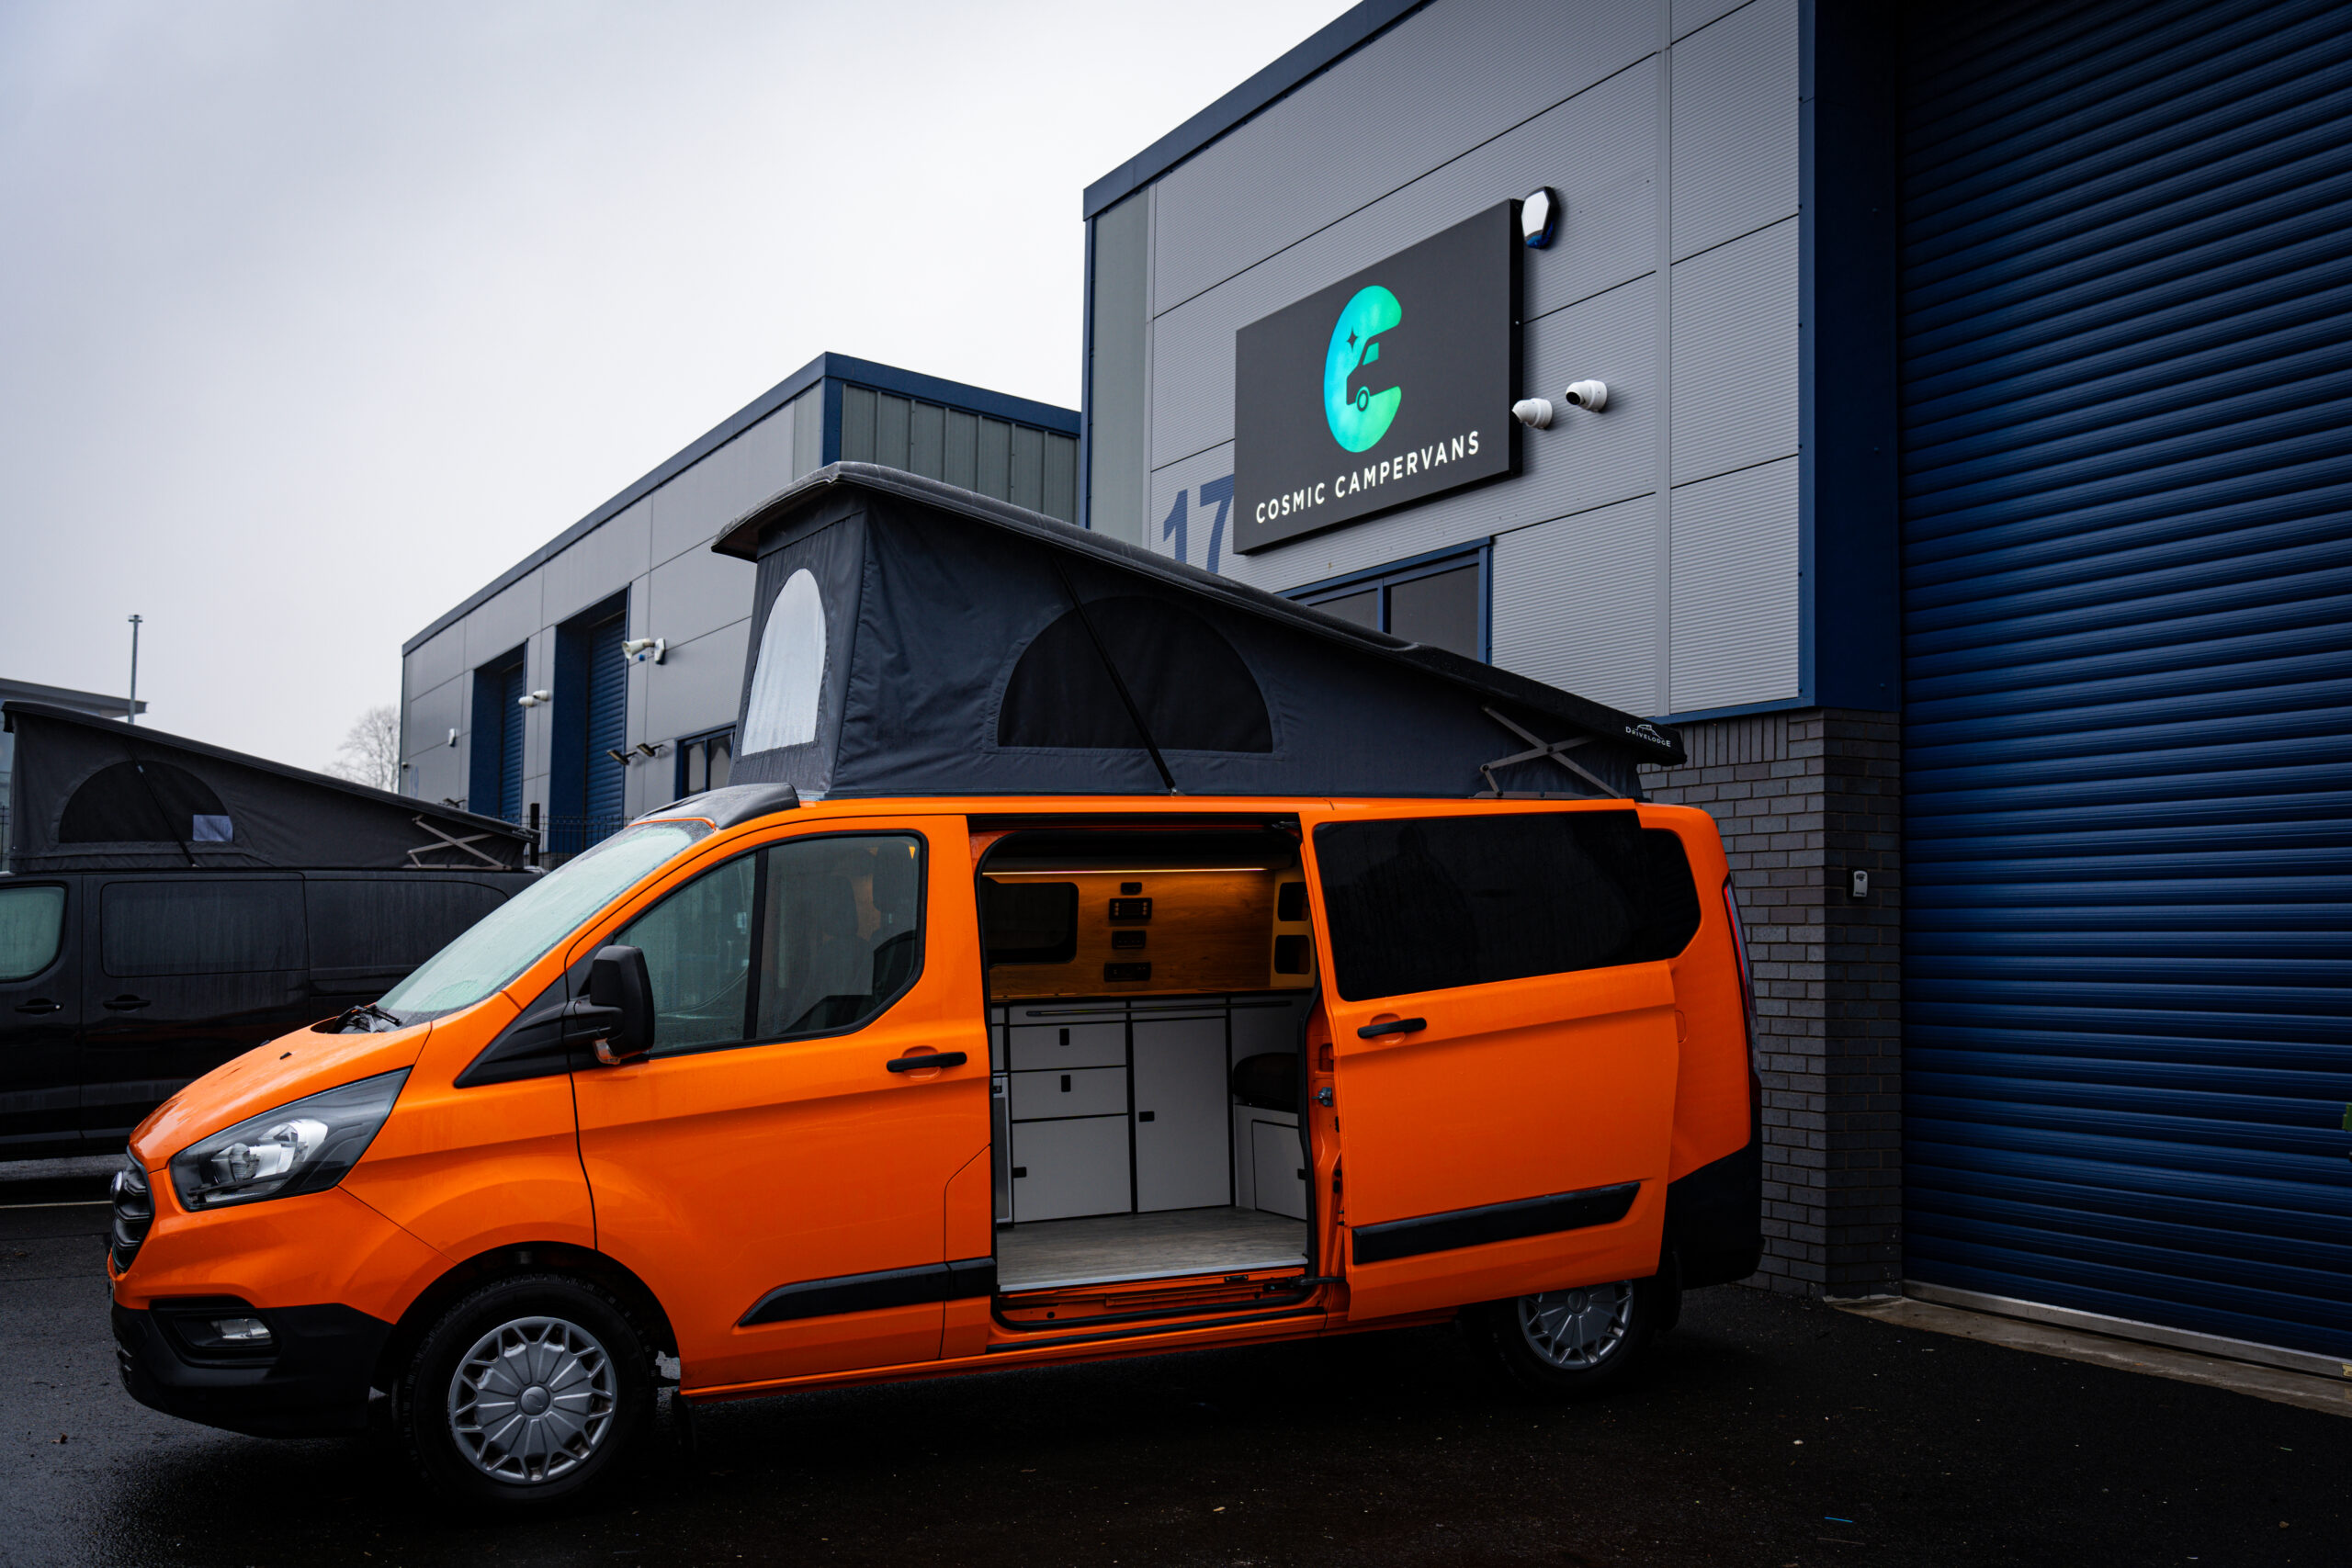
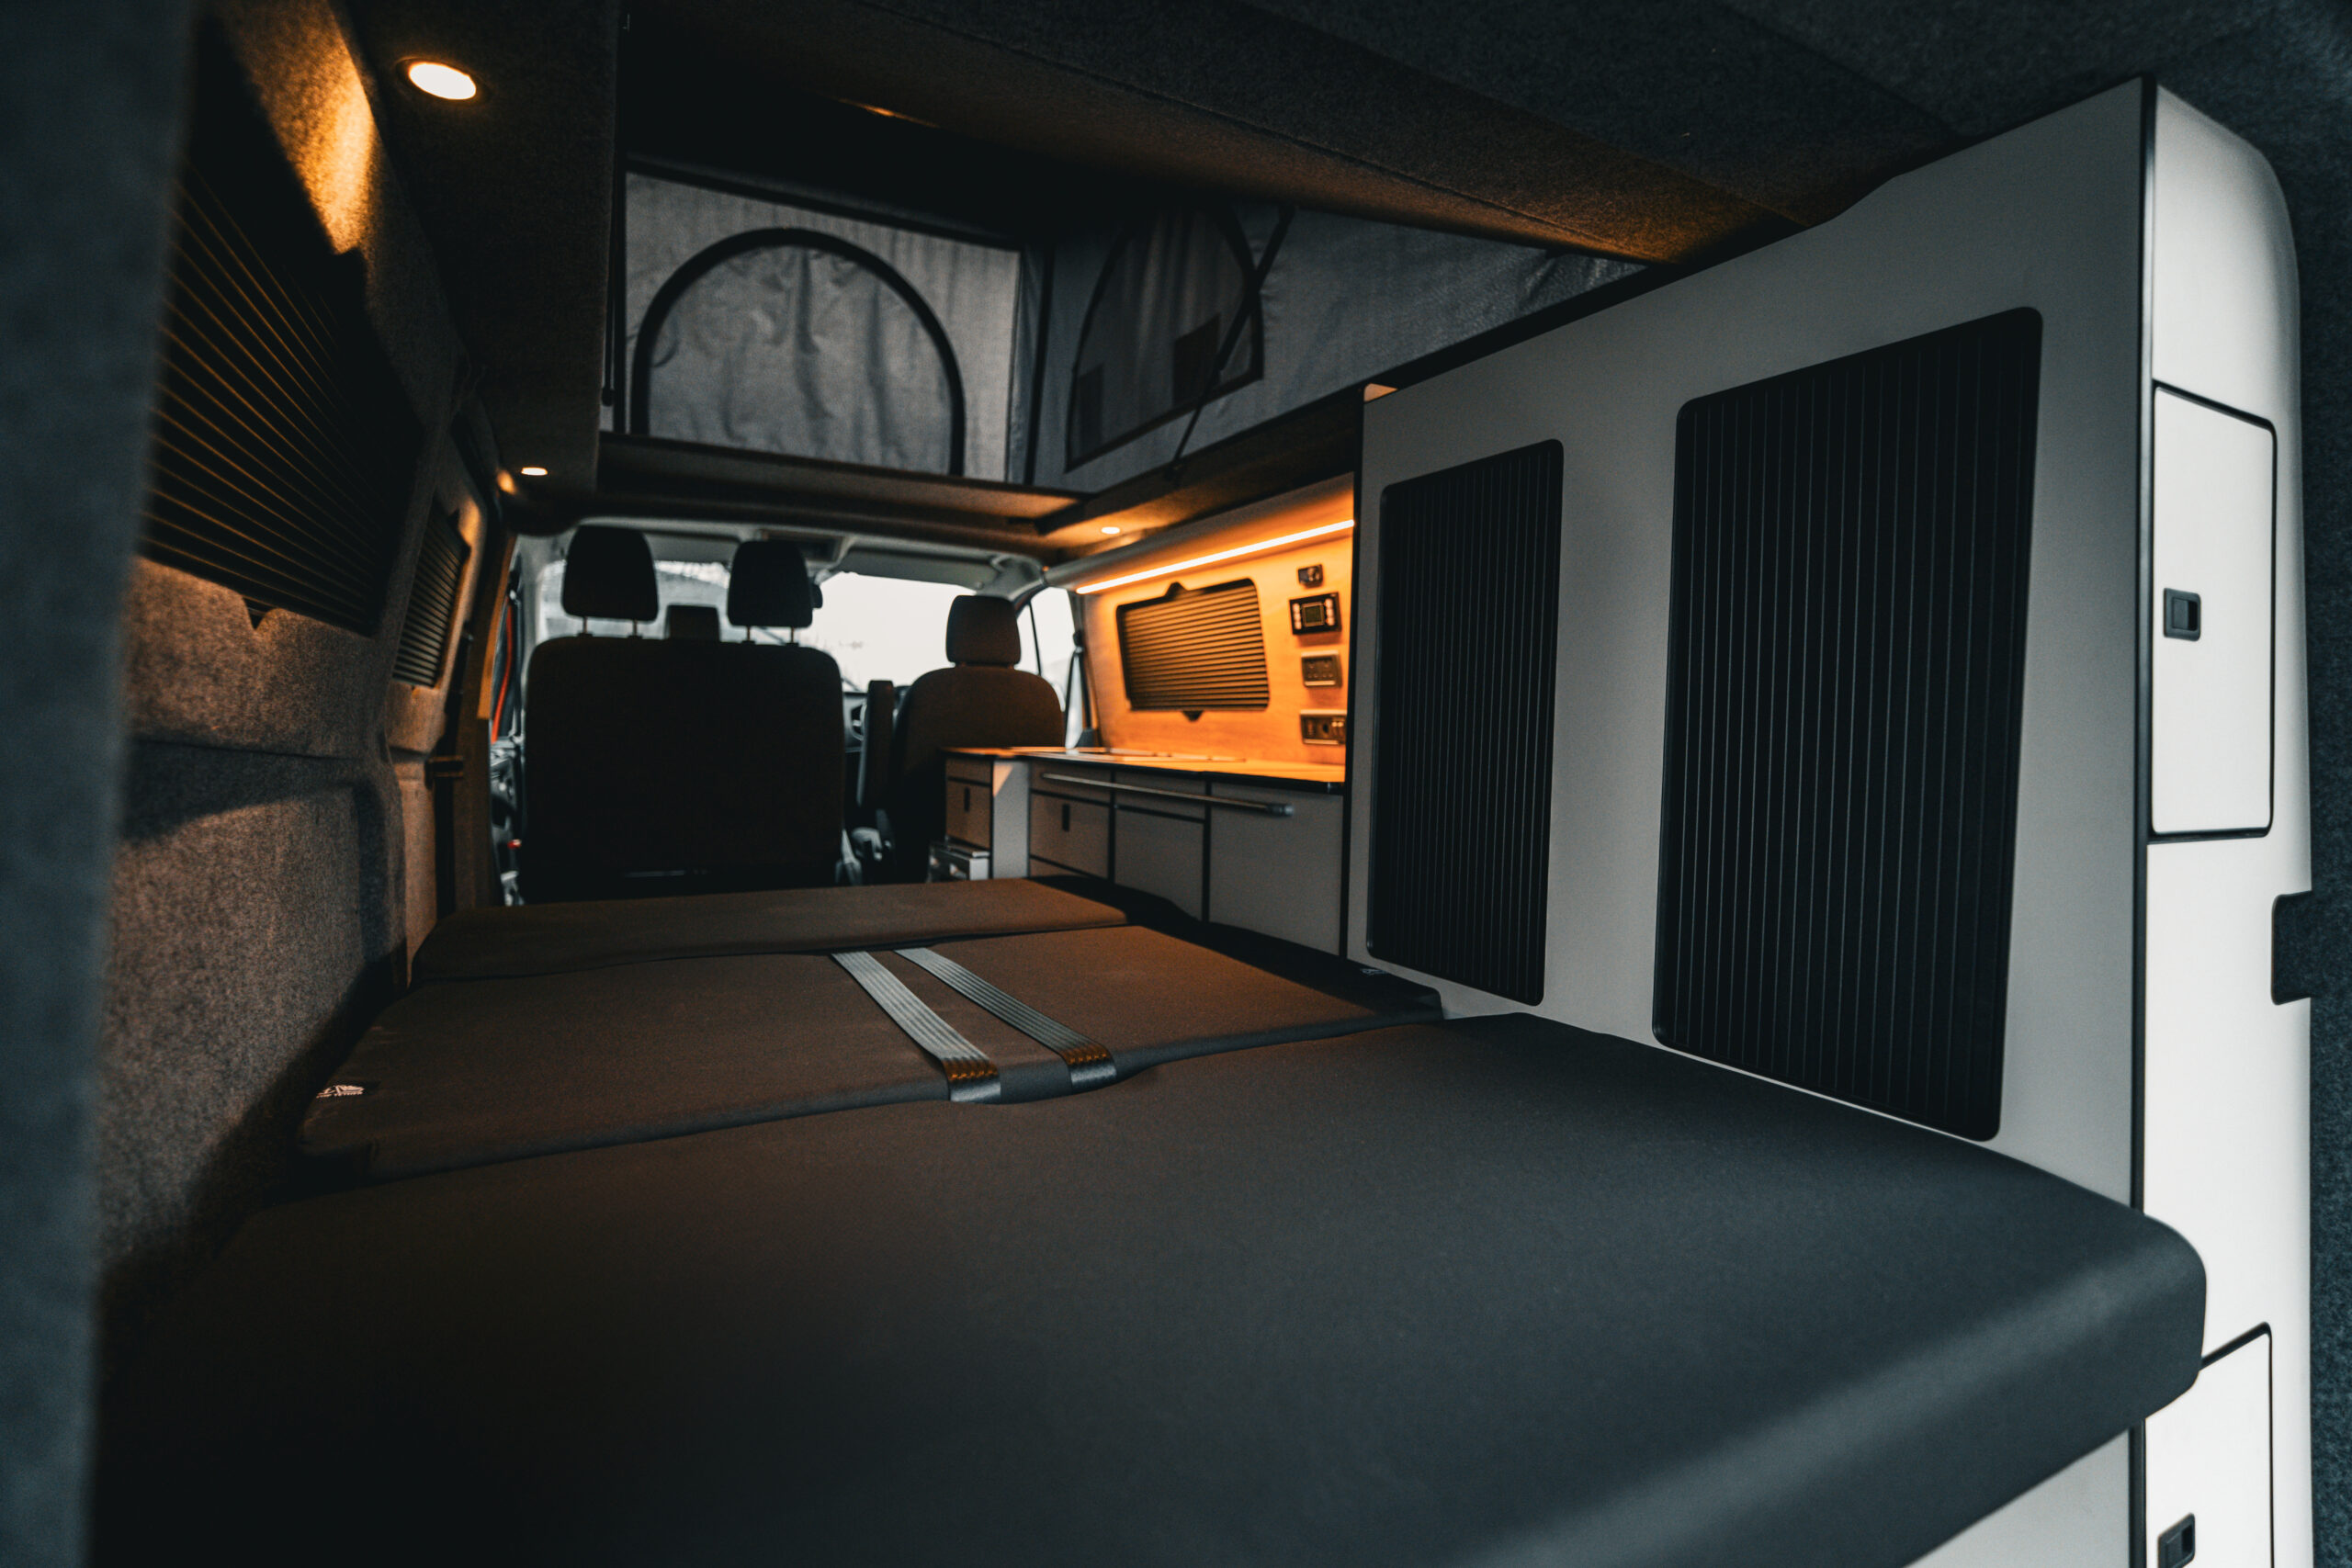
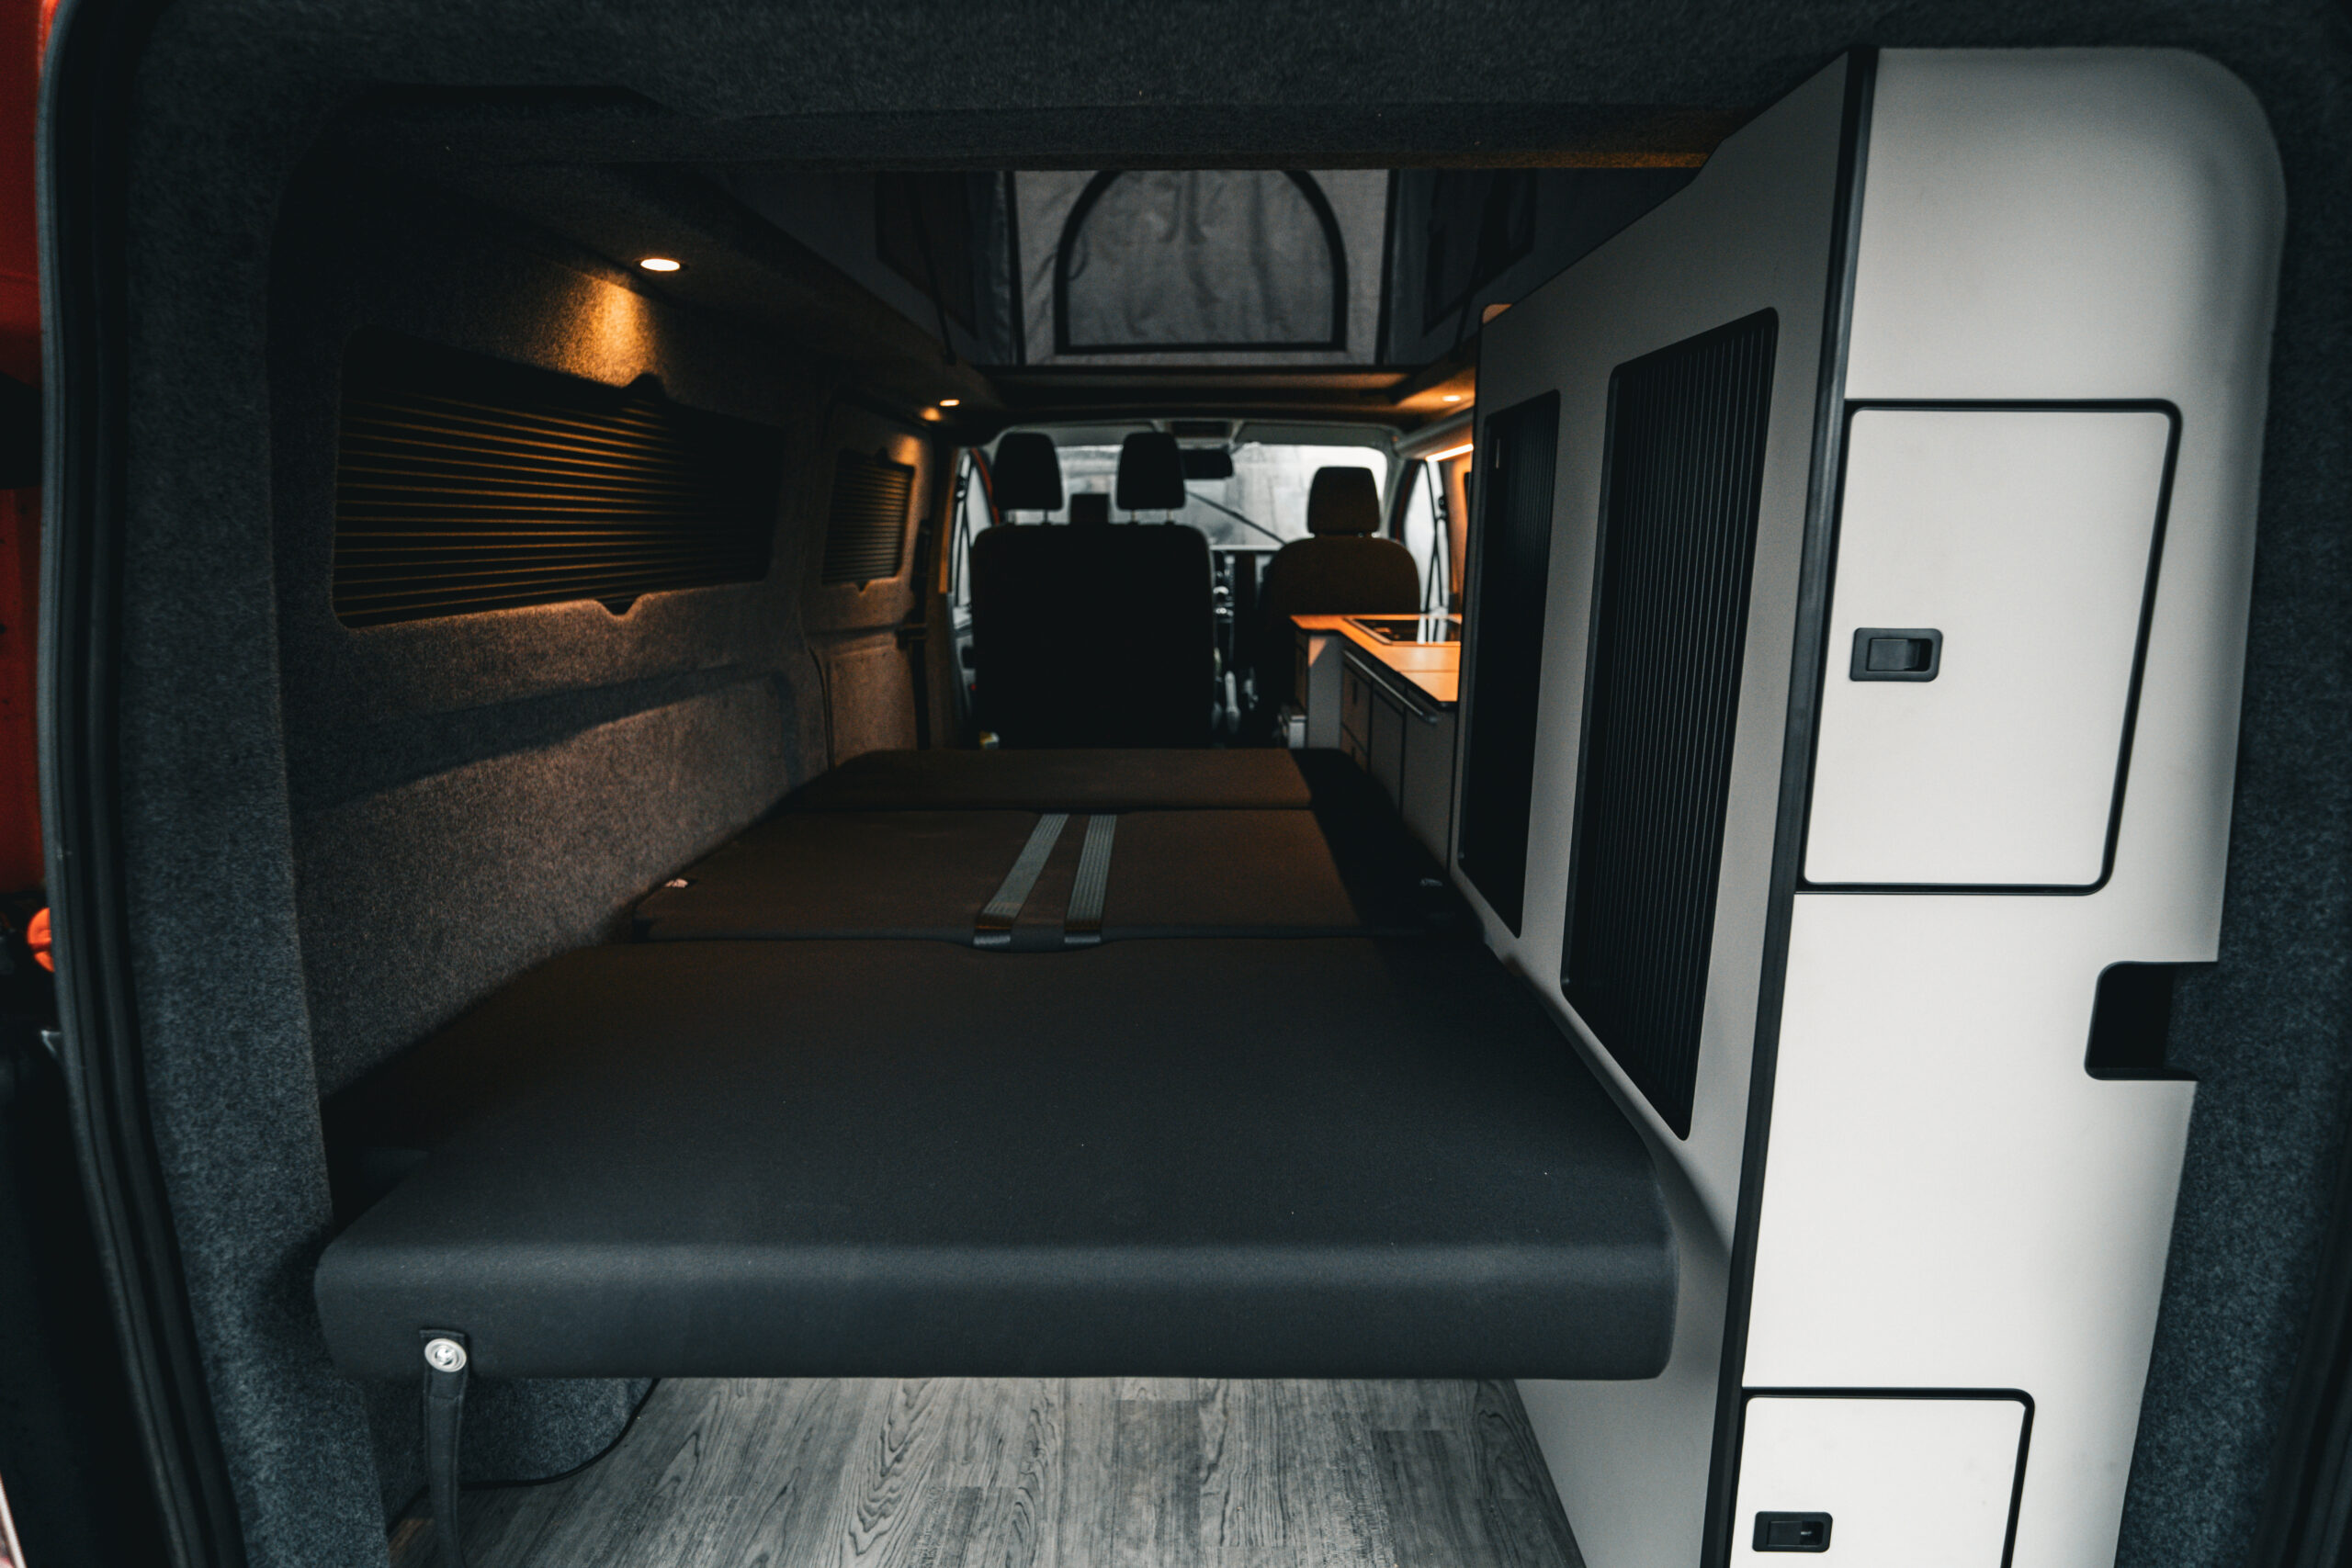
I thought I’d start with the most common kitchen fit-out and, frankly, my preferred design. This is what we most often install for customers for a full VW camper van conversion, simply because it maximises the space of the van and is really user friendly.
Basically, in this design you’ll have a laminate counter top on the far side of the van with a fixed sink and hob, an under-bench fridge and heaps of storage. We also include power sockets above the bench so you’ll have space to use any appliances.
Pros of this layout
- You can cook inside: No matter the weather outside, you can cook from the comfort of indoors. This is especially helpful when you’re camping in the UK where the weather can be less than pleasant a lot of the year!
- There’s no set up or pack down: This is one of the only kitchen designs that doesn’t require you to do anything – just get stuck right into cooking straight away. The convenience of not having to slide anything out or unpack anything is honestly invaluable if you’re planning on spending a lot of time in the van.
Cons of this layout
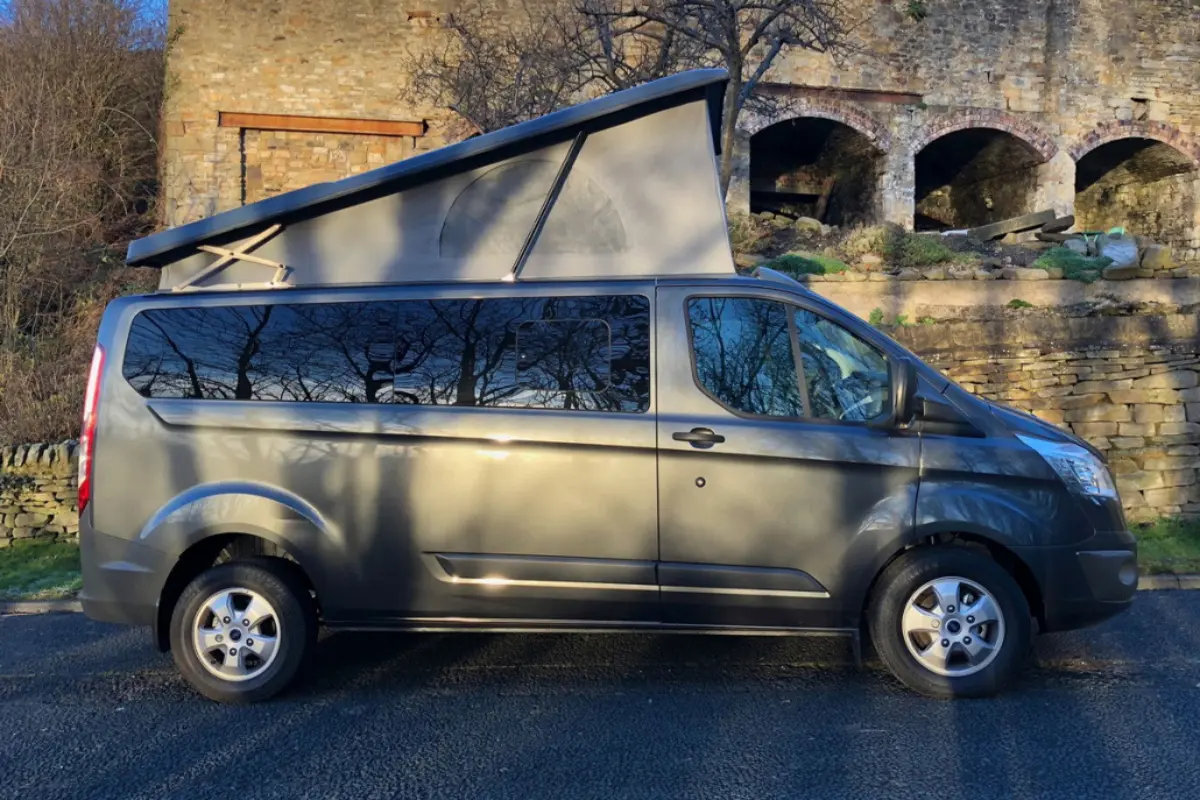
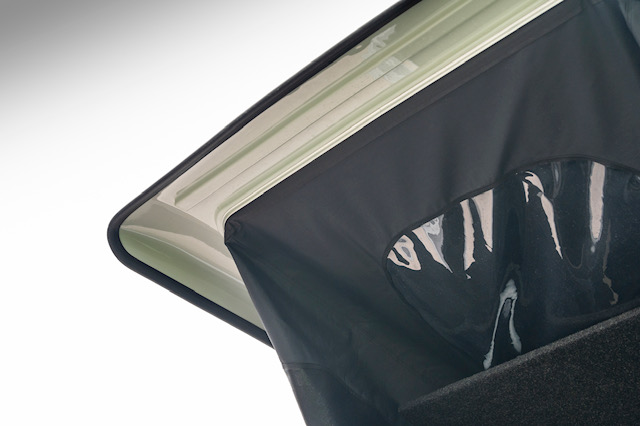
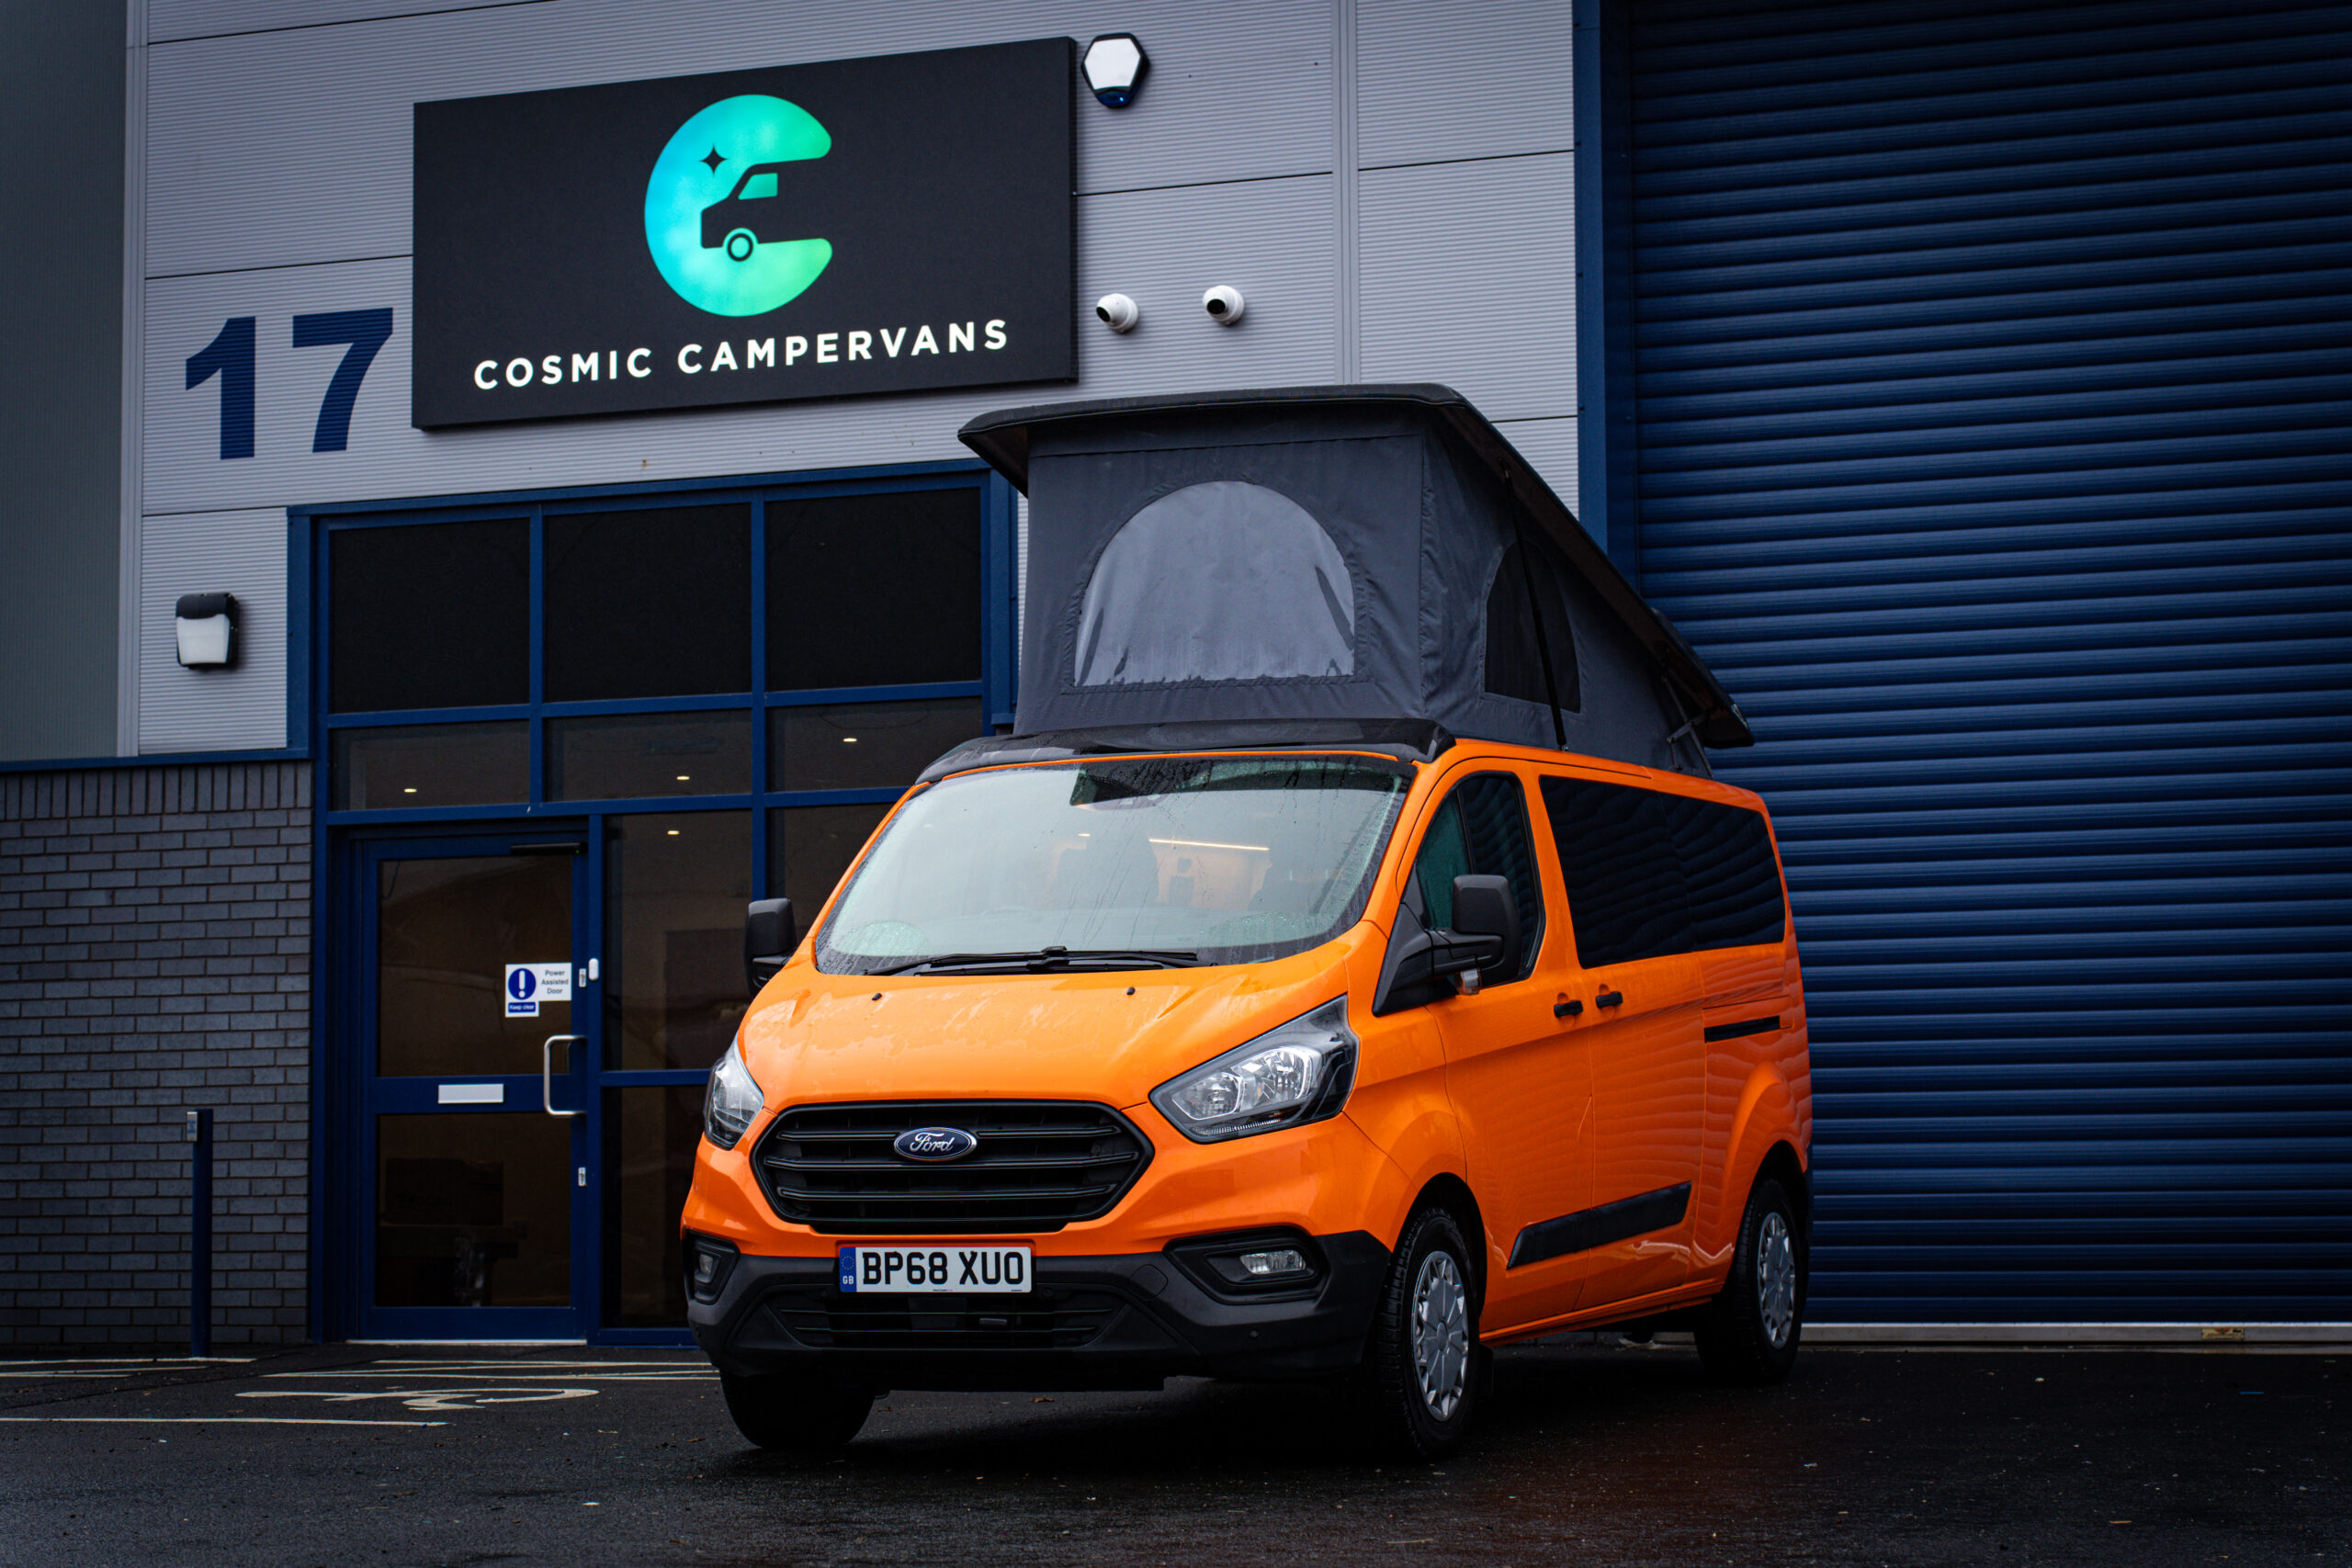
- You need a pop top or high top: If you’re not planning on installing something to increase the head height in the van, you shouldn’t be planning on cooking inside either. Trust me, it is so uncomfortable to be bent over while cooking.
Not to mention that without the extra ventilation of a pop top roof, the smoke and odours of cooking inside the van will be super unpleasant. So, if you’re going to keep the head height as-is inside the van, you’ll need to opt for an external kitchen option.
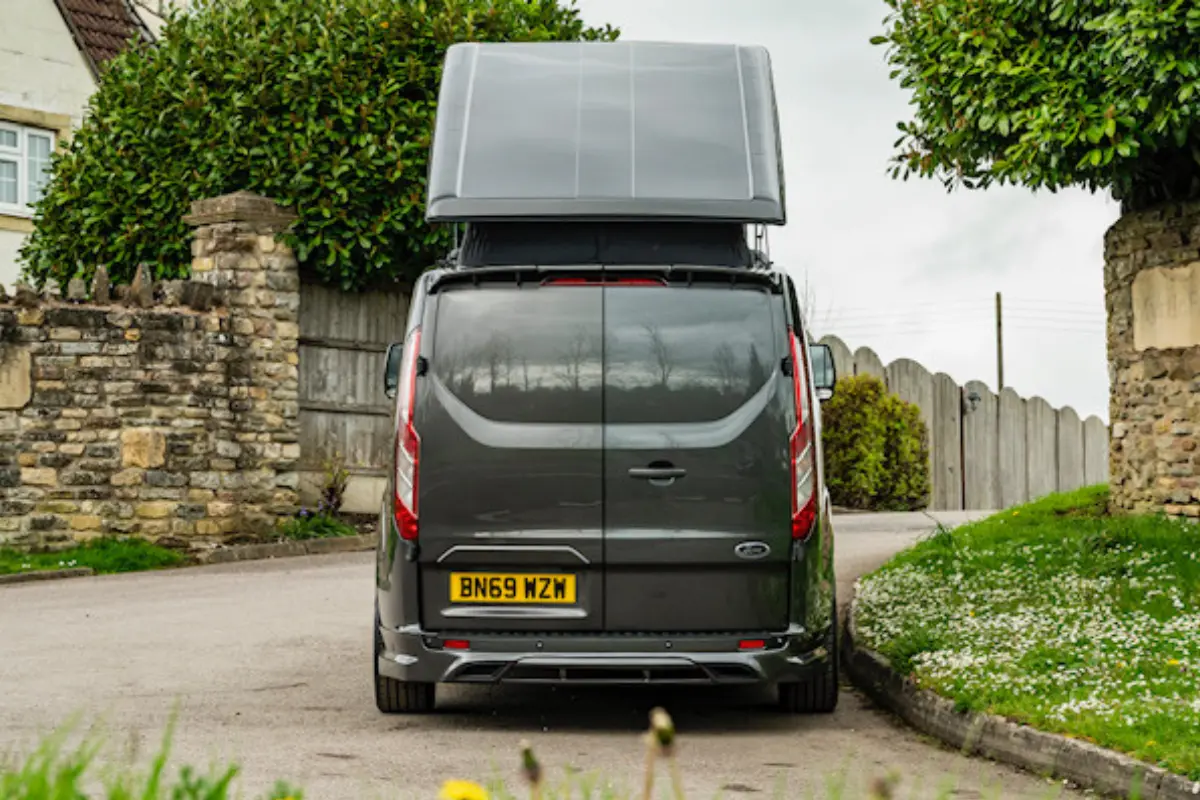
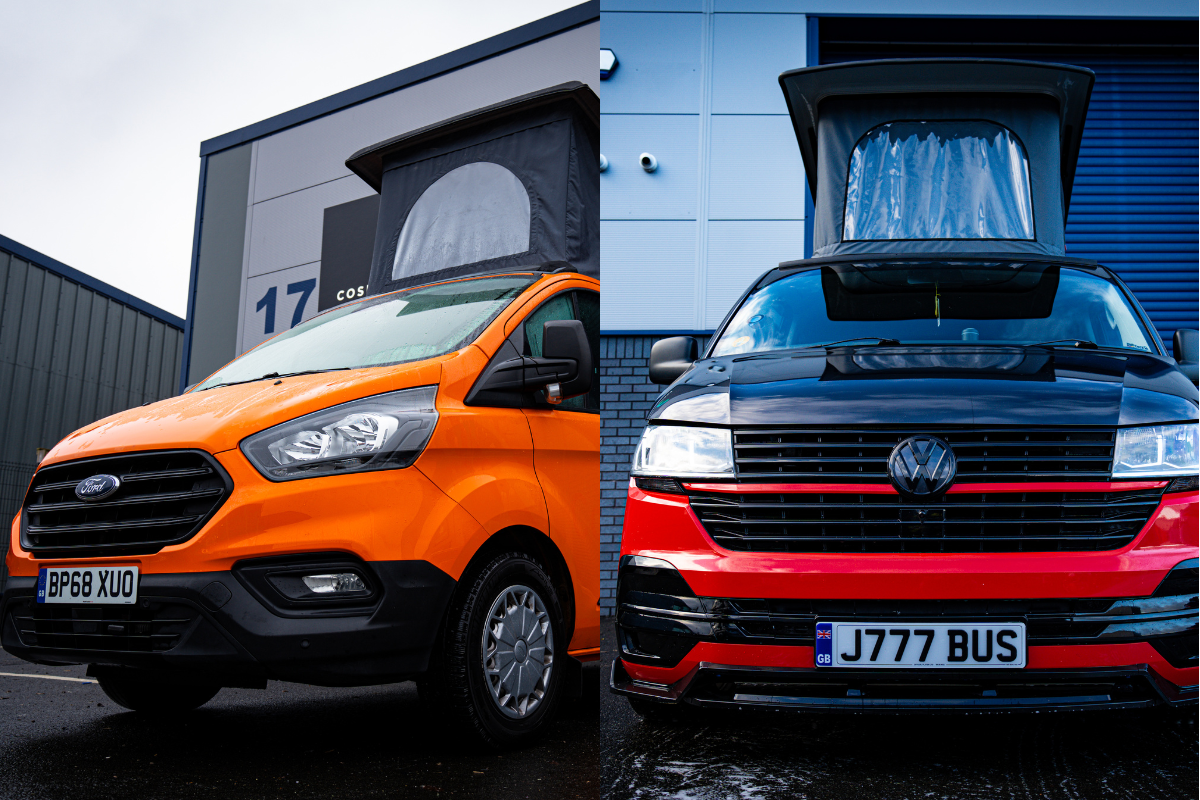
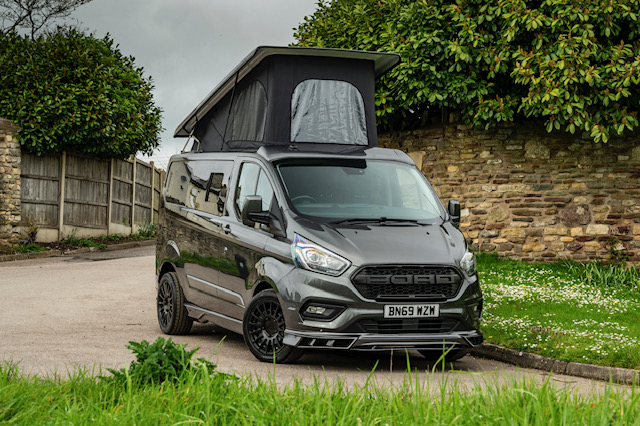
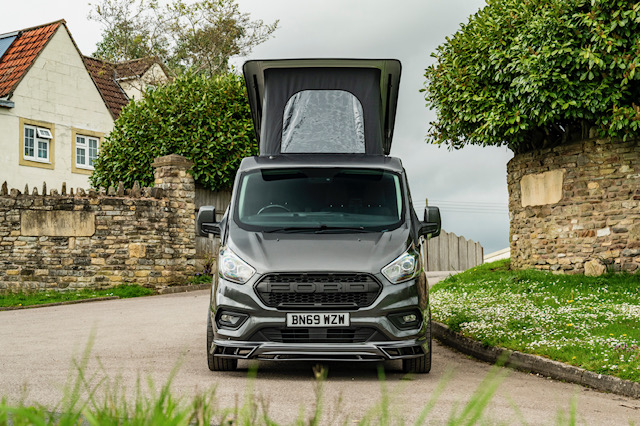
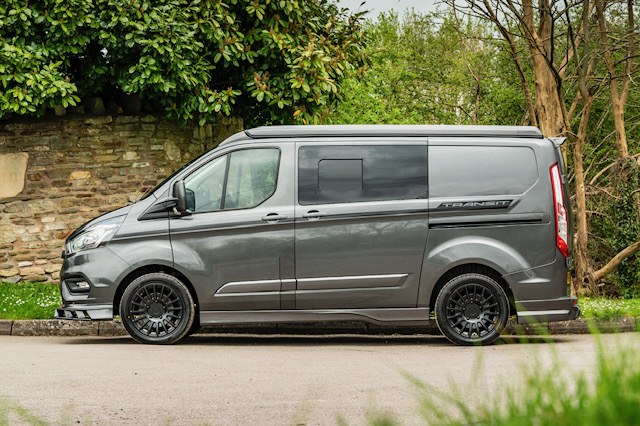
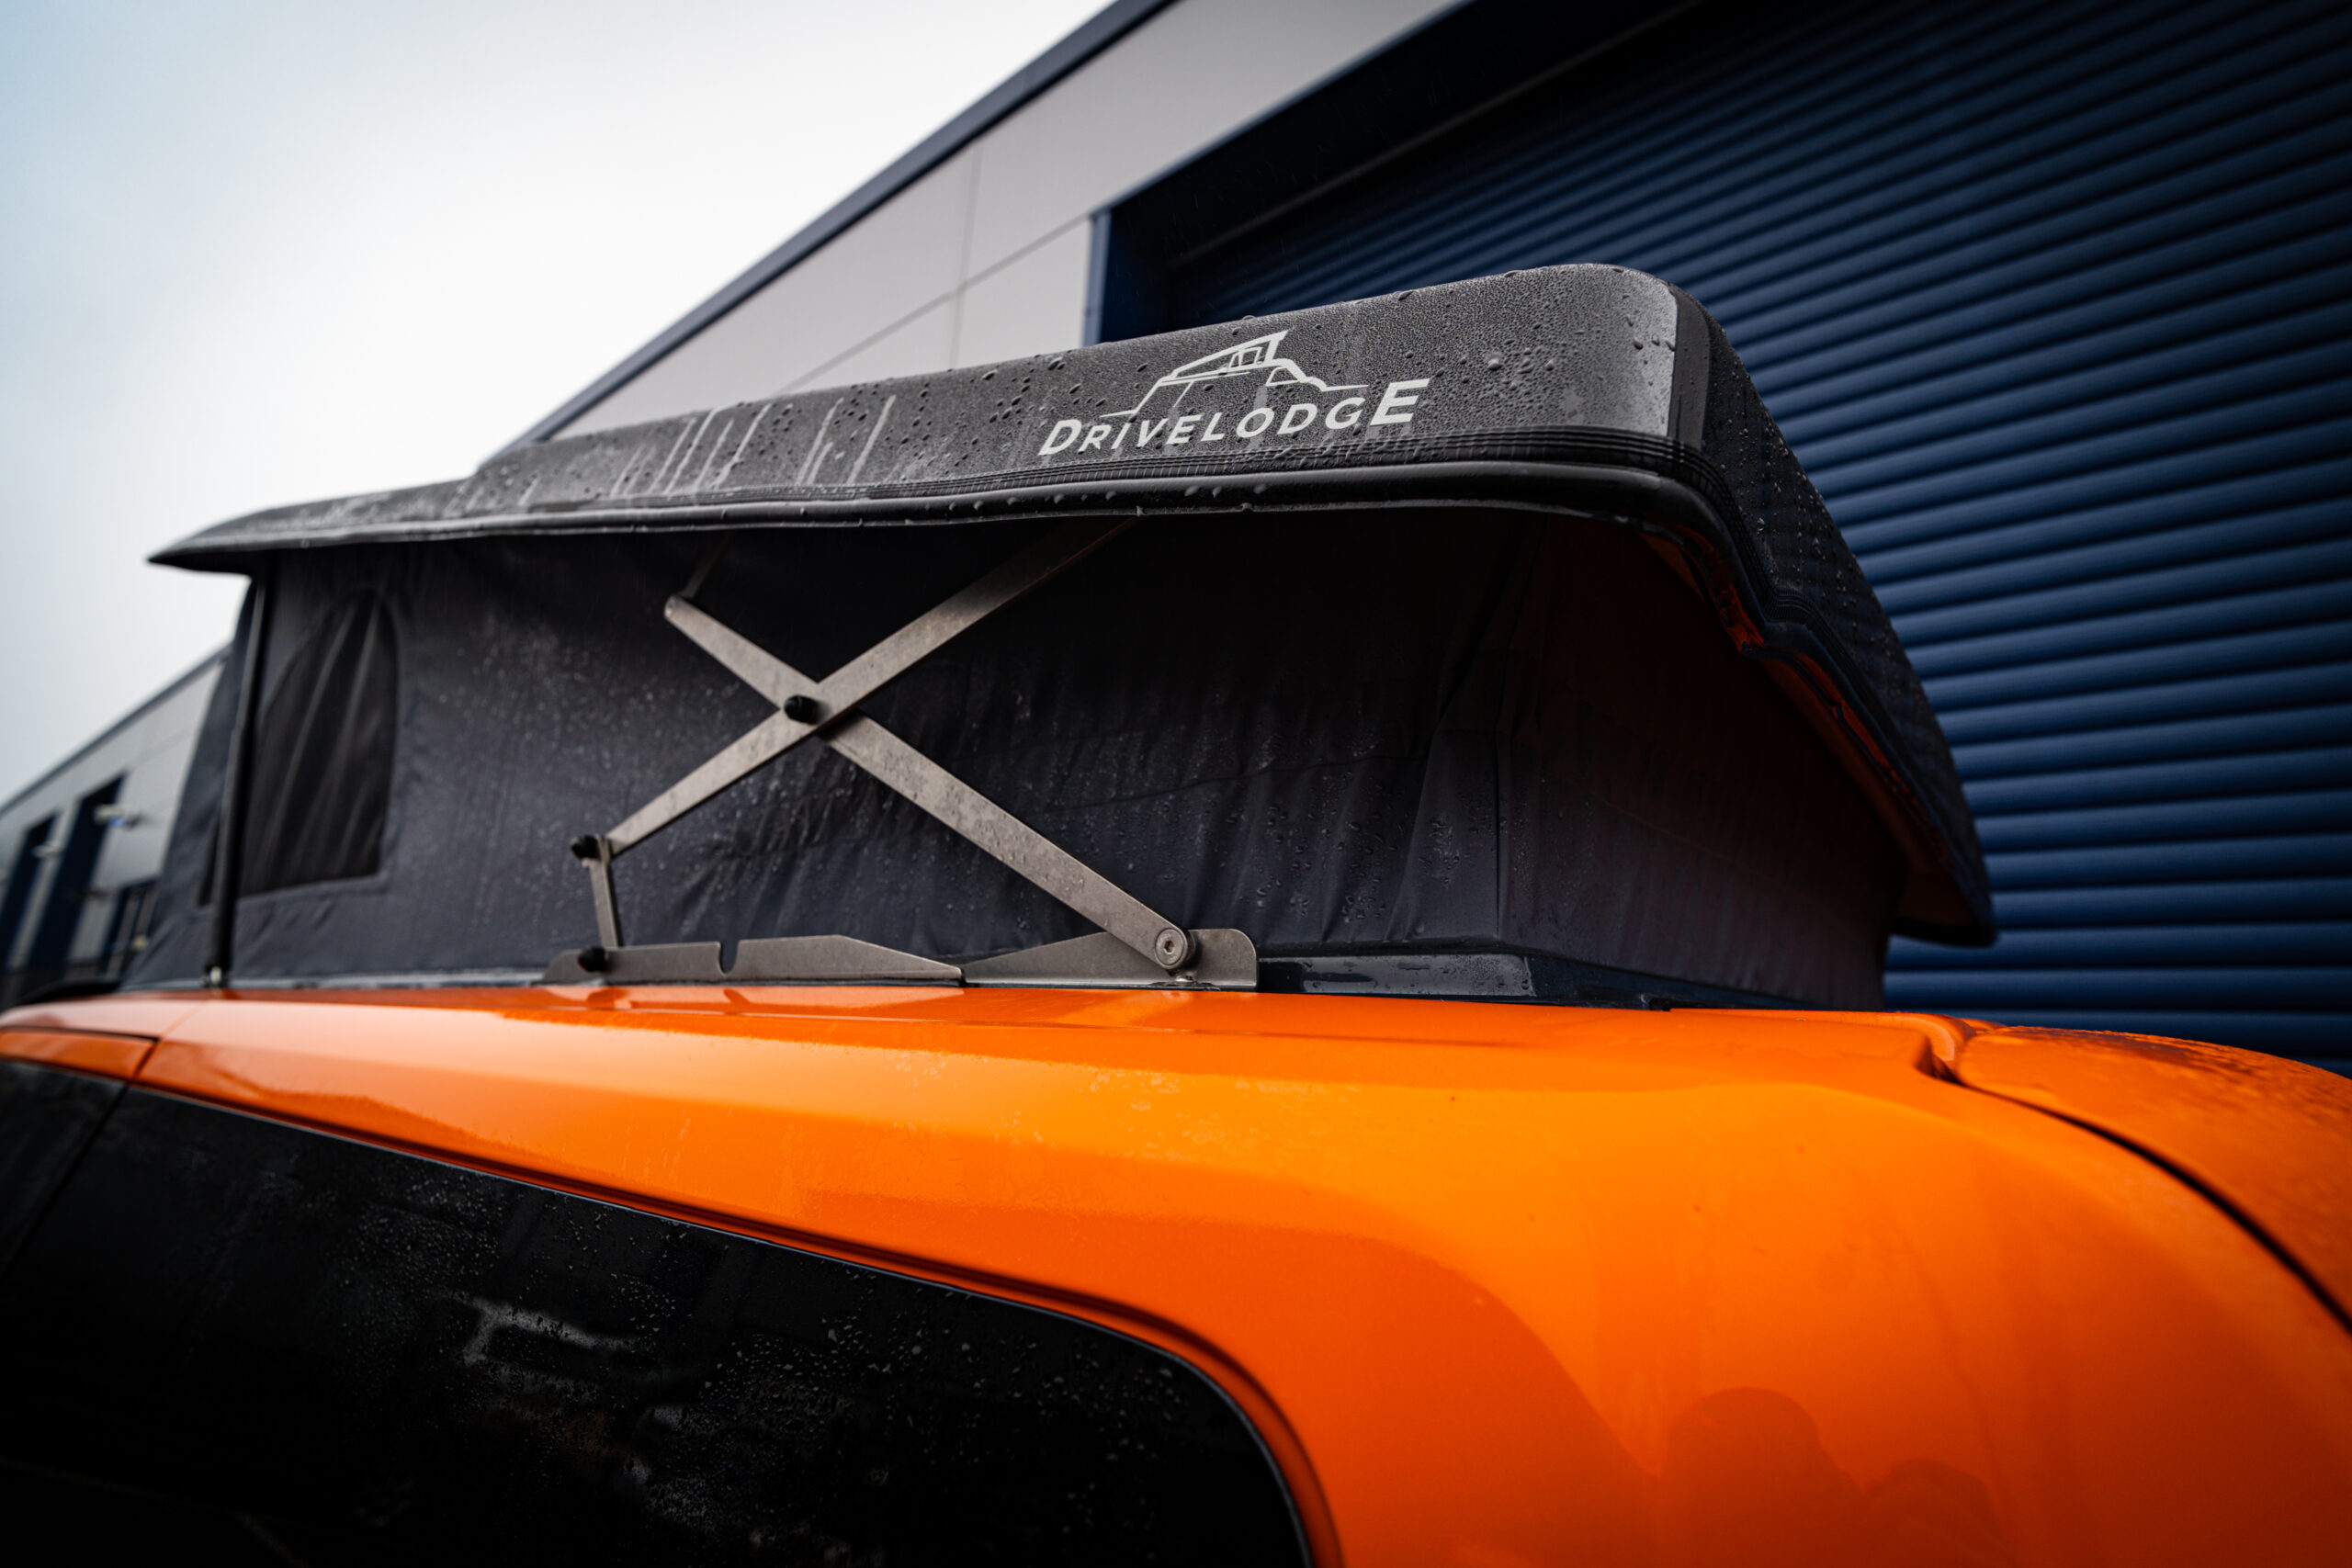
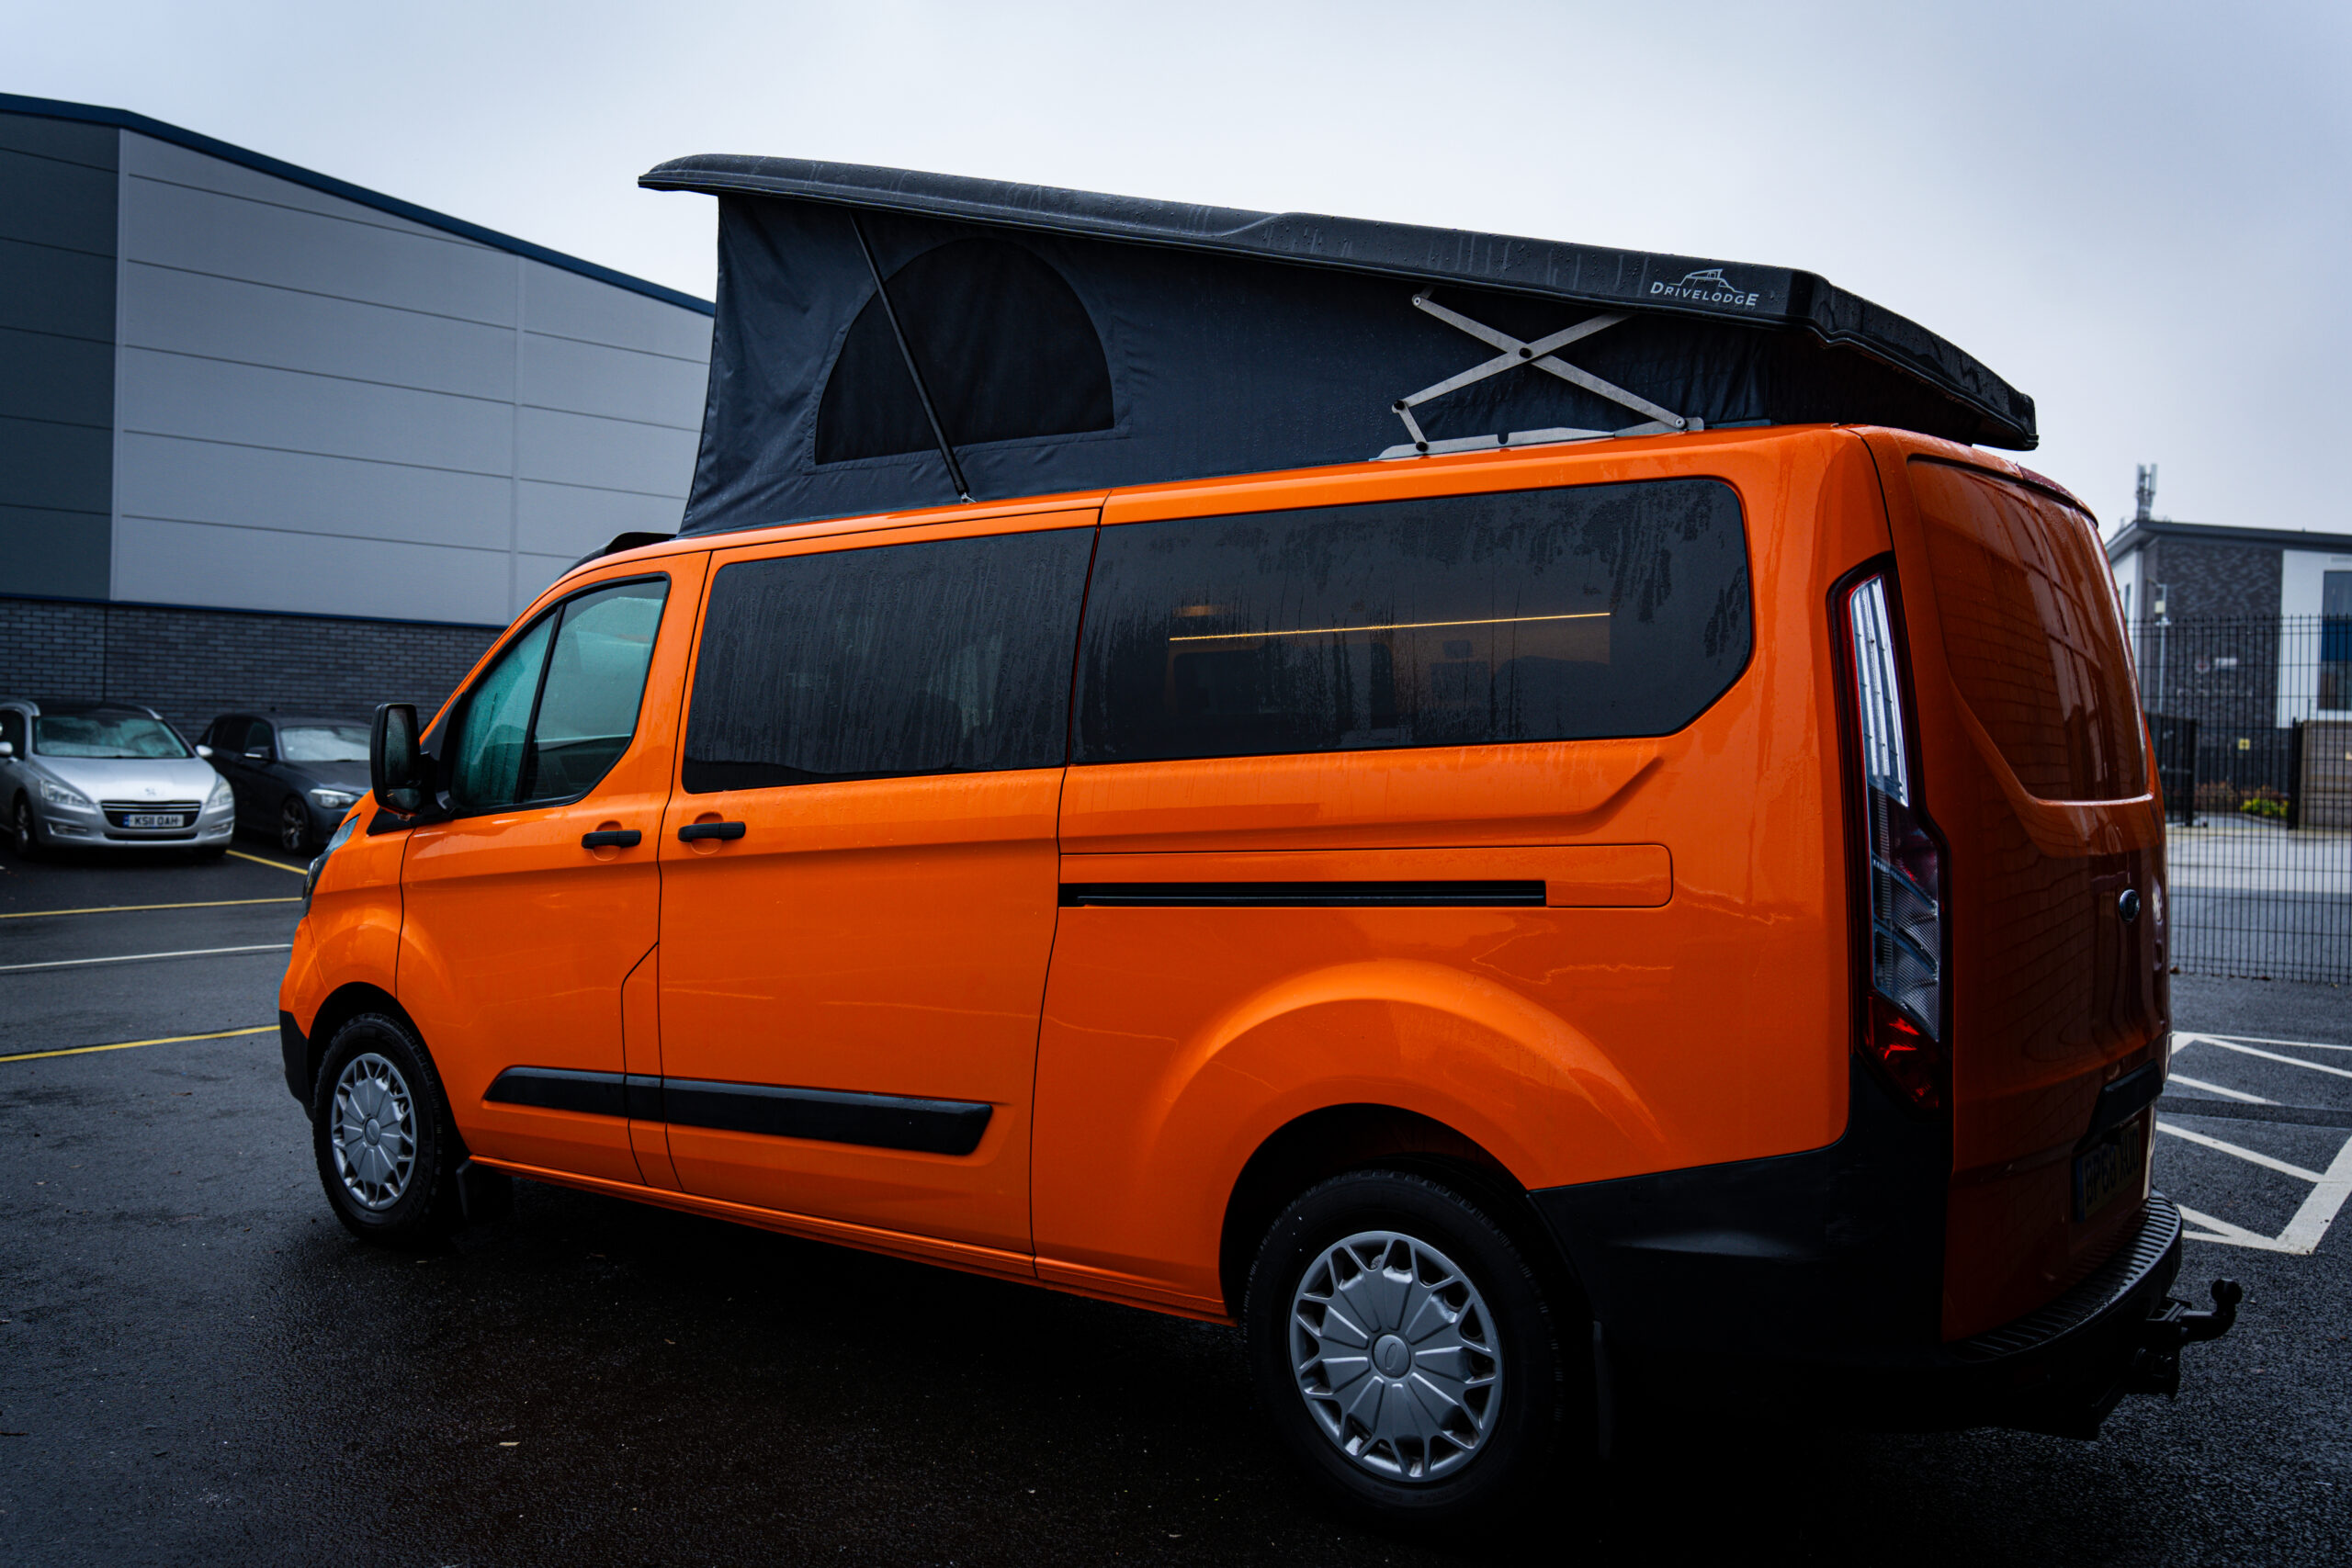
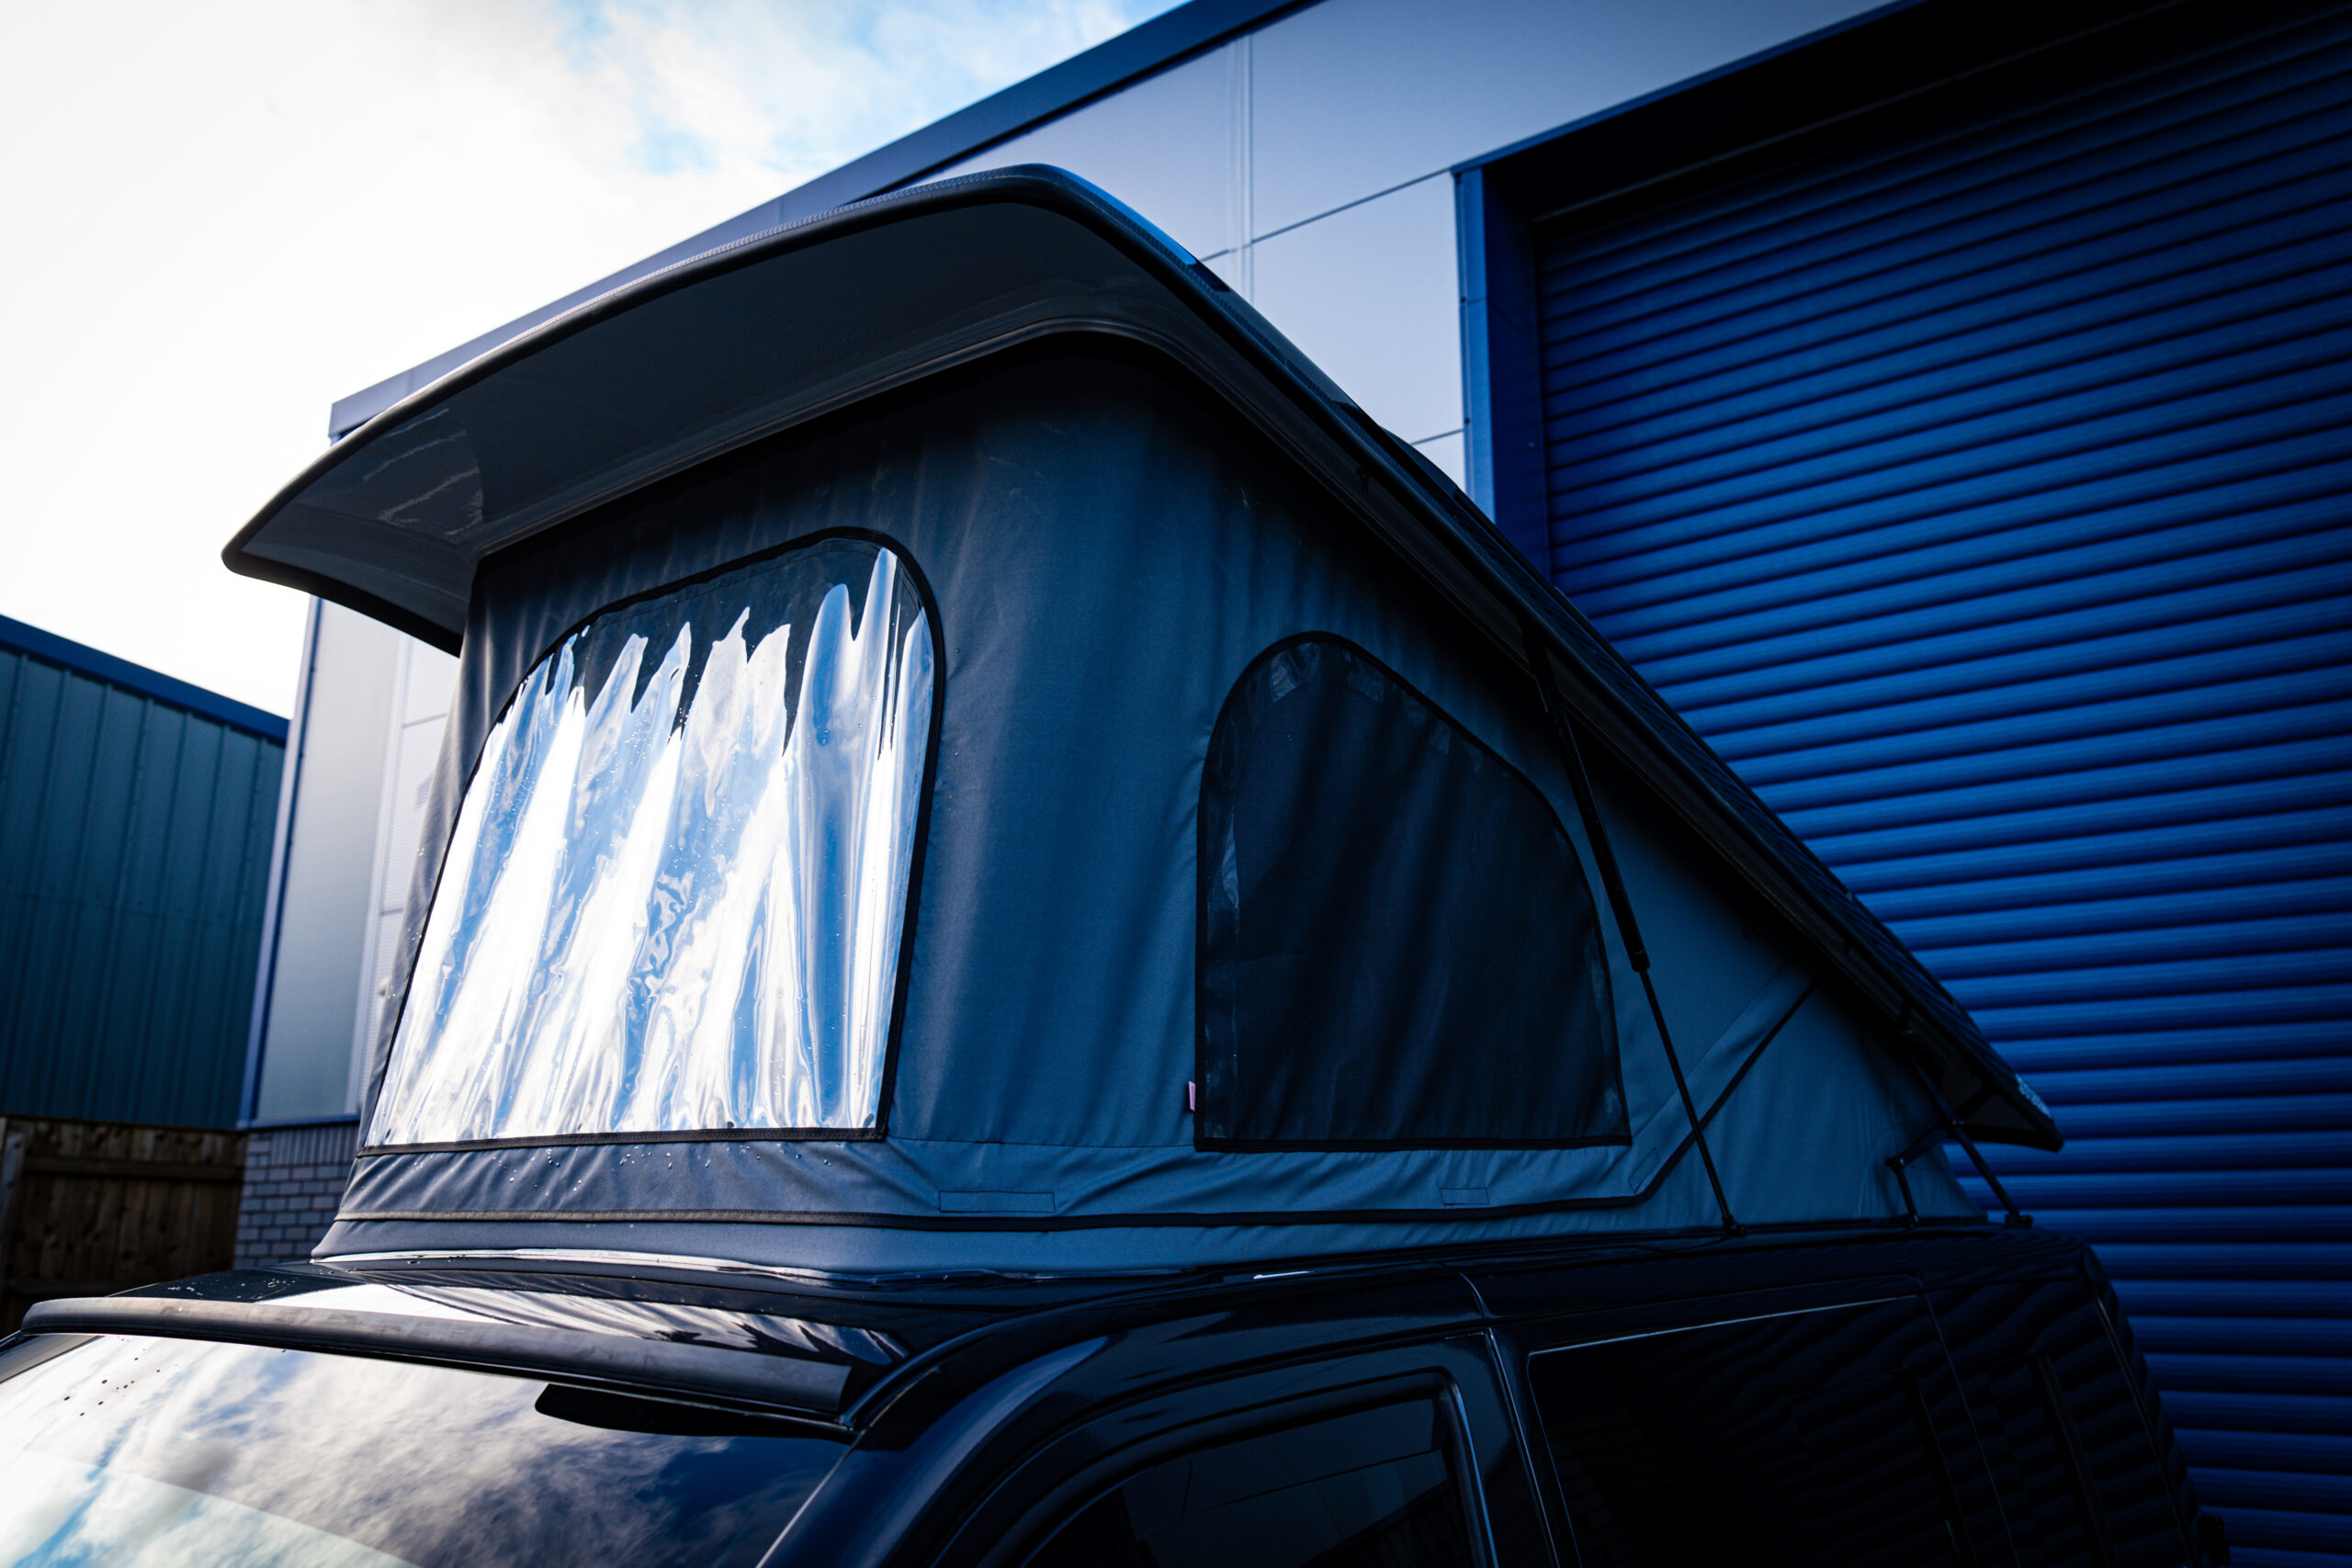
If you’re still undecided about whether or not a pop top is worth it, check out my recent blog. In my opinion, a pop top is one of the most important upgrades you can make on your van, so you shouldn’t skip it unless you’re planning on a really budget conversion with just the bare minimum.
Upgrade Your Camper with a Pop-Top Roof
Transform your van into a multi-level living space. Pop-Top Roofs add a second sleeping area and more space.
Option 2 - rear kitchen unit
BEST FOR:
- Families that need 5 or more driving seats total, because you can maximise cabin space. This is the best kitchen set up for those Kombi seats.
- You aren’t considering a pop top or high top upgrade
- Those with a rear awning or tailgate rear door to shield from the elements while cooking
A rear kitchen unit is a good option for those looking to maximise interior space or trying to work with a fixed head height. Positioned at the back of the van, this design makes use of the rear doors for added ventilation and easy outdoor access. It allows for an open, airy feel while keeping the main cab free for seating, sleeping, or additional storage.
Pros of this layout
- More space in the main cab of the van: Keeping your kitchen at the back means you free up valuable space inside for Kombi seats, storage, or even a larger bed setup. It’s a great way to make the most of a compact van without feeling boxed in.
- Easier ventilation: Since you’ll be cooking at the rear of the van, it’s much easier to manage smoke, steam, and cooking smells. Just open the back doors, and you’ve got instant airflow!
- Works well for outdoor living: If you’re the type who loves being outside as much as possible, a rear kitchen lets you cook while enjoying the fresh air. Whether you’re parked up by the beach or in the mountains, this layout allows you to enjoy the view.
Cons of this layout
- You have to cook outside: This is the biggest downside to a rear kitchen. If the weather turns bad, cooking outdoors isn’t always fun. A rear awning or pull-out cover can help, but it’s something to consider if you plan to camp in all seasons.
- Less accessible when parked up: If you’re parked in a tight spot or backed up against a wall, getting to your kitchen might be tricky. You’ll need to think about how often you’ll need access and where you’ll be camping most of the time.
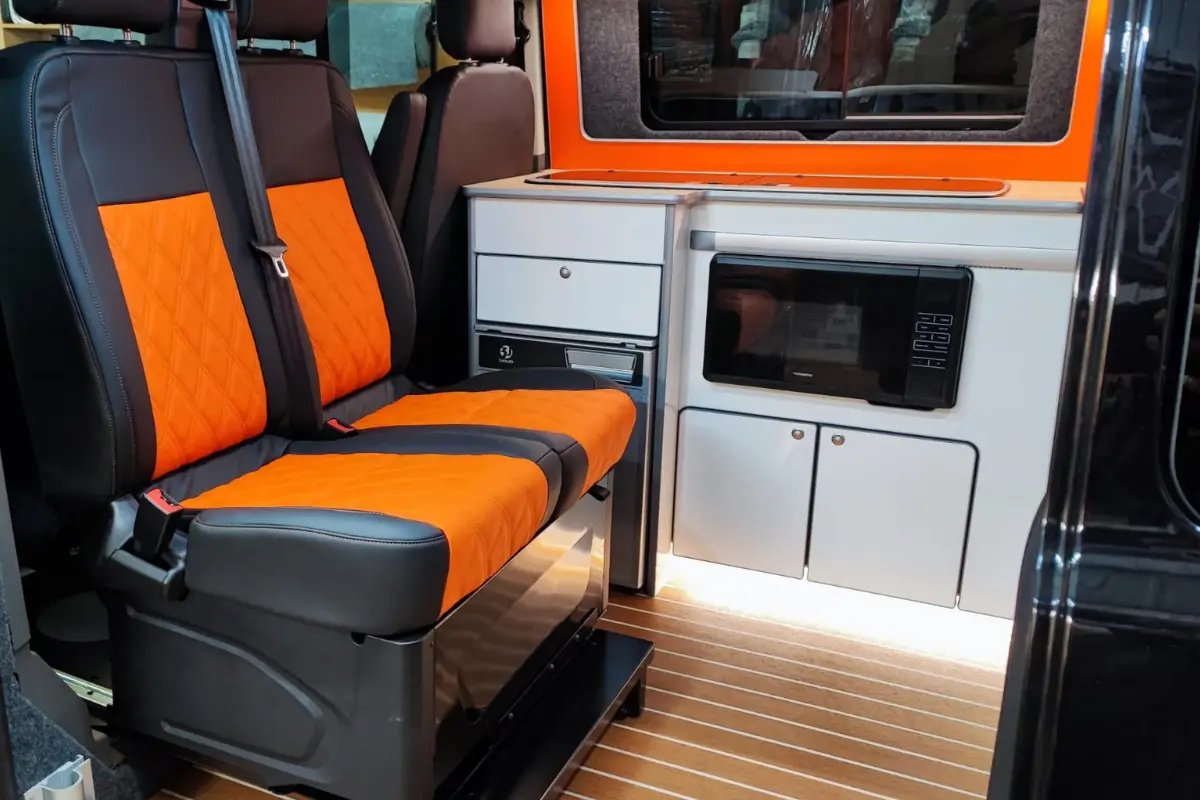
Using a Slidepod as a rear kitchen unit
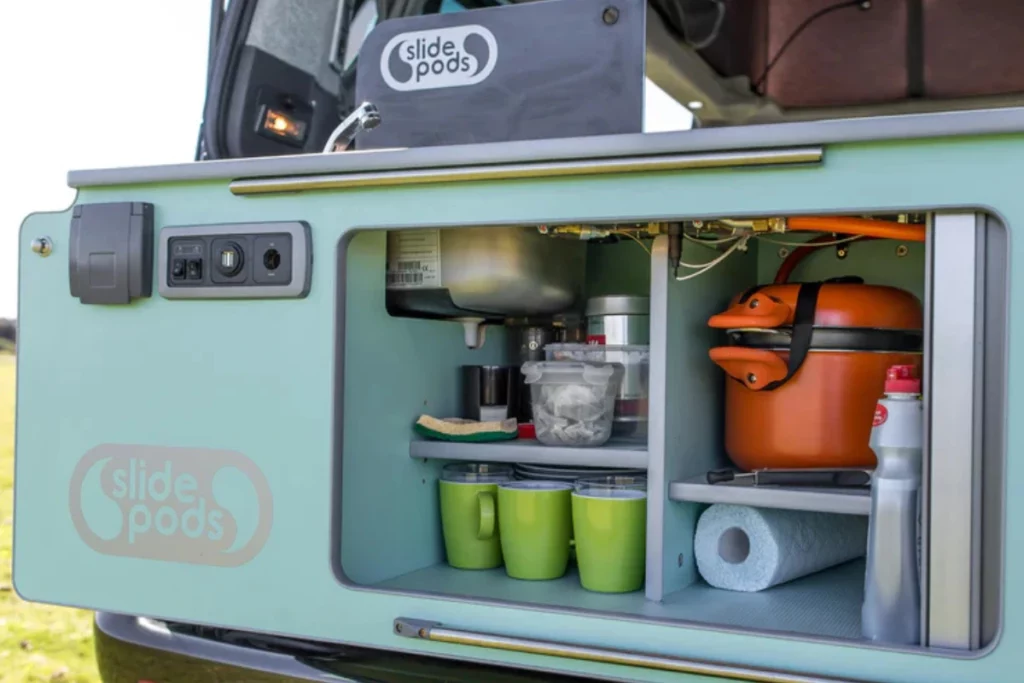
If you want a low hassle, all-in-one option for your conversion, that’s where a slidepod comes in! It’s a kitchen, bed and shower all in one. Sounds crazy, right?
Basically, it’s a kitchen unit that’s accessed from the rear and slides out of the van. As a kitchen, it provides bench space complete with a fridge, a sink and double burner. It has plenty of storage space under the burners for all your groceries and cooking utensils, so it’s really user-friendly.
You can also add a lot of optional extras, like a shower point, USB chargers, or a 12-volt cigarette light. On top of that, you’ve got an optional table that will affix to the front of the slide pod and LED lights for night cooking.
The slidepod also includes a fold out platform and mattress that will form the bed. It’s really comfortable and spacious.
So yeah, a Slidepod is a really versatile and handy accessory for a rear kitchen layout, but of course, you can also achieve a similar design with a custom unit. It just won’t be quite so easy!
Option 3 - Side kitchen unit (pull out)
BEST FOR:
- You need extended kitchen space for cooking larger meals – great for families!
- You’re not considering a pop top or high top conversion
- You don’t mind cooking outside and a bit of extra set up/pack down
Okay, so in this layout the kitchen unit will slide out from a bench seat that is actually located behind the driving seats at the front, and go out the side door. This is a great option if you’d like a full, static bed inside the van (because you free up more space) and are okay with cooking outside.
For any slide-out option, the biggest consideration in the build will be the weight. Make sure you get heavy duty drawtracks (with at least 90kgs weight bearing). The last thing you want is to put a heavy pot of pasta on the stove and have the whole unit collapse.
Also, I would recommend using a slightly thinner timber so that the unit is lighter, but make sure it’s sturdy enough to not compromise the weight capacity.
Pros of this layout
- Keeps the inside of the van spacious: With the kitchen stored away in a bench seat, you get more room for a permanent bed setup or additional seating.
- Great for outdoor cooking: Like the rear kitchen, this setup allows you to cook in the open air, making it perfect for those who enjoy the outdoor lifestyle.
- Direct access from the main cab: Since the unit pulls out from the side door, it’s easier to access compared to a rear unit.
Cons of this layout
- A slide-out unit doesn’t support everything: If you want a fridge and sink connected to the water pump (which you should) you’ll probably need an internal bench space inside the van because they are too heavy and bulky to fit in a sliding unit. This might take out some of the space inside because you’re basically doubling up on kitchen units.
- Limited protection from the elements: Same deal as the rear set-up. If it’s raining or very windy, cooking outside may not be as convenient unless you have an awning or other cover in place
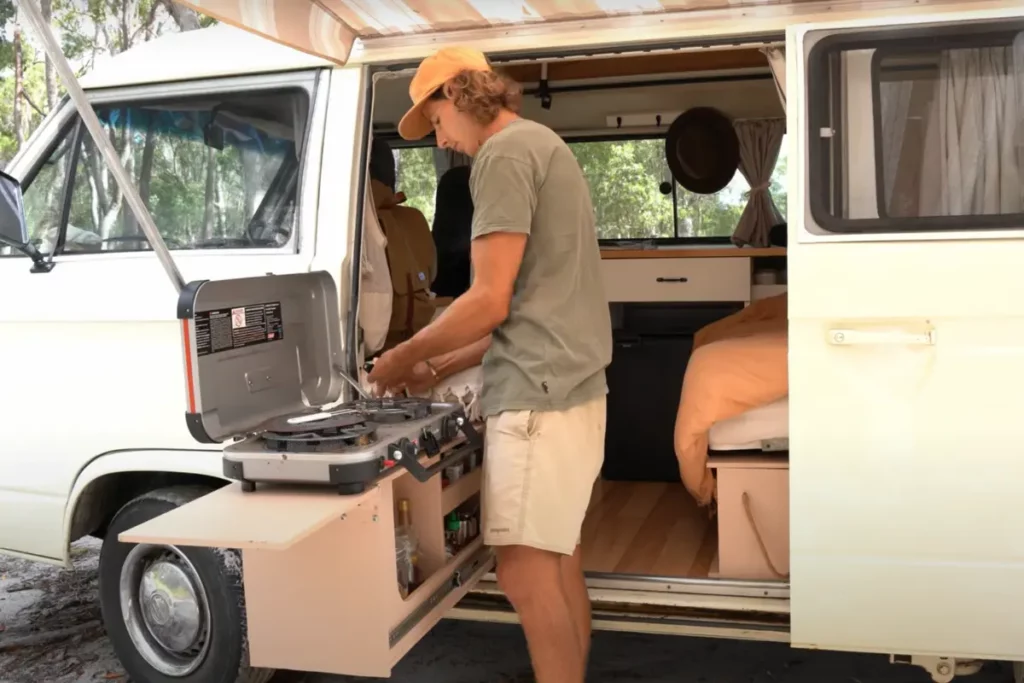
Option 4 - fully outdoor set up
BEST FOR:
- Occasional, budget vanlifers
- If you’ve just had a basic, ‘stage 1’ conversion and are saving up or still deciding on how you want to design your fixed kitchen.
For the most basic option, go for an outdoor set-up. This isn’t connected to the van in any way and functions like a regular camp kitchen.
This setup is great for those who have just had a Stage 1 conversion (just pop-top roof, carpet lining, window fitting) and want to test the waters in their van before deciding what kind of kitchen setup will work best for them. It’s also the most budget option for those who are still saving up for their full conversion.
If you’re using this set up temporarily, just use a trestle table with a camp stove and a bucket for washing up. Or, for a more advanced setup, get a Patrol box or Chuck box that folds out. These are compact, organised storage boxes that house your stove, utensils, and cooking gear, so it’s much easier to set up and pack down.
For a setup like this, I’d usually recommend installing a Fiamma awning just so you can have a bit of protection from the weather. You could always opt for a separate gazebo, but I find that they can be bulky to store – there’s nothing more convenient than pulling out a shade right from the side of your van.
And if you’re not sure which stove to go for, I recommend the Coleman HyperFlame. I wouldn’t use any other dual burner – it’s great in the wind, doesn’t have the annoying whistle issue that some others do, and you can turn it down to a light simmer.
Don't forget your awning rails!
Awning rails allow you to extend a shade right from the side of your van.
Pros of this layout
- Maximum interior space: Since all cooking is done outside, your van’s interior remains free for storage, seating, or a larger sleeping area.
- Flexible setup: You can adjust your cooking area depending on the weather and your surroundings. Also, if your van is in the shop or you go away in a friend’s car (maybe you need a 4WD for certain sites), you can take out all your kitchen supplies to use elsewhere.
- Super lightweight: Without built-in kitchen units, your van stays lighter and more fuel-efficient.
Cons of this layout
- Fully exposed to the elements: Again, if the weather turns bad, you may wish you had an indoor set-up after all.
- More setup required: Unlike an integrated kitchen, you’ll need to set up and pack away your cooking gear each time you use it.
- More space required: Unlike the other set-ups which you could, in theory, use even in a car park, this set up really requires the open space of a camp site. So, that can be a bit more limiting if you are planning on moving around.
This set-up is a good option for those who love being outdoors and want the freedom to cook wherever they go without compromising interior space. If you’re just getting started with van life and want to experiment with your setup before committing to a built-in kitchen, this could be the perfect solution!
Key Takeaways
Choosing the right kitchen setup for your VW Transporter camper comes down to how you plan to use it.
If you want the convenience of cooking indoors, an internal kitchen unit is a solid choice. If you prefer maximising space inside the van, a rear or side kitchen setup might be better. And for those on a budget or need an interim solution after a stage 1 conversion,, a fully outdoor setup could be the way to go.
No matter which option you choose, careful planning is essential to make the most of your space and ensure a seamless cooking experience on the road. Think about your must-haves, your travel style, and how much setup time you’re willing to deal with. Hopefully, this guide has given you a clearer idea of what works best for you.
So, what’s your ideal camper van kitchen setup? Let me know in the comments – I’d love to hear your thoughts!
And as always, if you’d like to get in touch to discuss some professional help with your camper van conversion, we’d love to hear from you!