VW Transporter Campervan Conversion Guide
So, you’ve got your eye on a VW Transporter for a campervan conversion? Excellent choice!
As a professional van converter, I know a Transporter conversion back to front. From picking the right model to designing a space that’s totally “you,” I’ve got all the tips and tricks to guide you through the process—let’s dive in!
About the VW Transporter

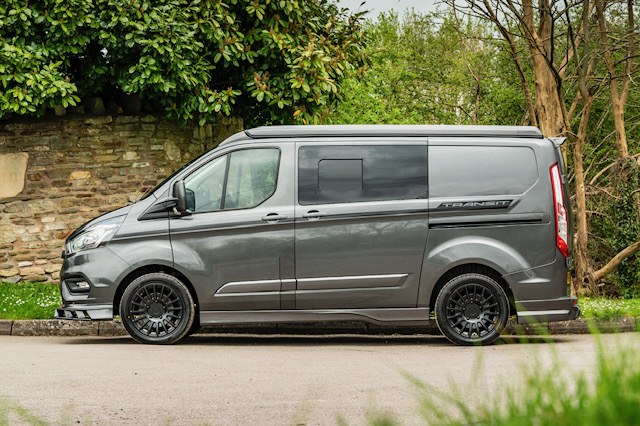
The VW Transporter is often considered the gold standard when it comes to campervan conversions—and for good reason! These vans are reliable, sturdy, and have a reputation for being long-lasting workhorses. Whether you’re driving down the coast or heading off the beaten path, the Transporter can handle it.
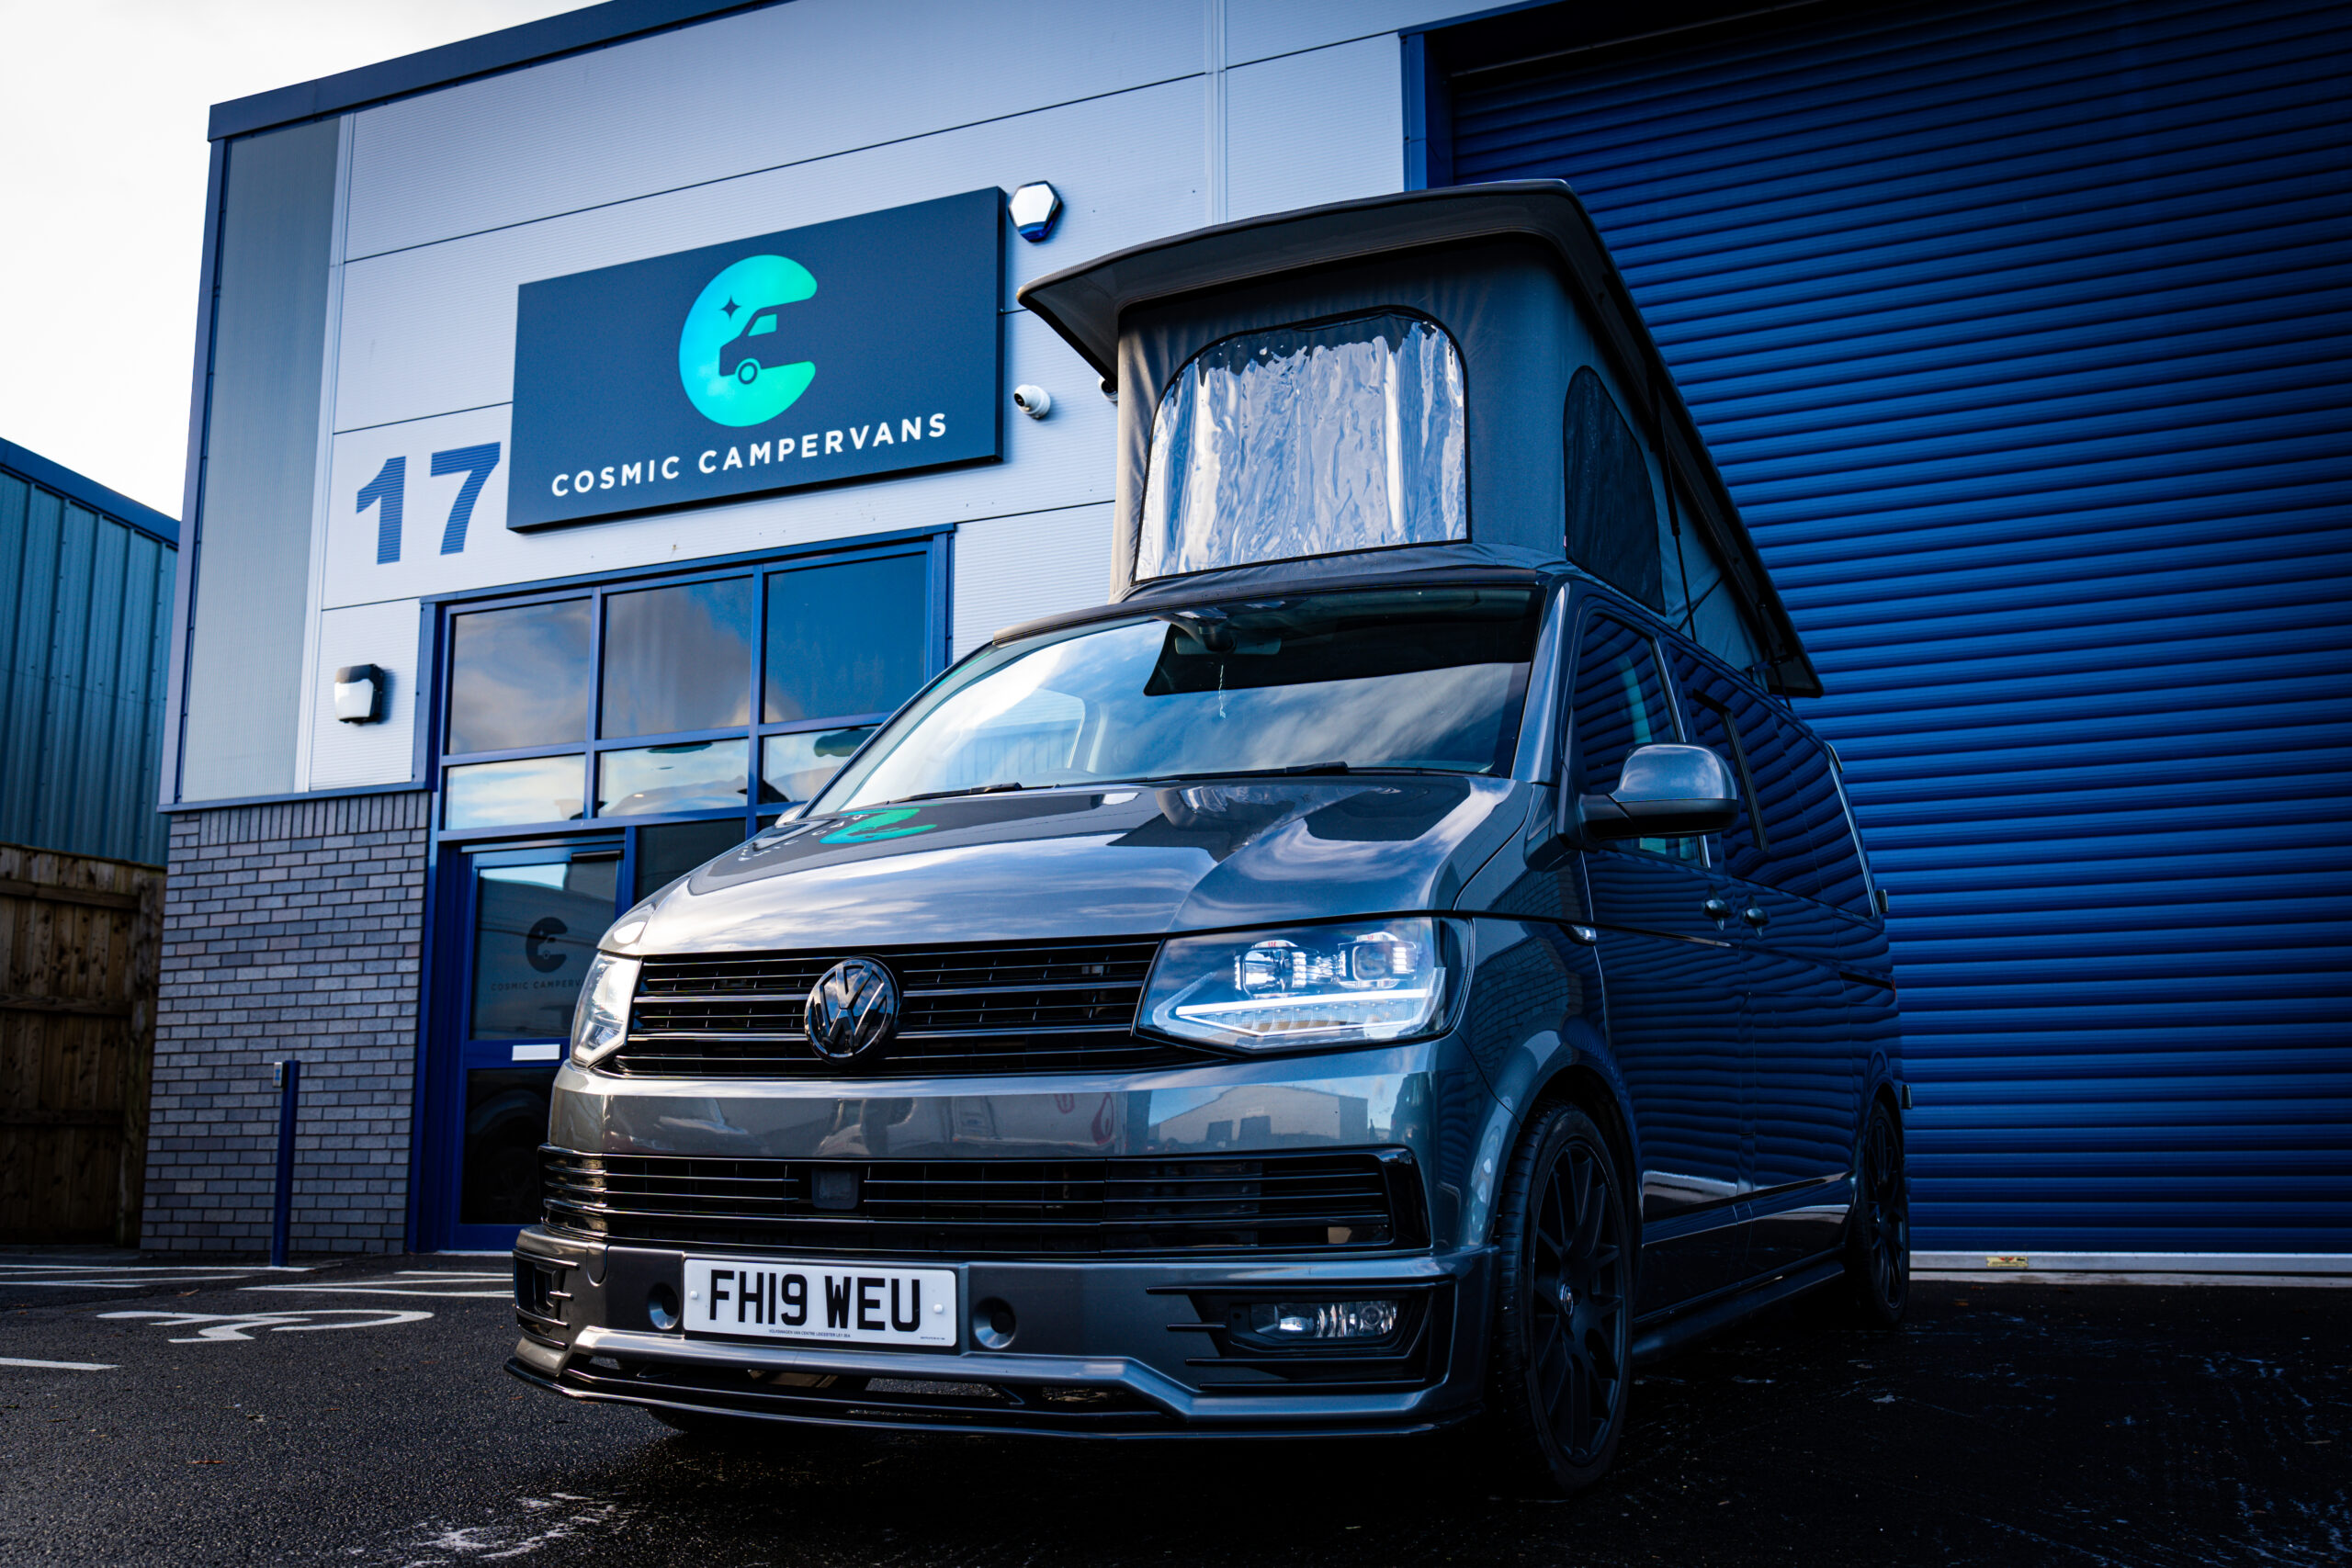
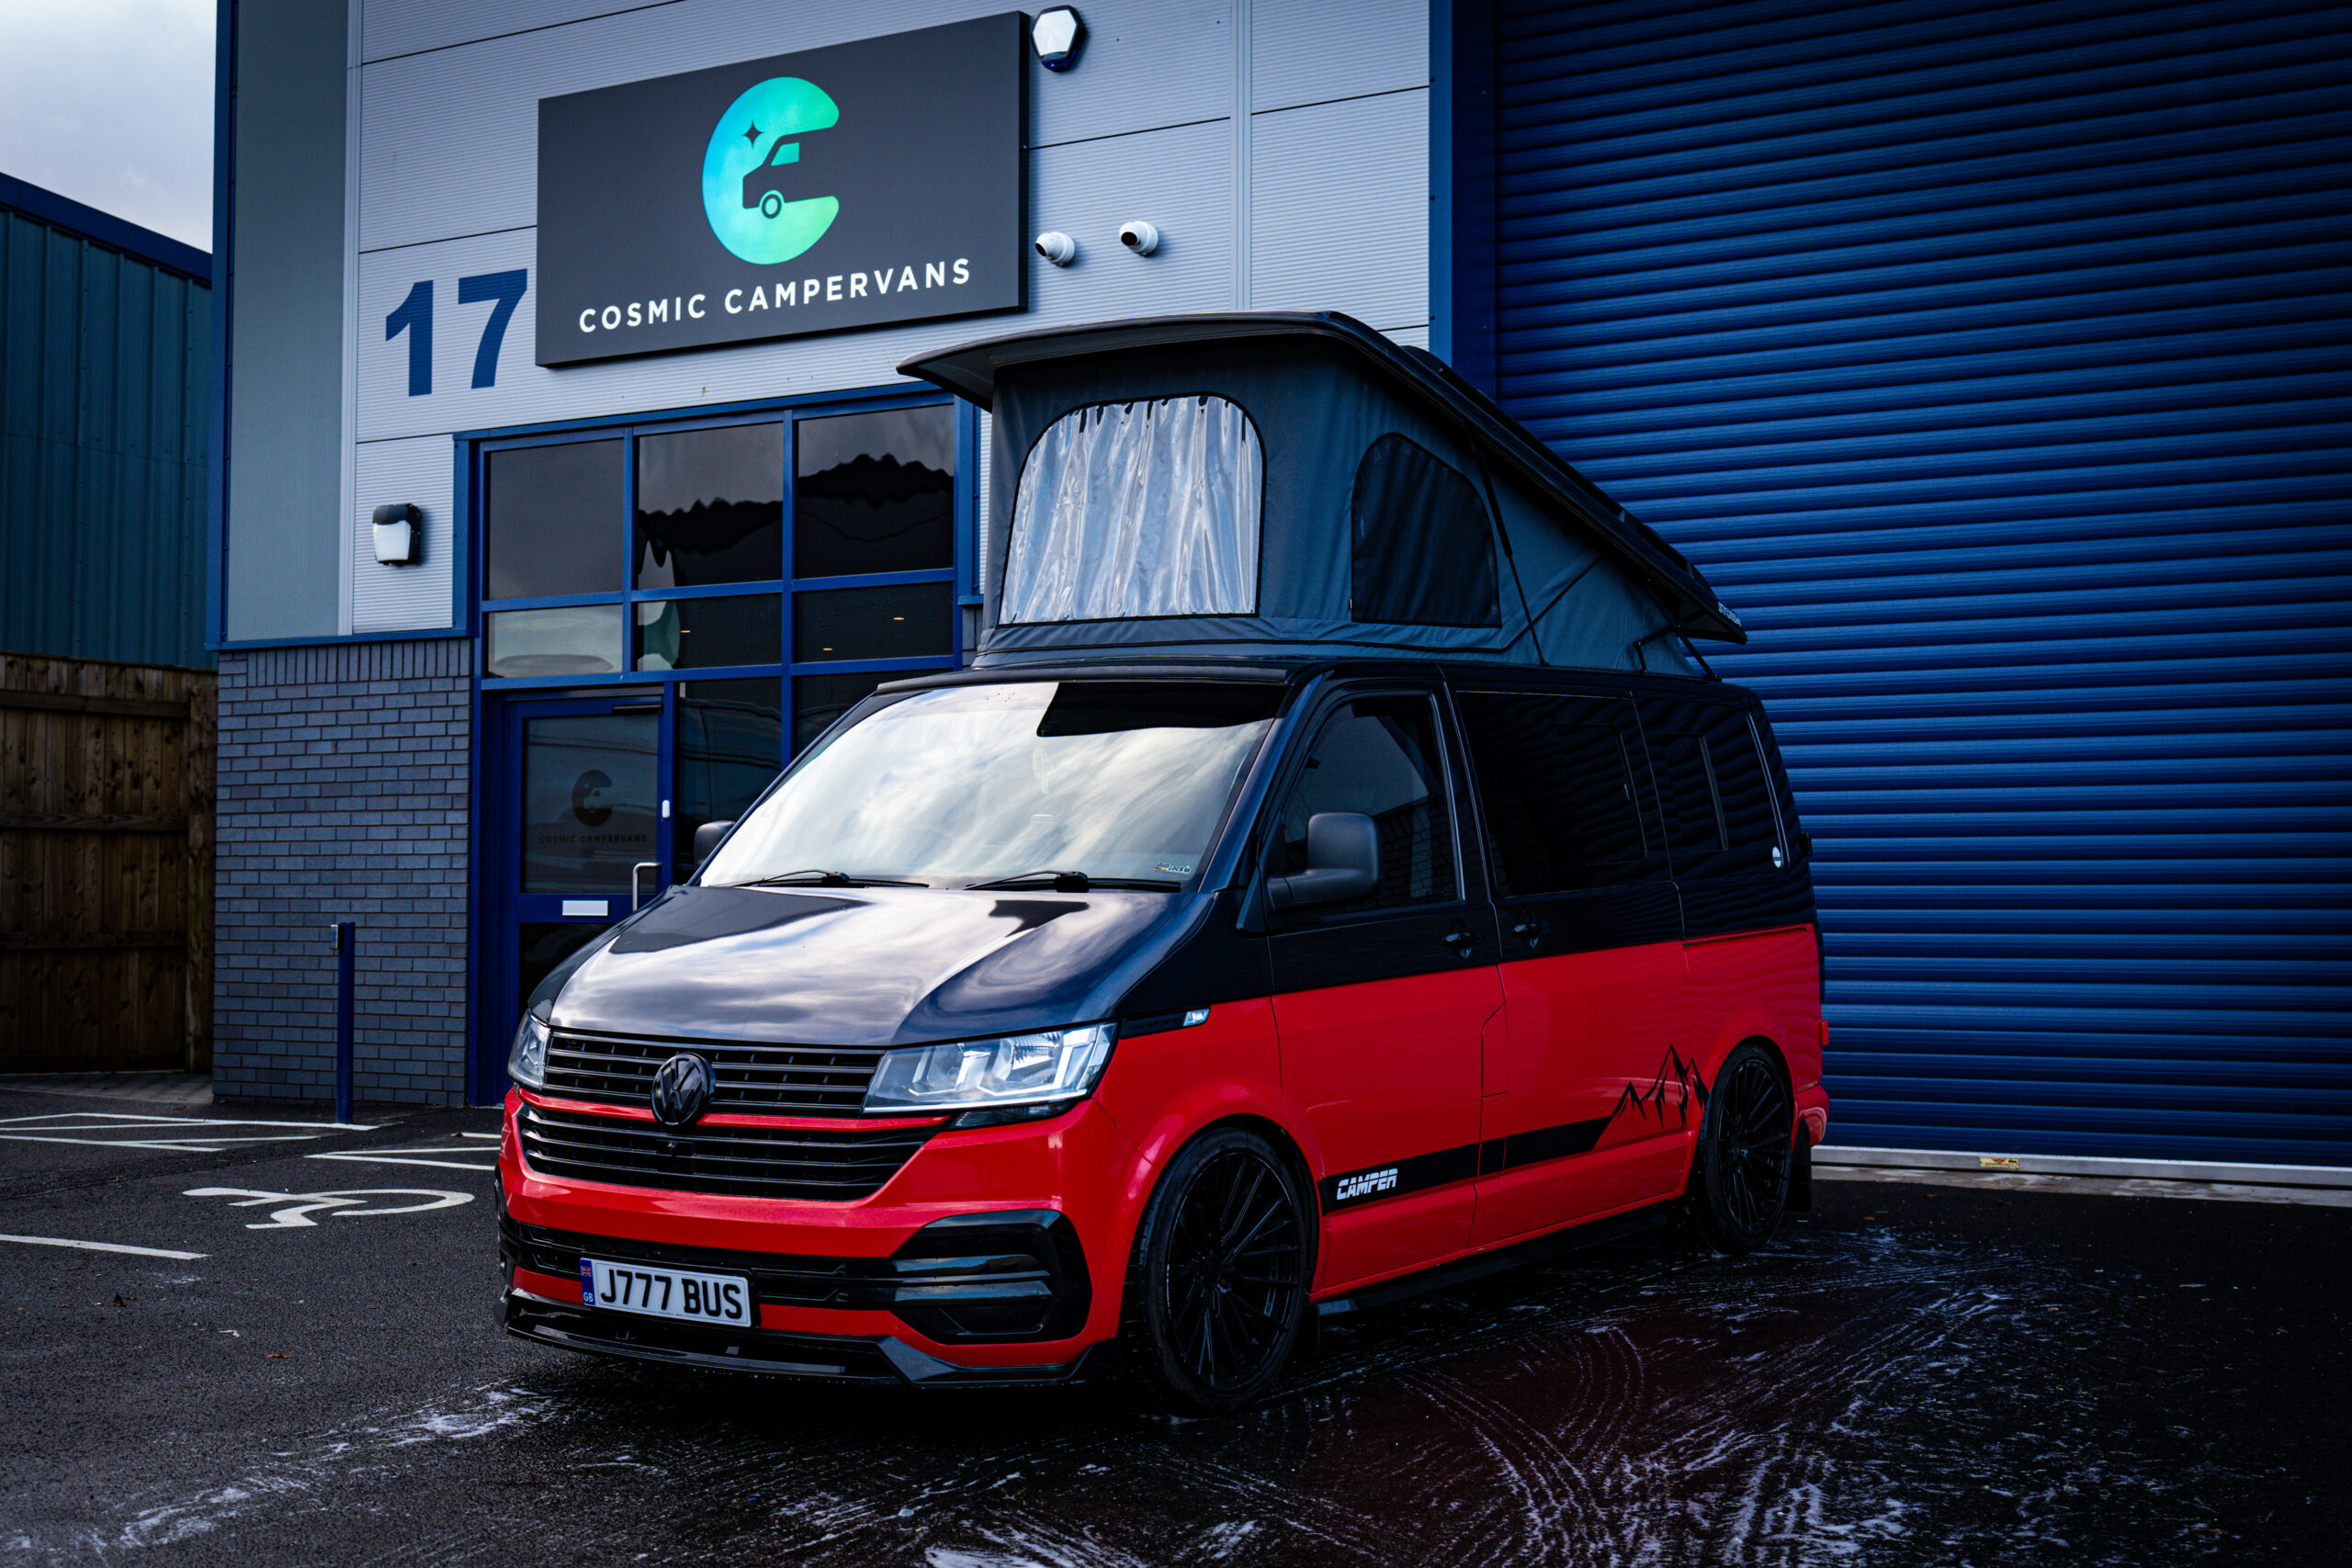
I’ve converted many Transporters over the years at Cosmic Campervans, and I always recommend it to any clients that have the extra room in their budget for something a bit more luxurious. While some vans are purely functional, the Transporter brings a certain style and comfort that make it perfect for conversions.
You’re not just getting a basic van—you’re getting a vehicle that offers a smooth ride, solid build quality, and enough space to really transform it into something special. Plus, VW has been perfecting this model for decades, so when you choose a Transporter, you know you’re investing in something that’s proven to go the distance.
Choose the Right VW Transporter Model for You
When it comes to converting a VW Transporter, there are a few different models to choose from, each offering its own set of features that can impact your campervan build. The Transporter range includes models like the T4, T5, T6, and the newer T6.1, and while they all share that reliable VW DNA, they vary in terms of size, engine options, and tech upgrades. Here’s a quick breakdown:
- T4: The oldest in the range, but still a solid choice for conversions if you’re looking for something more budget-friendly. It’s got a boxier shape, and while it’s a bit simpler in terms of modern features, it’s known for its durability.
- T5: A popular choice for conversions, the T5 has more engine options and better fuel efficiency than the T4. It’s a versatile van that’s reliable for long trips and provides a great canvas for a custom camper build.
- T6: A step up from the T5 with better interior options, more modern technology, and an even smoother ride. The T6 is ideal if you want a more refined, comfortable van experience while still keeping the rugged reliability of the VW Transporter.
- T6.1: The latest in the lineup, offering even more advanced tech features like enhanced driver assistance systems and improved infotainment. It’s perfect for those who want a premium conversion with all the bells and whistles.
At Cosmic Campervans, we offer full conversion packages for both T5 and T6 models. Find out more about what we include in a full campervan conversion.
Short Wheelbase (SWB) vs. Long Wheelbase (LWB)
I hope you’re still with me because the options don’t end there! When choosing a Transporter, you’ll also have to decide between a short wheelbase (SWB) or a long wheelbase (LWB). Here’s what you need to think about:
A short wheelbase is great for city driving—it’s easier to park and manoeuvre, making it perfect for weekend warriors who need their van to double as a daily driver.
However, if you’re planning longer trips or want a bit more living space, the long wheelbase might be your best bet. It gives you extra room to play with, which can make a world of difference when you’re adding features like a fixed bed or a full kitchen.
Decide on Your Budget
One of the most important steps in planning your VW Transporter conversion is setting a budget. Trust me, as someone who’s done countless conversions, I know how easy it is for costs to creep up if you don’t have a clear plan in place!
Start by thinking about what you want to prioritise. Are you aiming for a high-end, luxury build with all the latest gadgets? Or are you going for something simple and functional, just enough to hit the road for weekend getaways? Your budget will depend on how much customisation, technology, and comfort you want in your van.
Here’s a rough guide to help you get started:
- Basic Conversions: These tend to range from £10,000 to £15,000, covering essentials like insulation, basic flooring, and simple kitchen setups (think stove, fridge, and a fold-out bed). This is a good option if you’re more of a weekend adventurer and don’t need a ton of high-tech features.
- Mid-Range Conversions: For £15,000 to £25,000, you’ll start getting more comfort and functionality, like custom furniture, a more advanced electrical setup with solar panels, and maybe a pop-top roof for extra sleeping space. This range is perfect for those who plan to use their van for longer trips or even semi-full-time living.
- High-End Conversions: If you want to go all out, expect to budget £25,000 to £40,000+. This will get you a top-tier conversion with premium materials, a full off-grid setup (solar, batteries, inverters), high-end appliances, and a completely customised interior. These builds are perfect for full-time van lifers or those who want a real home-on-wheels experience.
Transform Your VW into the Ultimate Camper
Save yourself the headache and let us do the heavy lifting! We’ve converted over 500+ VW Transporters.
Design Your VW Transporter Conversion
When it comes to design, the sky’s the limit with the Transporter. There are tons of modification options depending on your budget and priorities. Let me explain some of the most popular features to get your creativity flowing!
Electrical
Power is everything when you’re out on the road, especially if you want to stay off-grid for extended periods. One of the best investments you can make is a solid electrical setup so you can power the fridge, lights, charging points and everything in between. The system that you choose is totally up to you and will depend on where you like to adventure.
Mains hook up
If you’re planning on spending most of your time in powered campsites, a simple mains hook-up could be a great option. With this setup, you can plug your van directly into the campsite’s power supply and run your electrics without worrying about draining your battery. It’s especially useful for running higher-demand appliances like microwaves or electric heaters.
I always recommend installing a hook-up point, even if you’re planning on using solar or a leisure battery most of the time. It gives you flexibility, and if you’re at a campsite, it’s a nice way to keep everything fully charged. Plus, if you’re working on a tighter budget, you can rely more on campsite hook-ups and keep your onboard electrical system simple.
Split charge system
That said, when I go camping, I like to know that I’m not tied down to campsites with hook-ups. With a battery system I can power everything wherever I want – and I love the freedom this gives me! Not to mention it saves a bunch of money in the long run by reducing your reliance on paid campsites.
One of the most common setups I install is a leisure battery paired with a split-charge system. This allows your van’s engine to charge the leisure battery while you’re driving, which powers all your campervan electronics without draining your main vehicle battery.
This setup is great if you’re driving regularly and don’t need a huge amount of power when you’re parked up. Plus, it’s more budget-friendly than going fully solar. For many of our clients who aren’t planning on spending weeks off-grid, a split-charge system paired with a decent-sized leisure battery can handle most power needs.
Solar panels

If you have the room in the budget, solar panels are the best long-term electrical solution. Not only are they super eco-friendly, but you really can’t beat the convenience of being able to spend weeks completely off-grid without any power worries.
I usually recommend at least a 100W solar panel setup for casual trips, but if you’re going off-grid for longer, bump that up to 200W or more. Pair it with a good leisure battery, and you’re golden!
Never Run Out of Power on the Road
Install solar panels in your camper van for endless energy on your journey.
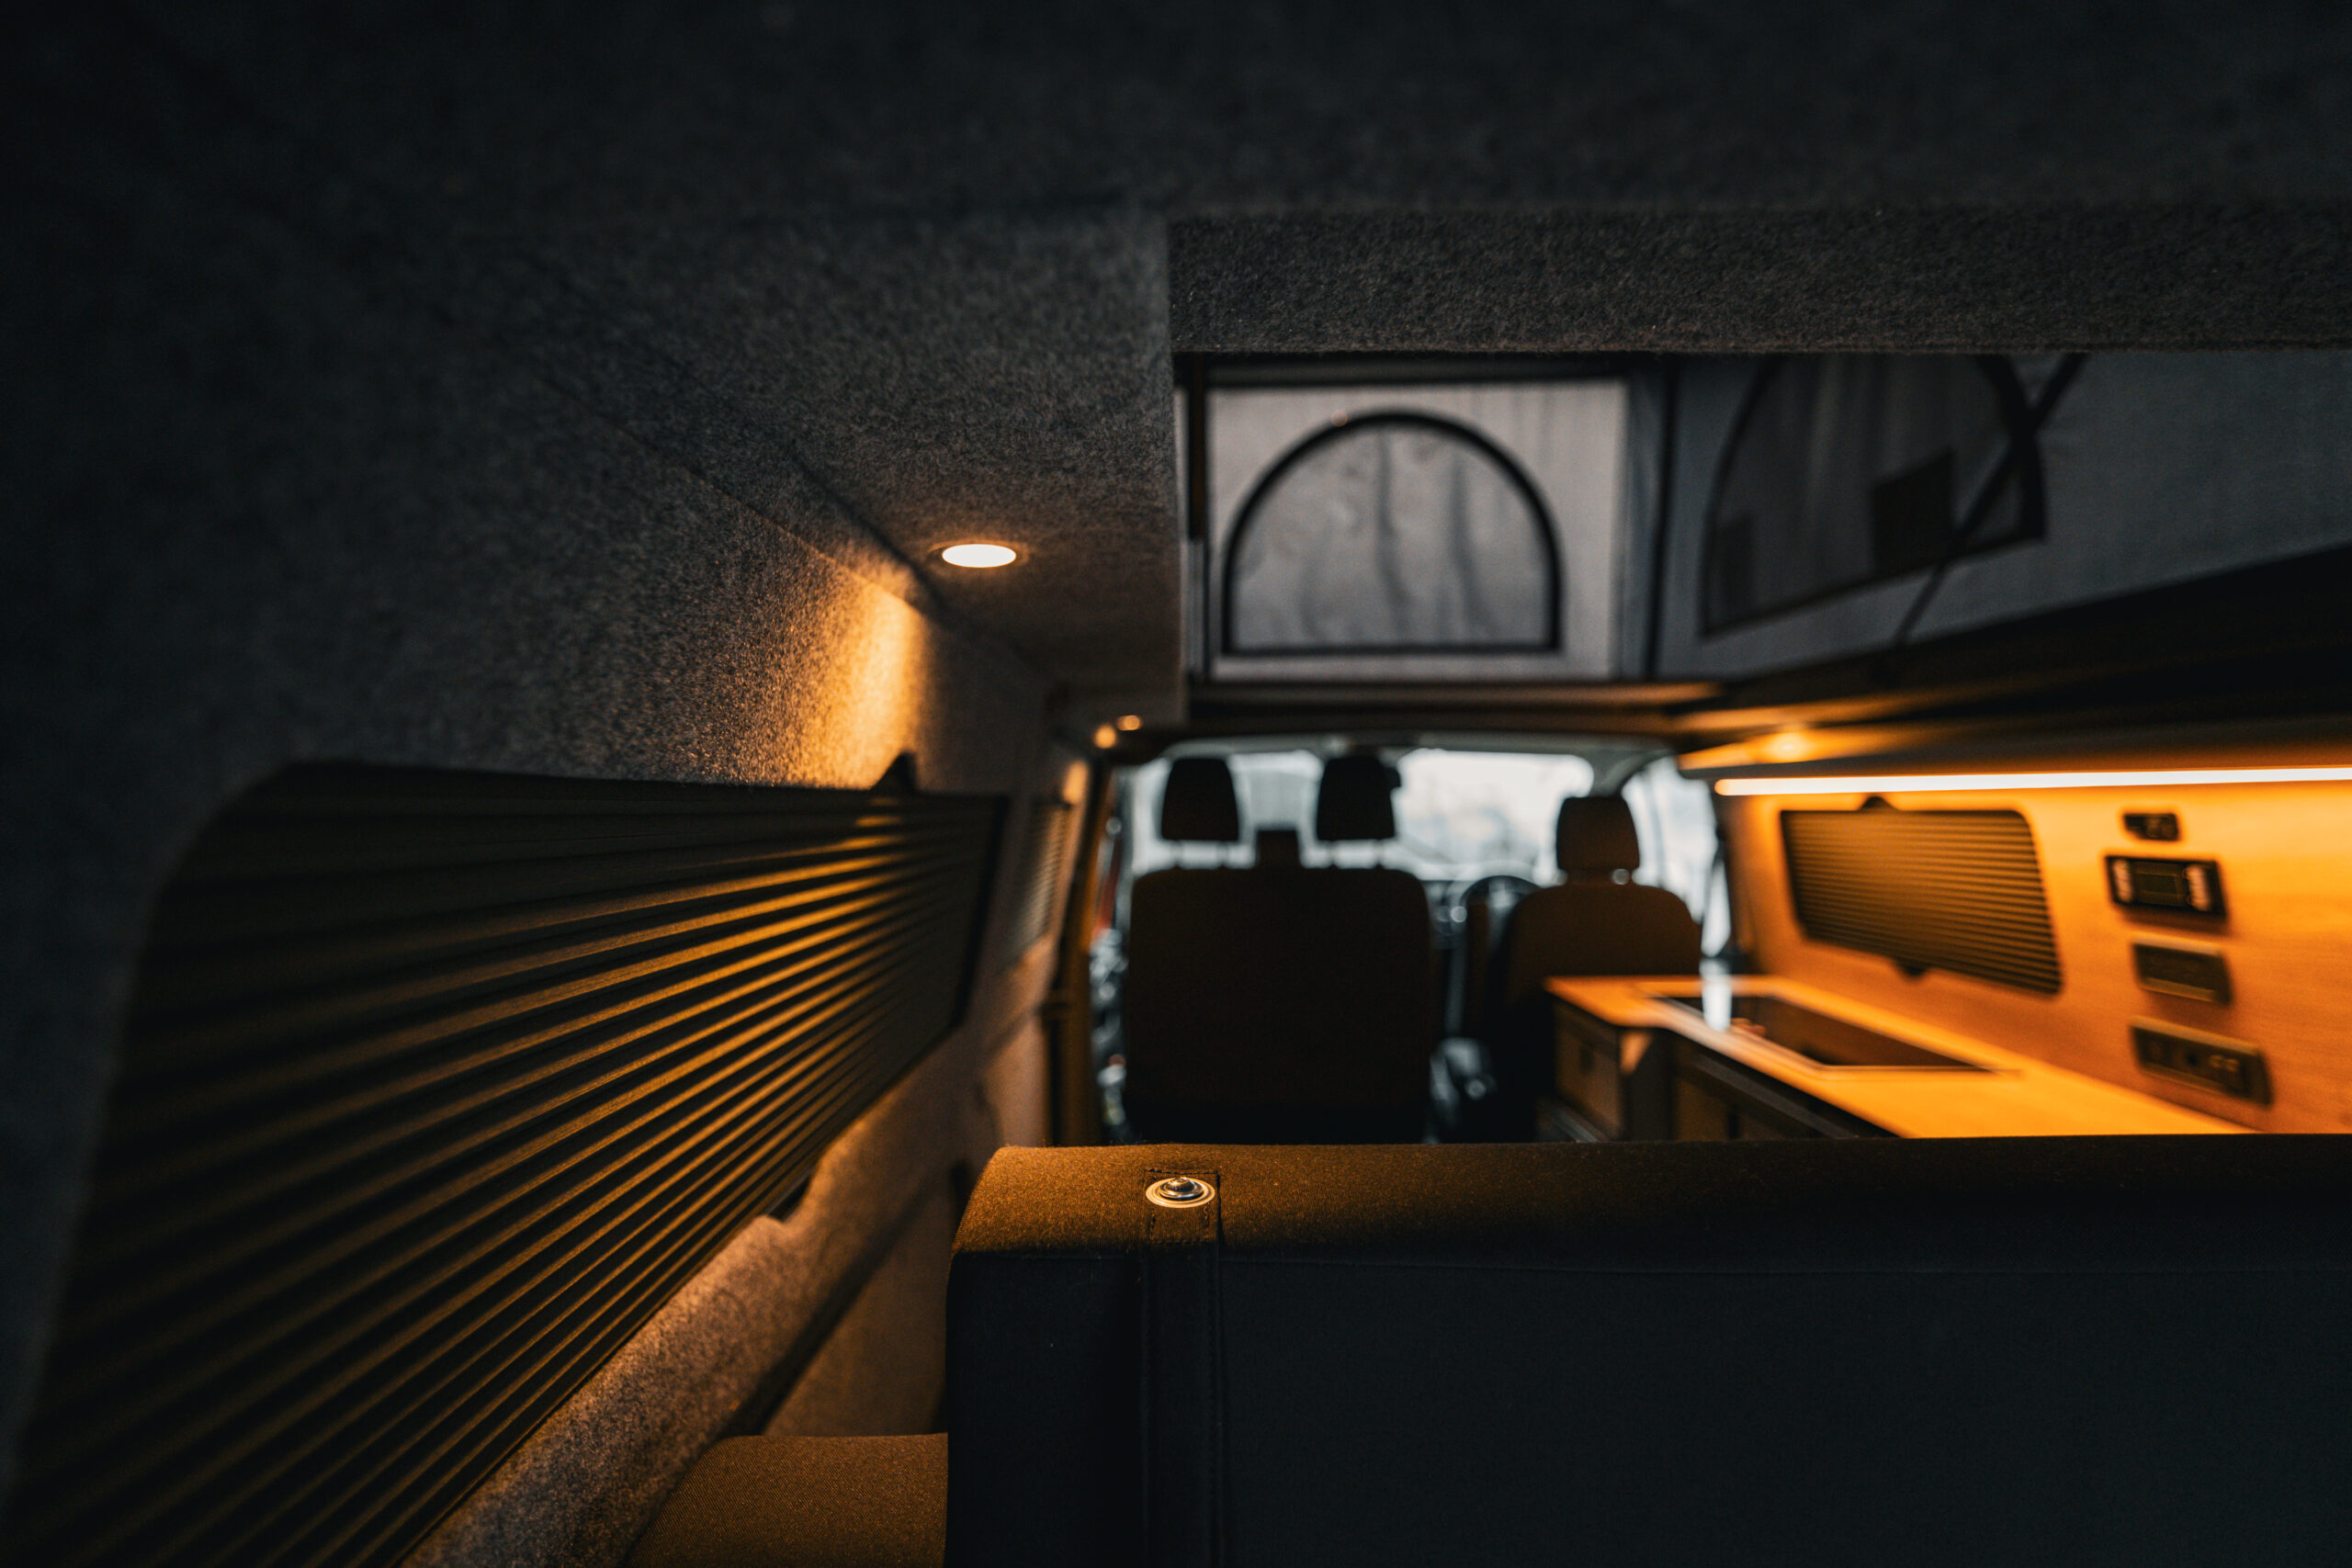
Window Fitting

Ventilation is crucial for keeping your van comfortable, especially if you’re cooking inside or sleeping in there full-time. I always tell clients, you don’t want to wake up in a van full of condensation—it’s not just uncomfortable, it can also lead to mould which is every vanlifer’s nightmare!
At a minimum, I recommend installing sliding windows on at least one side of the van for airflow. Trust me, it’s one of those features you’ll be glad you invested in!
Aside from ventilation, windows can make your van feel much more homey. There’s nothing worse than parking up in a beautiful spot and not being able to enjoy the view from anywhere but the driver’s seat.
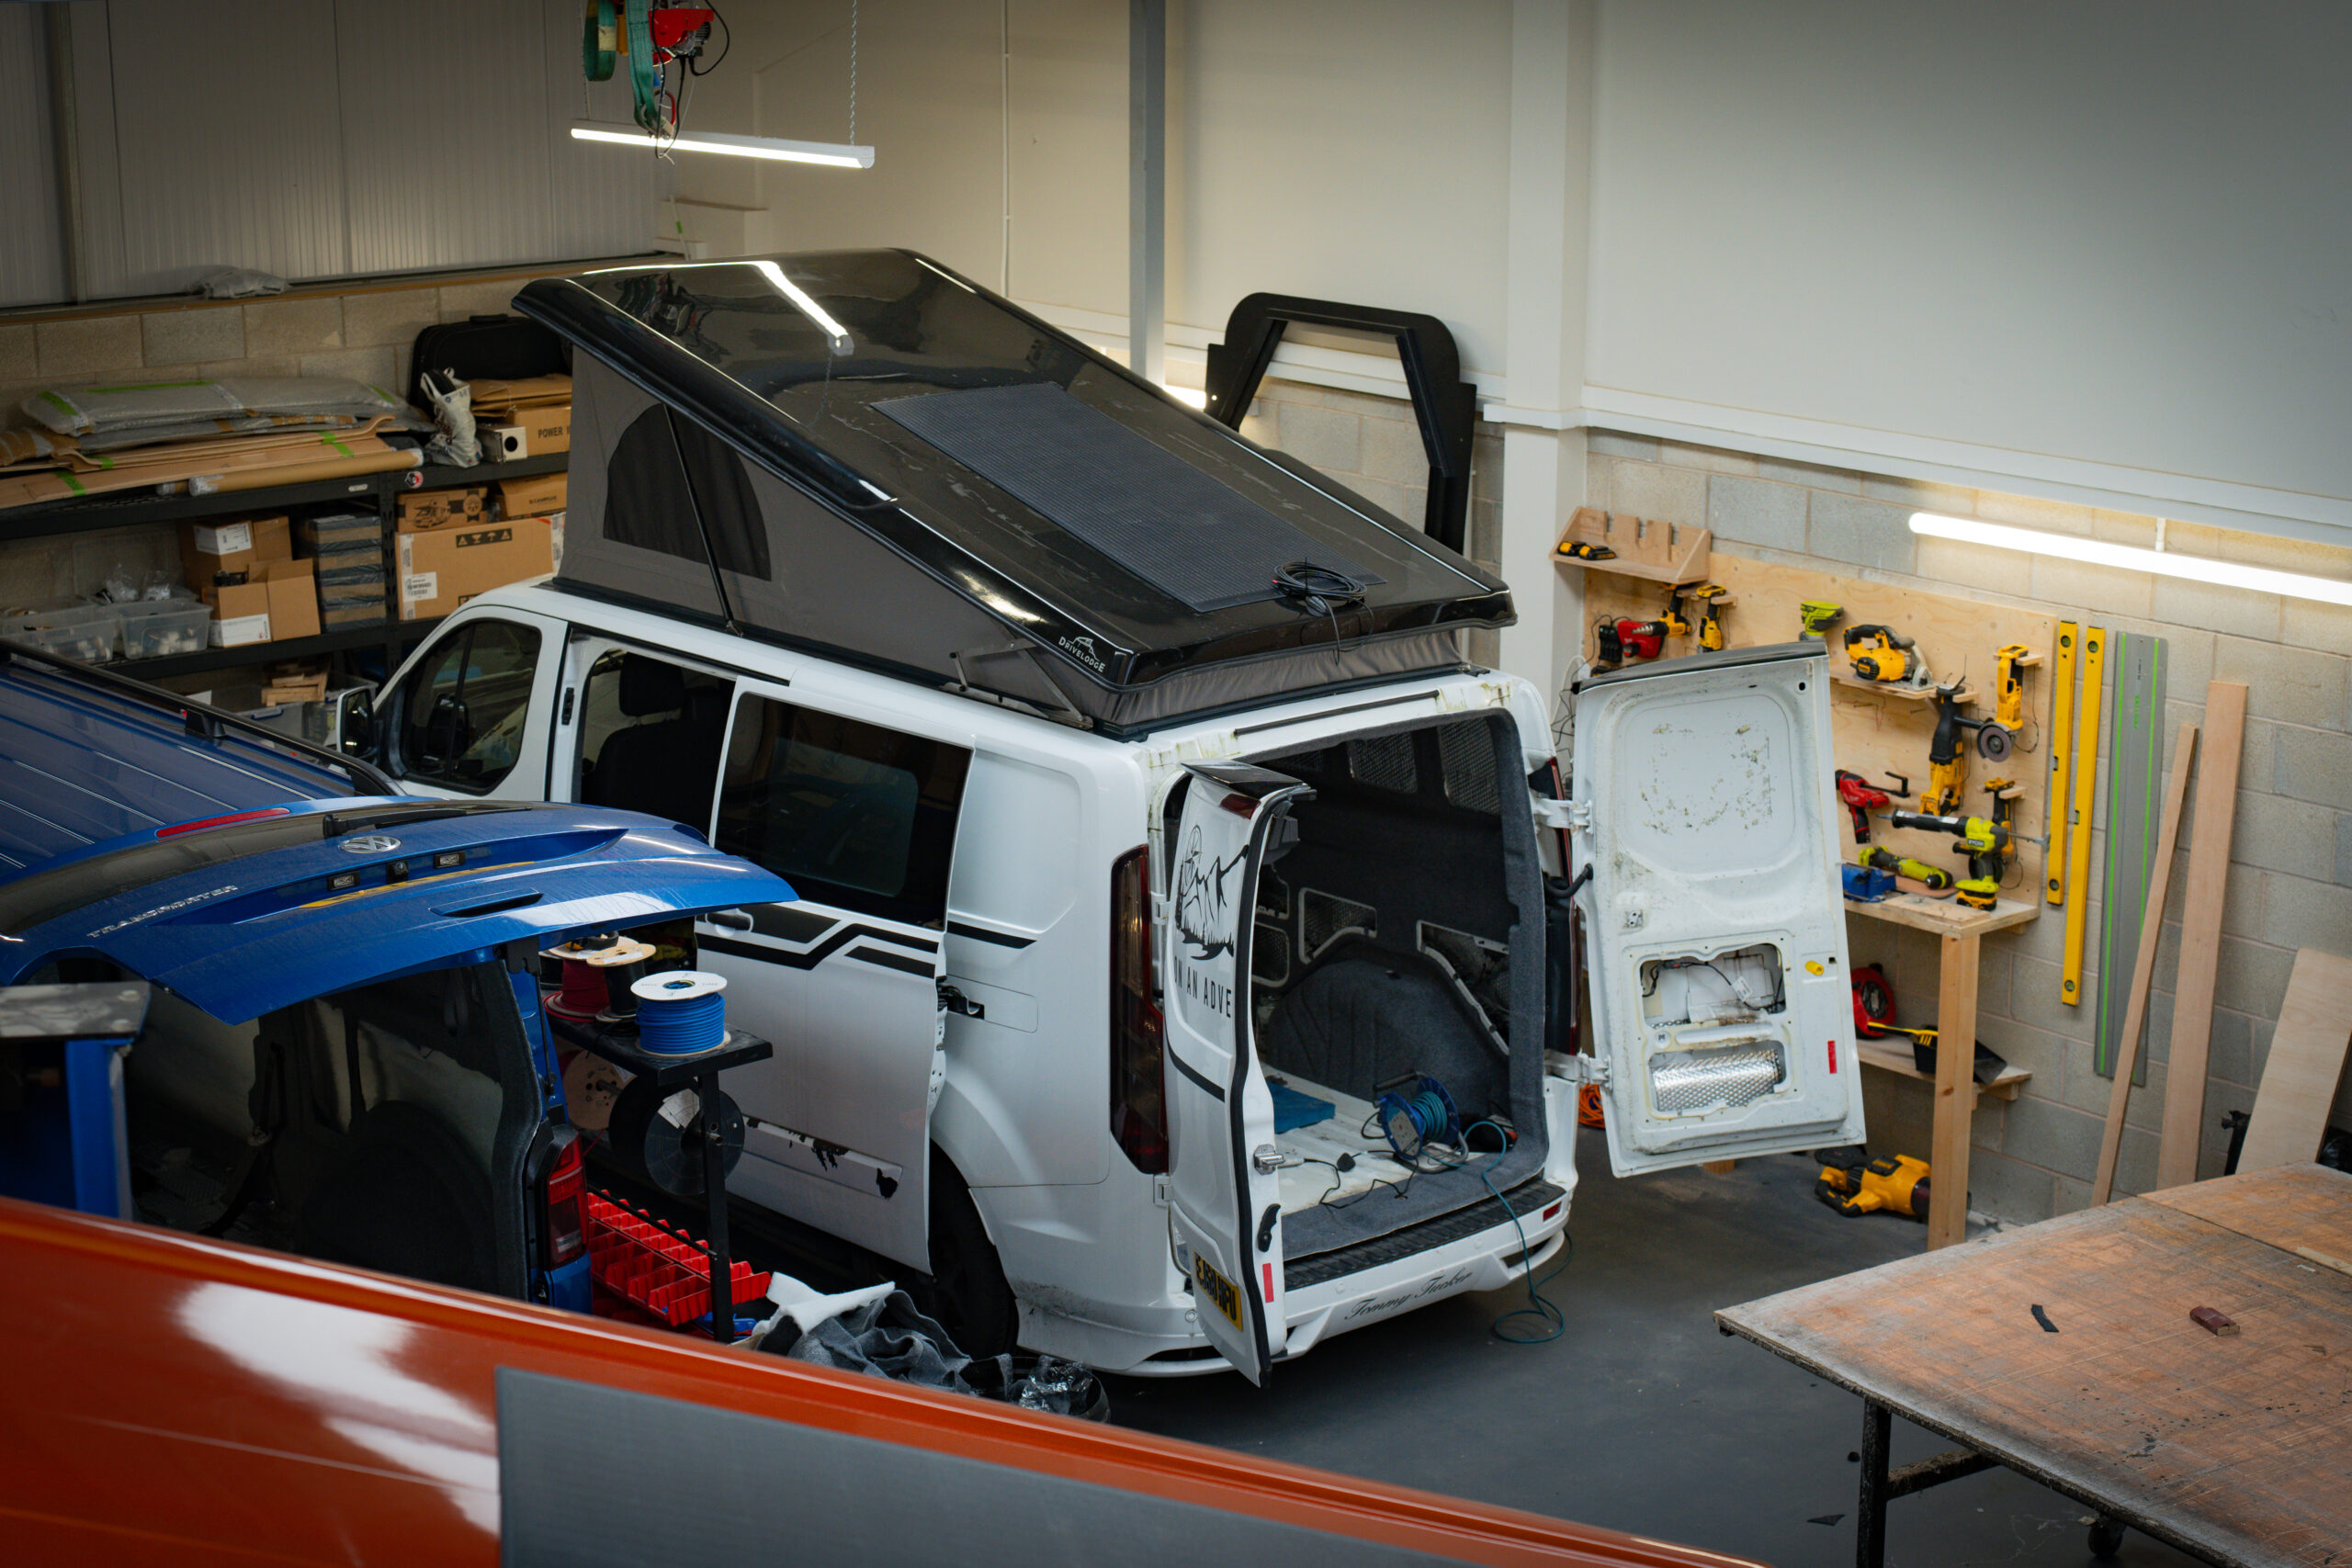
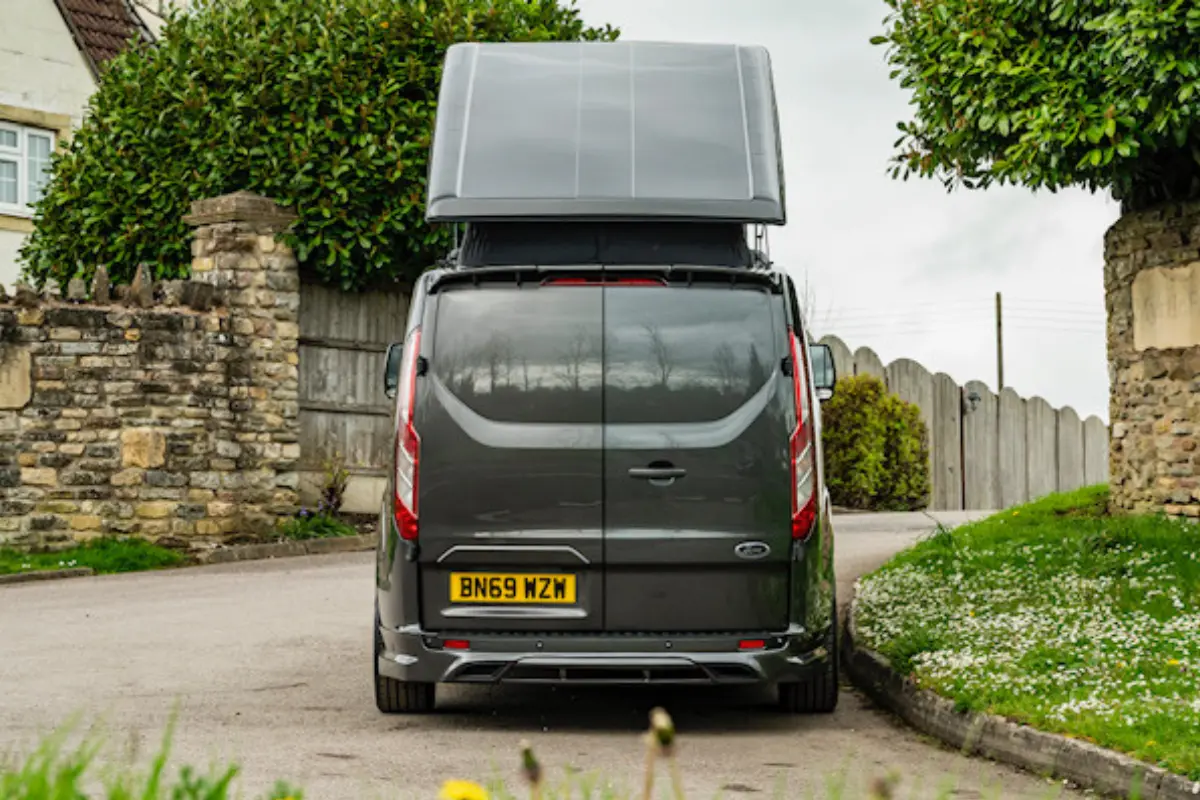
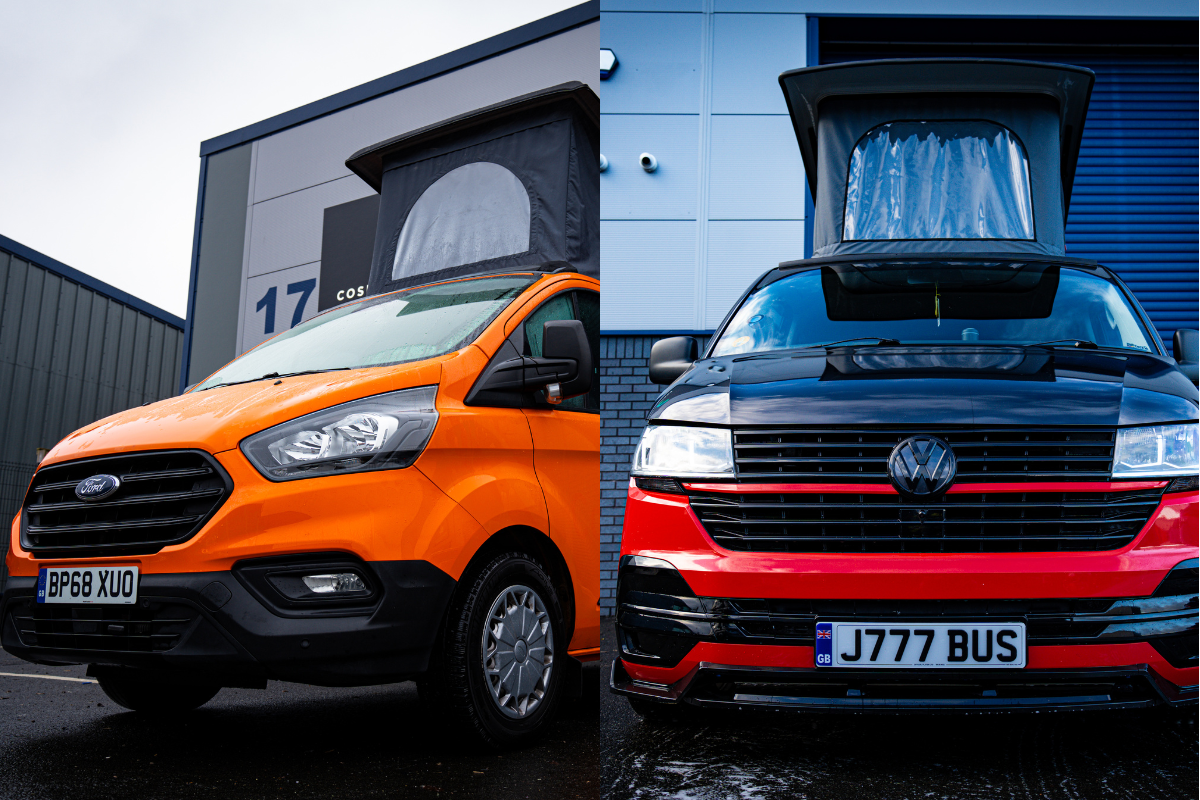
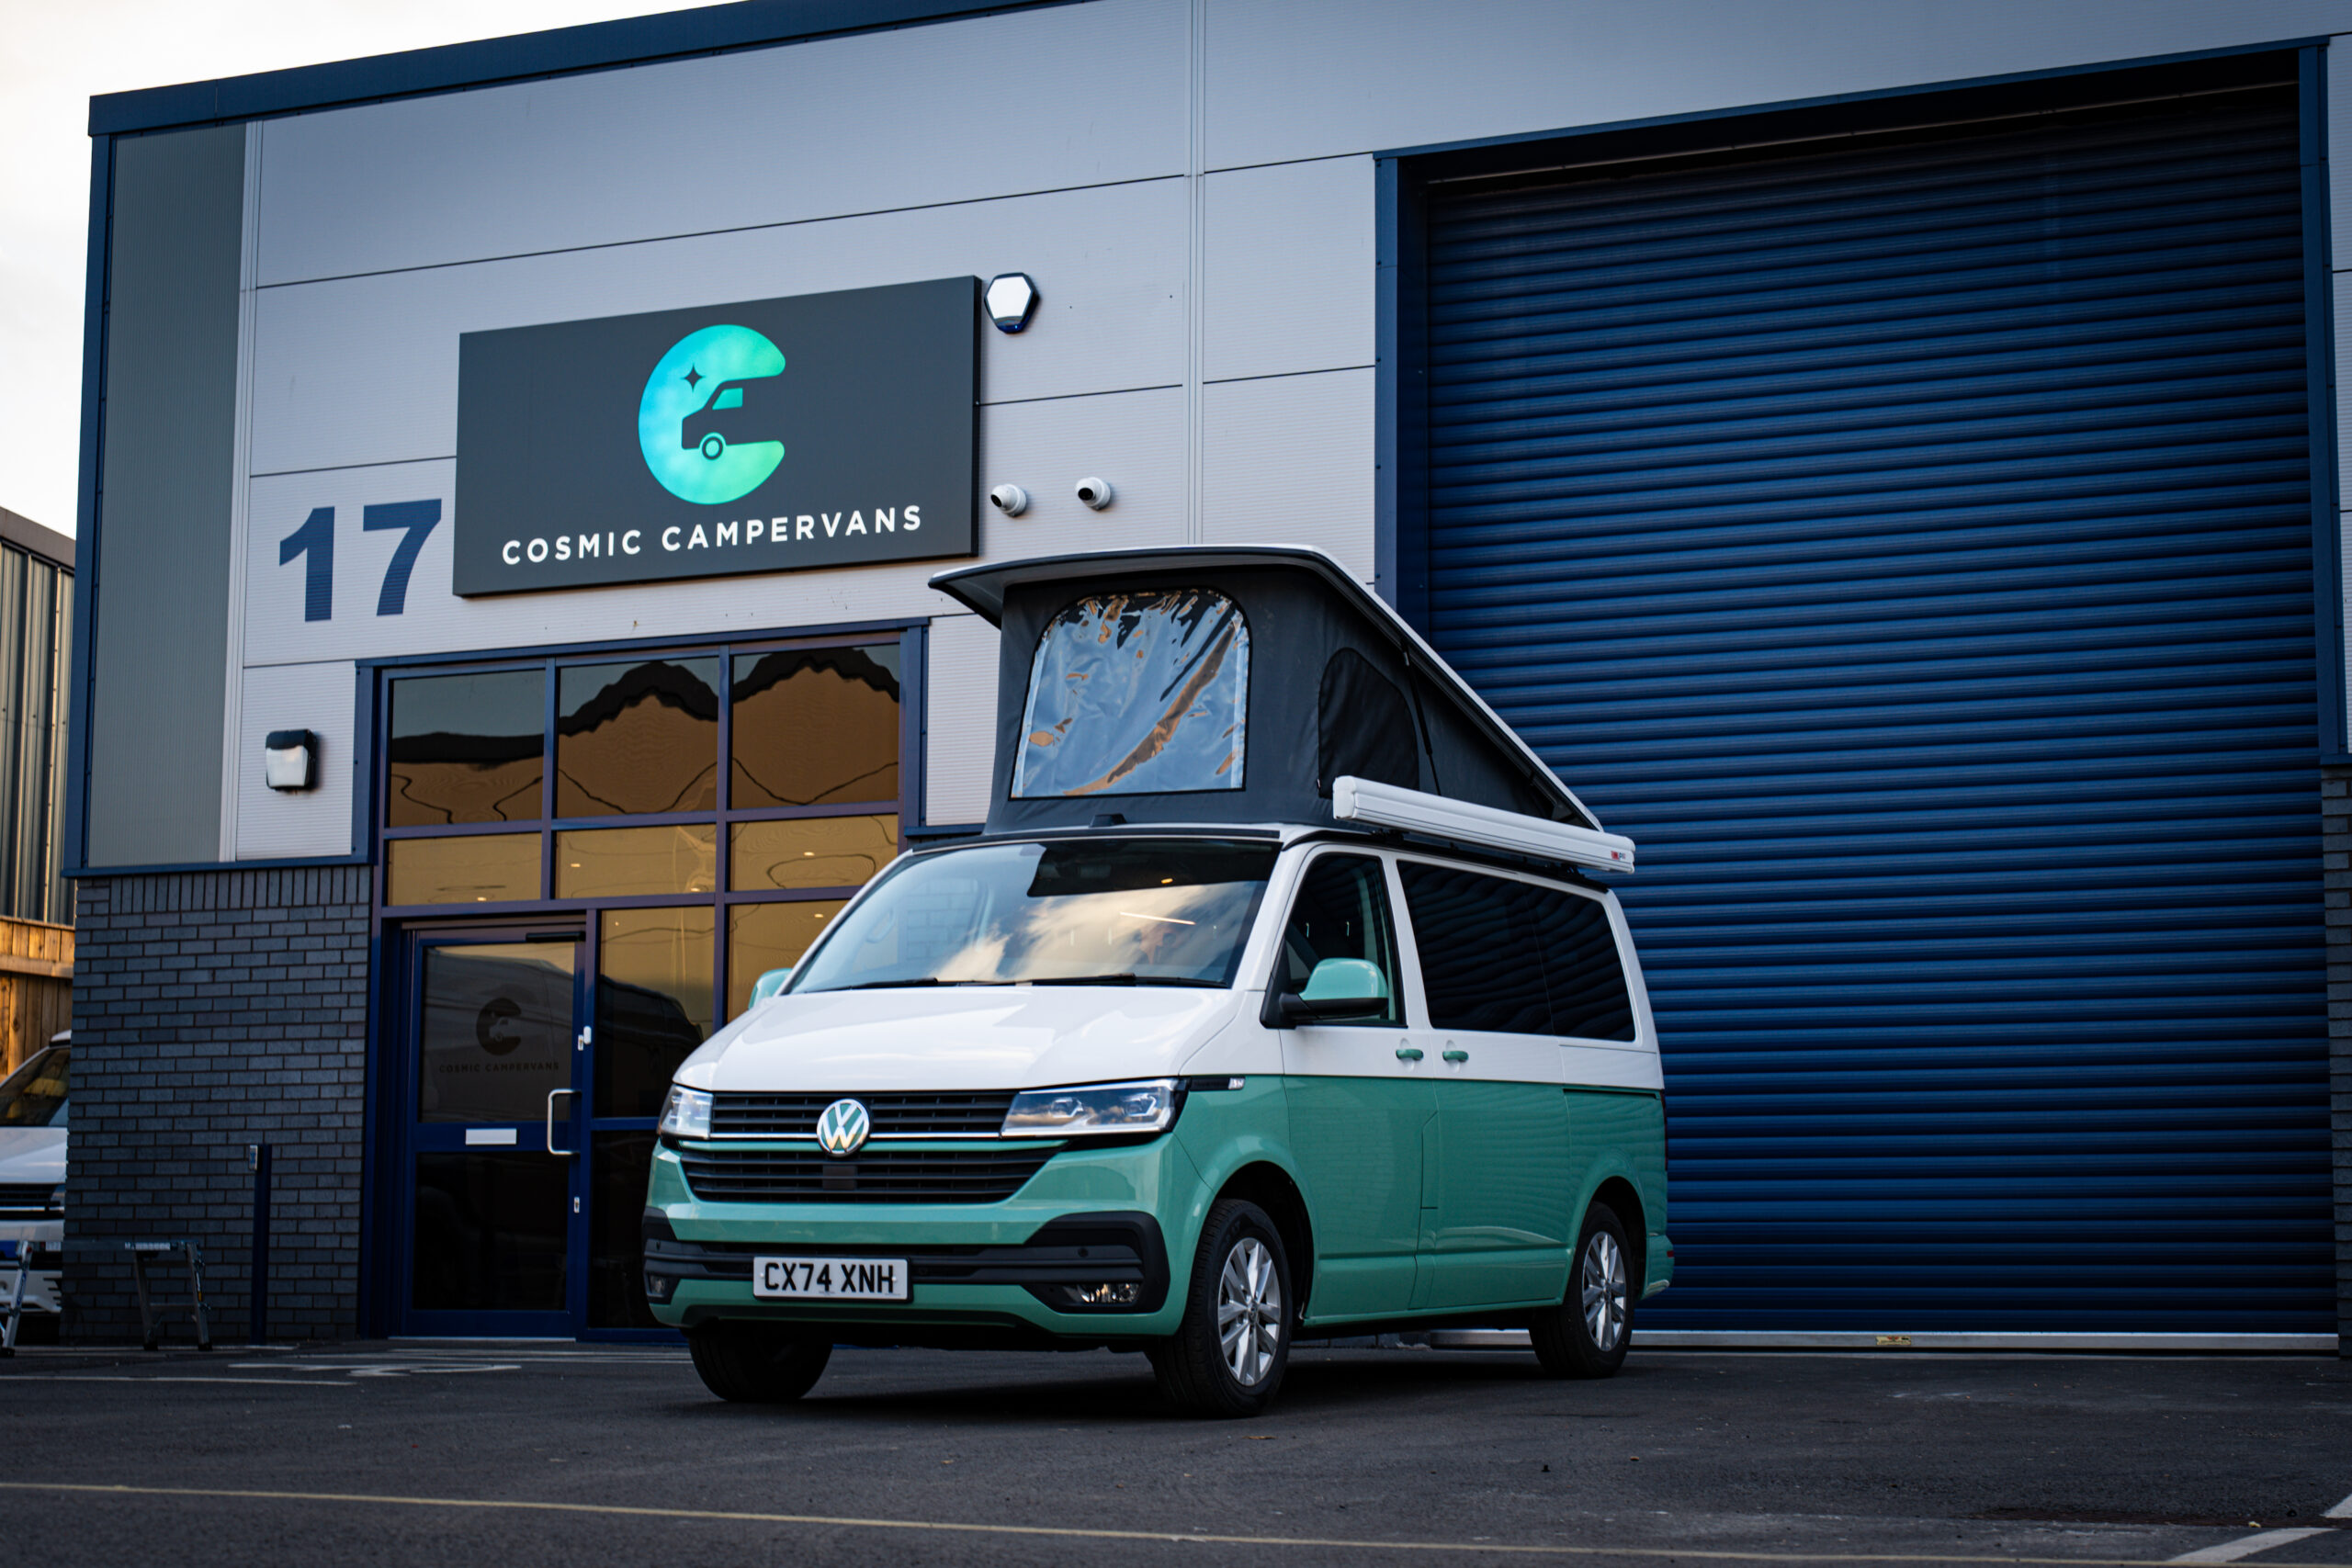
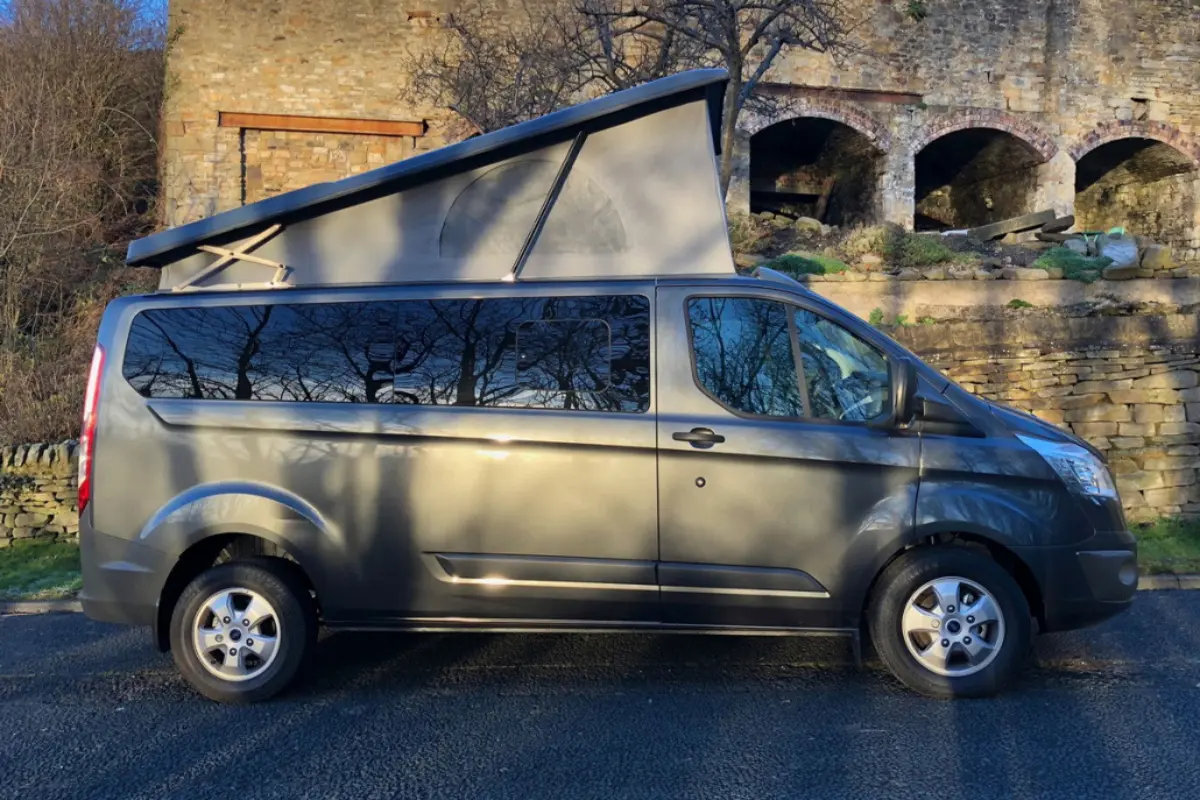
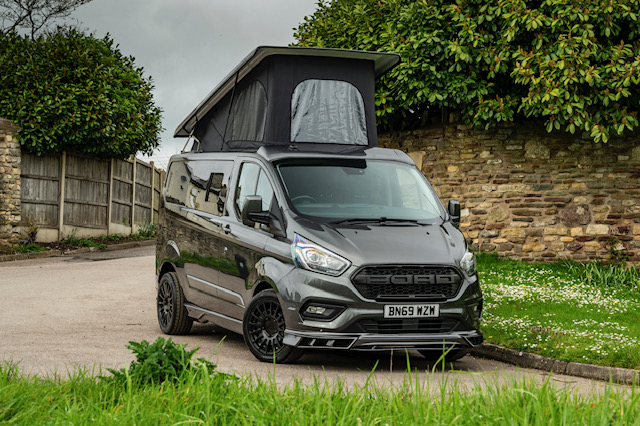
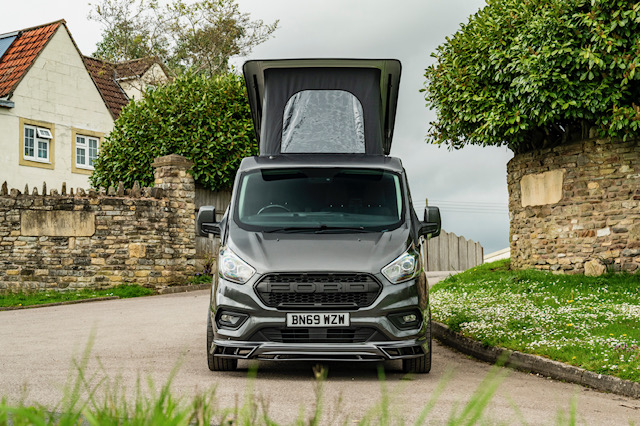
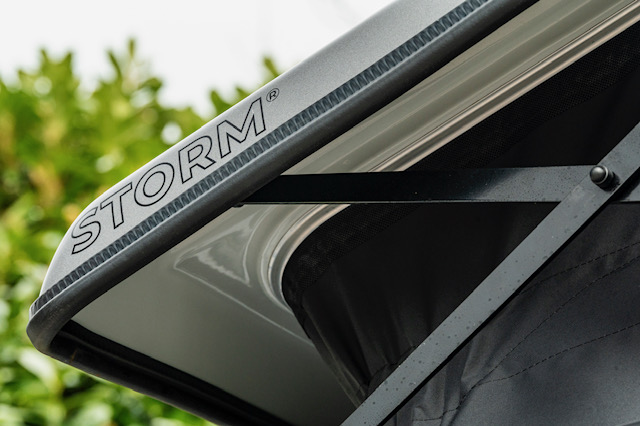
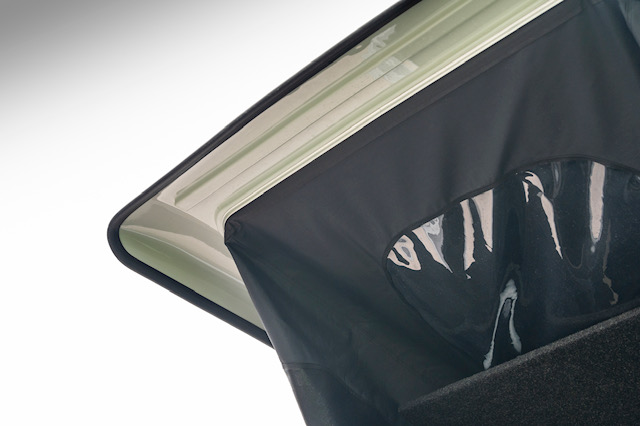
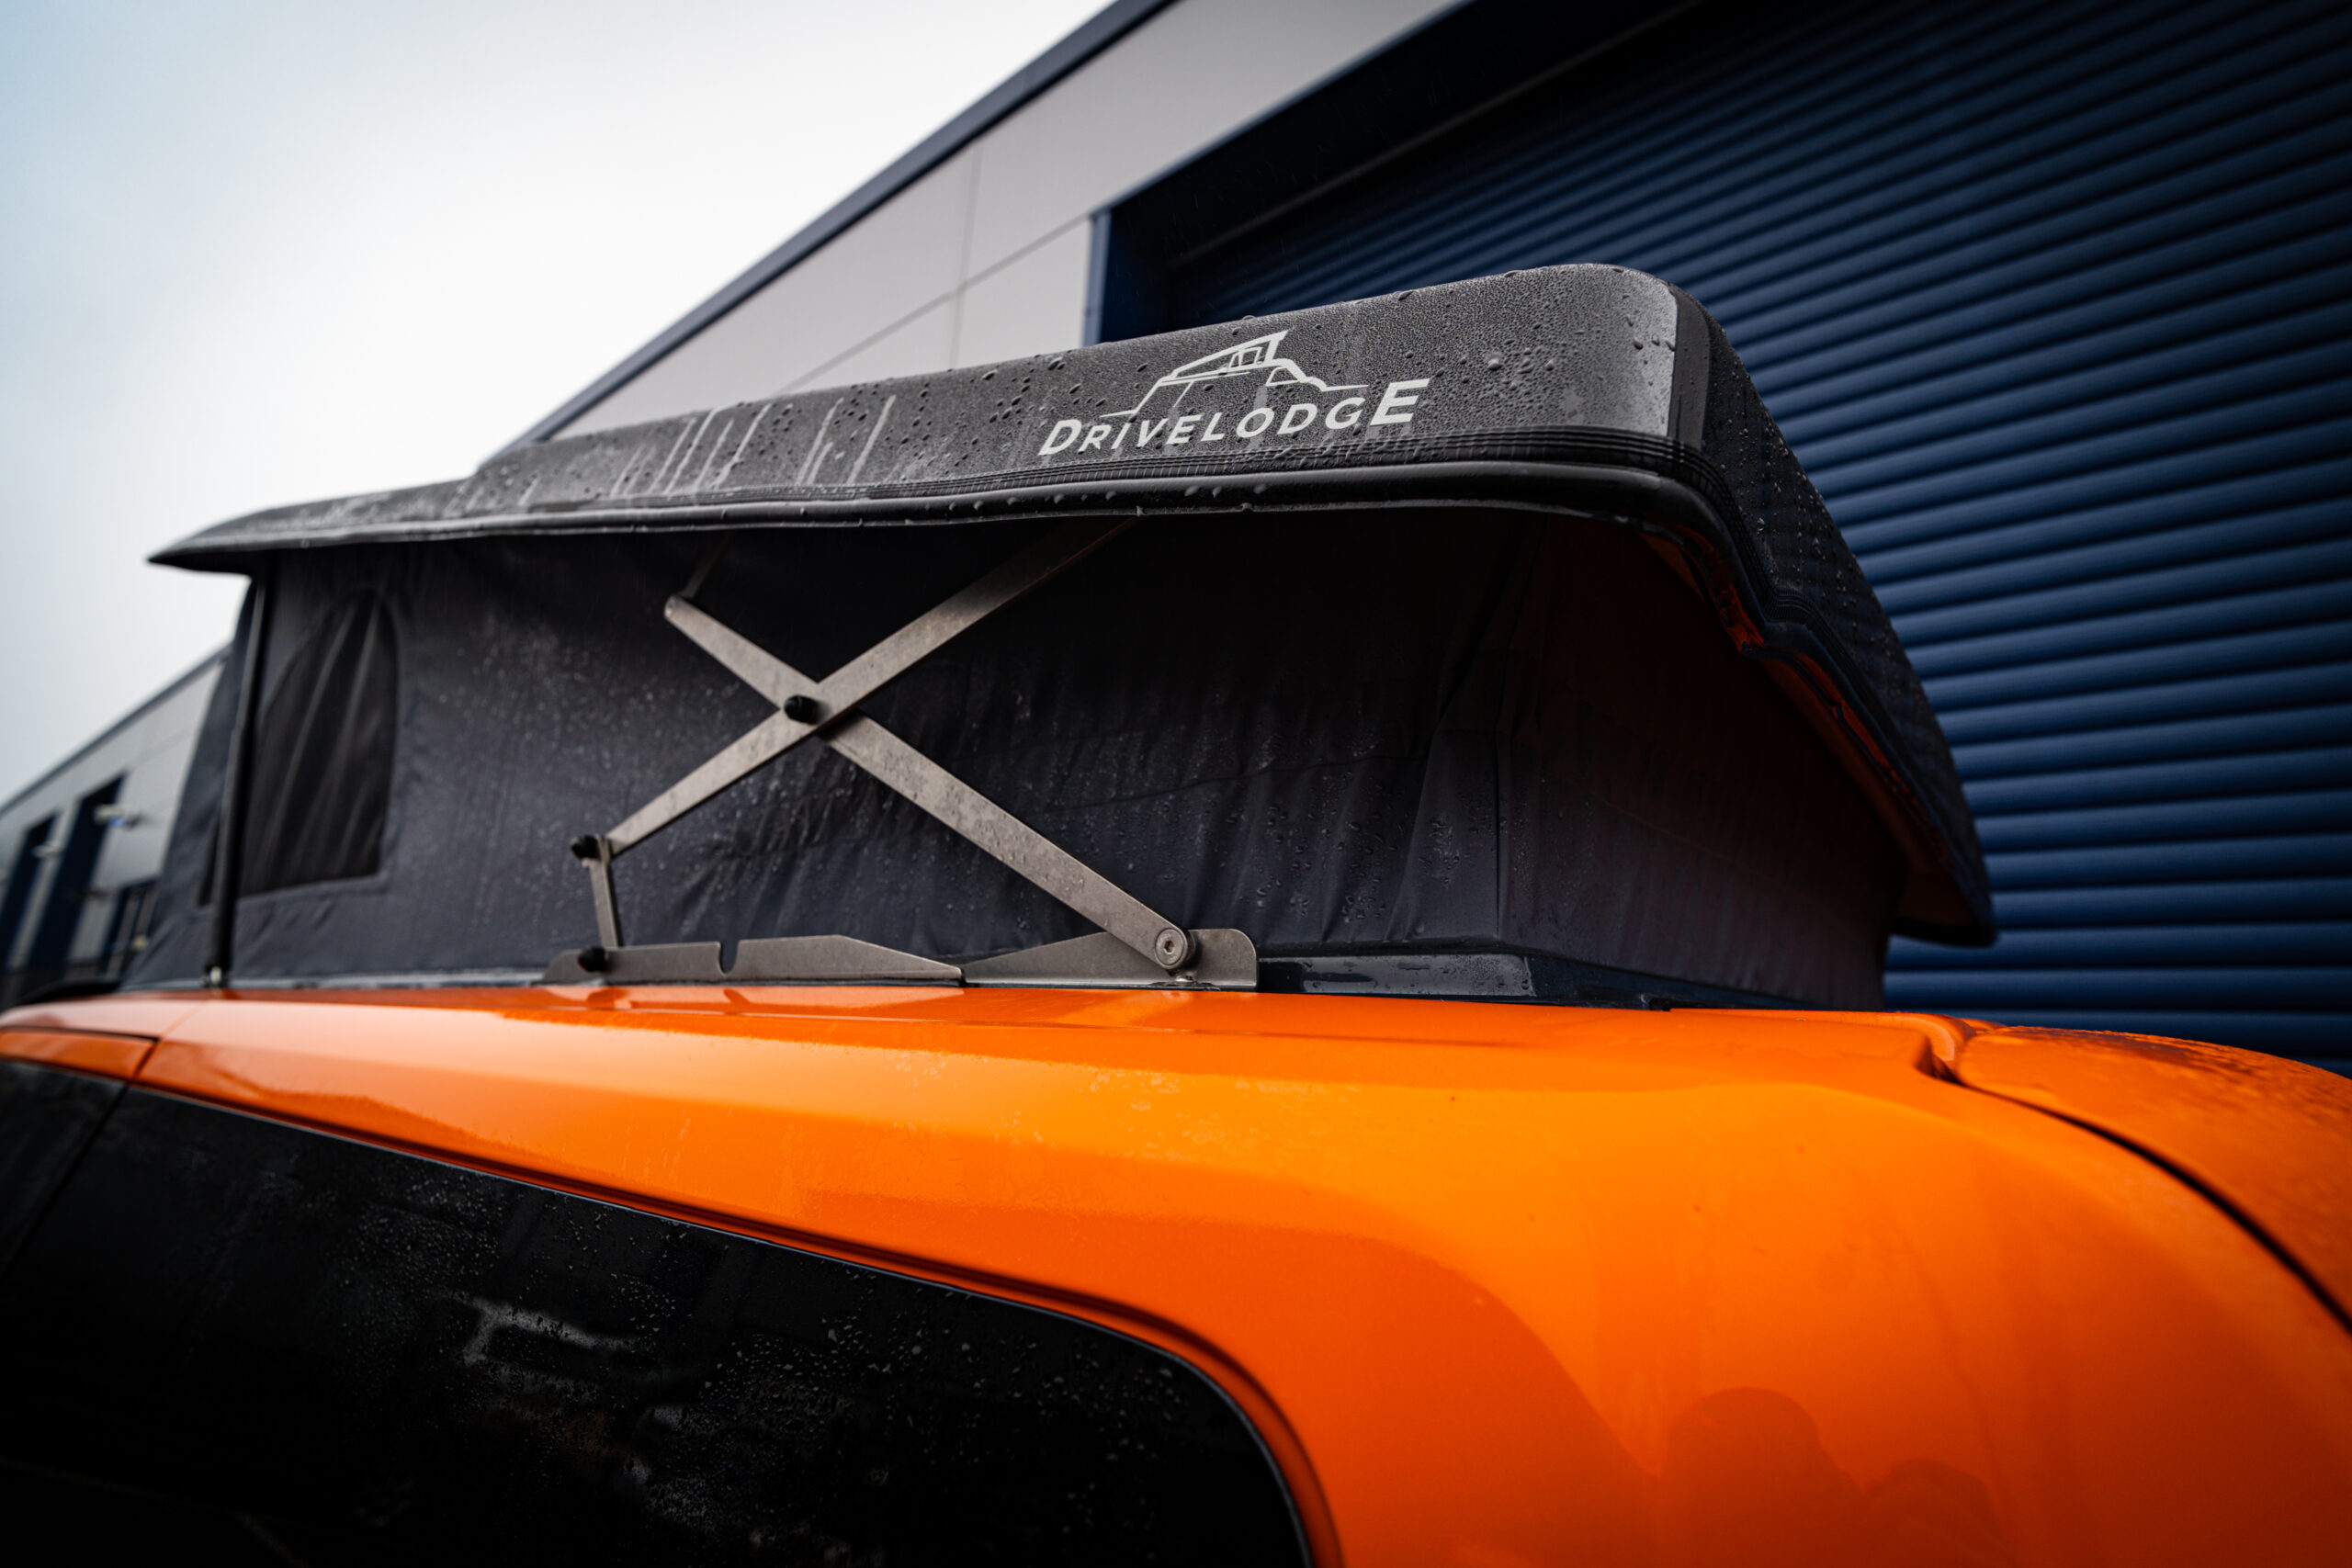
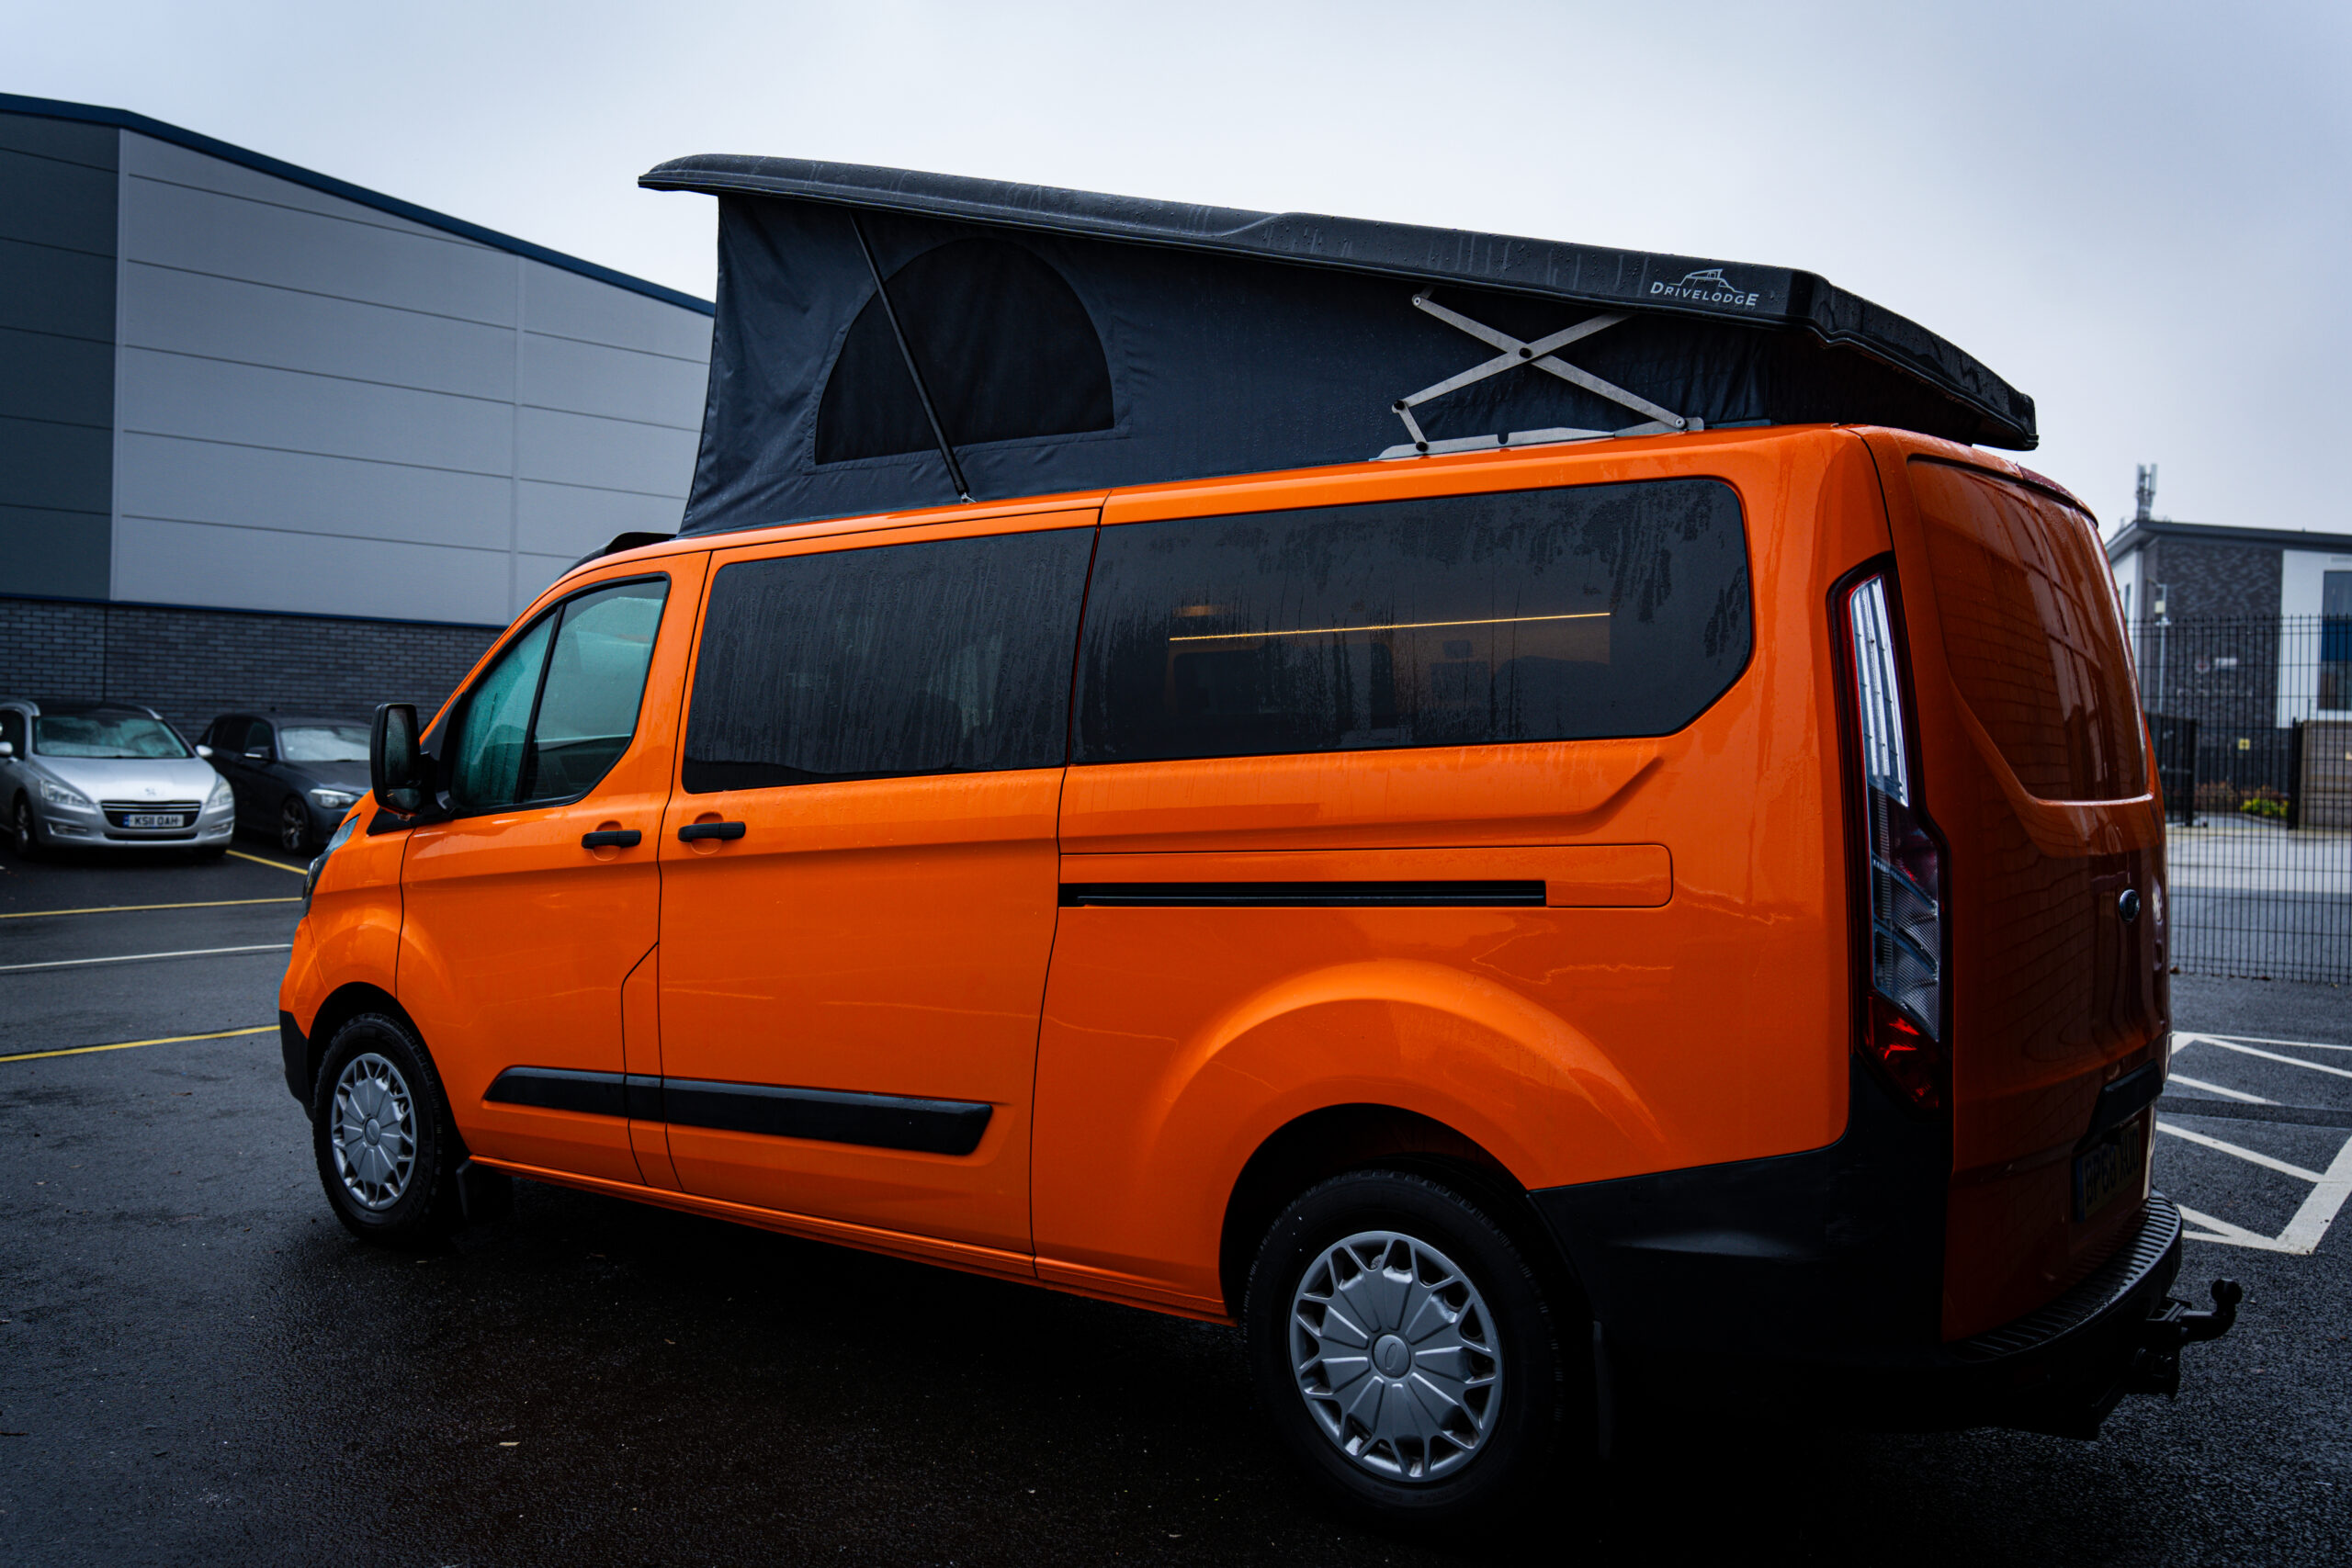
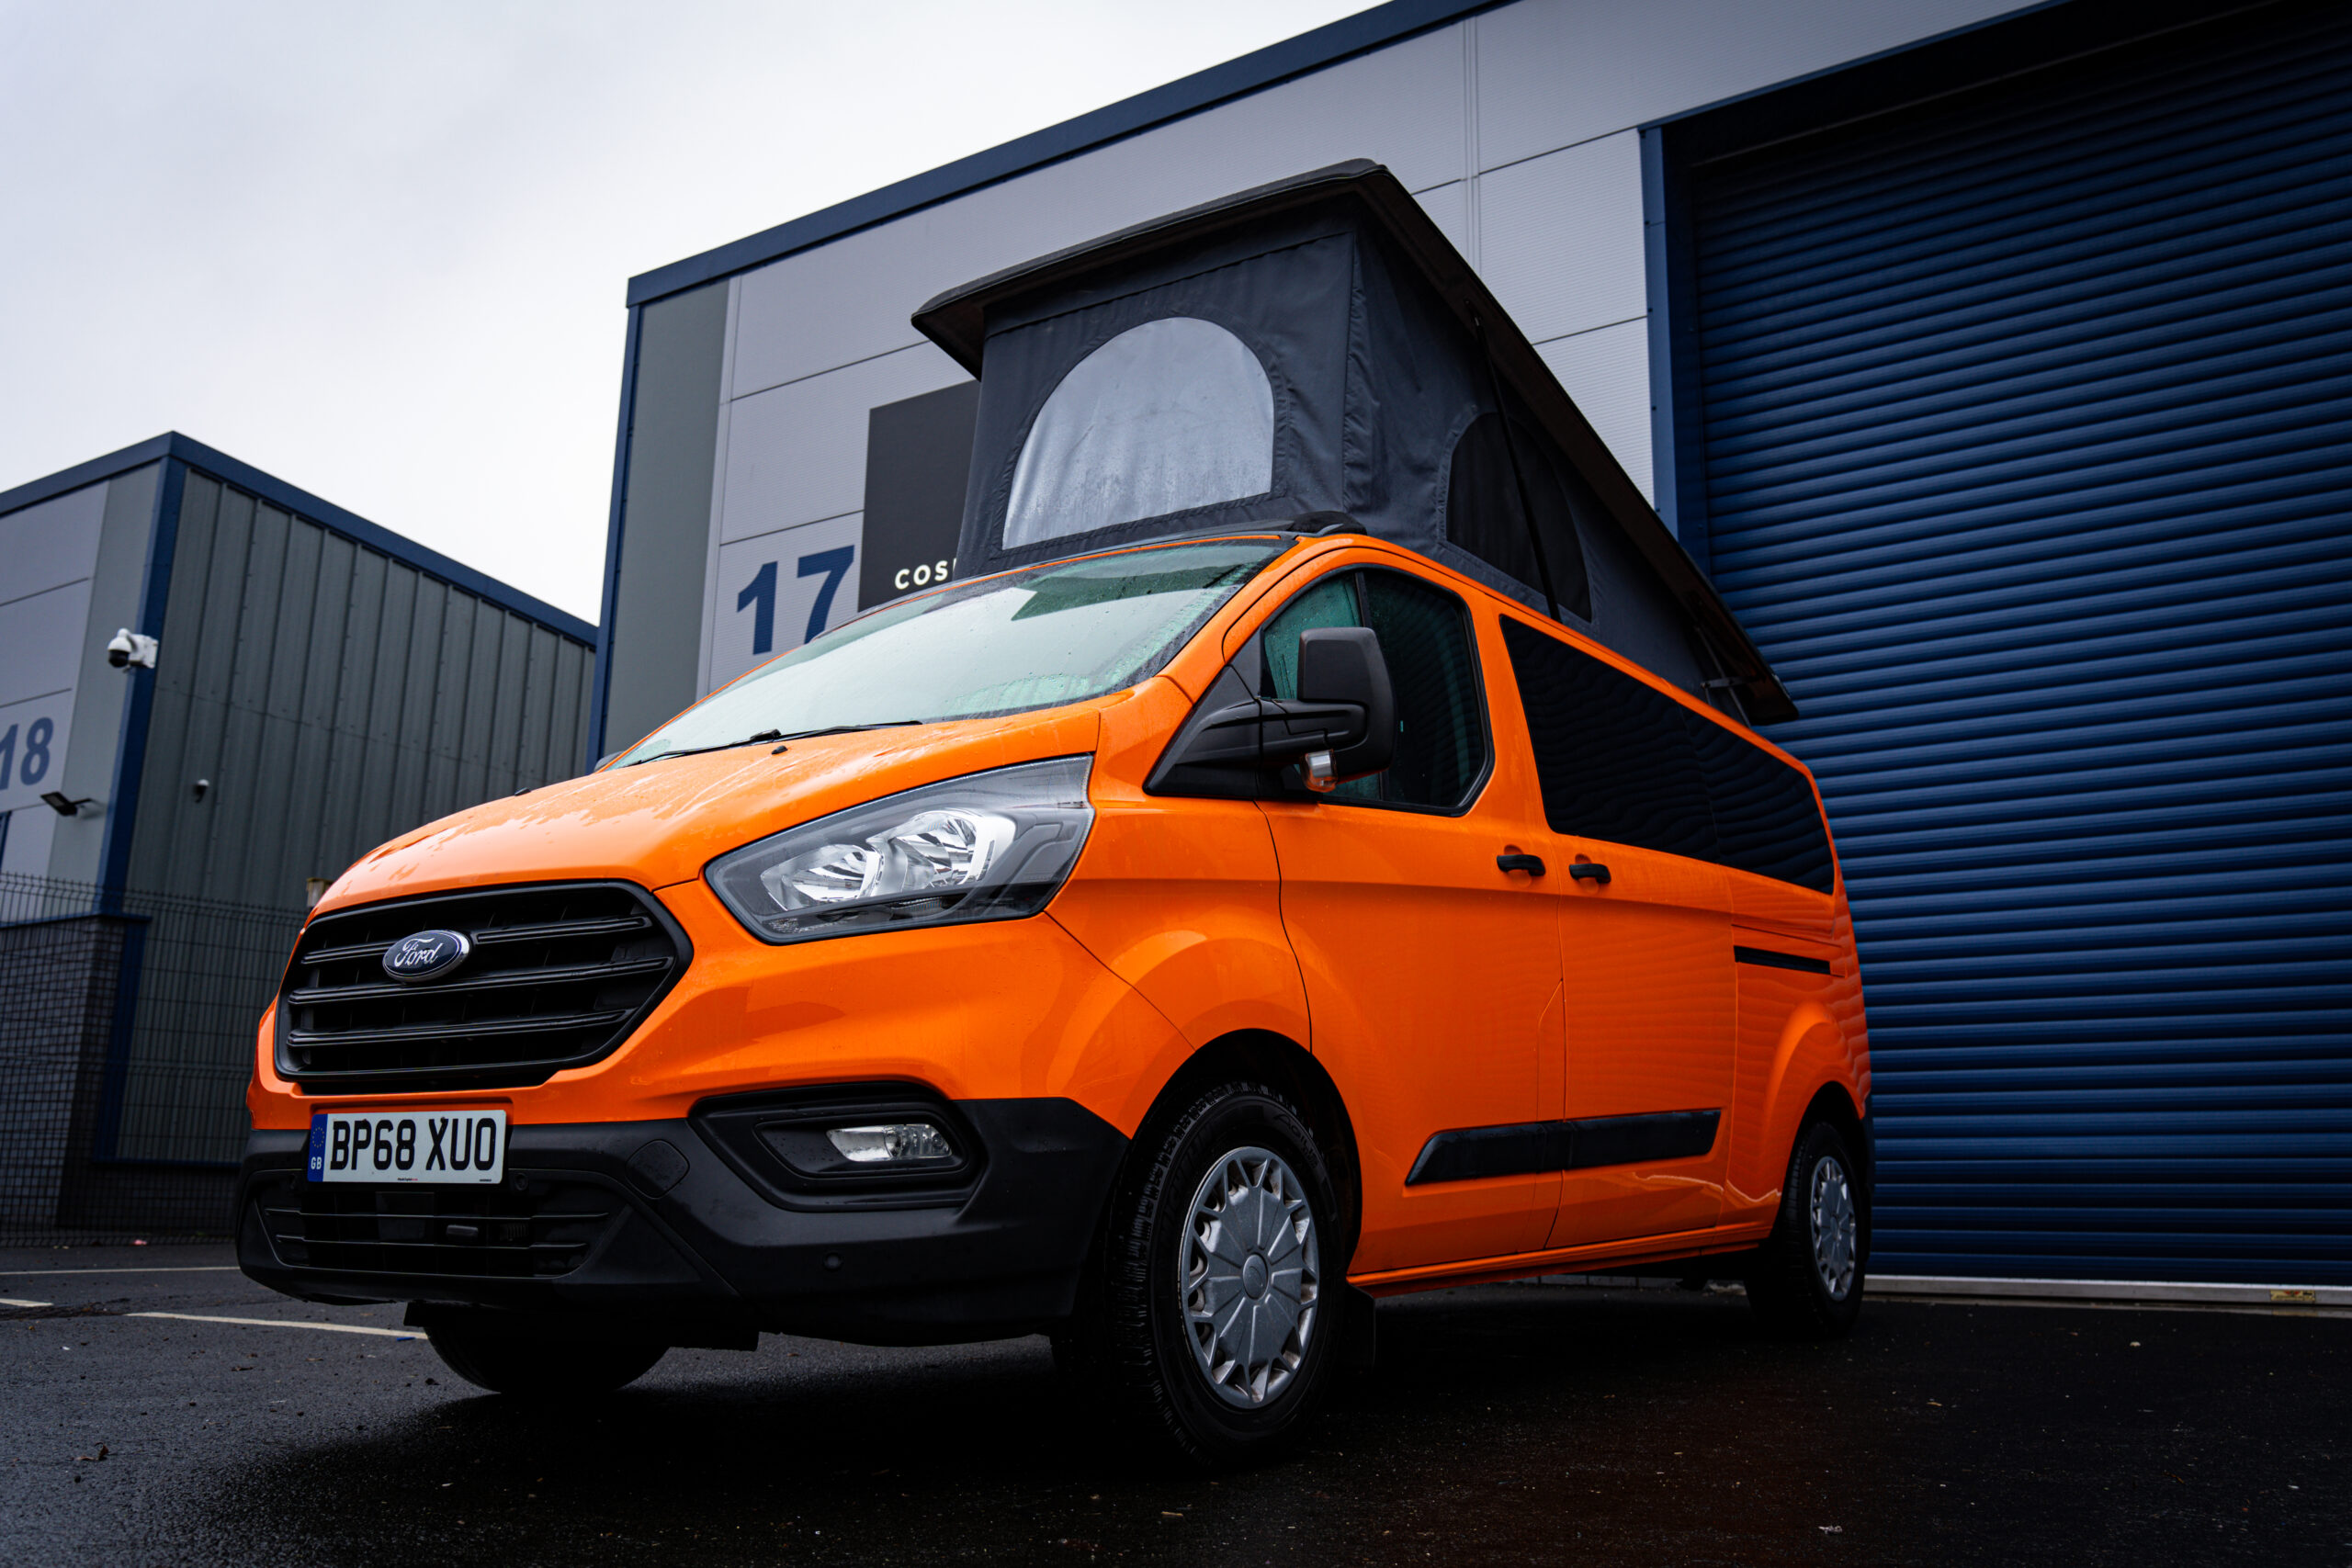
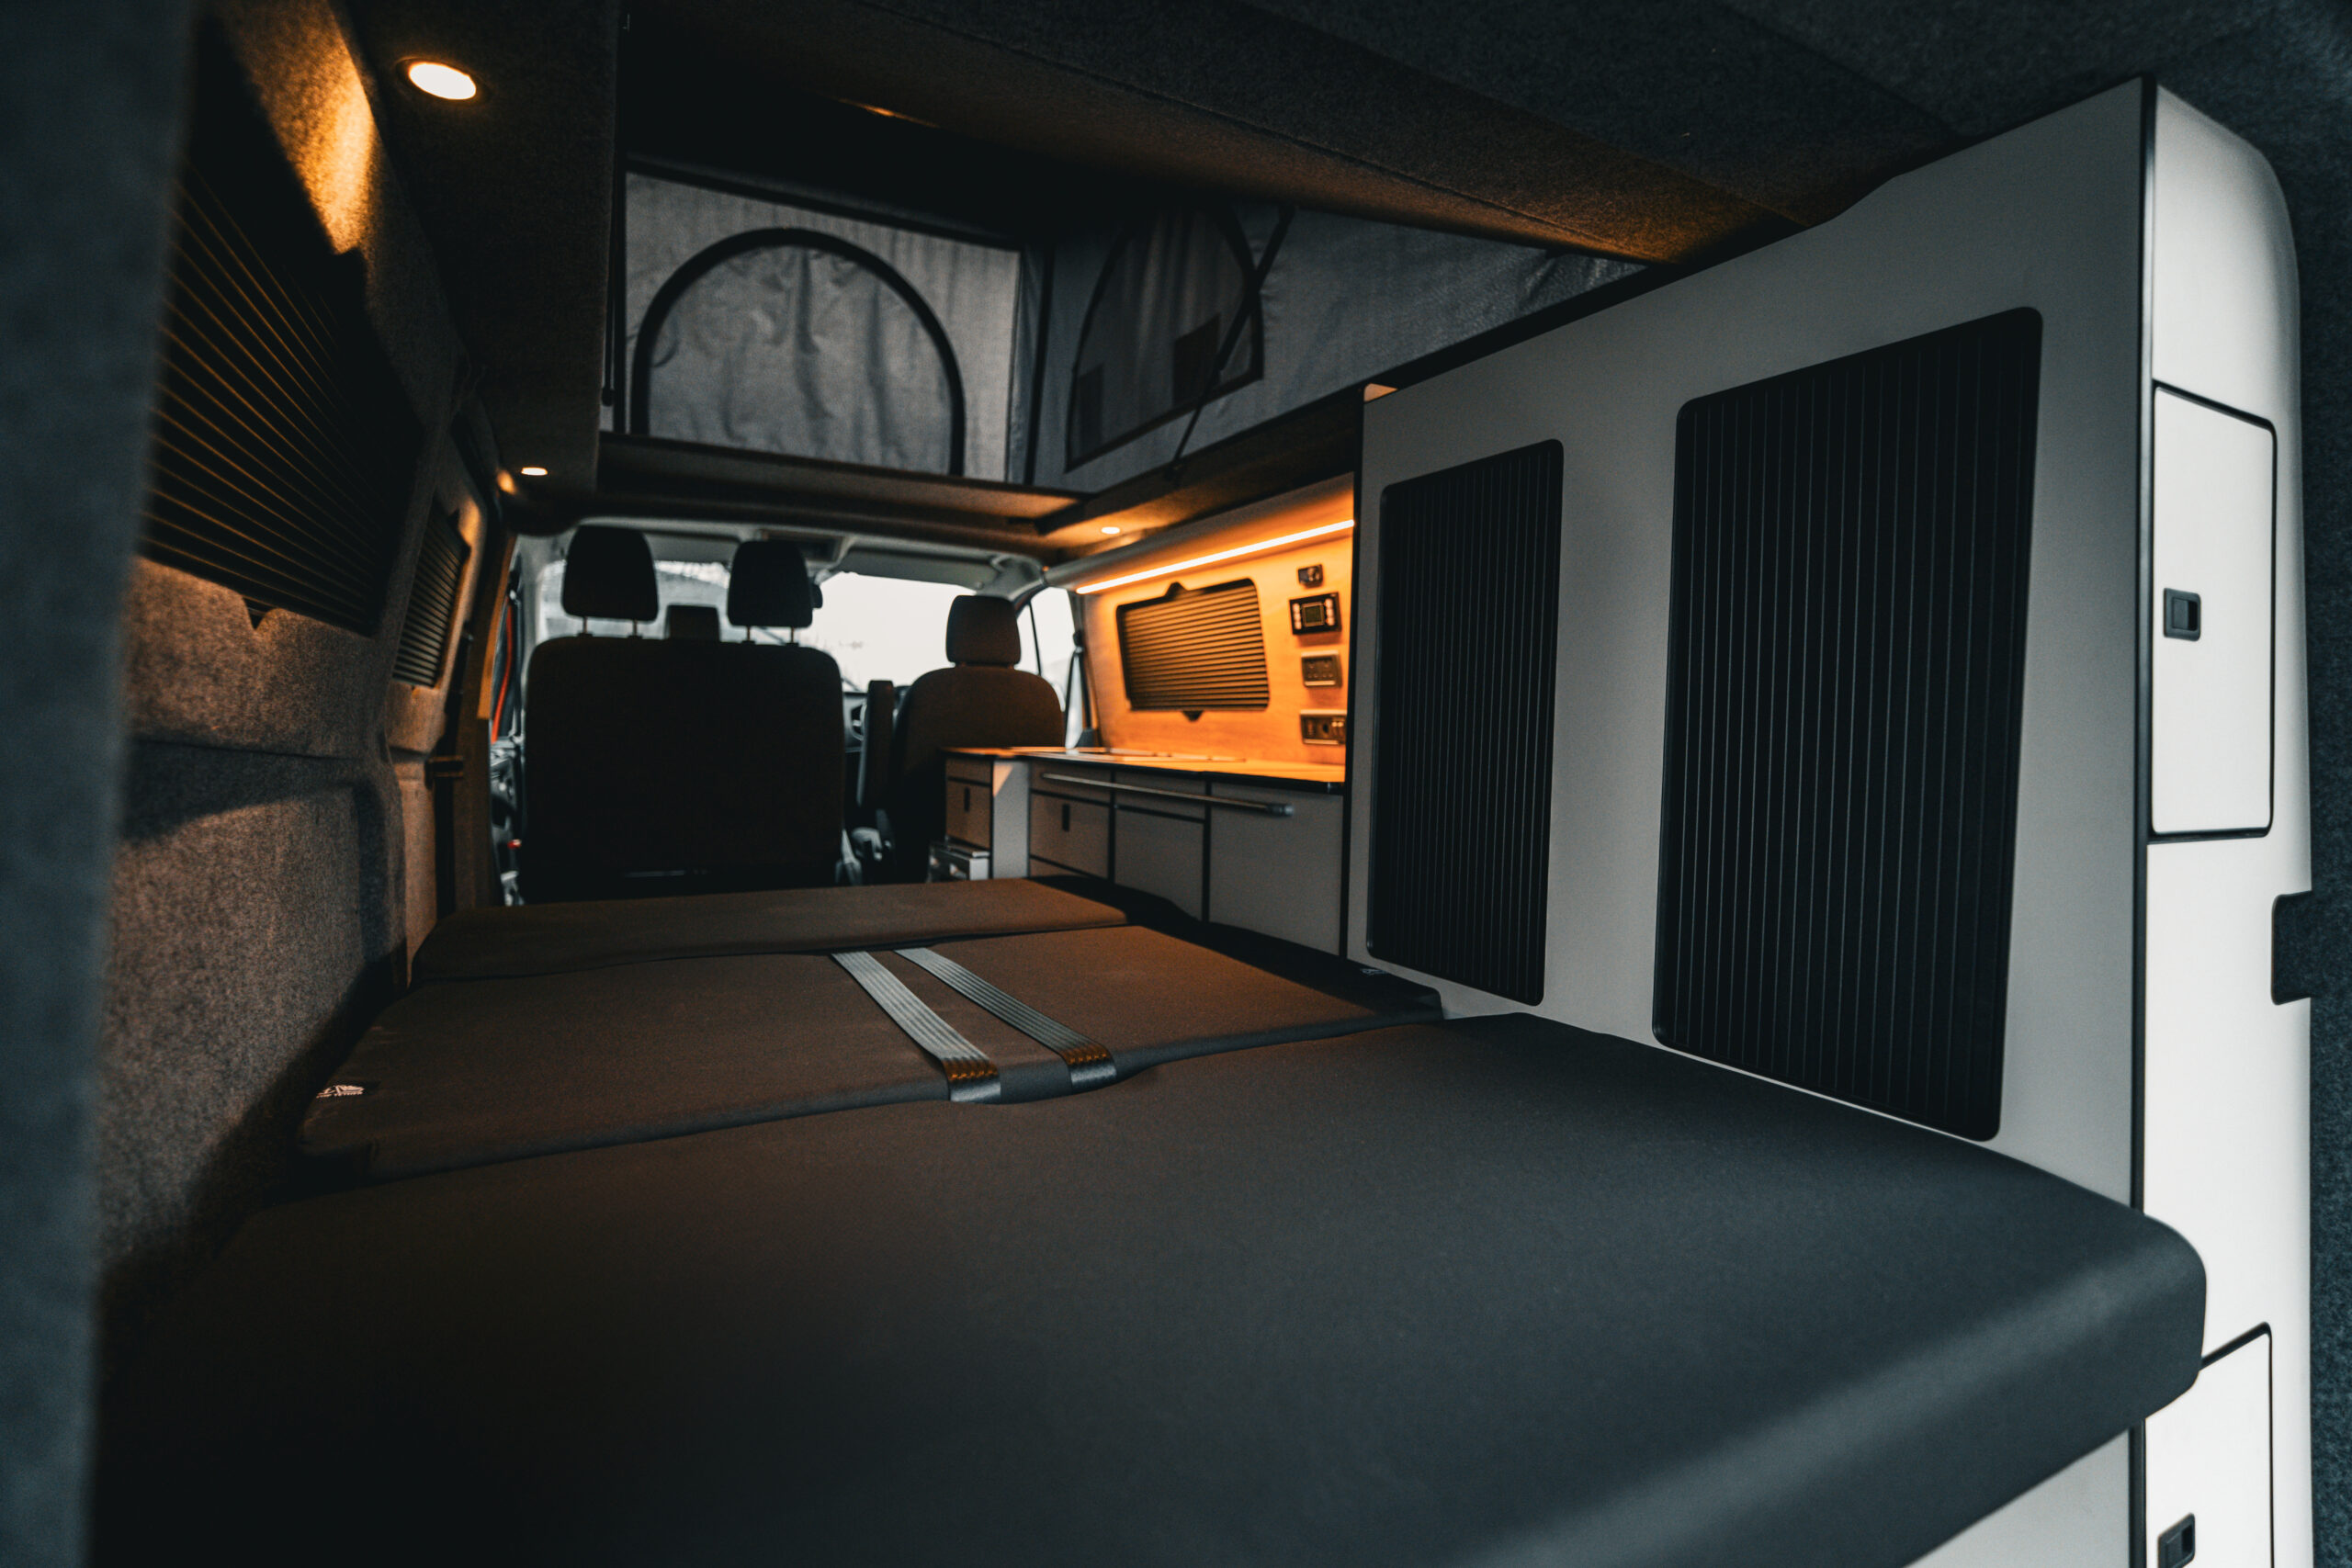
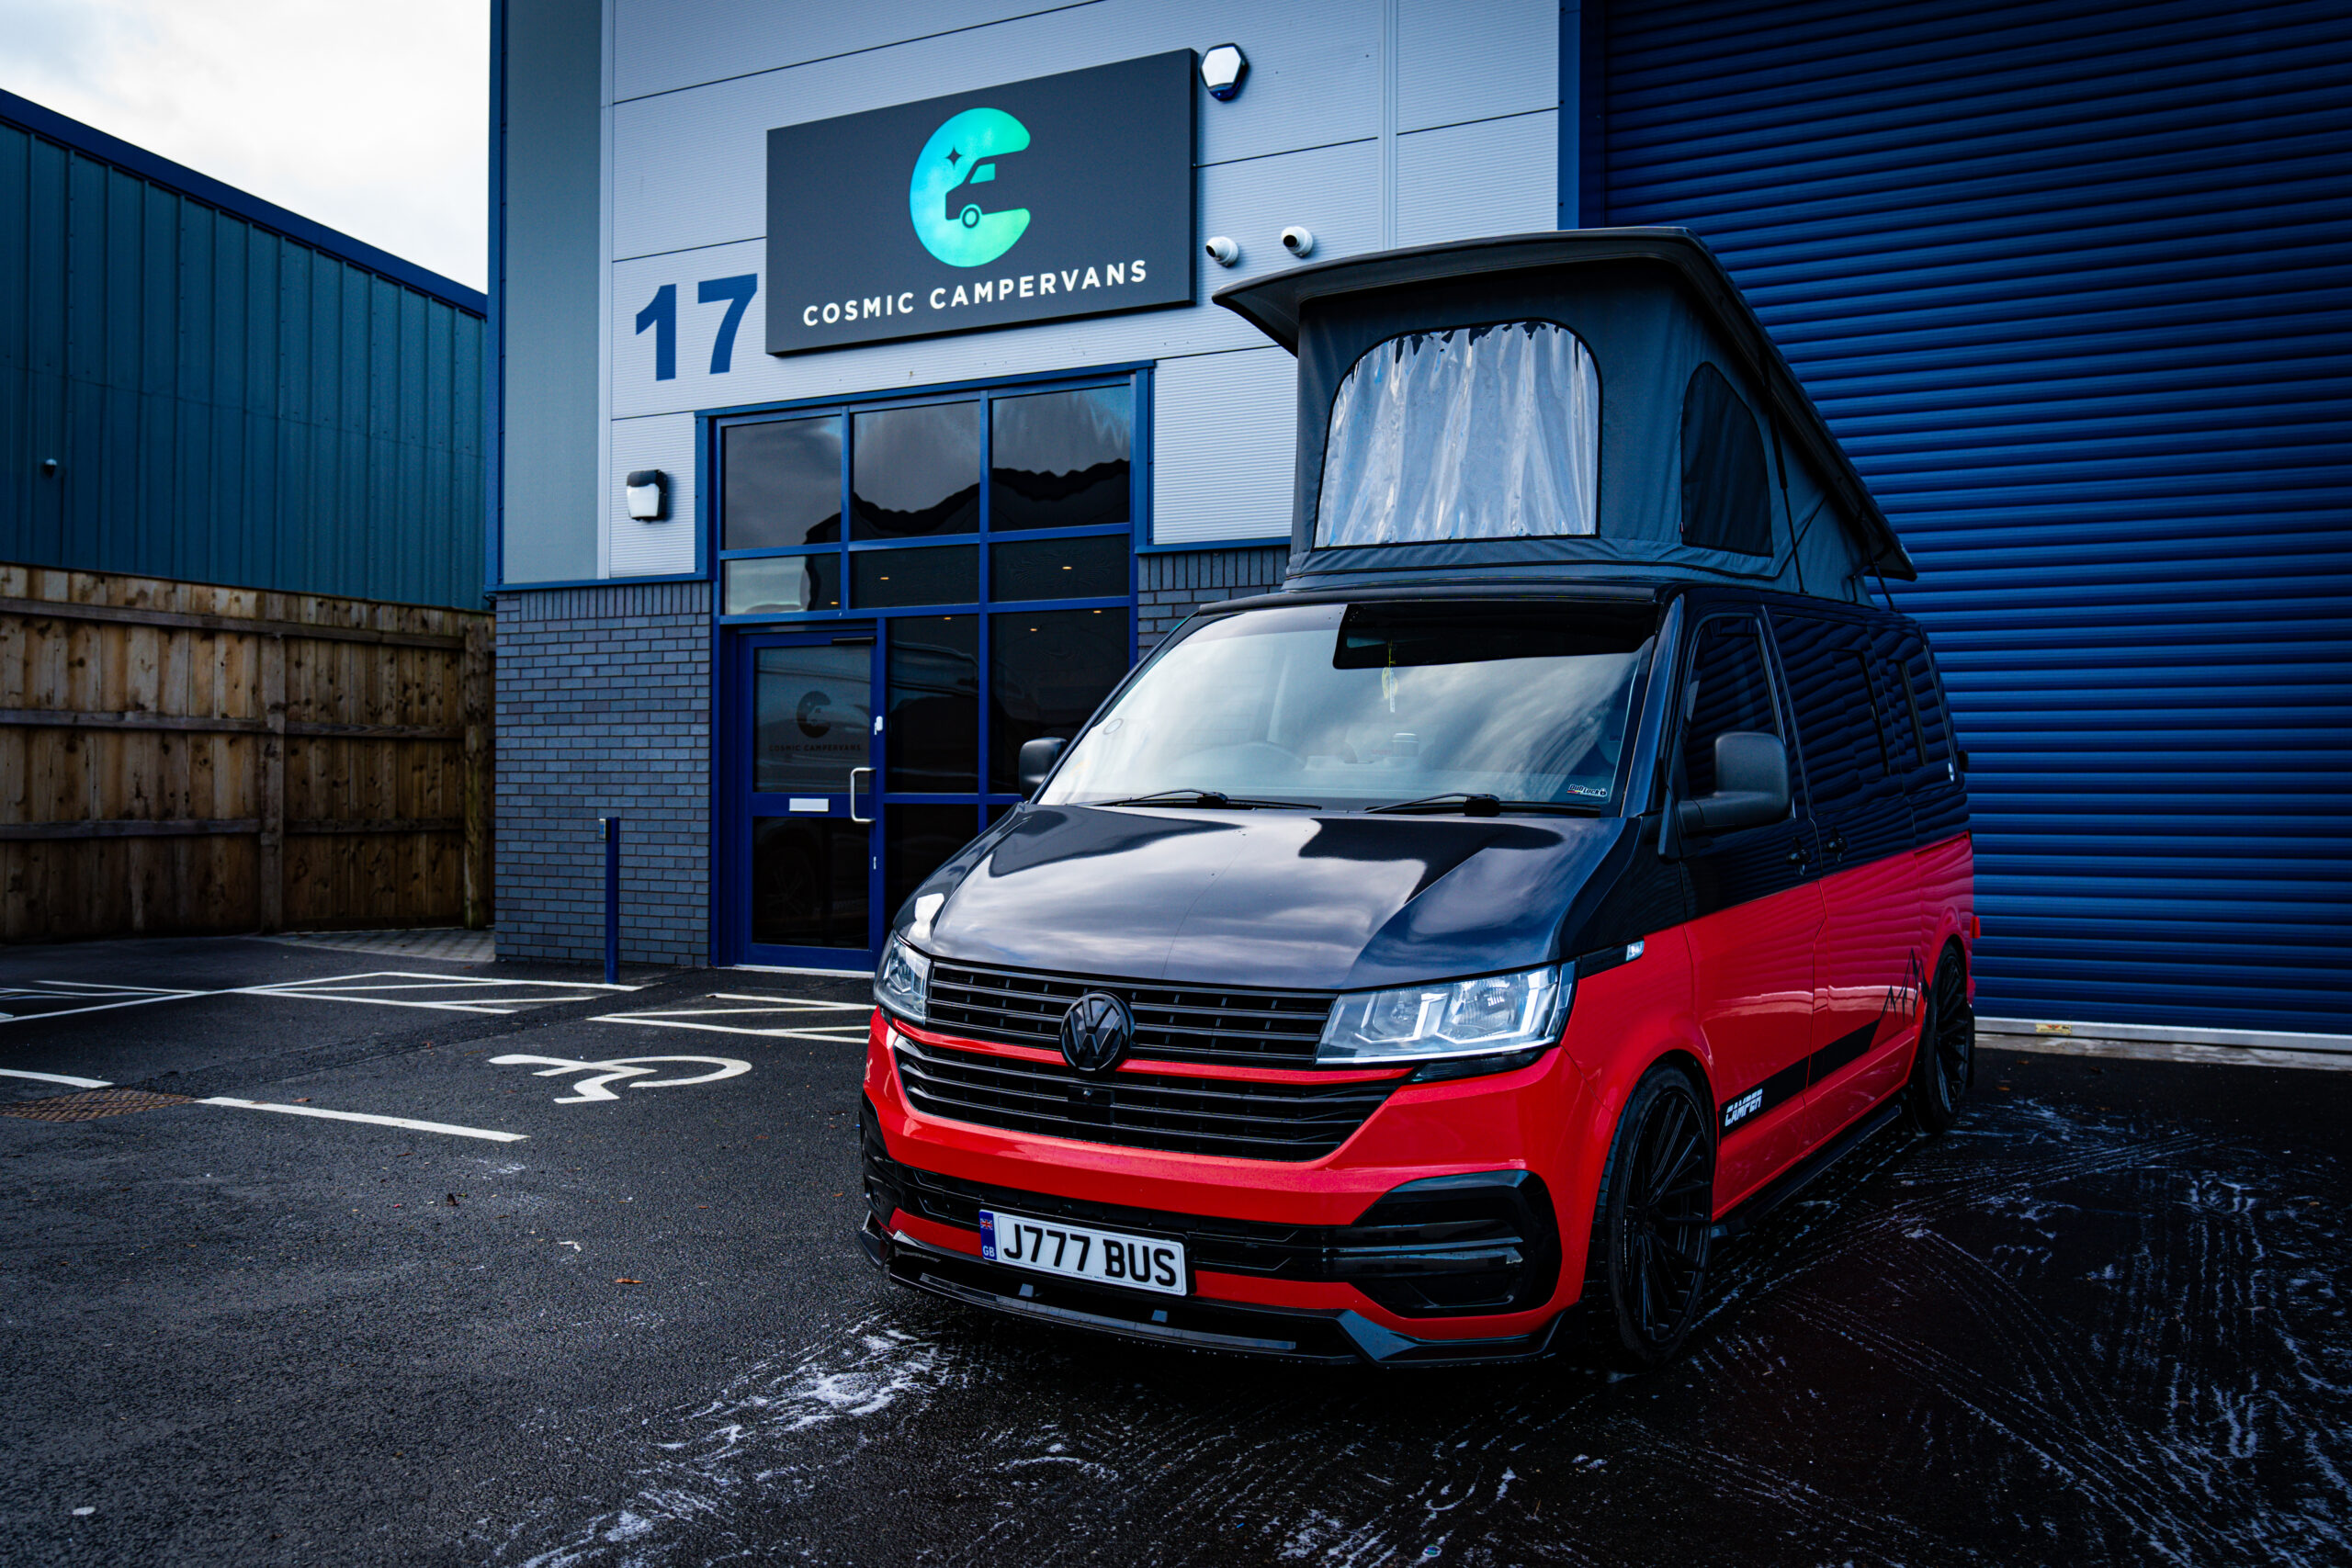
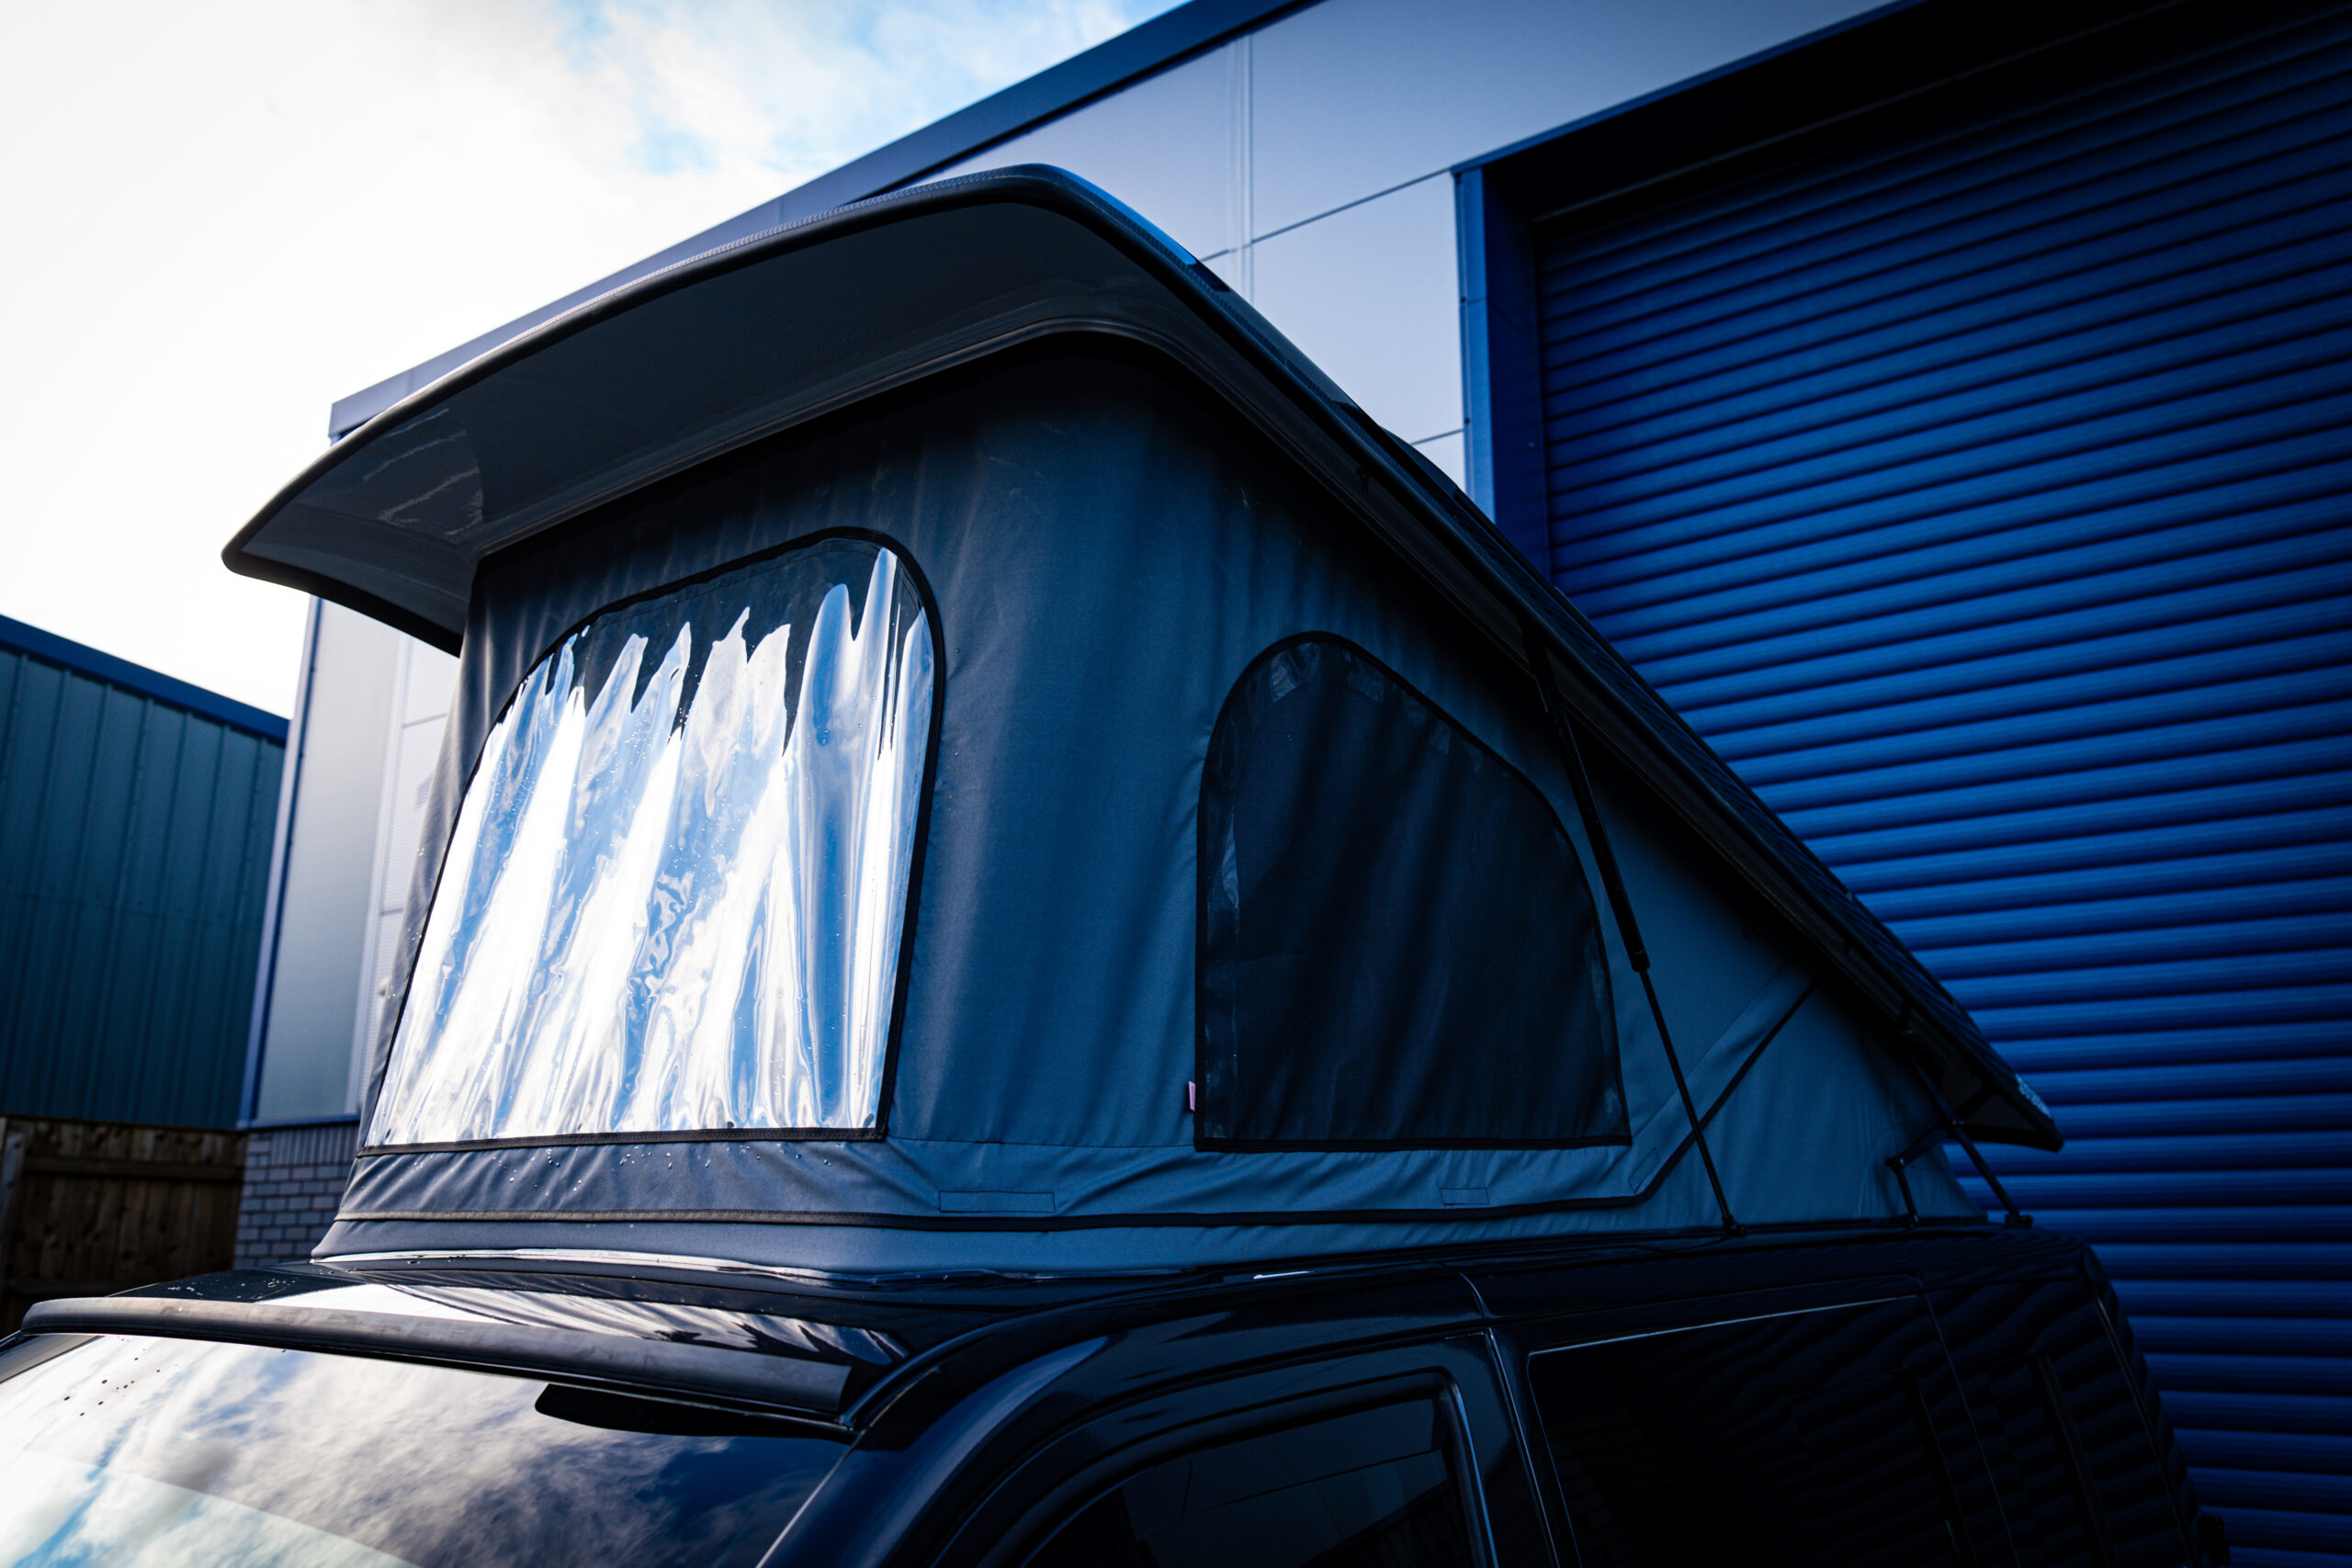
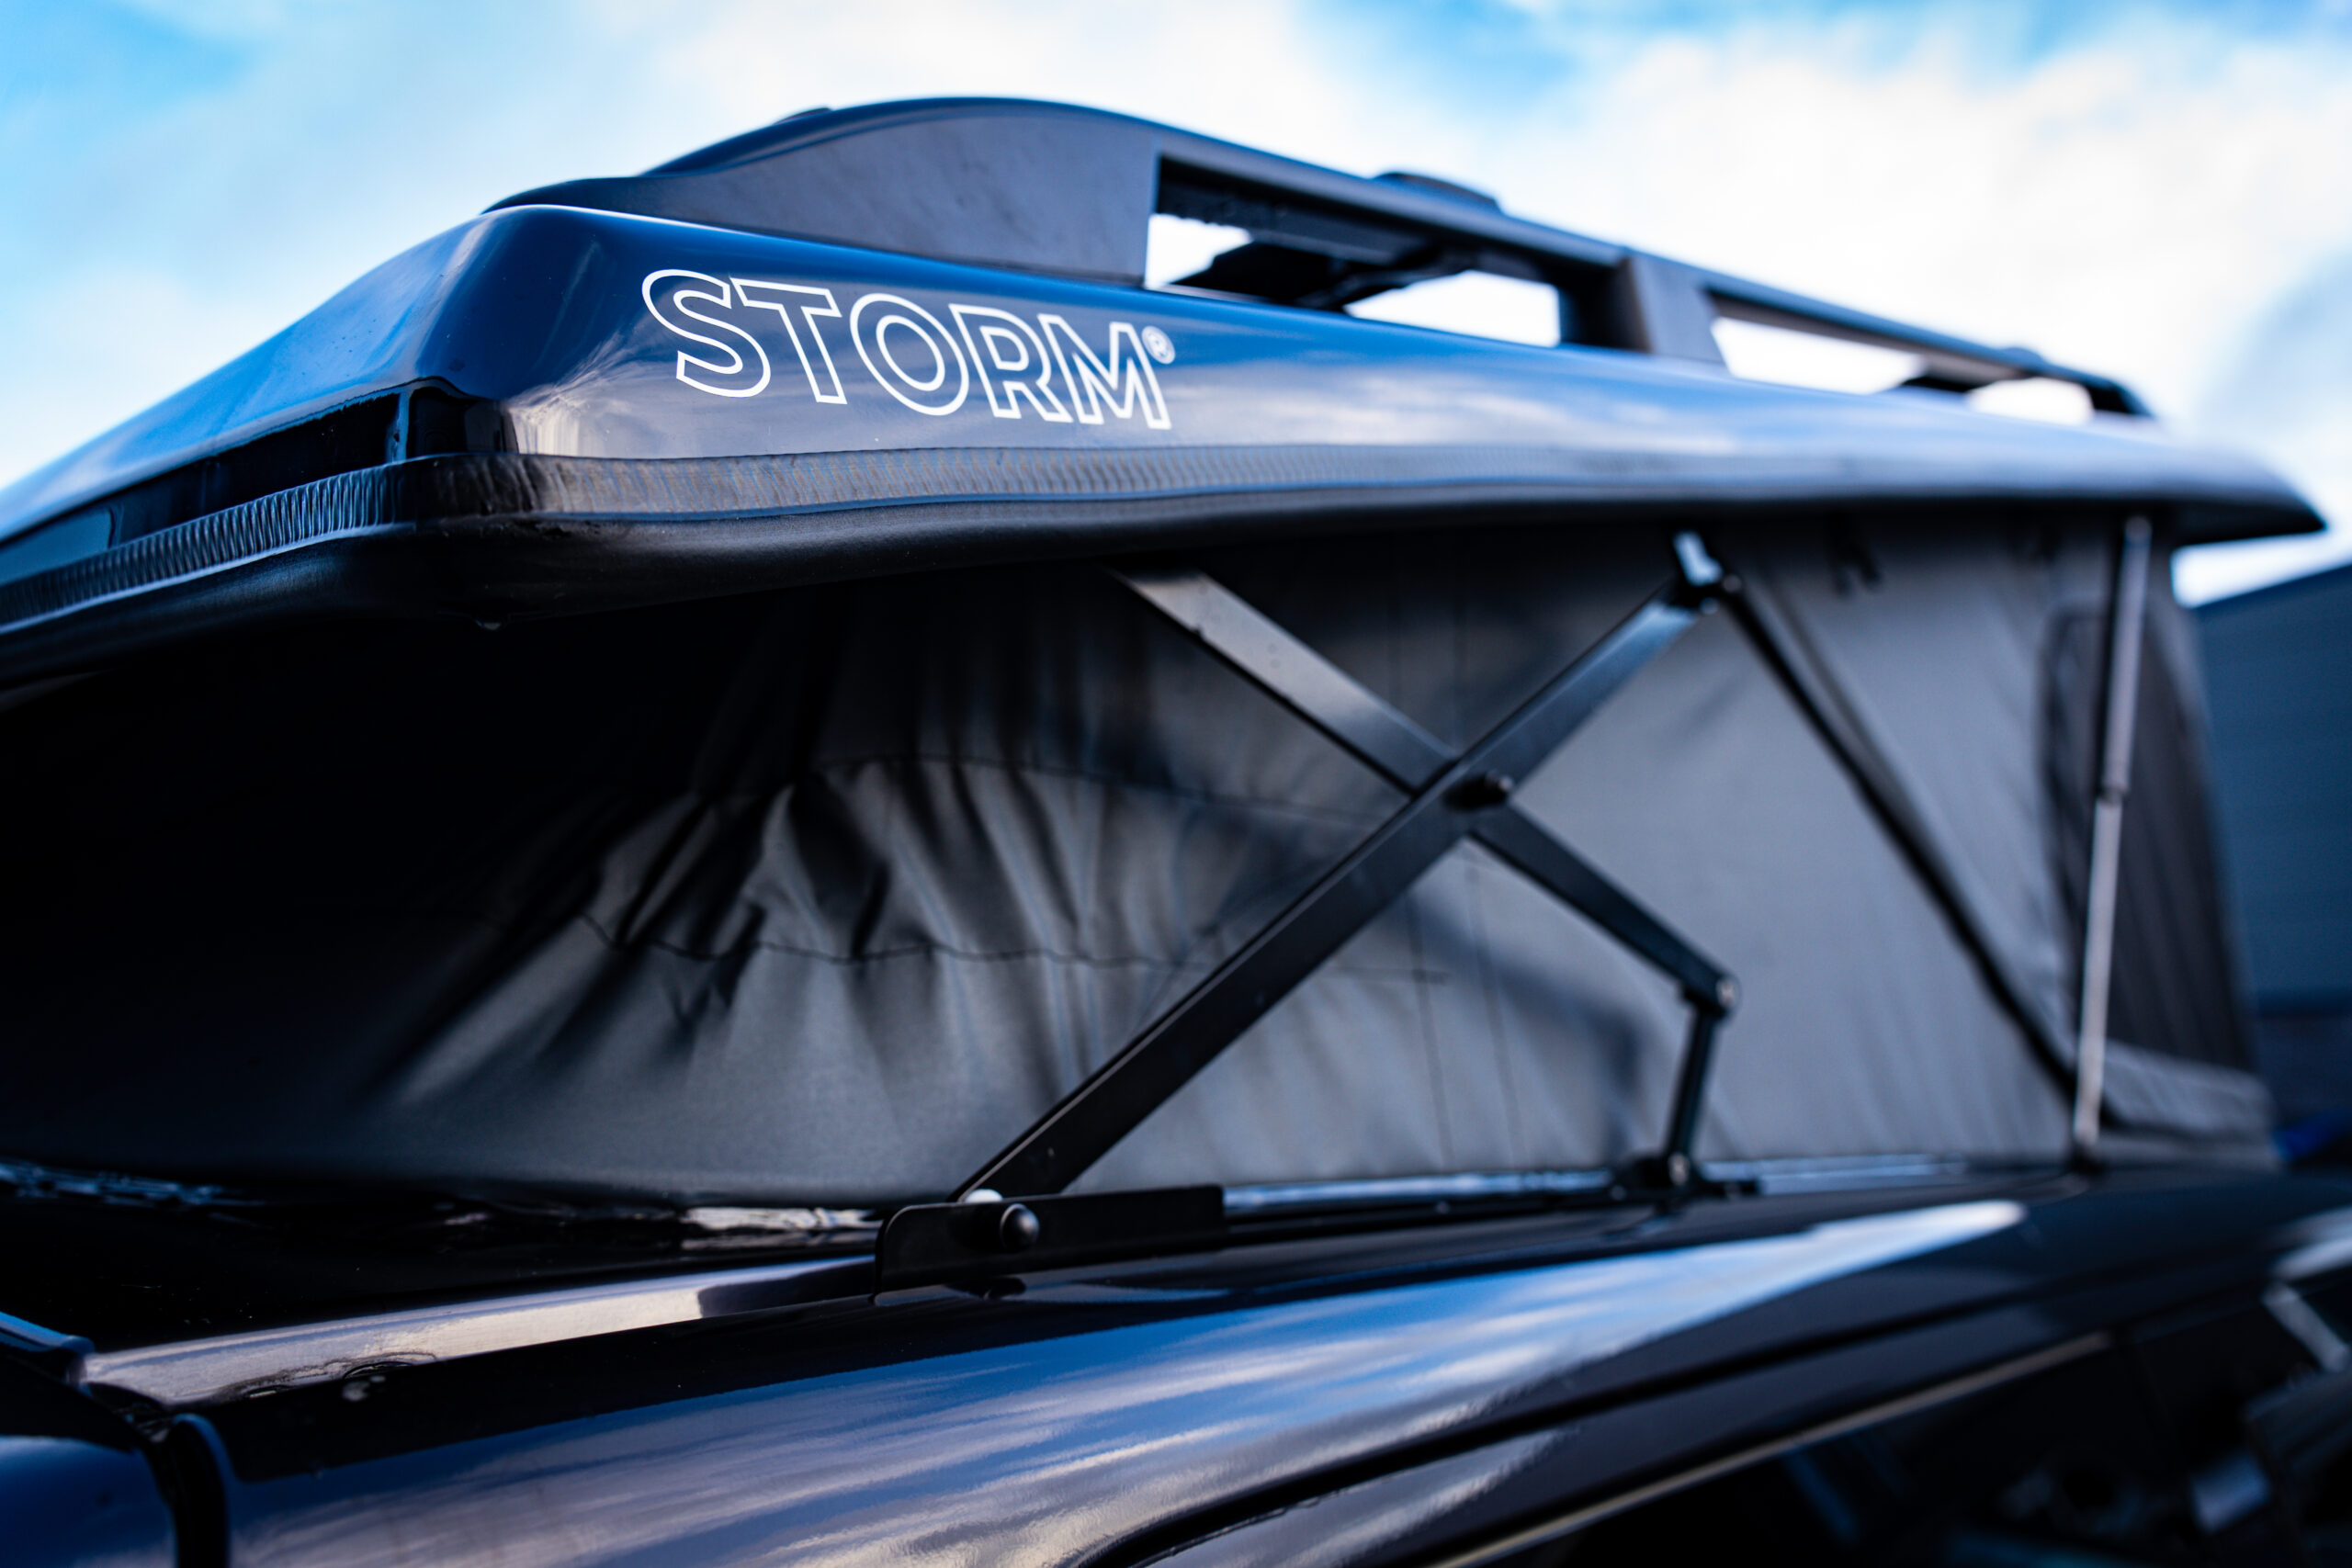
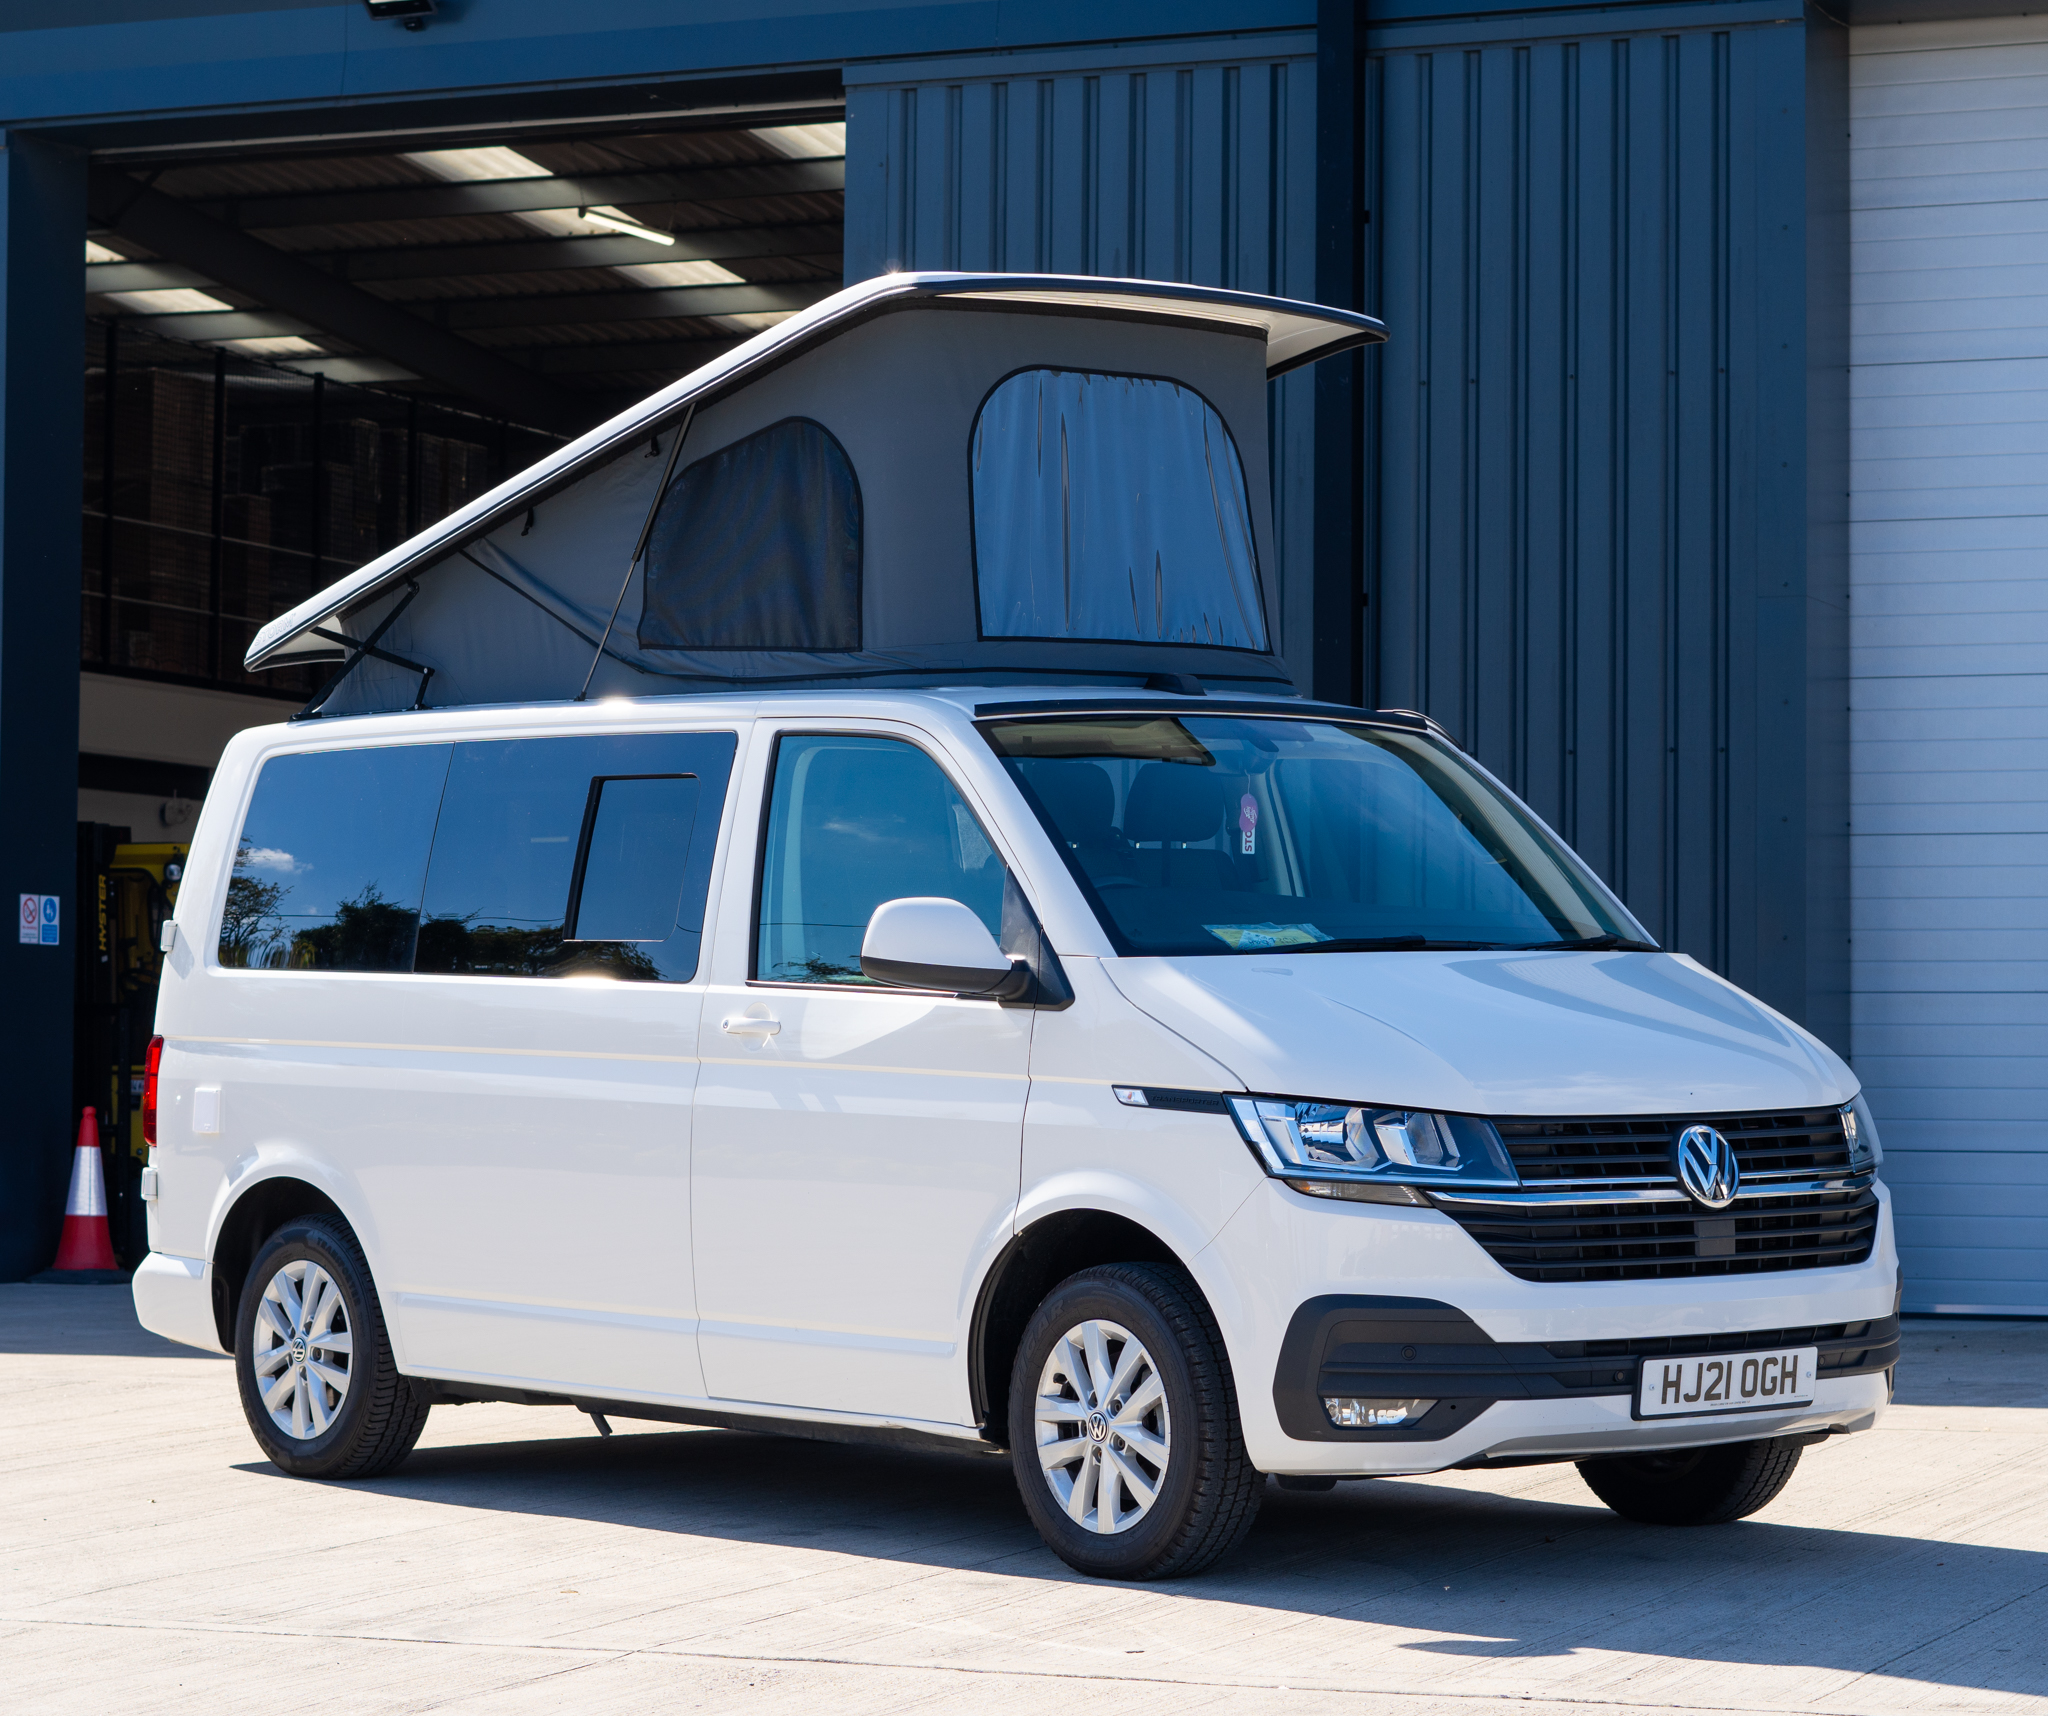
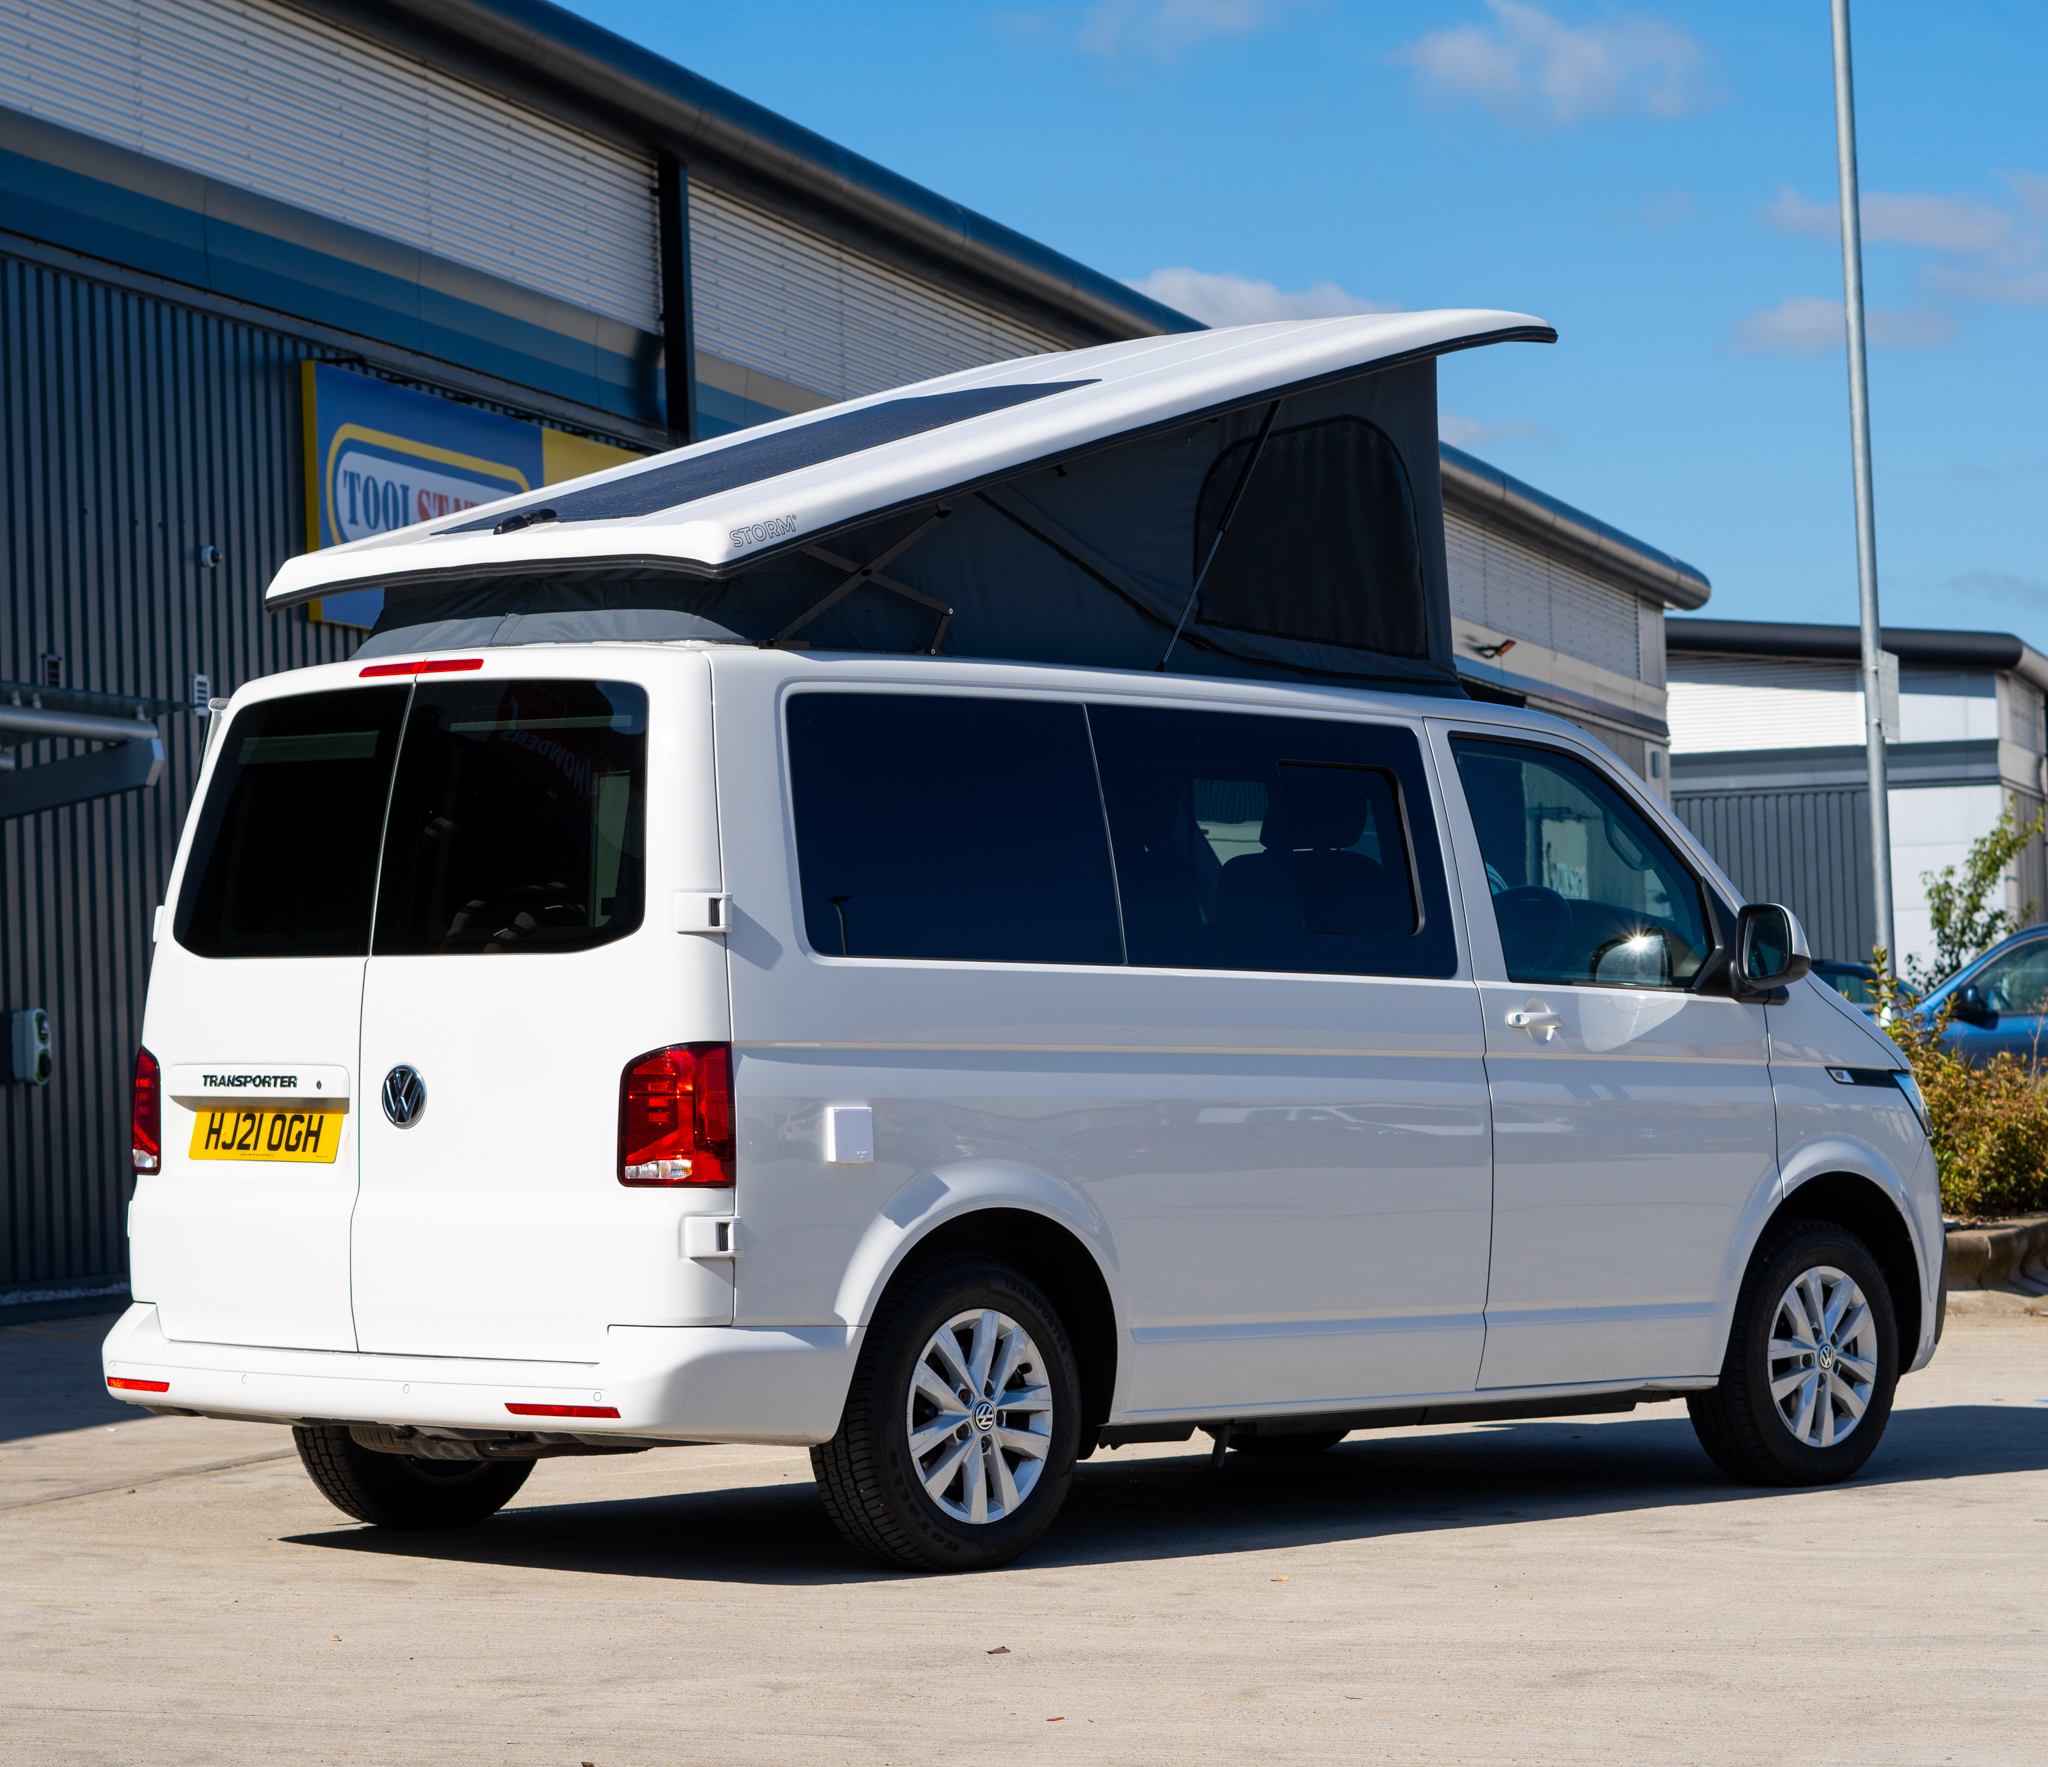
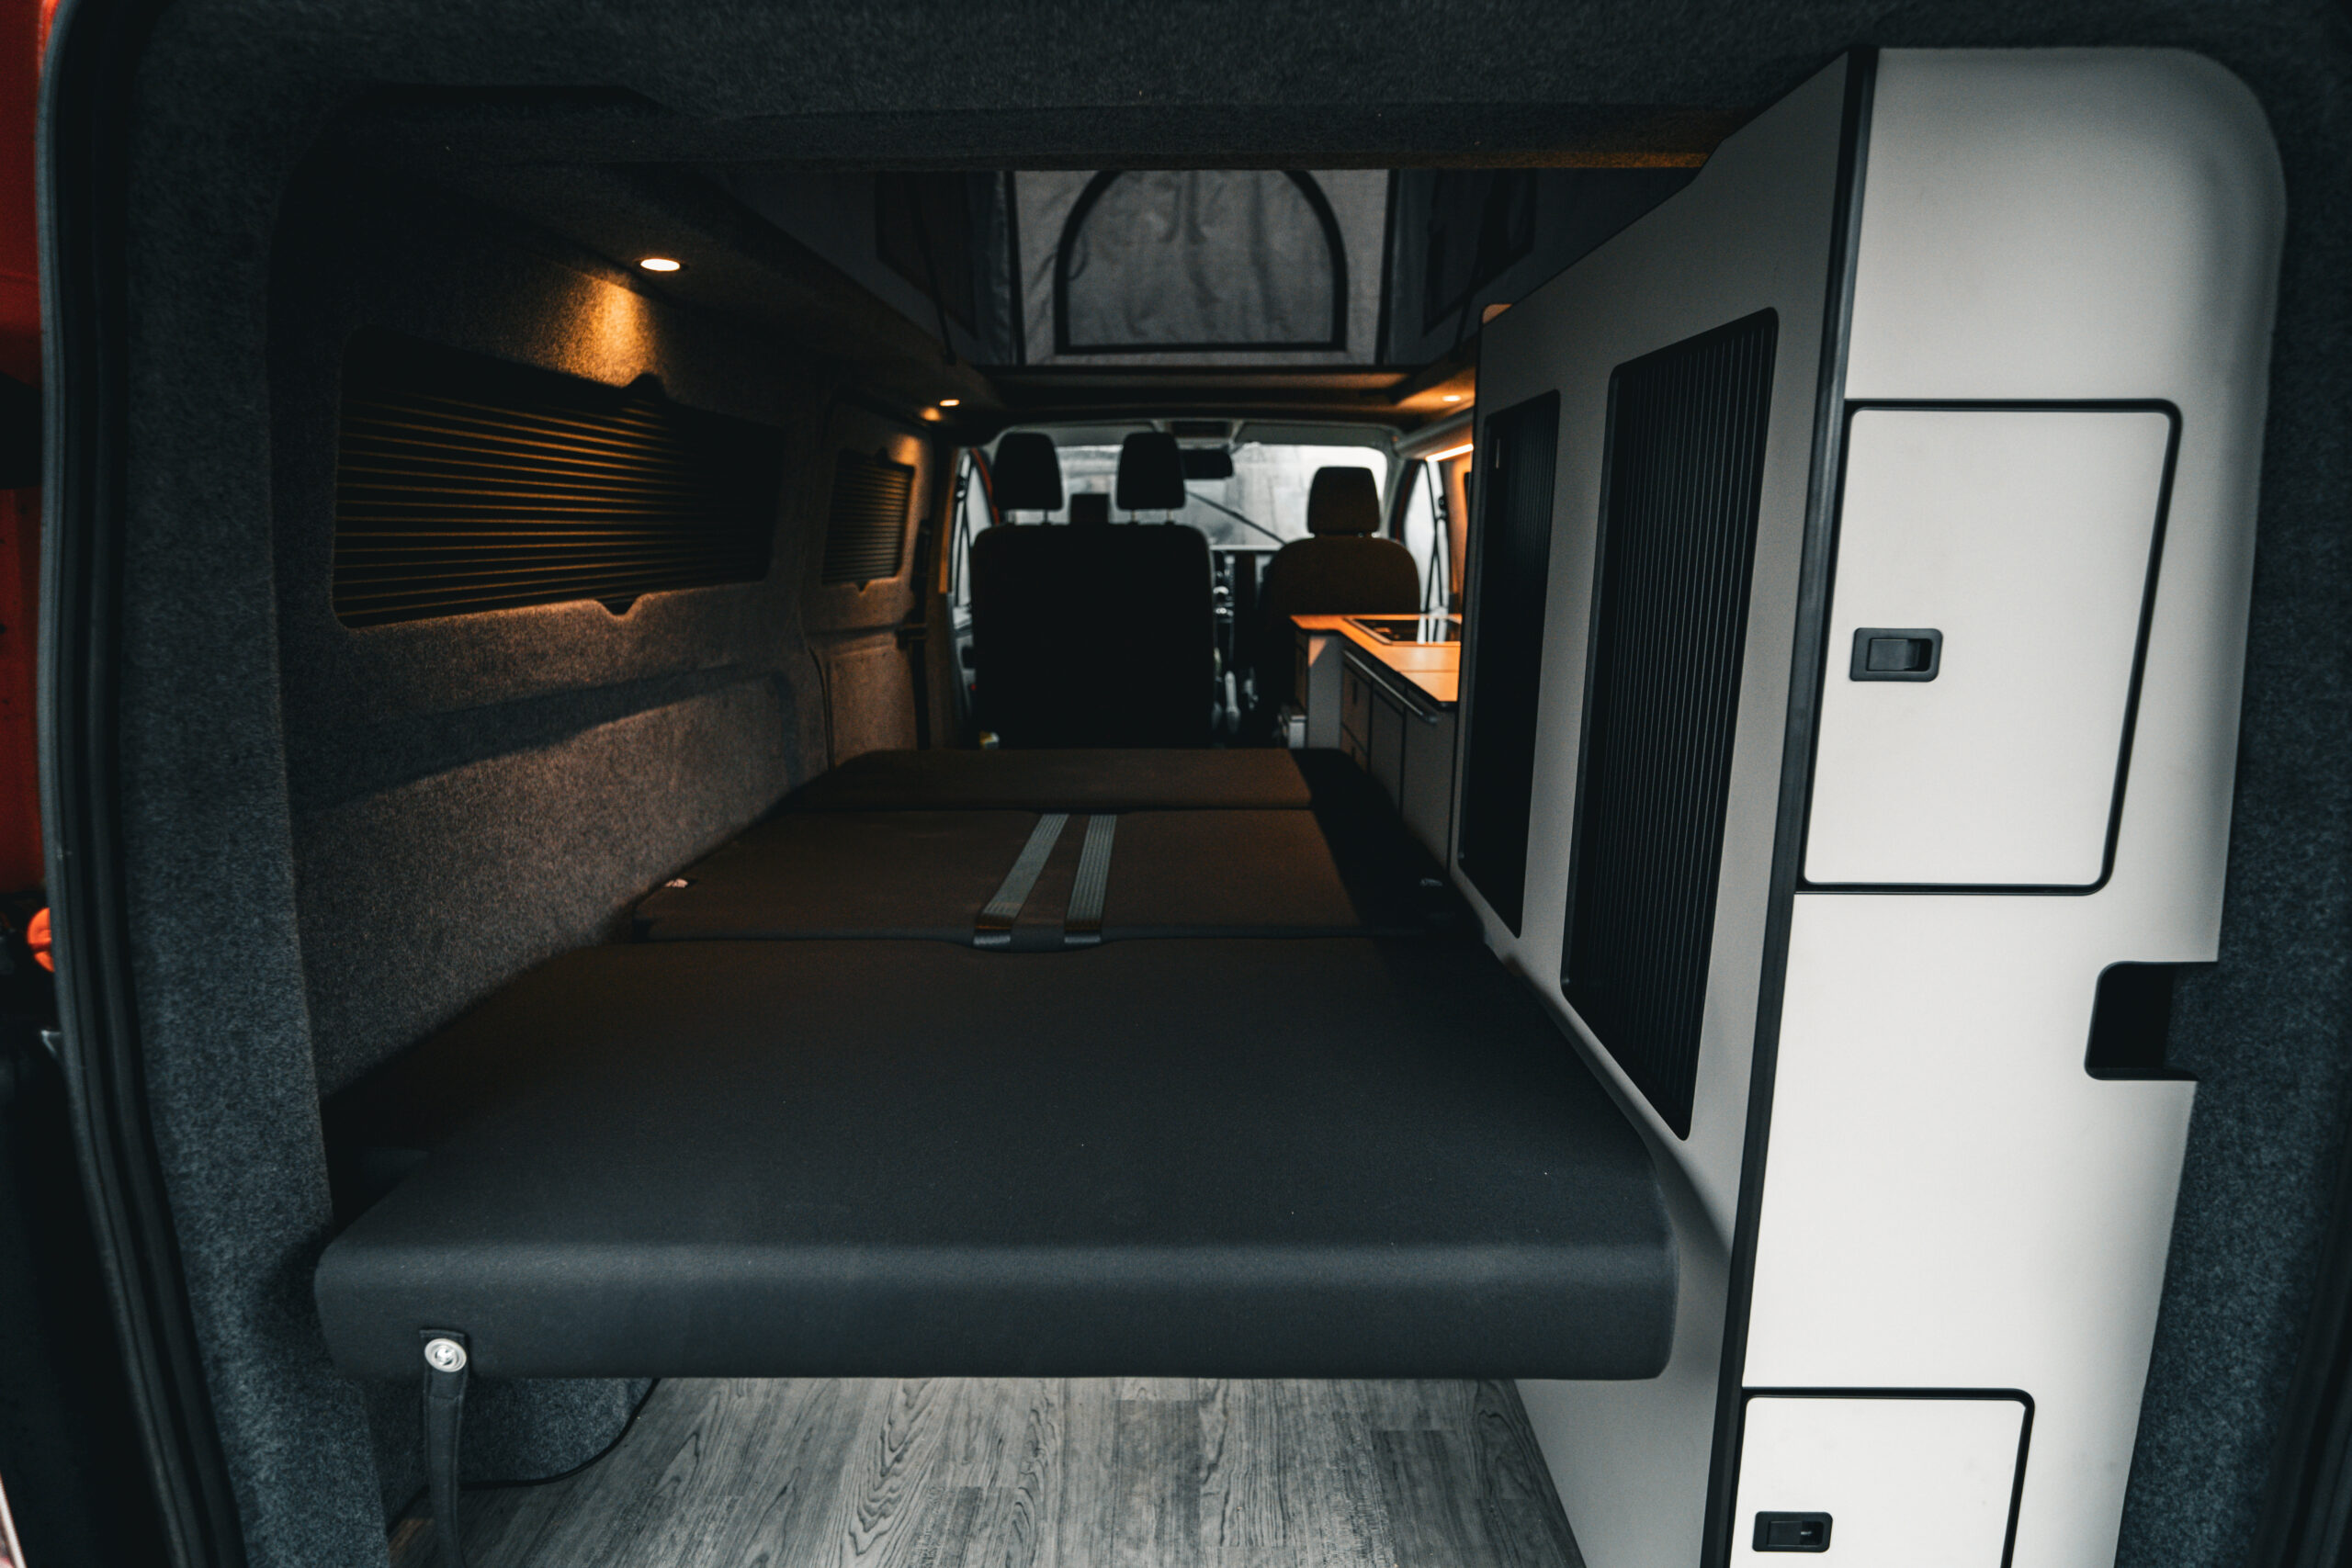
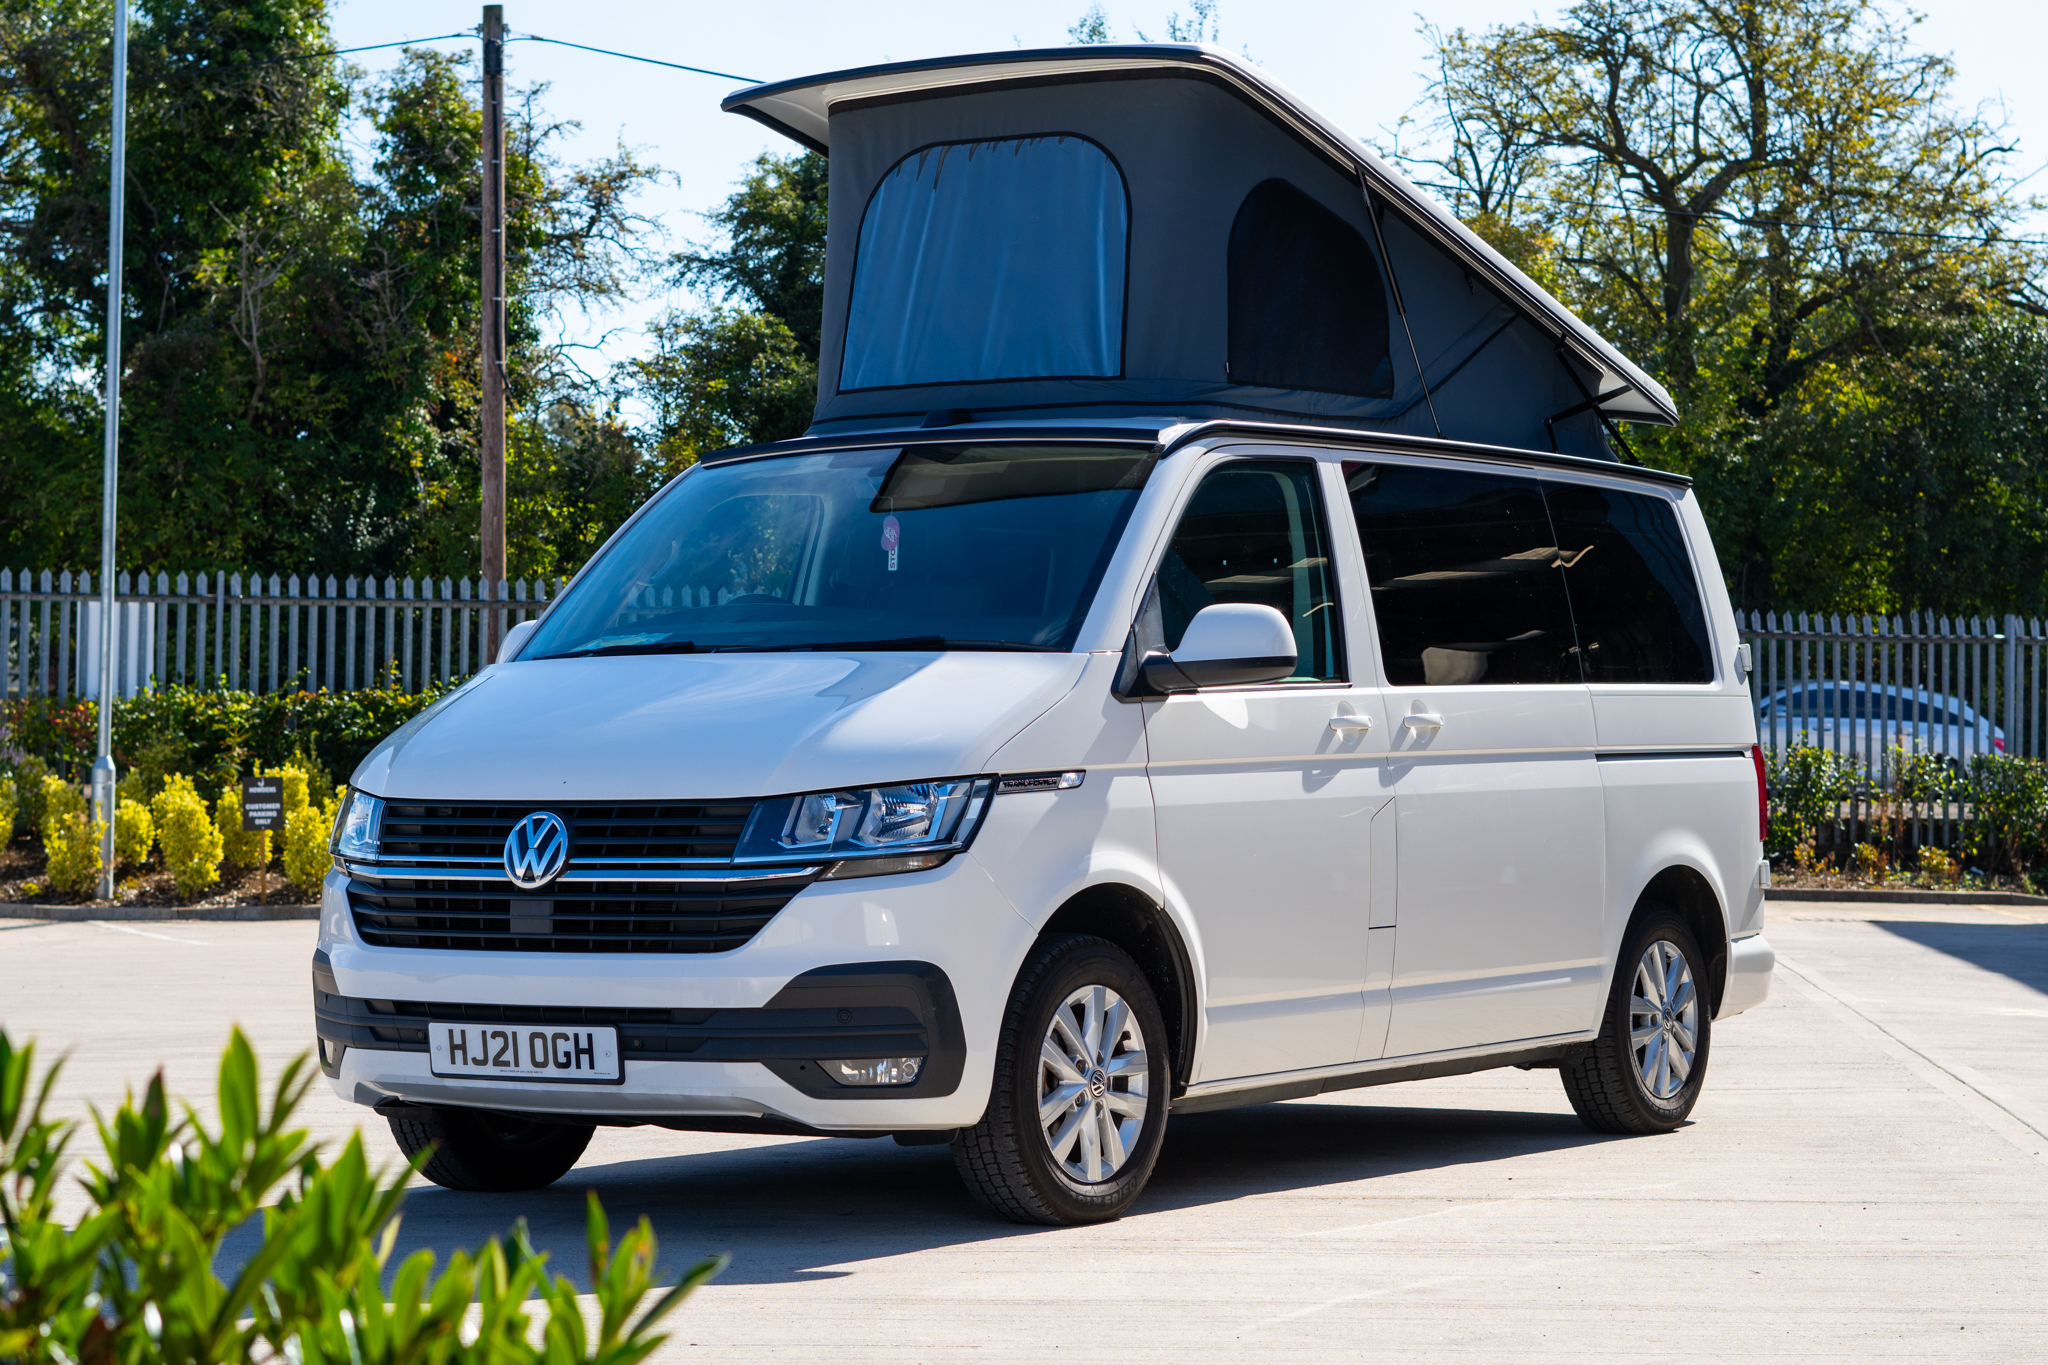
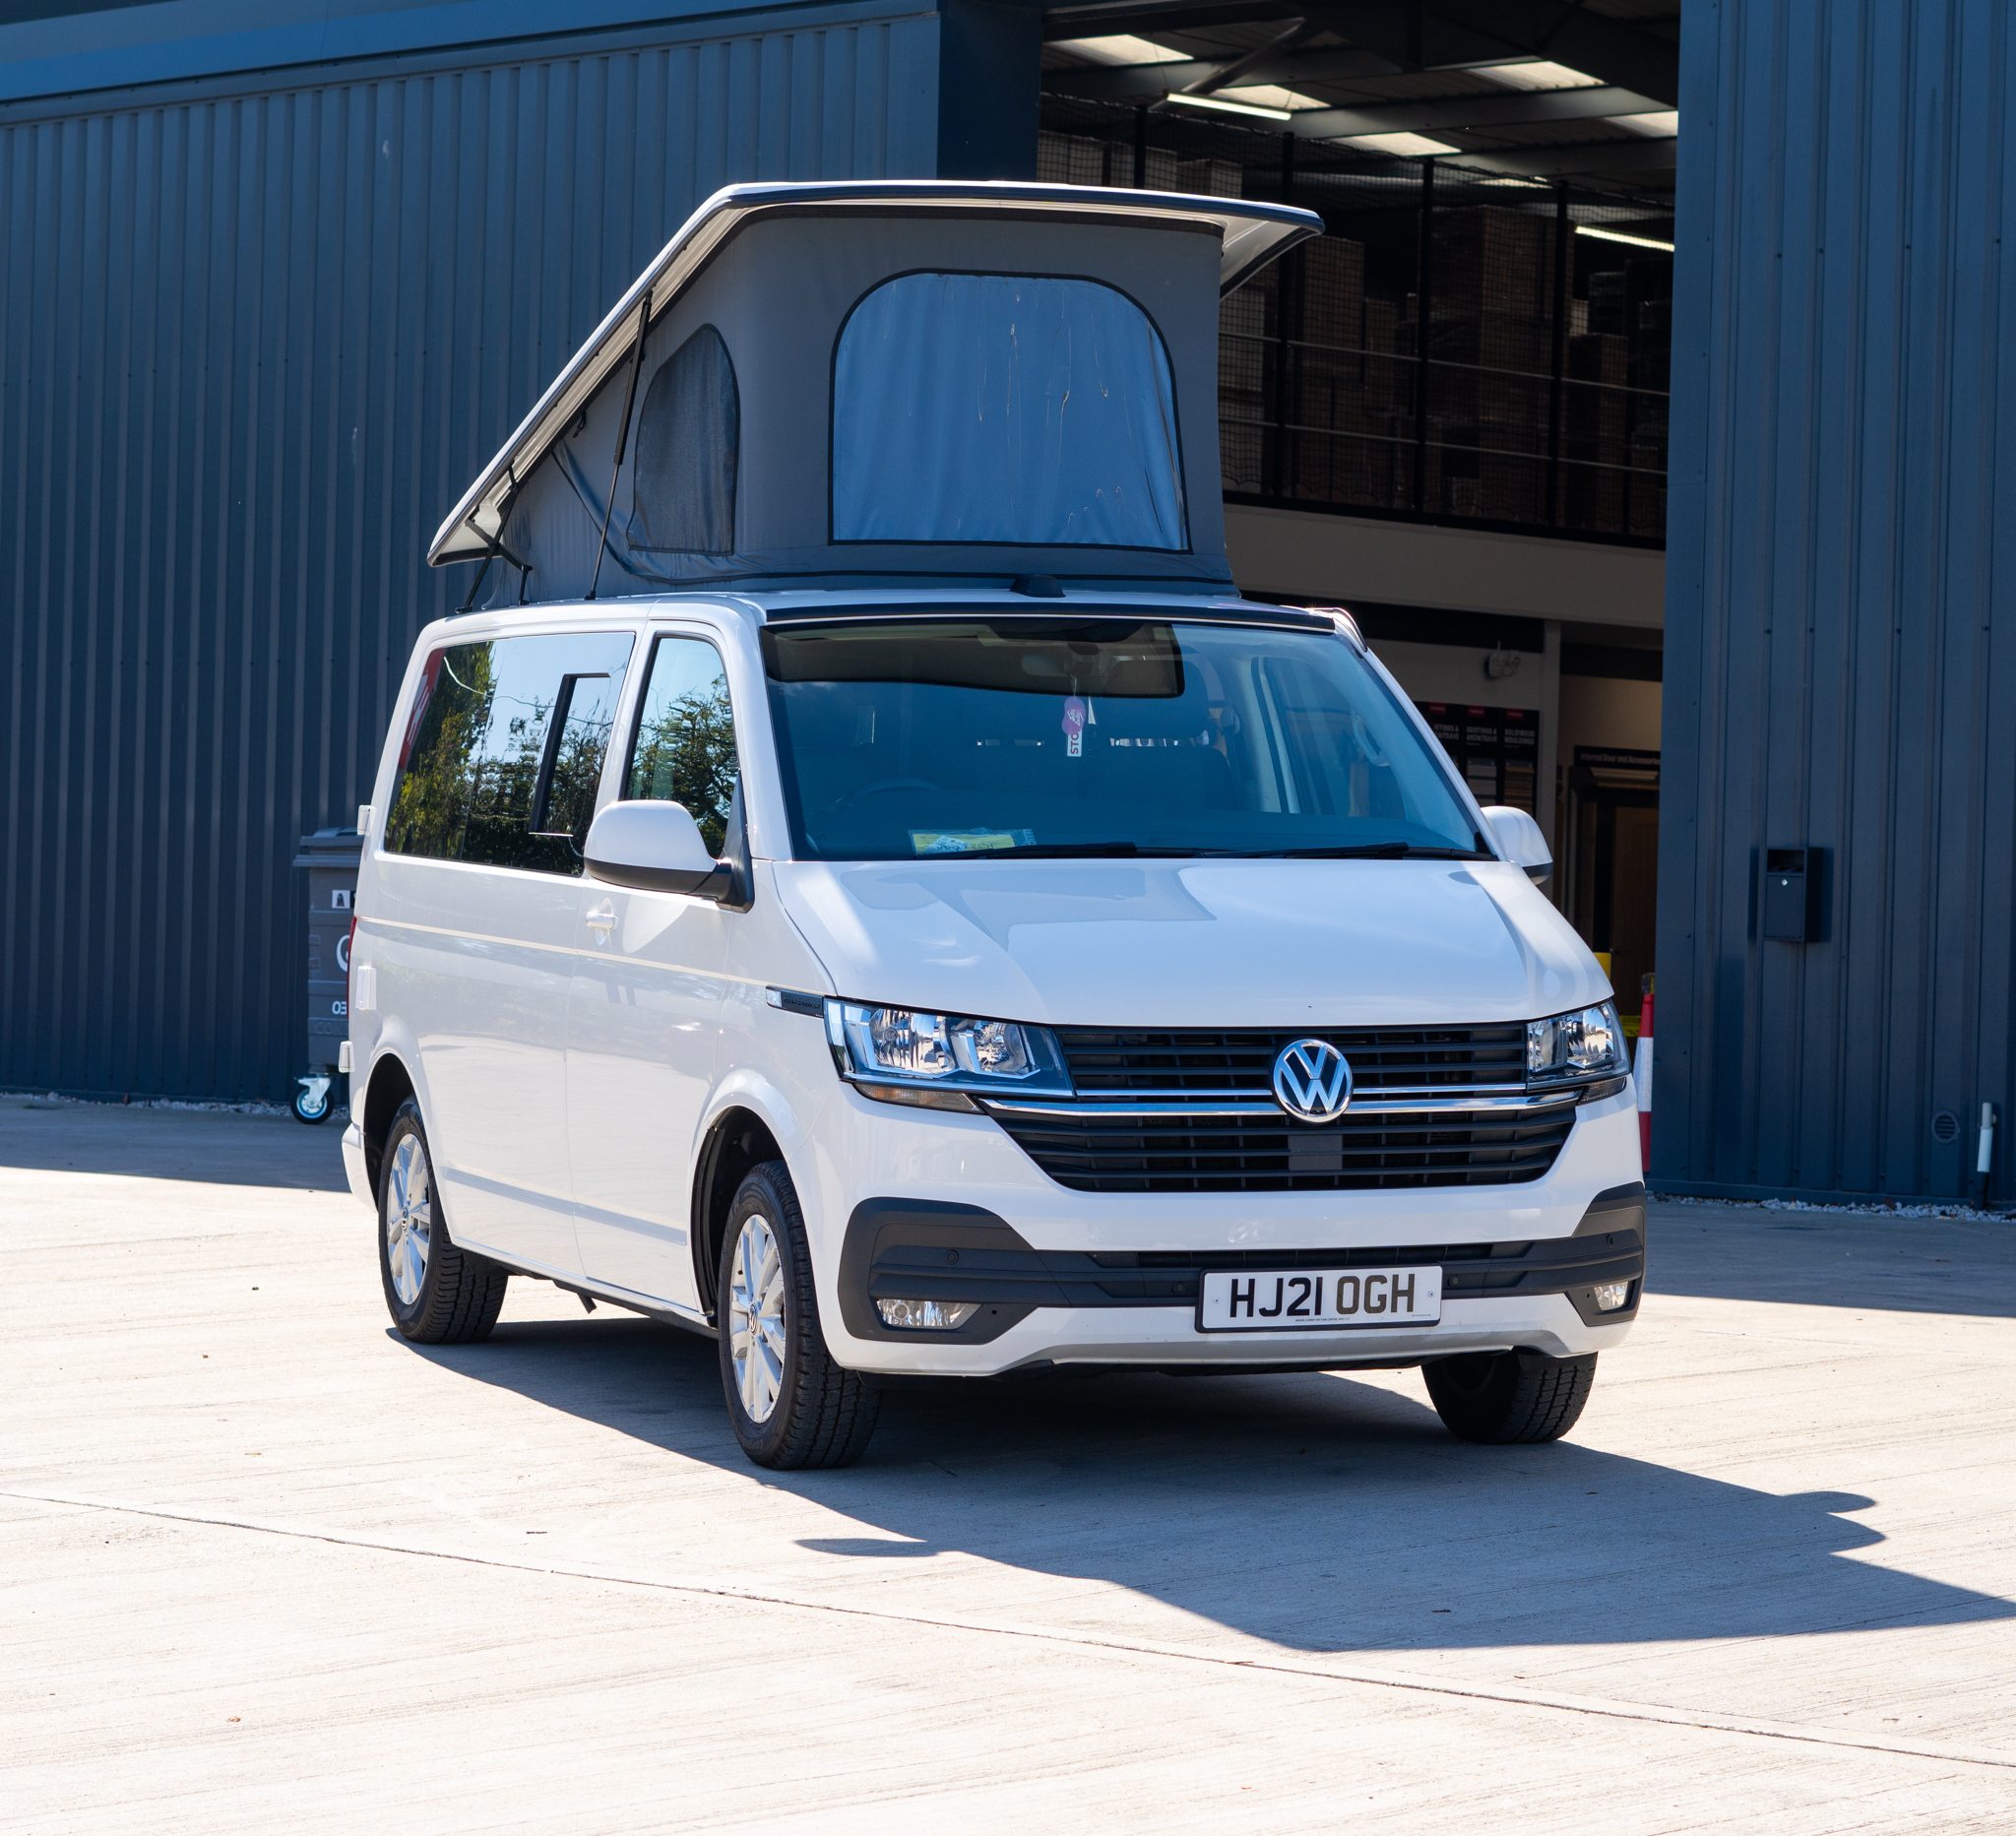
Pop Top Roof

If you’re going for more of a premium conversion, one of the best upgrades you can make to your VW Transporter is adding a pop-top roof. I’ve found a lot of people love this feature when we install it, especially if they have a short wheelbase van and are looking for a bit of extra room without the hassle of driving a bigger van.
Extra Headroom
A pop-top roof allows you to stand up fully inside the van, which is a huge plus when you’re cooking, getting dressed, or just moving around. Having camped in my van for weeks on end, I can tell you that being able to stand makes the van feel a lot more spacious and comfortable, especially for longer trips.
Sleeping Space
Another big advantage is the extra sleeping space. Pop-tops typically come with a fold-out bed on the roof, which means you can sleep two more people comfortably—perfect if you’re travelling with family or friends. It also frees up your main living space, so you don’t have to constantly fold down a bed every time you want to sleep.
Ventilation and Views
Most pop-tops come with windows and ventilation options, making them great for keeping things cool in warmer climates. You can open up the sides to let in a breeze or even enjoy a panoramic view from your bed. It’s also a nice way to get a bit of fresh air while still being inside the van.
Low Profile When Closed
The beauty of a pop-top is that when it’s closed, your van still has a low profile, so you can easily park in regular spaces or fit under low barriers, like at car parks or ferries. It doesn’t add much height when down, but when it’s up, you’ve got all the space you need. It’s the best of both worlds—compact when you need it, spacious when you want it.
Heating and Insulation

Let’s talk warmth. If you’re planning on using your van year-round, especially in colder climates, good insulation and a reliable heating system are must-haves.
At Cosmic Campervans, we often fit diesel heaters—they’re efficient, safe, and can keep your van toasty even in the depths of winter. They’re a bit of an investment, but worth every penny if you want to stay comfortable no matter the weather.
When it comes to insulation, I always recommend going for quality materials like sheep wool or foam boards. They help regulate the temperature—keeping it cool in summer and warm in winter.
And don’t forget about carpet lining! Not only does it add insulation, but it also gives the van a cosy, finished look. A well-insulated van makes all the difference when you’re out in the wild.
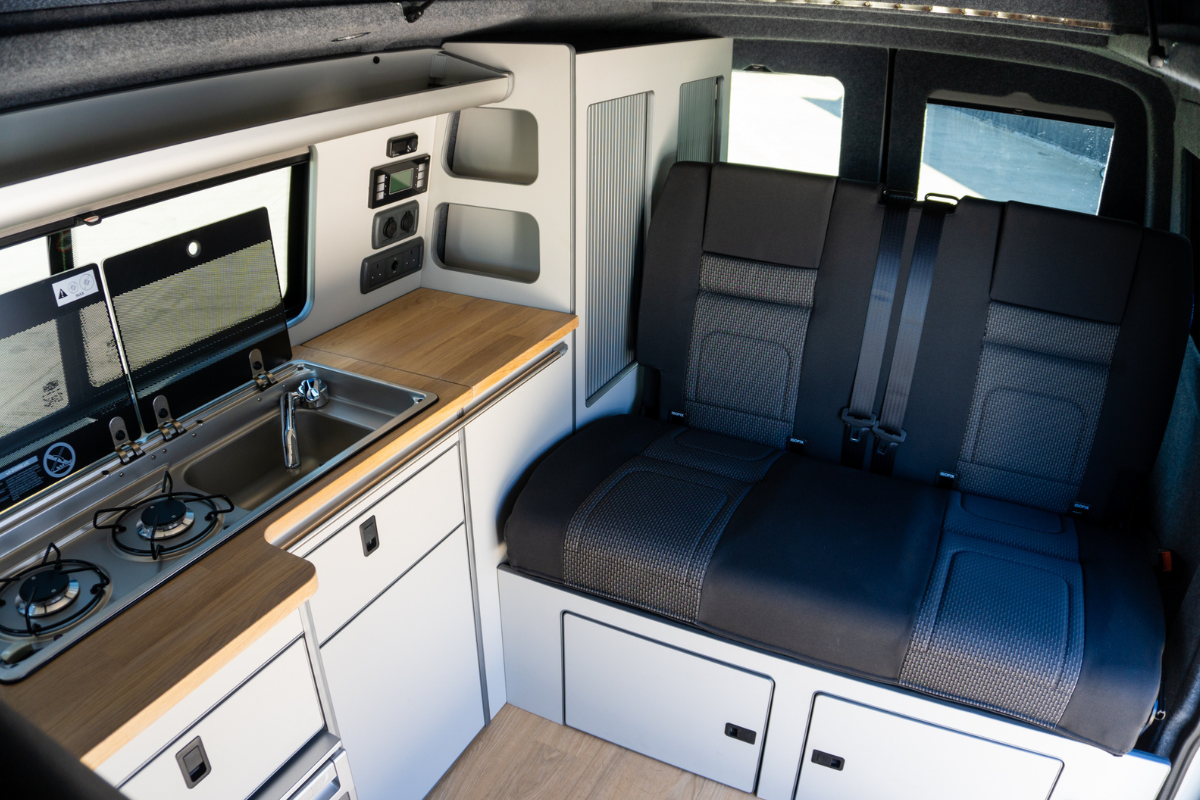
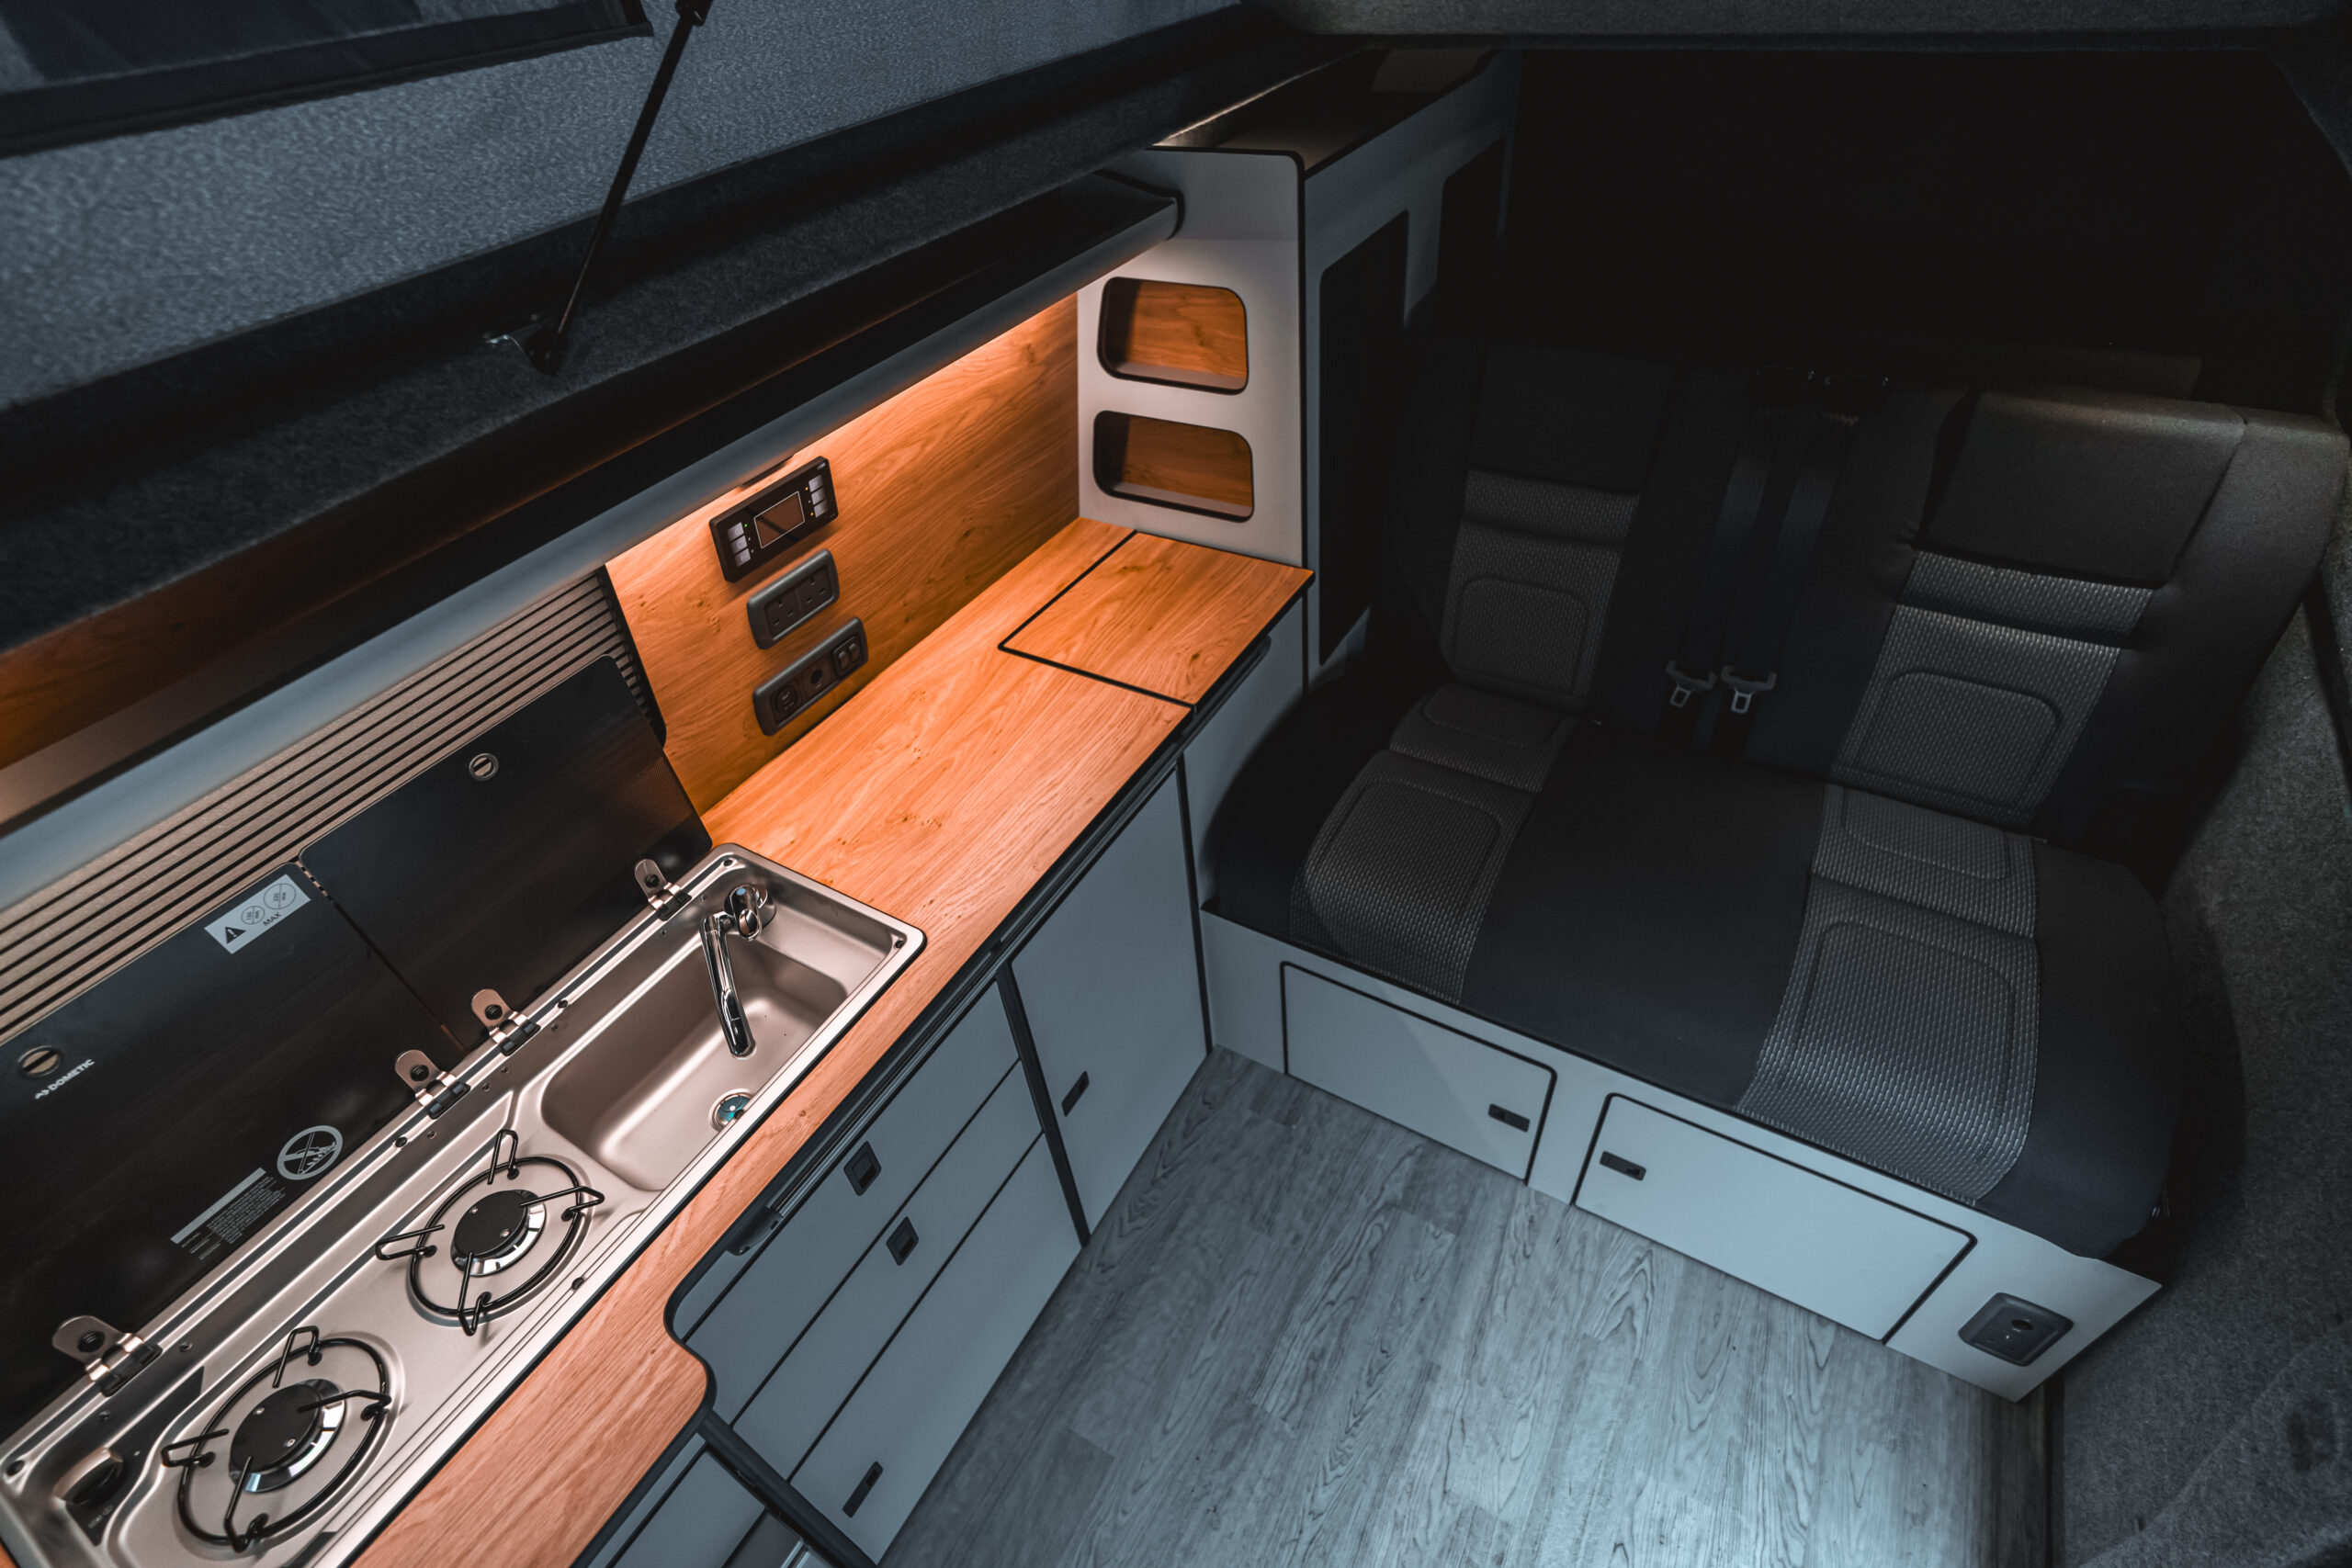
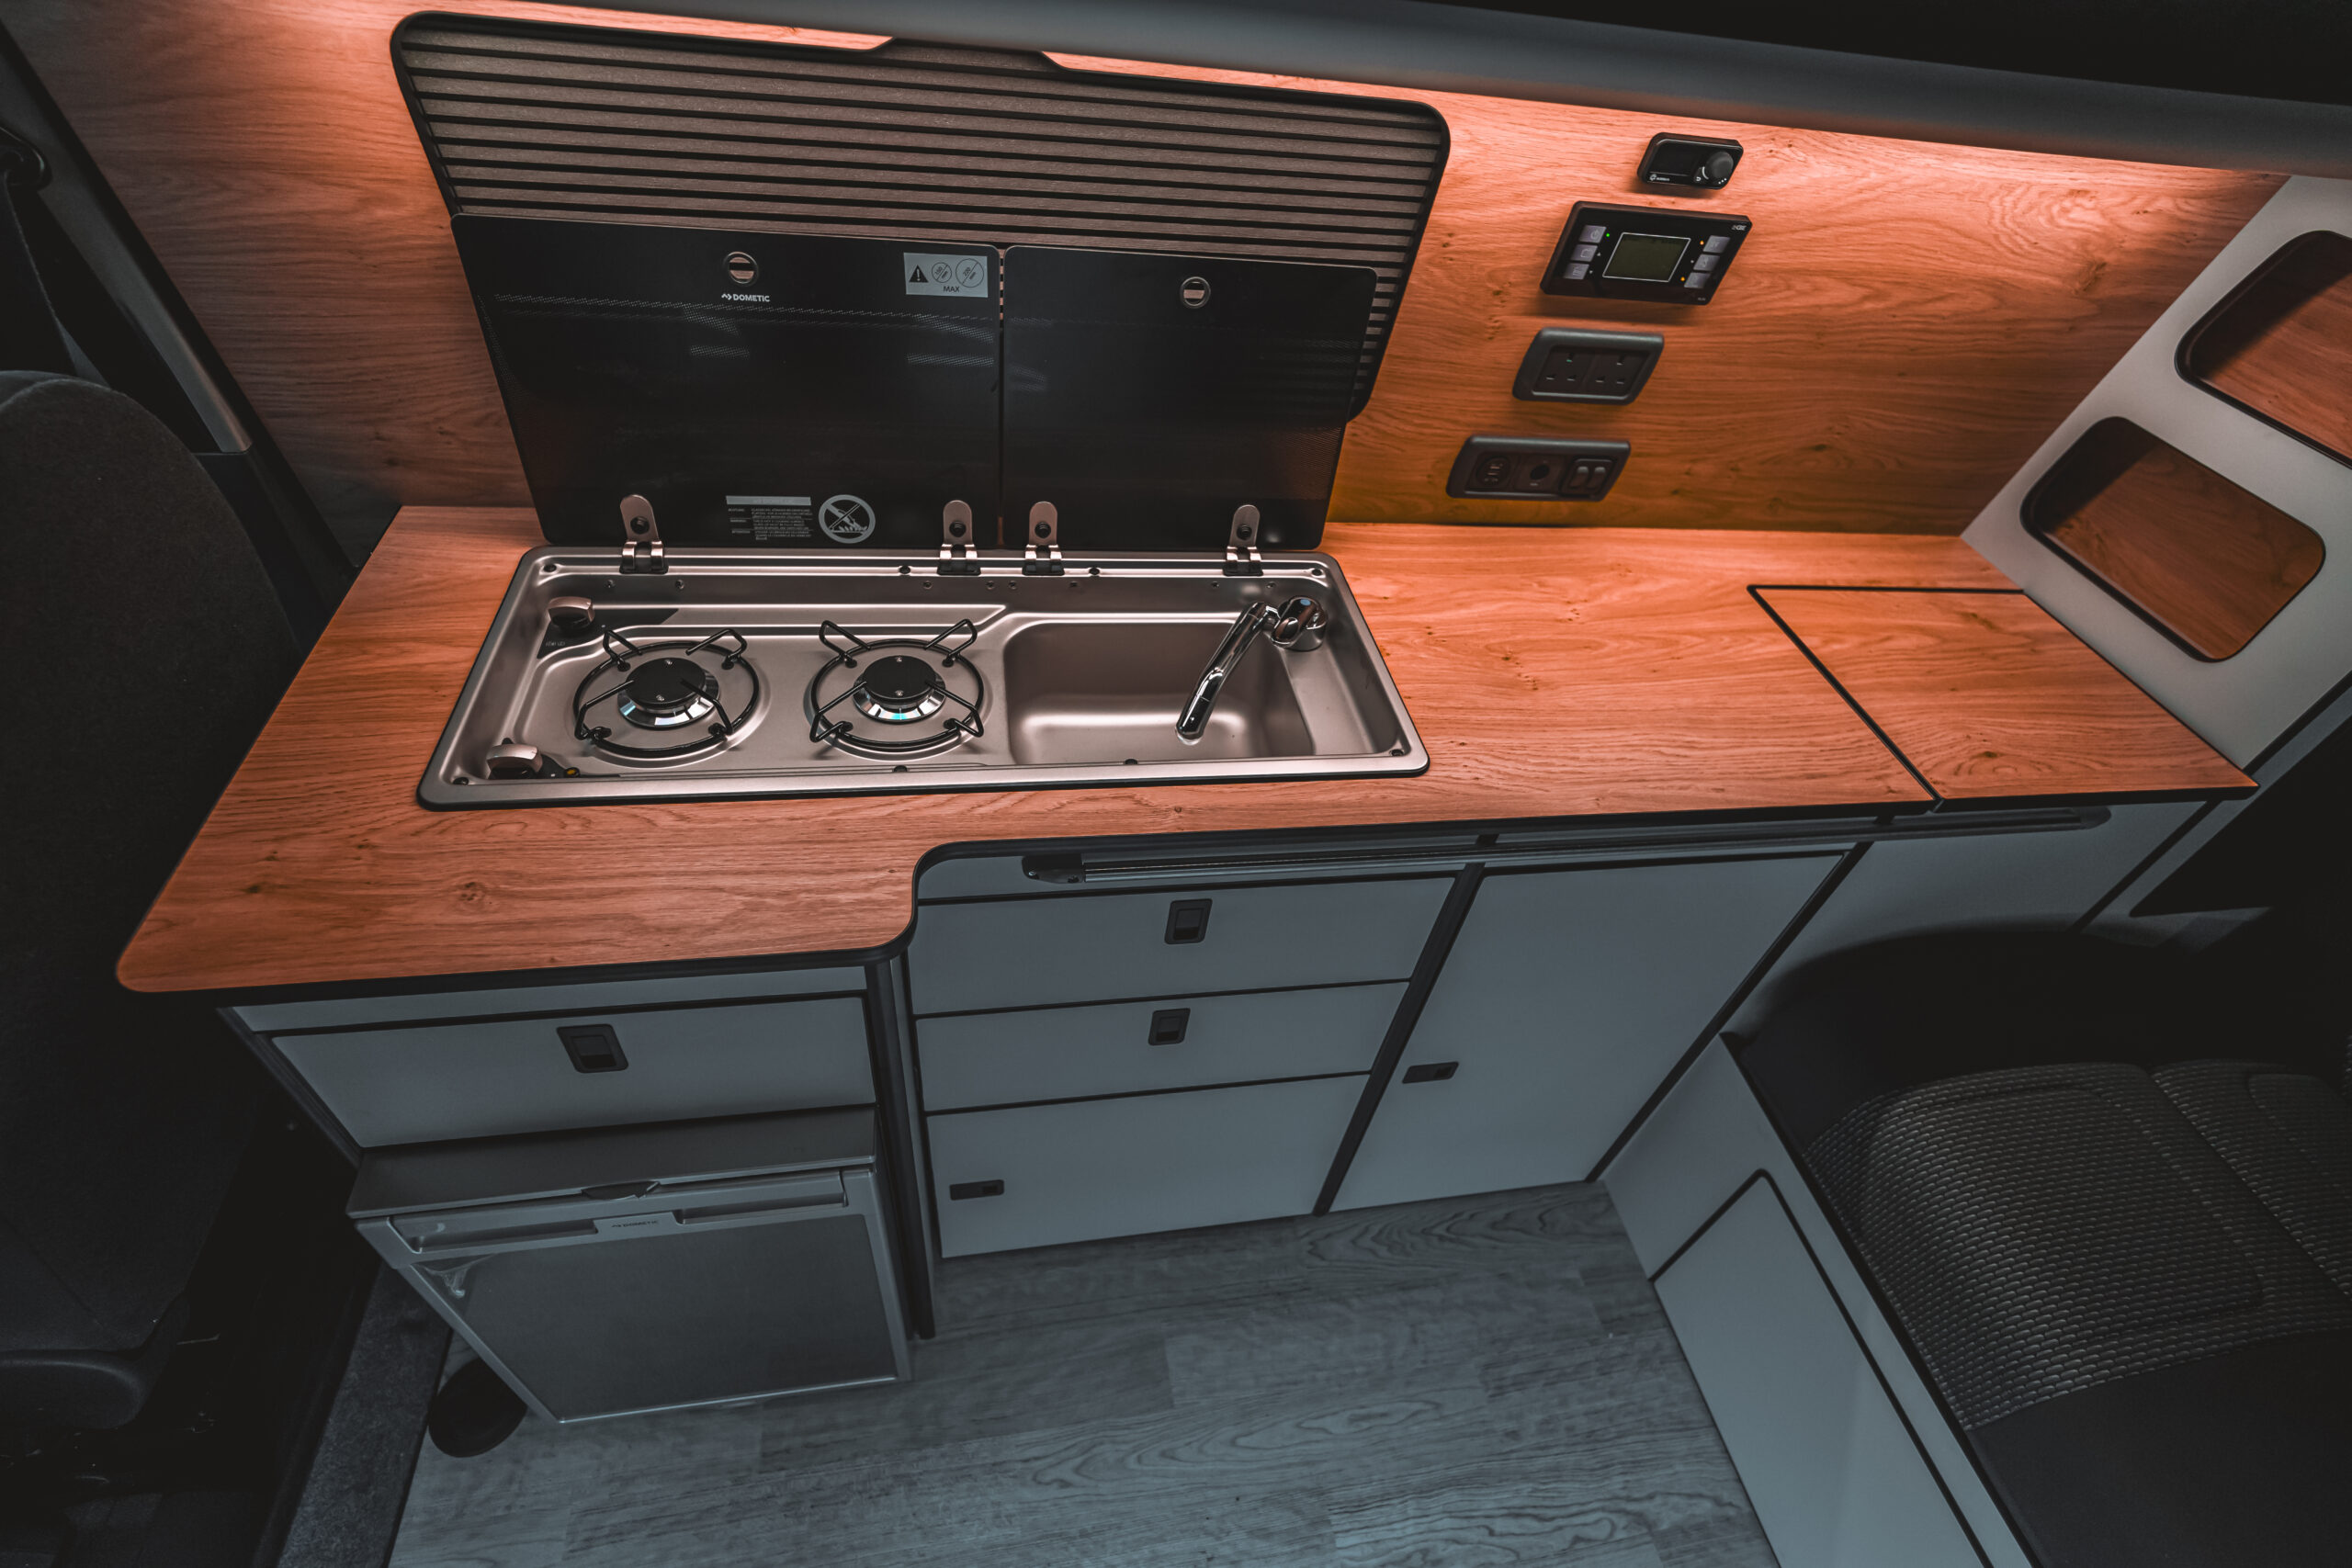
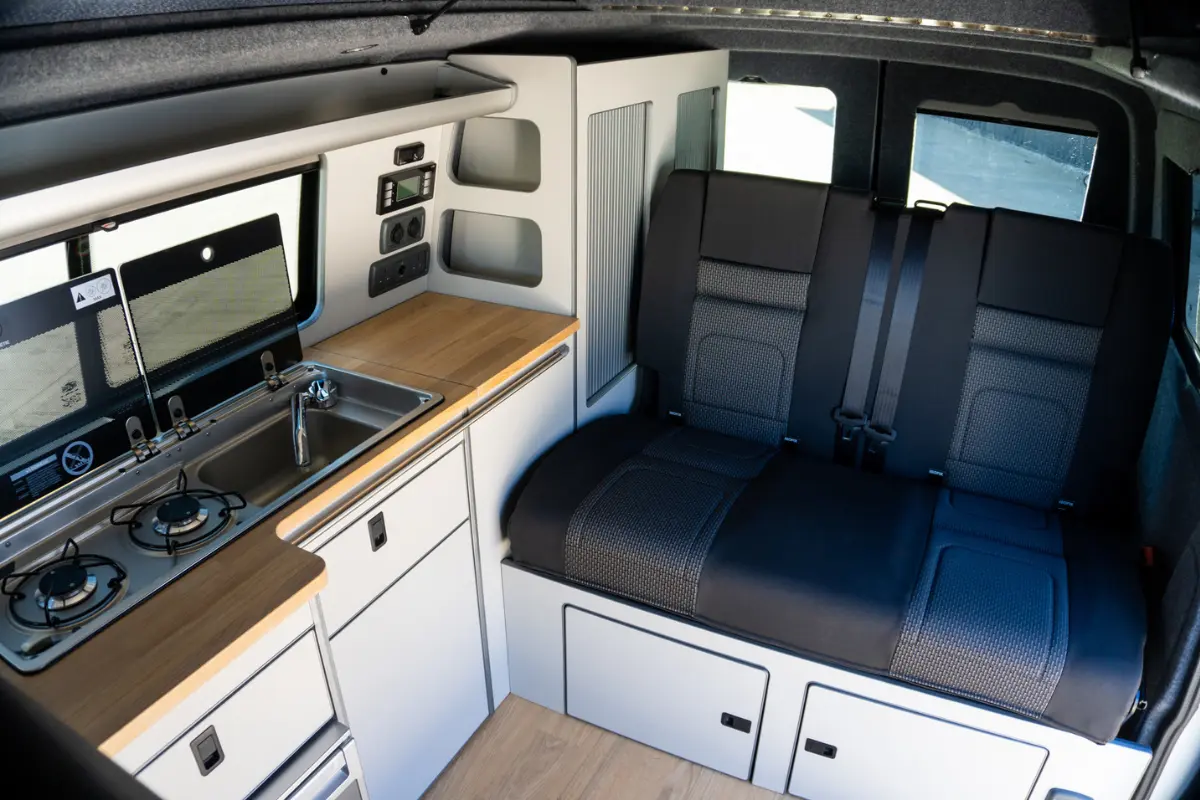
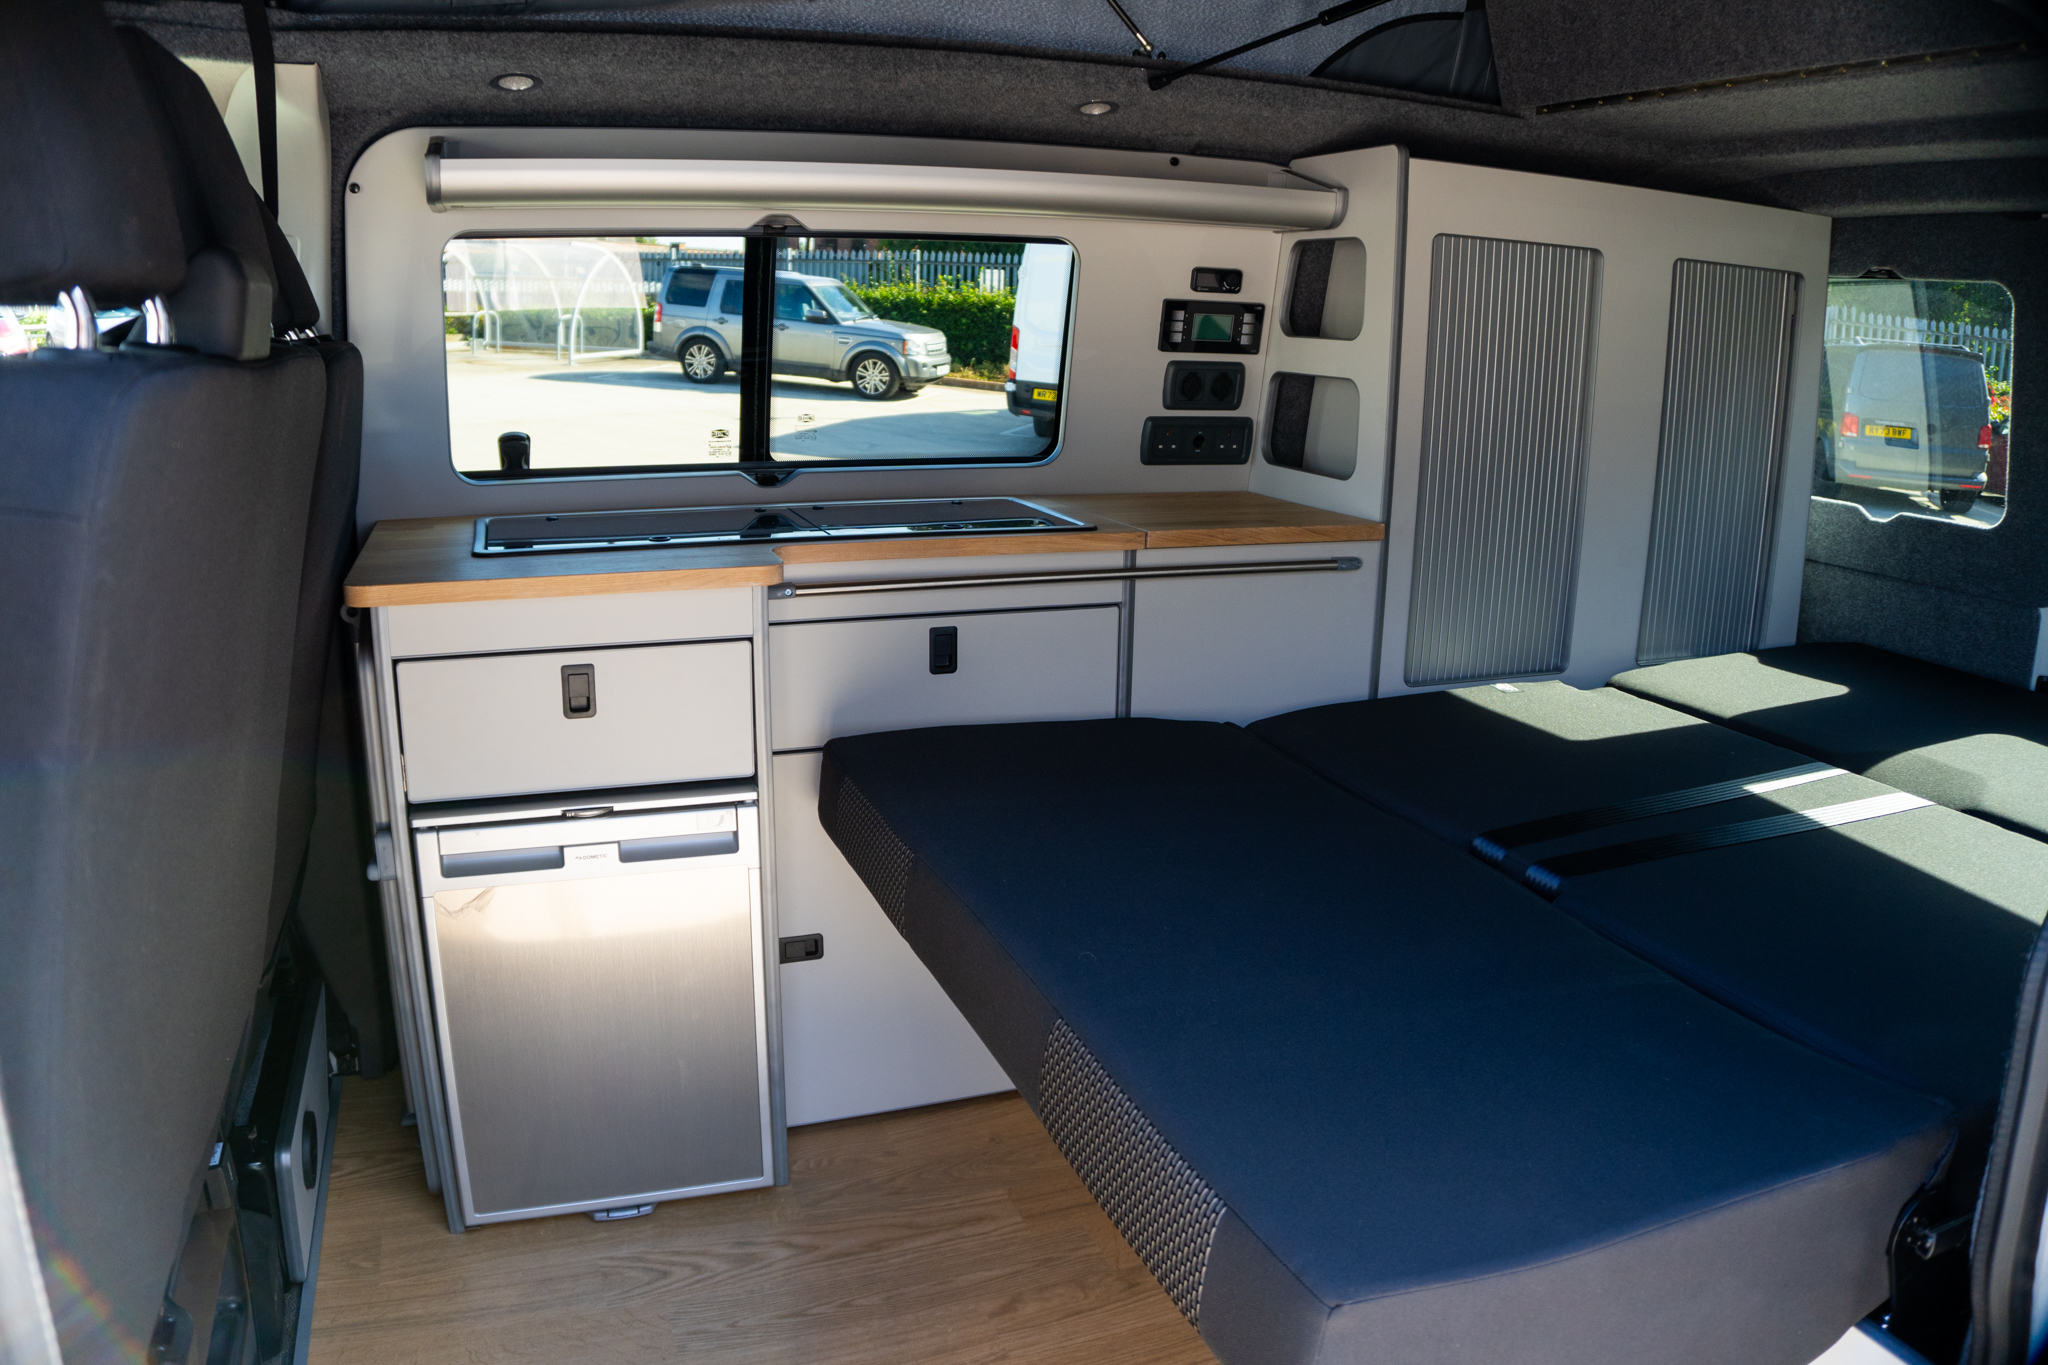
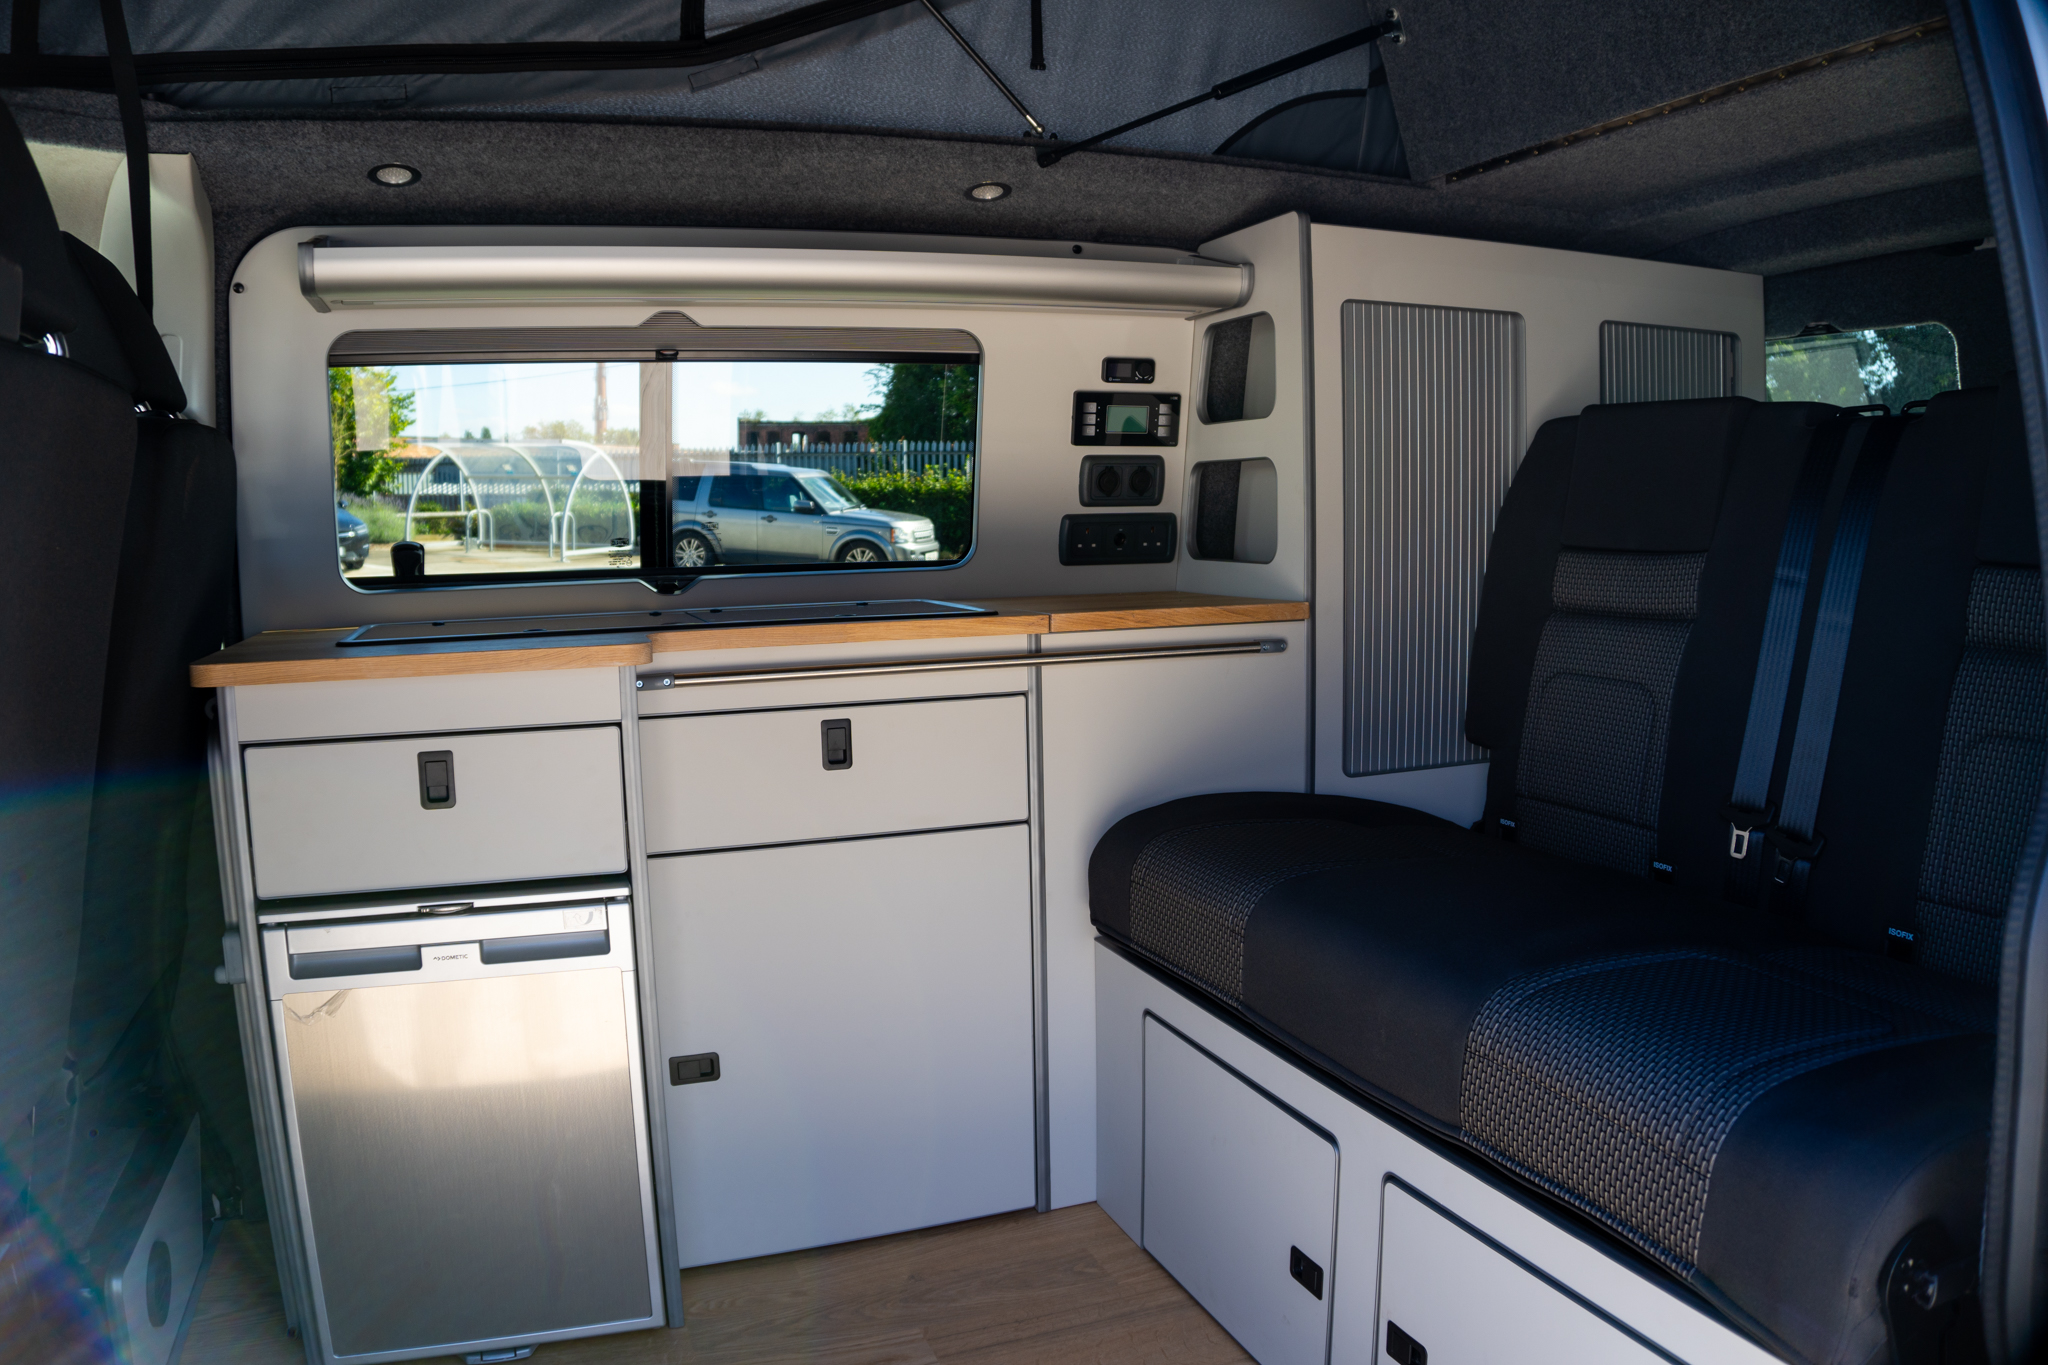
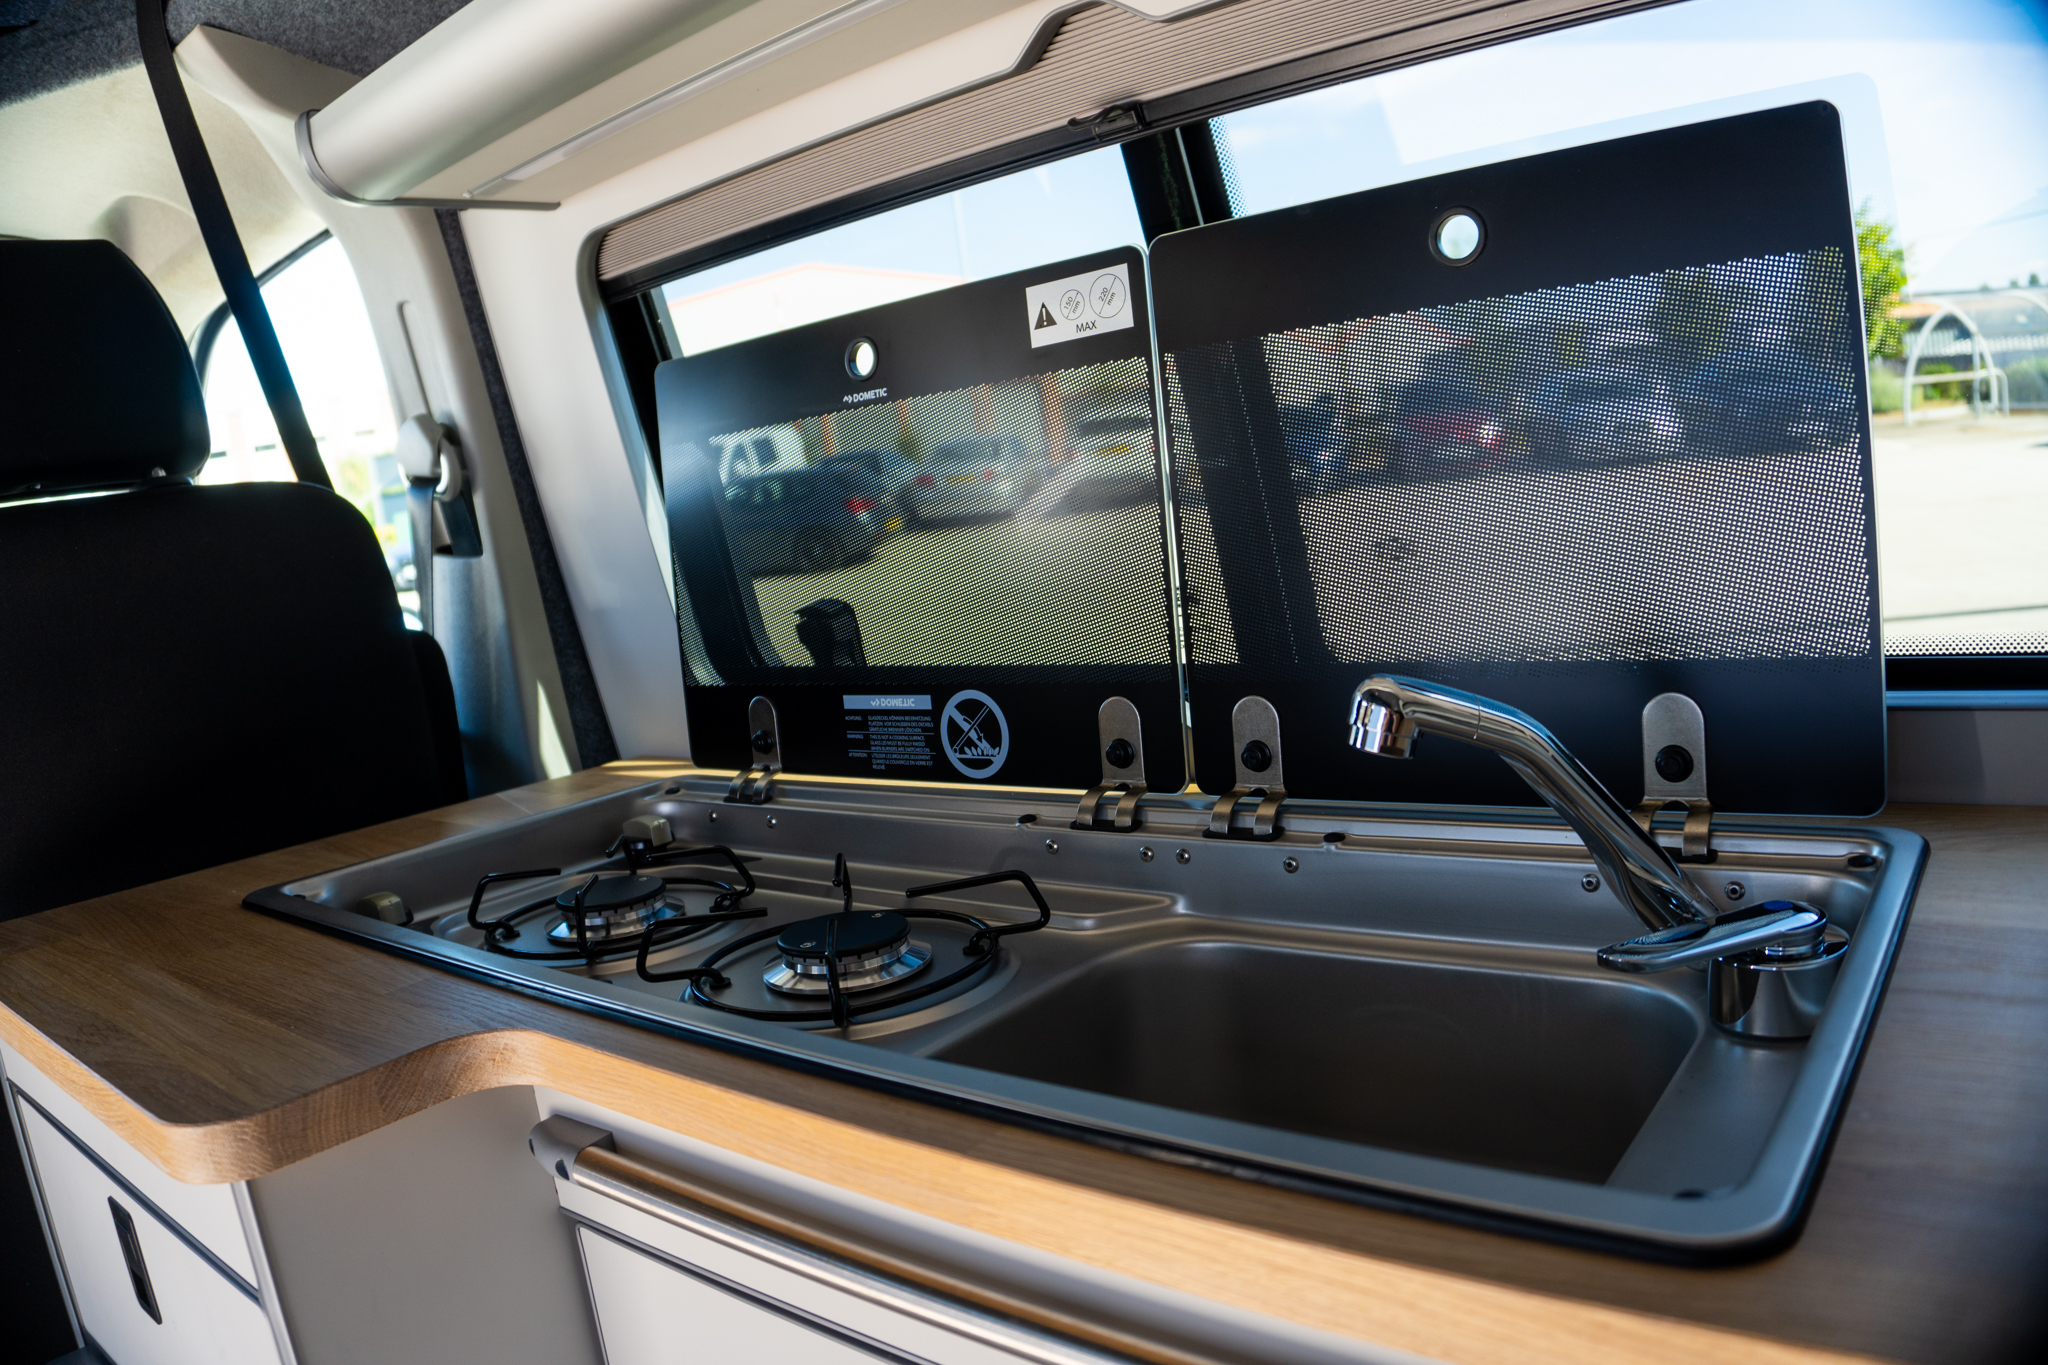
Plumbing
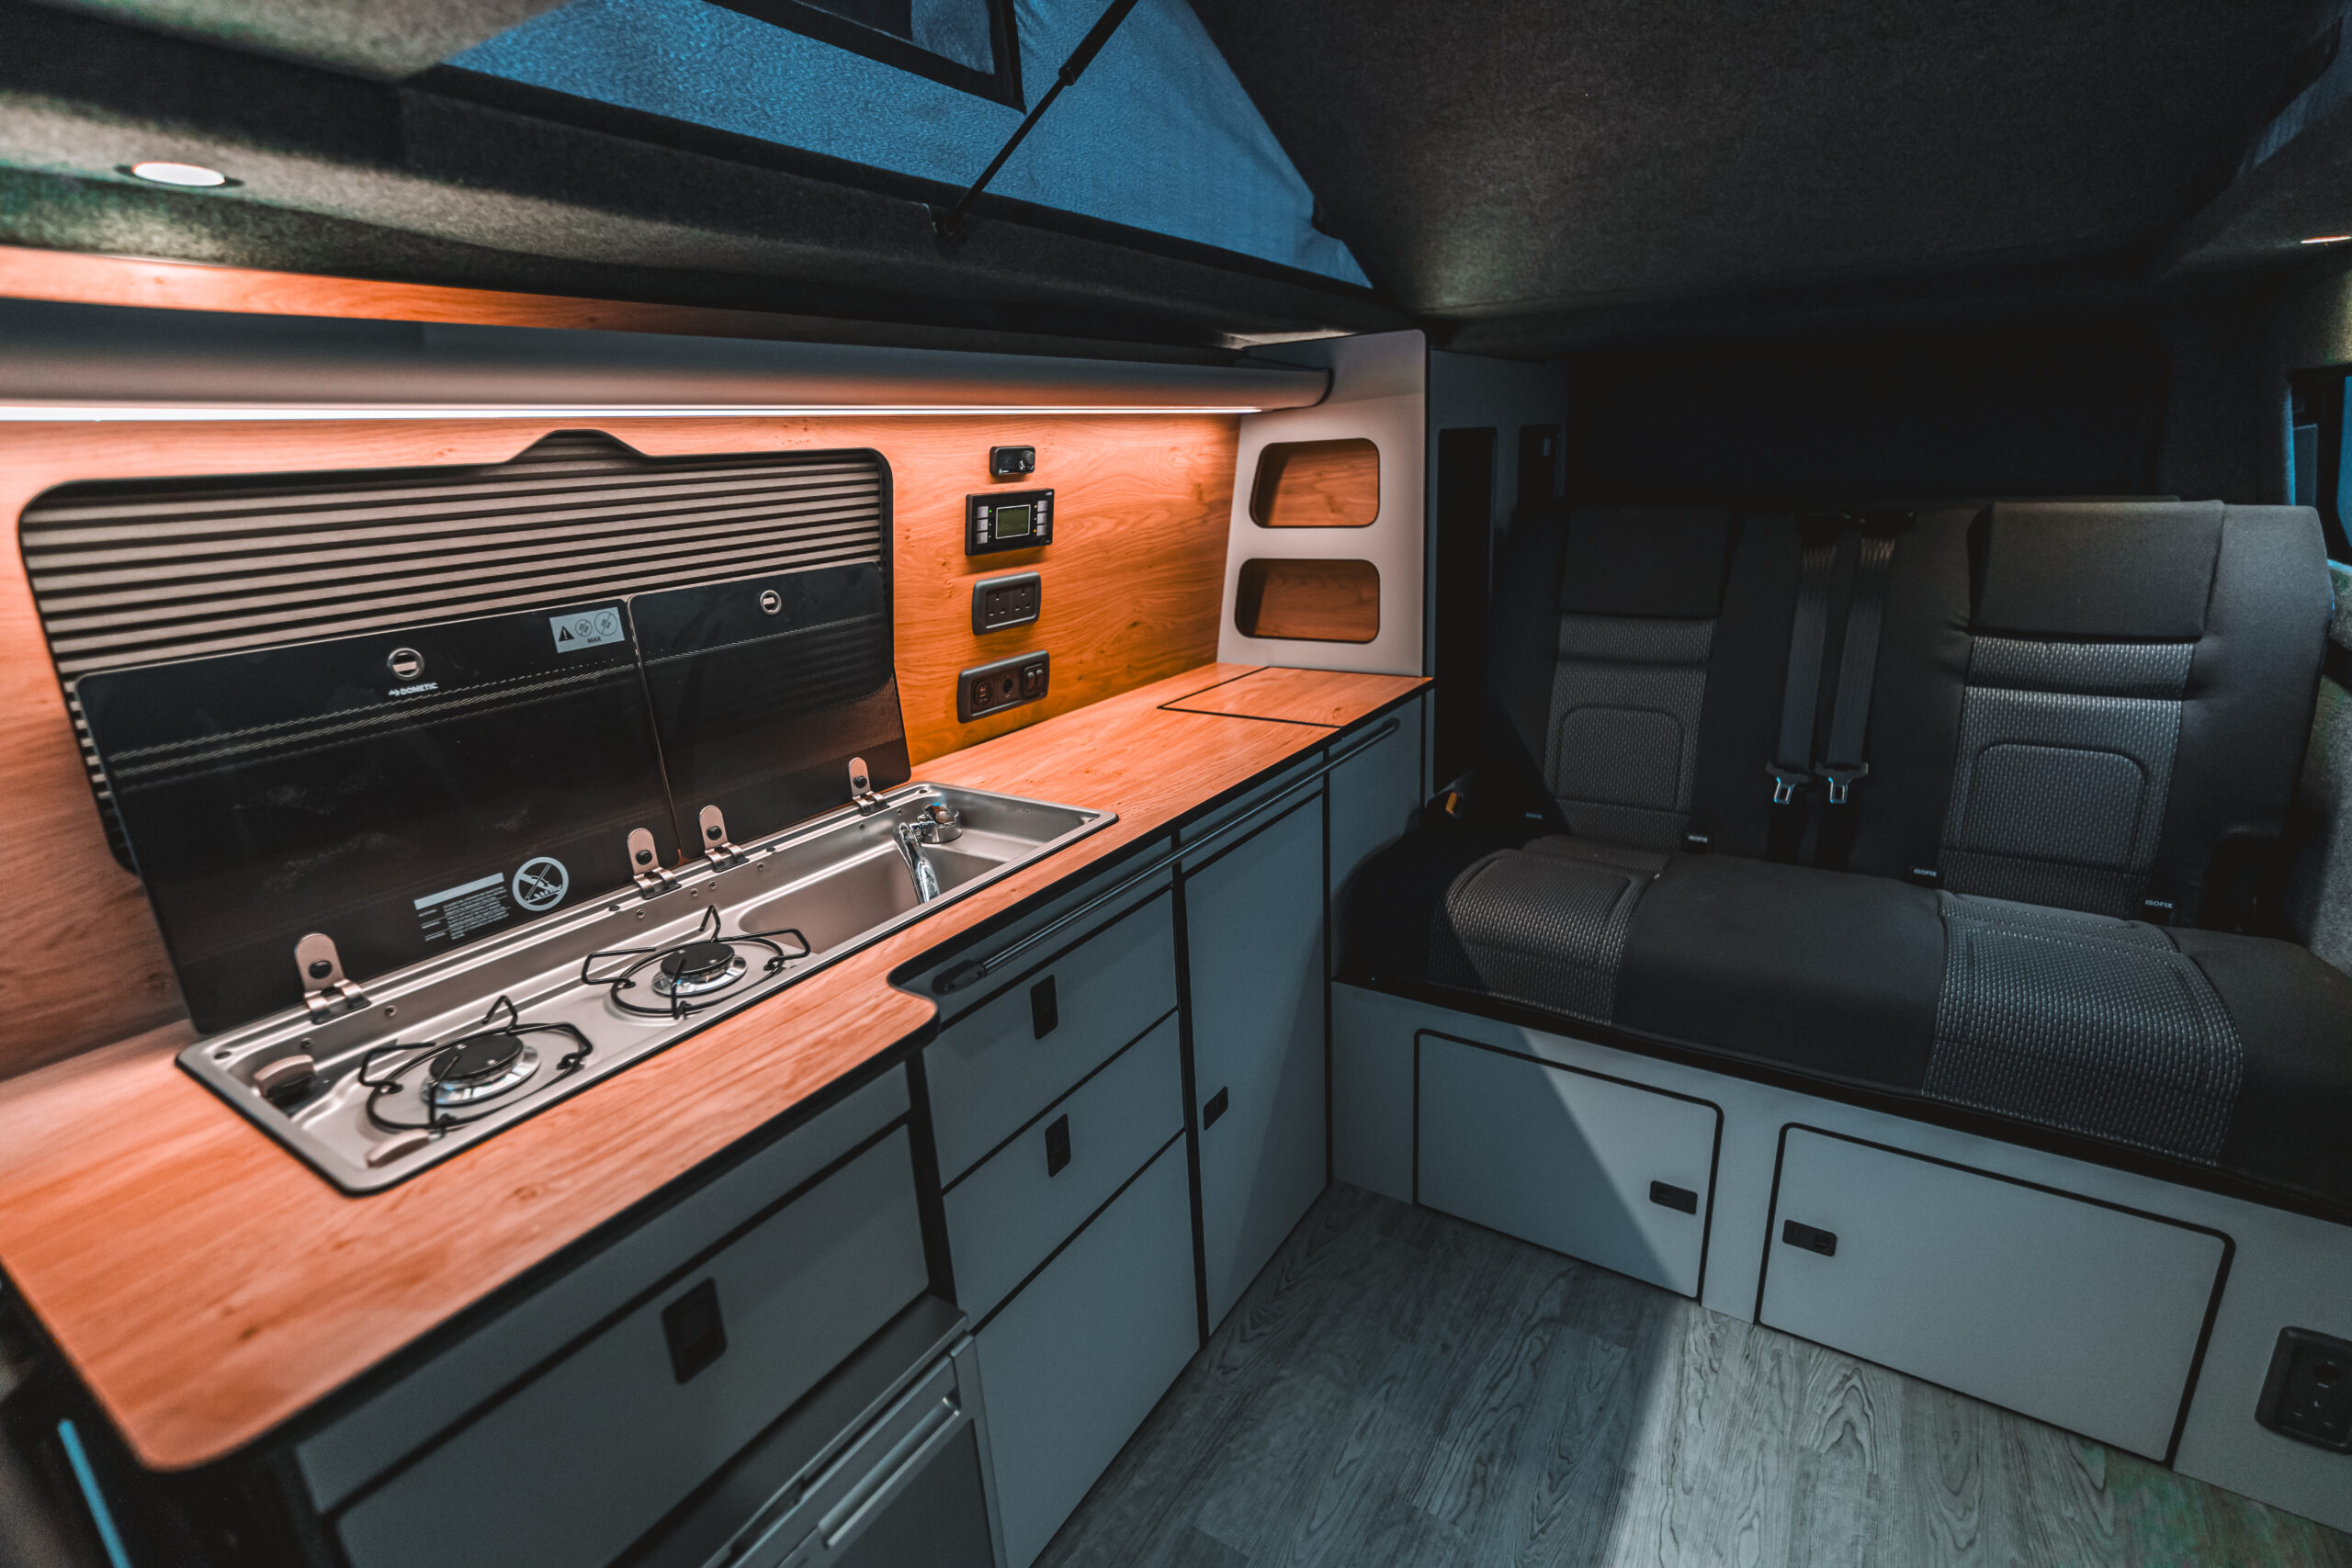
Now onto plumbing—this one really depends on your needs. If you’re planning on having a sink, shower, or toilet in your van, you’ll need a basic water system. At a minimum, I suggest installing a simple sink setup with a water pump, a fresh water tank, and a waste water tank. It’s compact and covers all your basic needs for cooking and cleaning.
If you want to go all out, you can add a hot water system and even a shower—though that takes up more space and budget. Some of our clients opt for a portable outdoor shower setup to save space inside, which can be a great compromise if you’re into the idea of outdoor living.
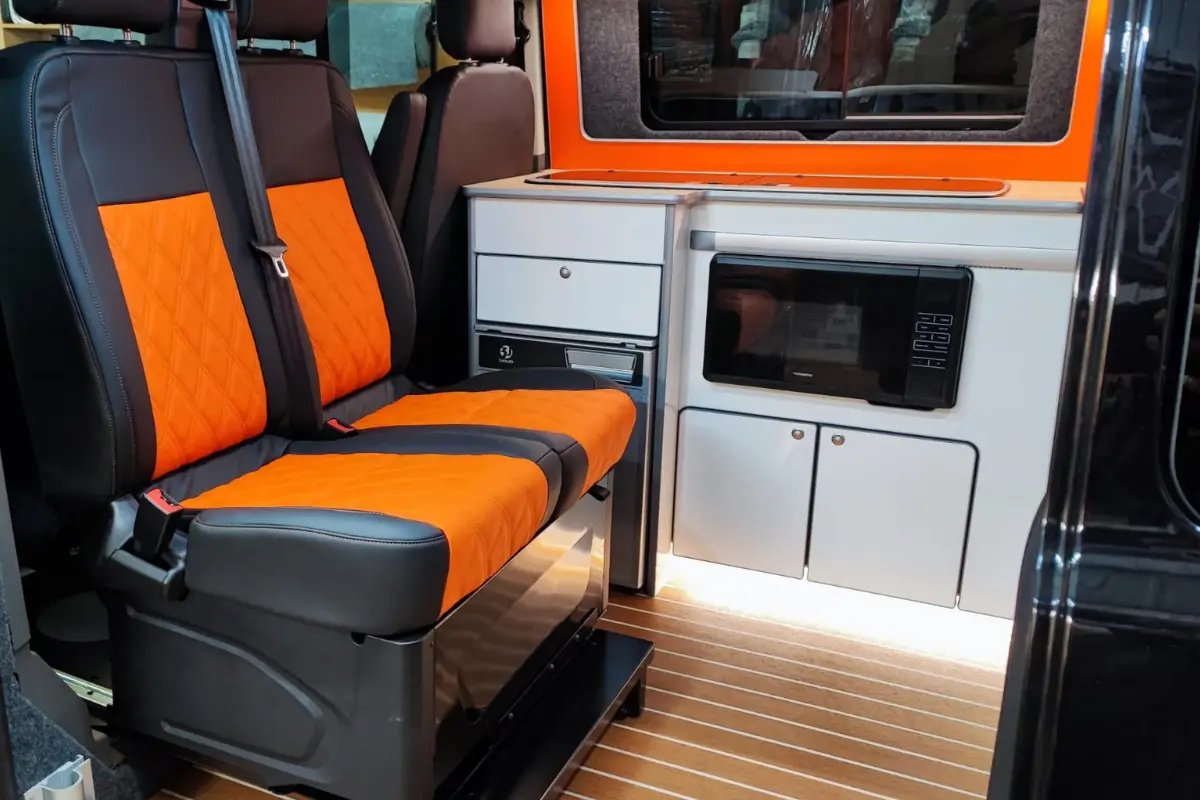
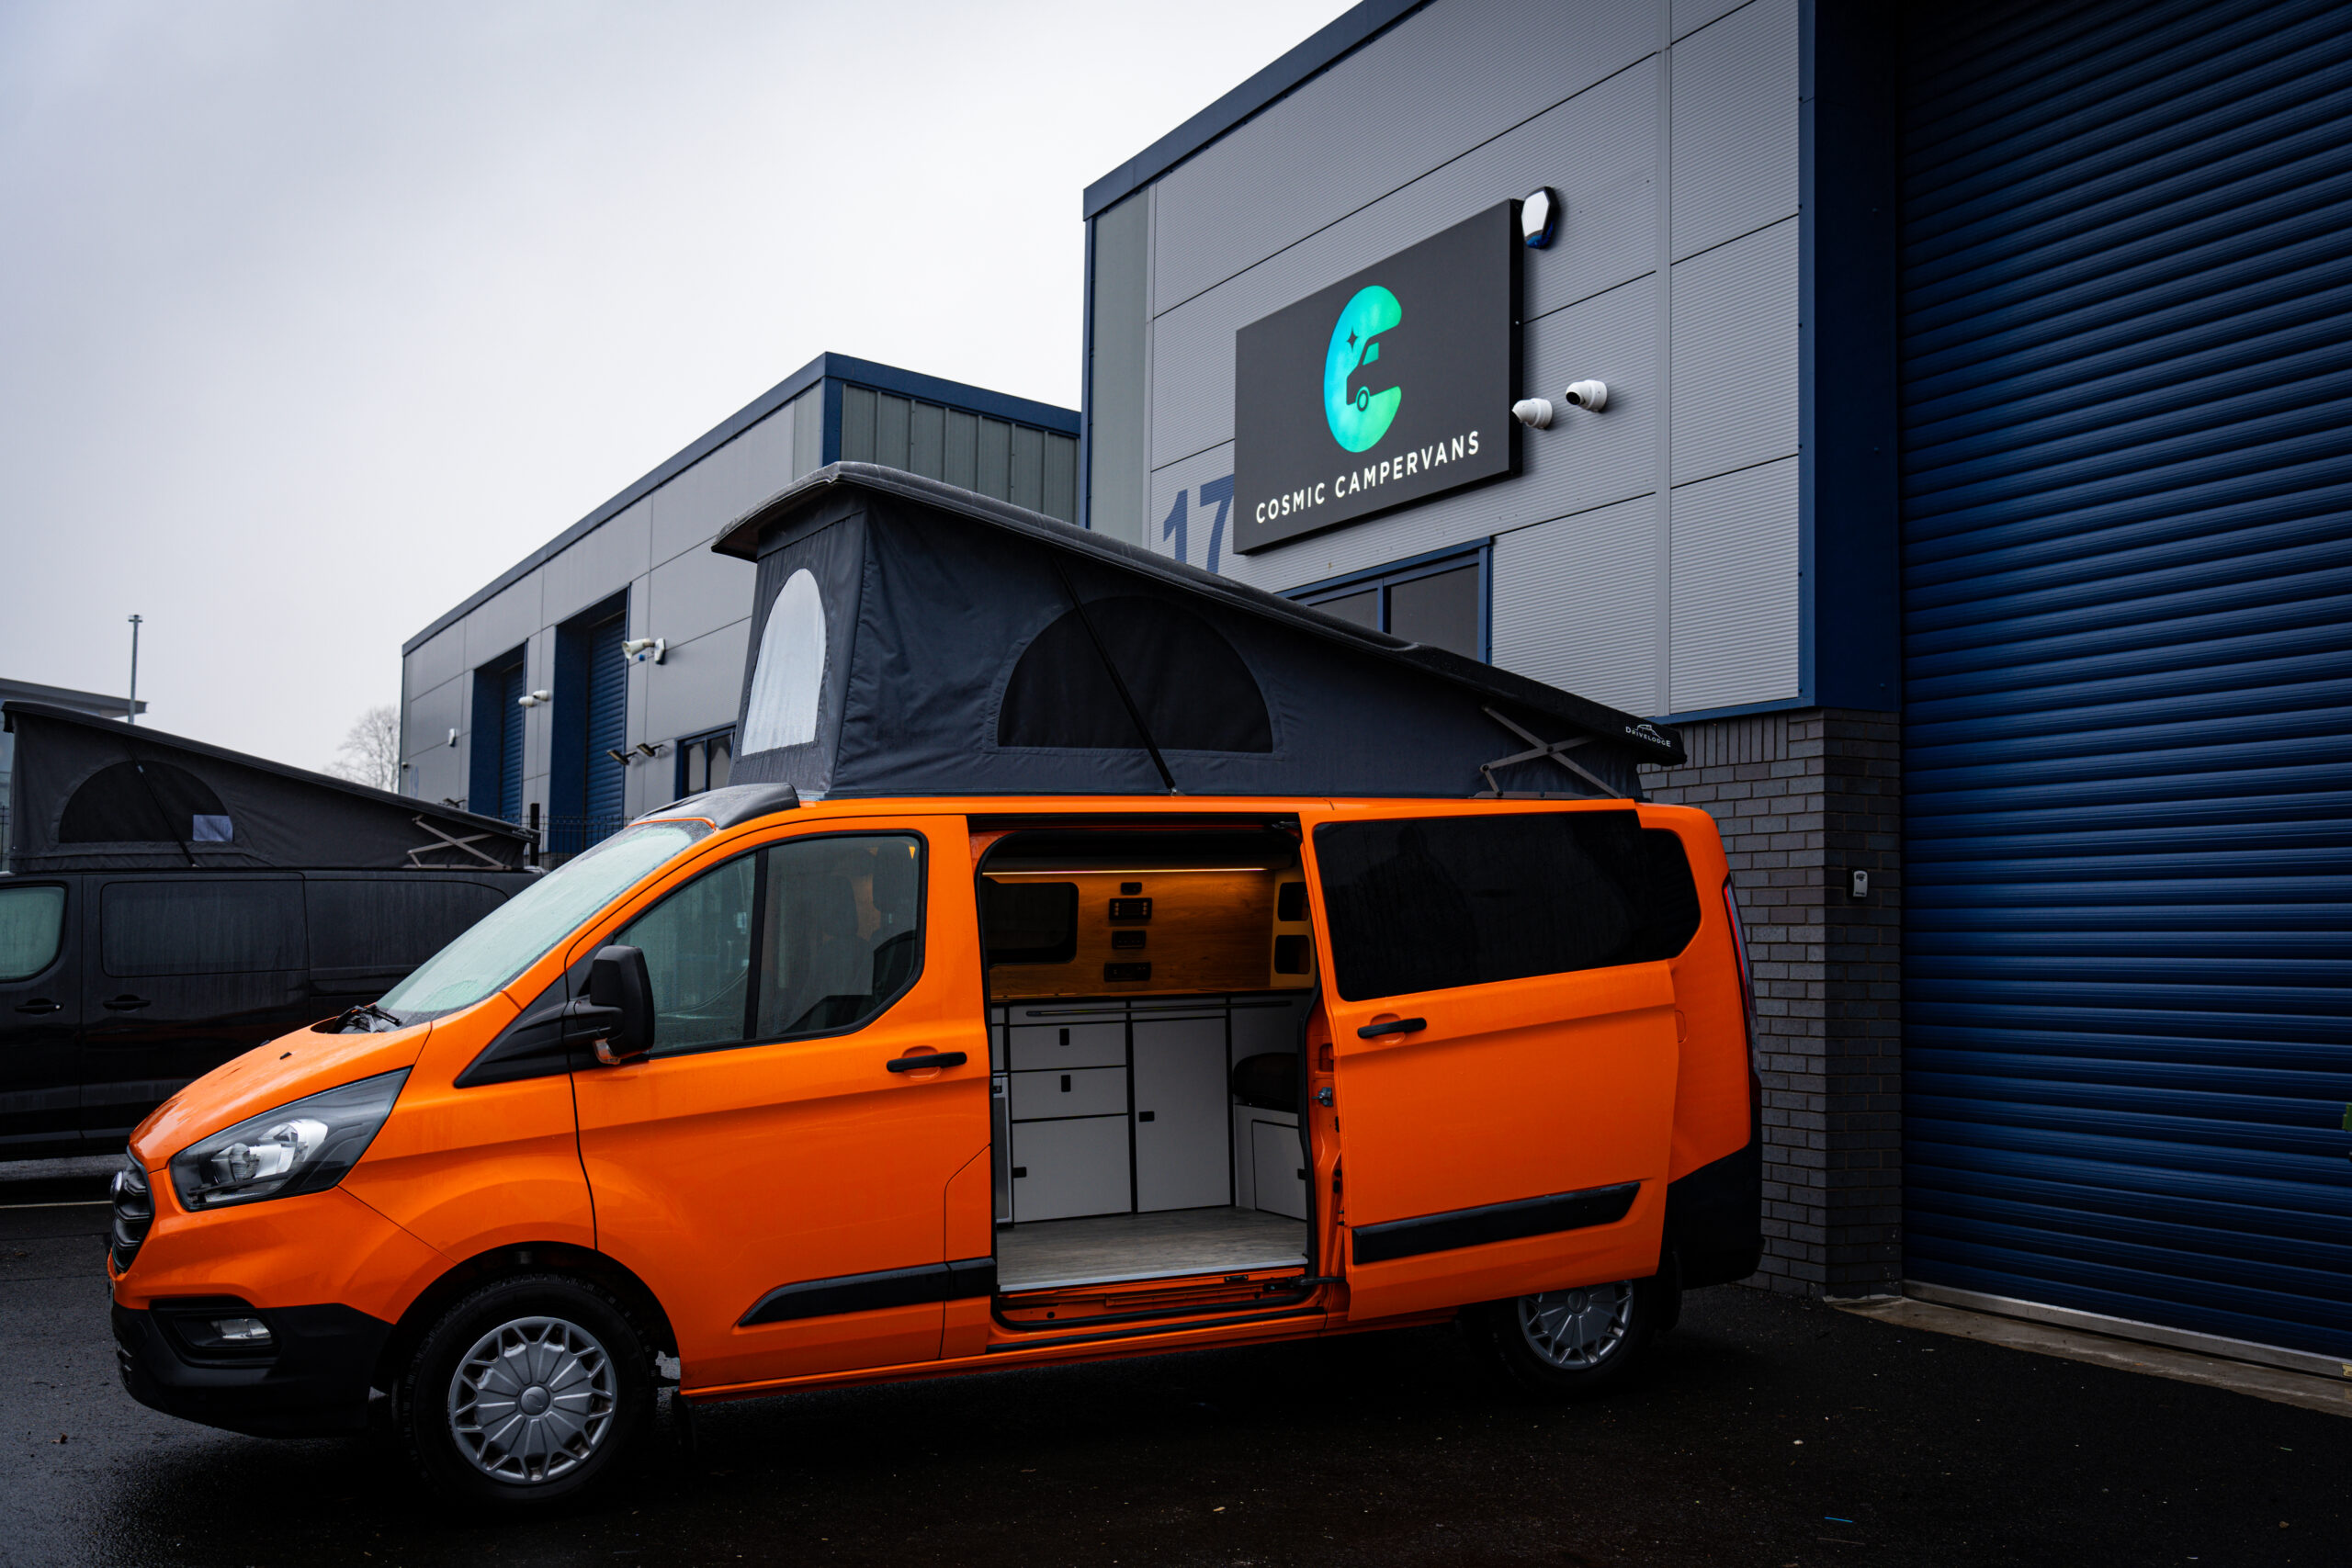
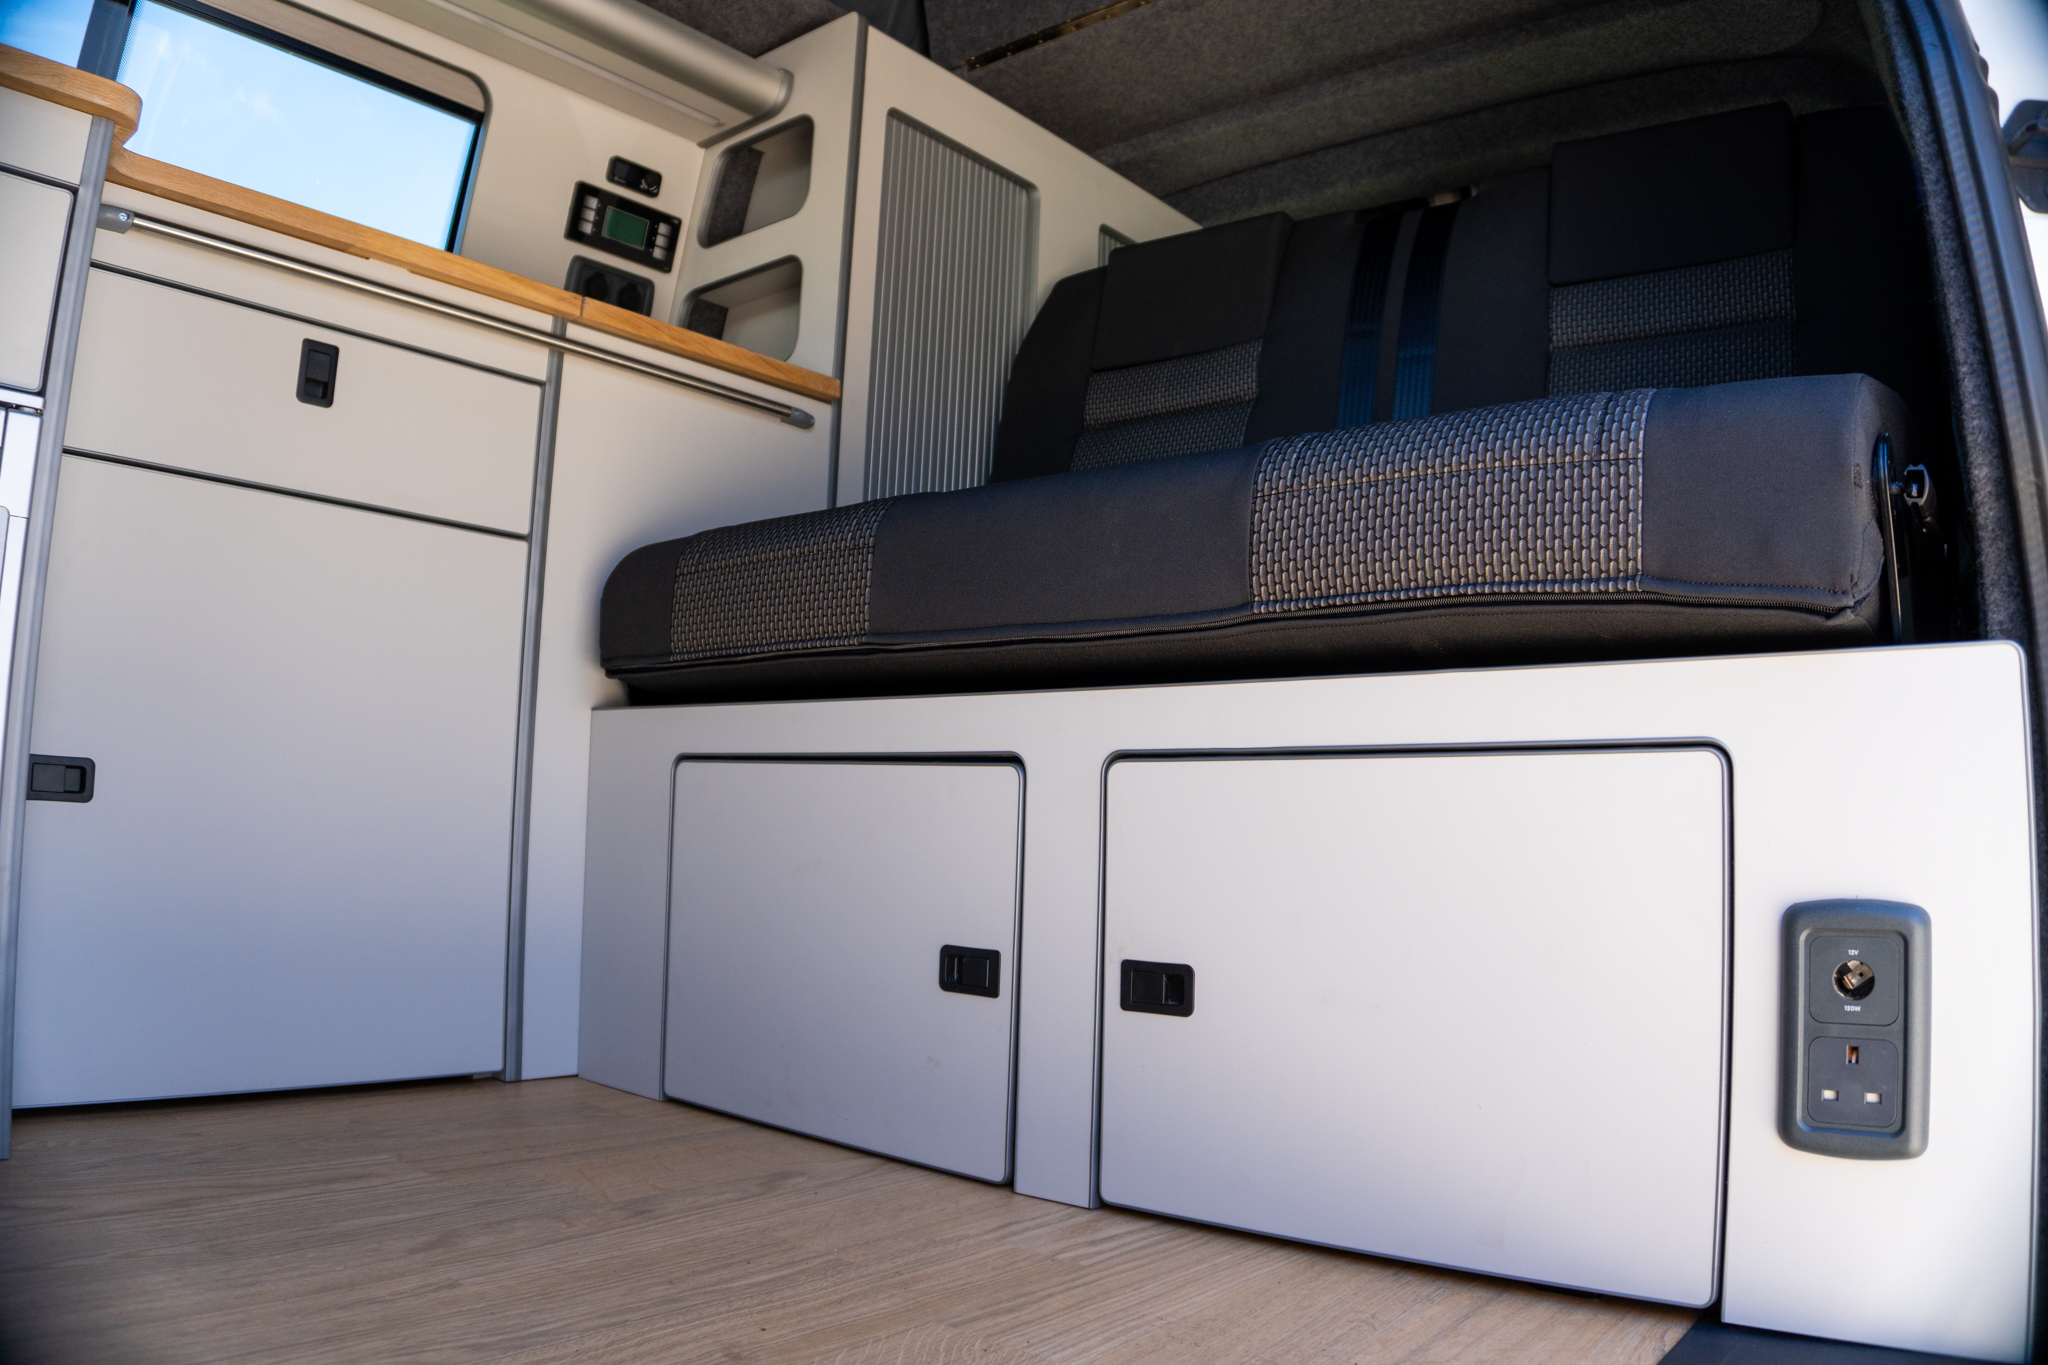
Storage Solutions
One thing you can never have enough of in a van is storage. Smart storage solutions are key to making your small space functional. I always suggest getting creative with how you use every inch of space—under the bed, overhead cabinets, and even fold-away options.
At Cosmic Campervans, we’ve done all sorts of clever custom builds like pull-out drawers under beds, foldable tables, and multi-functional seating with hidden storage. Think about what you’ll need easy access to (like kitchen items or outdoor gear) and plan your storage around that. The more organised your van, the more comfortable your life on the road will be.
Outdoor living

If you’re the kind of person who loves spending time outdoors, you’ll want to think about your outdoor living space. A simple yet effective way to expand your usable space is by adding awning rails. These allow you to attach an awning or tarp, which gives you a sheltered area to hang out in, cook, or just relax outside, rain or shine.
I would especially recommend an awning setup to clients that travel with family or friends because it essentially creates an extra “room” without taking up any space inside the van. Plus, it’s perfect for those summer road trips when you want to spend your days in the shade while enjoying the view!
Don't forget your awning rails!
Awning rails allow you to extend a shade right from the side of your van.
DIY vs Professional VW Transporter Conversions
One of the questions I answer the most from clients is whether they could complete the conversions themselves. My answer is that it always depends on your expertise, time and skills.
When you could DIY
In all honesty, if you have a little bit of DIY experience and are willing to take the risk, you’ll probably be able to do minor modifications like installing carpet lining, building cabinetry, or even installing an awning rail.
These tasks require basic tools, a steady hand, and attention to detail. So yeah, you might spend a few weekends getting everything just right, but with the right research and effort, they’re manageable.
When to call the pros
Of course, hiring professionals like us is a lot less risky. Not only will it be done correctly the first time, we can also give you an accurate estimate of the time and cost to do the conversion, which can’t be said for a DIY project!
I would especially recommend professional help when it comes to the more complex features—pop-top roofs, diesel heaters, or plumbing systems. These jobs can get tricky fast and the stakes are honestly pretty high.
I’ve seen it time and again: clients who thought they could tackle a complex install on their own, only to end up with costly mistakes. In some cases, they’ve had to shell out thousands more to fix the damage than they would have spent if they’d hired professionals from the start.
Imagine cutting into your roof to install a pop-top – it’s really not something you want to get wrong! One slip with the saw, and you could compromise the structural integrity of your van, leading to leaks or worse.
My final thoughts on DIY
The key is to be realistic about your abilities. If you’ve never worked on a vehicle before, you might want to leave the more technical aspects to the experts. Even if you’re a seasoned DIYer, consider the time, effort, and potential stress involved. Sure, you could learn how to install a diesel heater or pop-top roof from YouTube tutorials, but is it worth the risk of a botched job?
An expert can help with the tricky stuff (like us😉)—and we’ve seen firsthand how much easier (and often cheaper) it can be to get things done right the first time.
If you’re feeling confident about doing some parts of the conversion yourself, go for it! But for those bigger jobs, don’t hesitate to call in the pros. We’re always happy to step in where needed and make sure your van is safe, functional, and ready for adventure.
So, my advice? Know your limits, weigh the risks, and think about how much time, hassle, and potential repairs you’re willing to take on. Sometimes, a little professional help can save you a lot of headaches down the road!
Summing It Up
Your options with the Transporter are truly endless. I hope this guide can help you make the right choices for your new home on wheels and make the process a little bit smoother.
If you ever need a hand—or just want to chat about ideas—we’re always here to help. And of course, if you have any questions or ideas for a conversion, we’d love to hear them in the comments!
See you on the road! – Dario