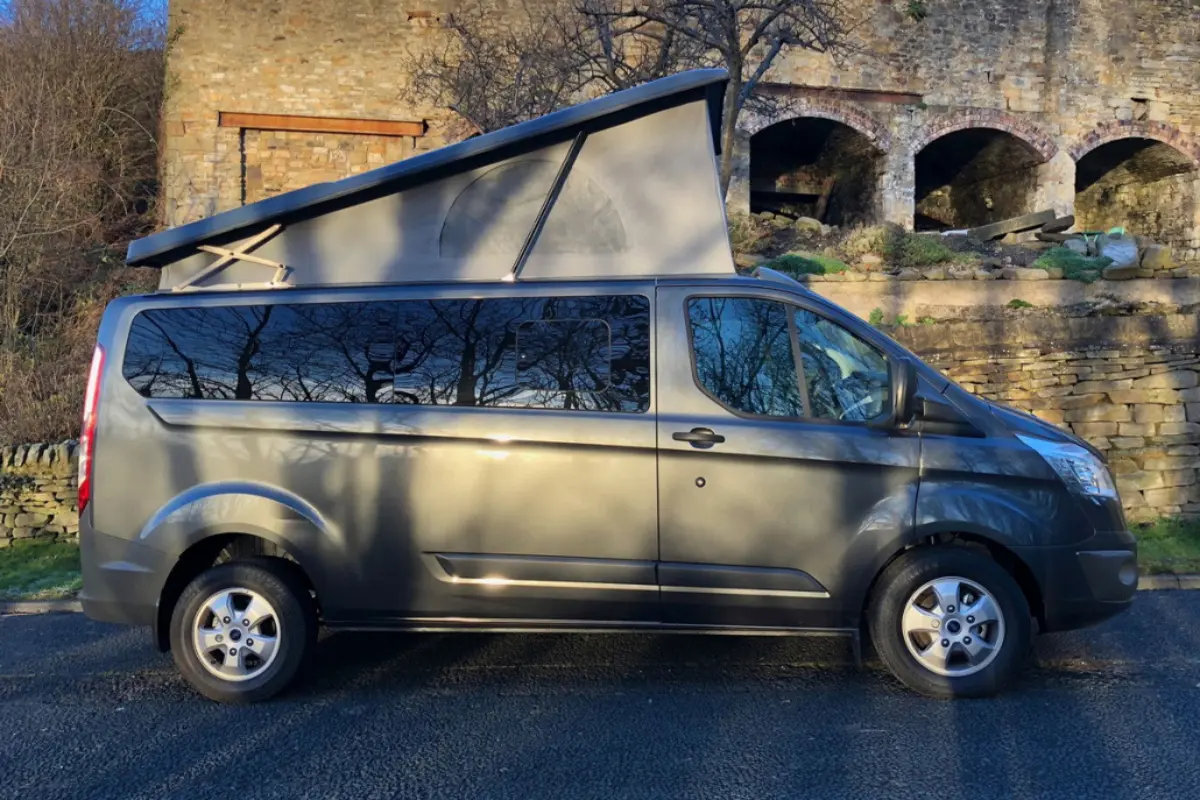
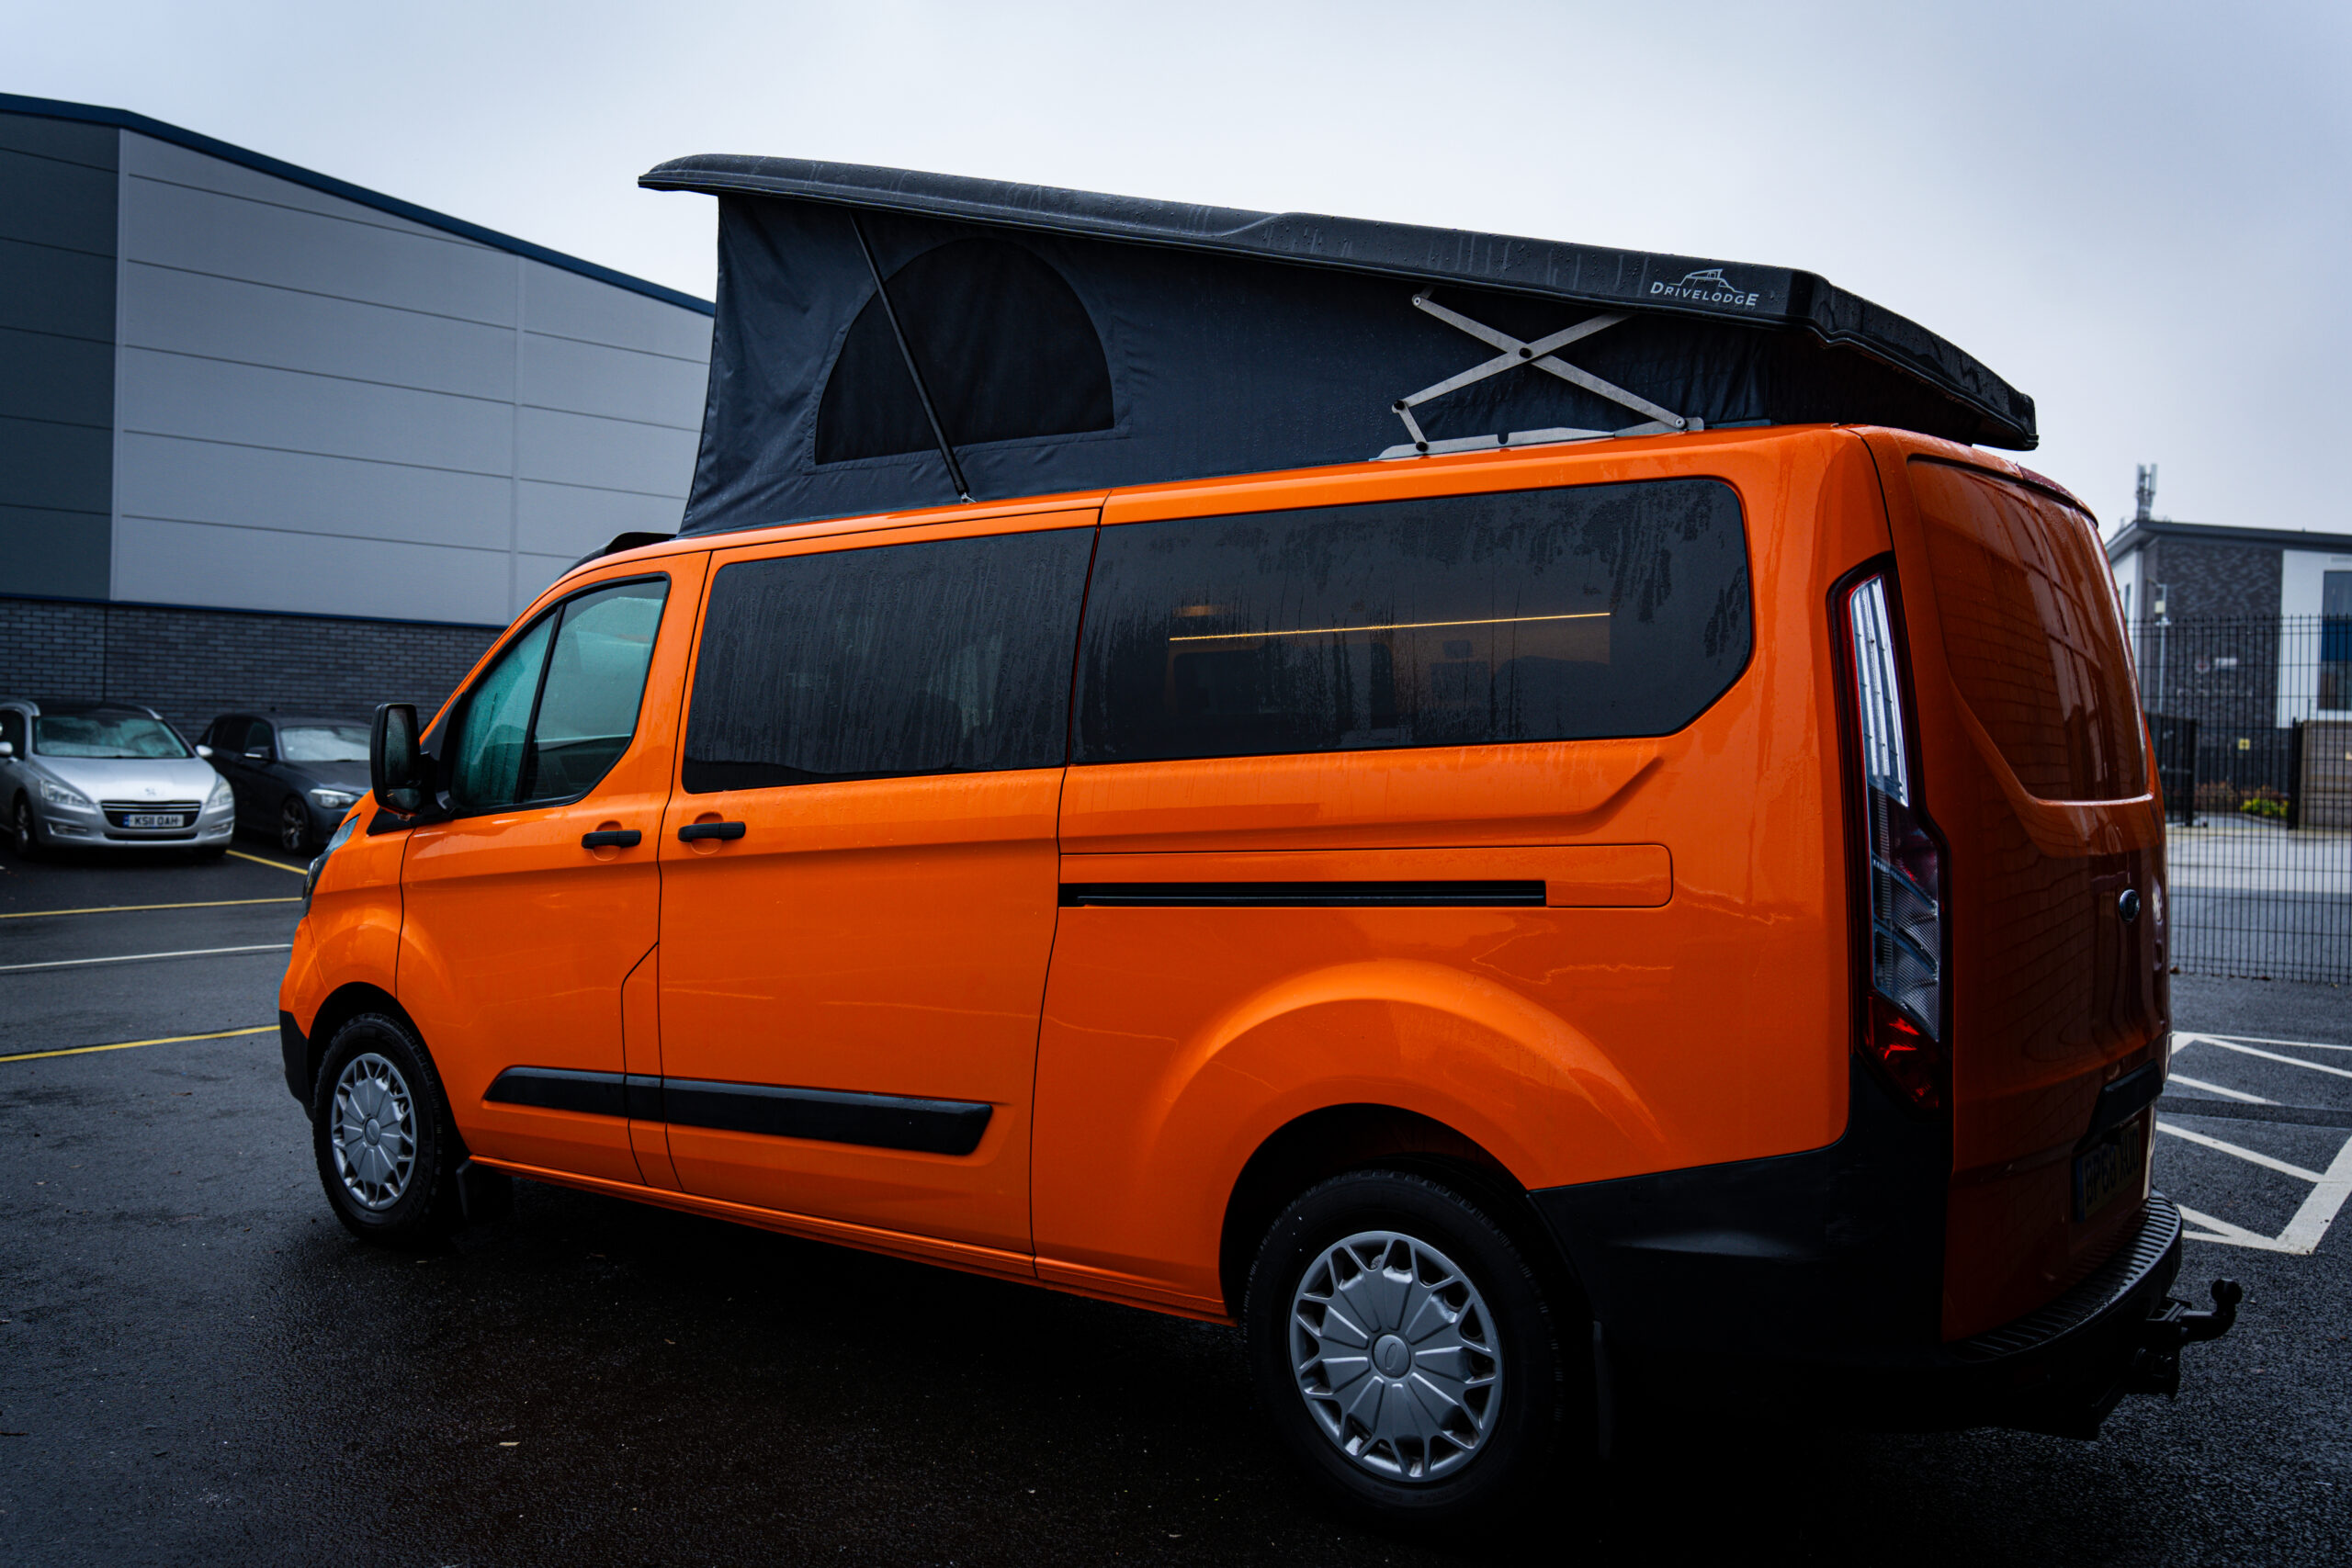
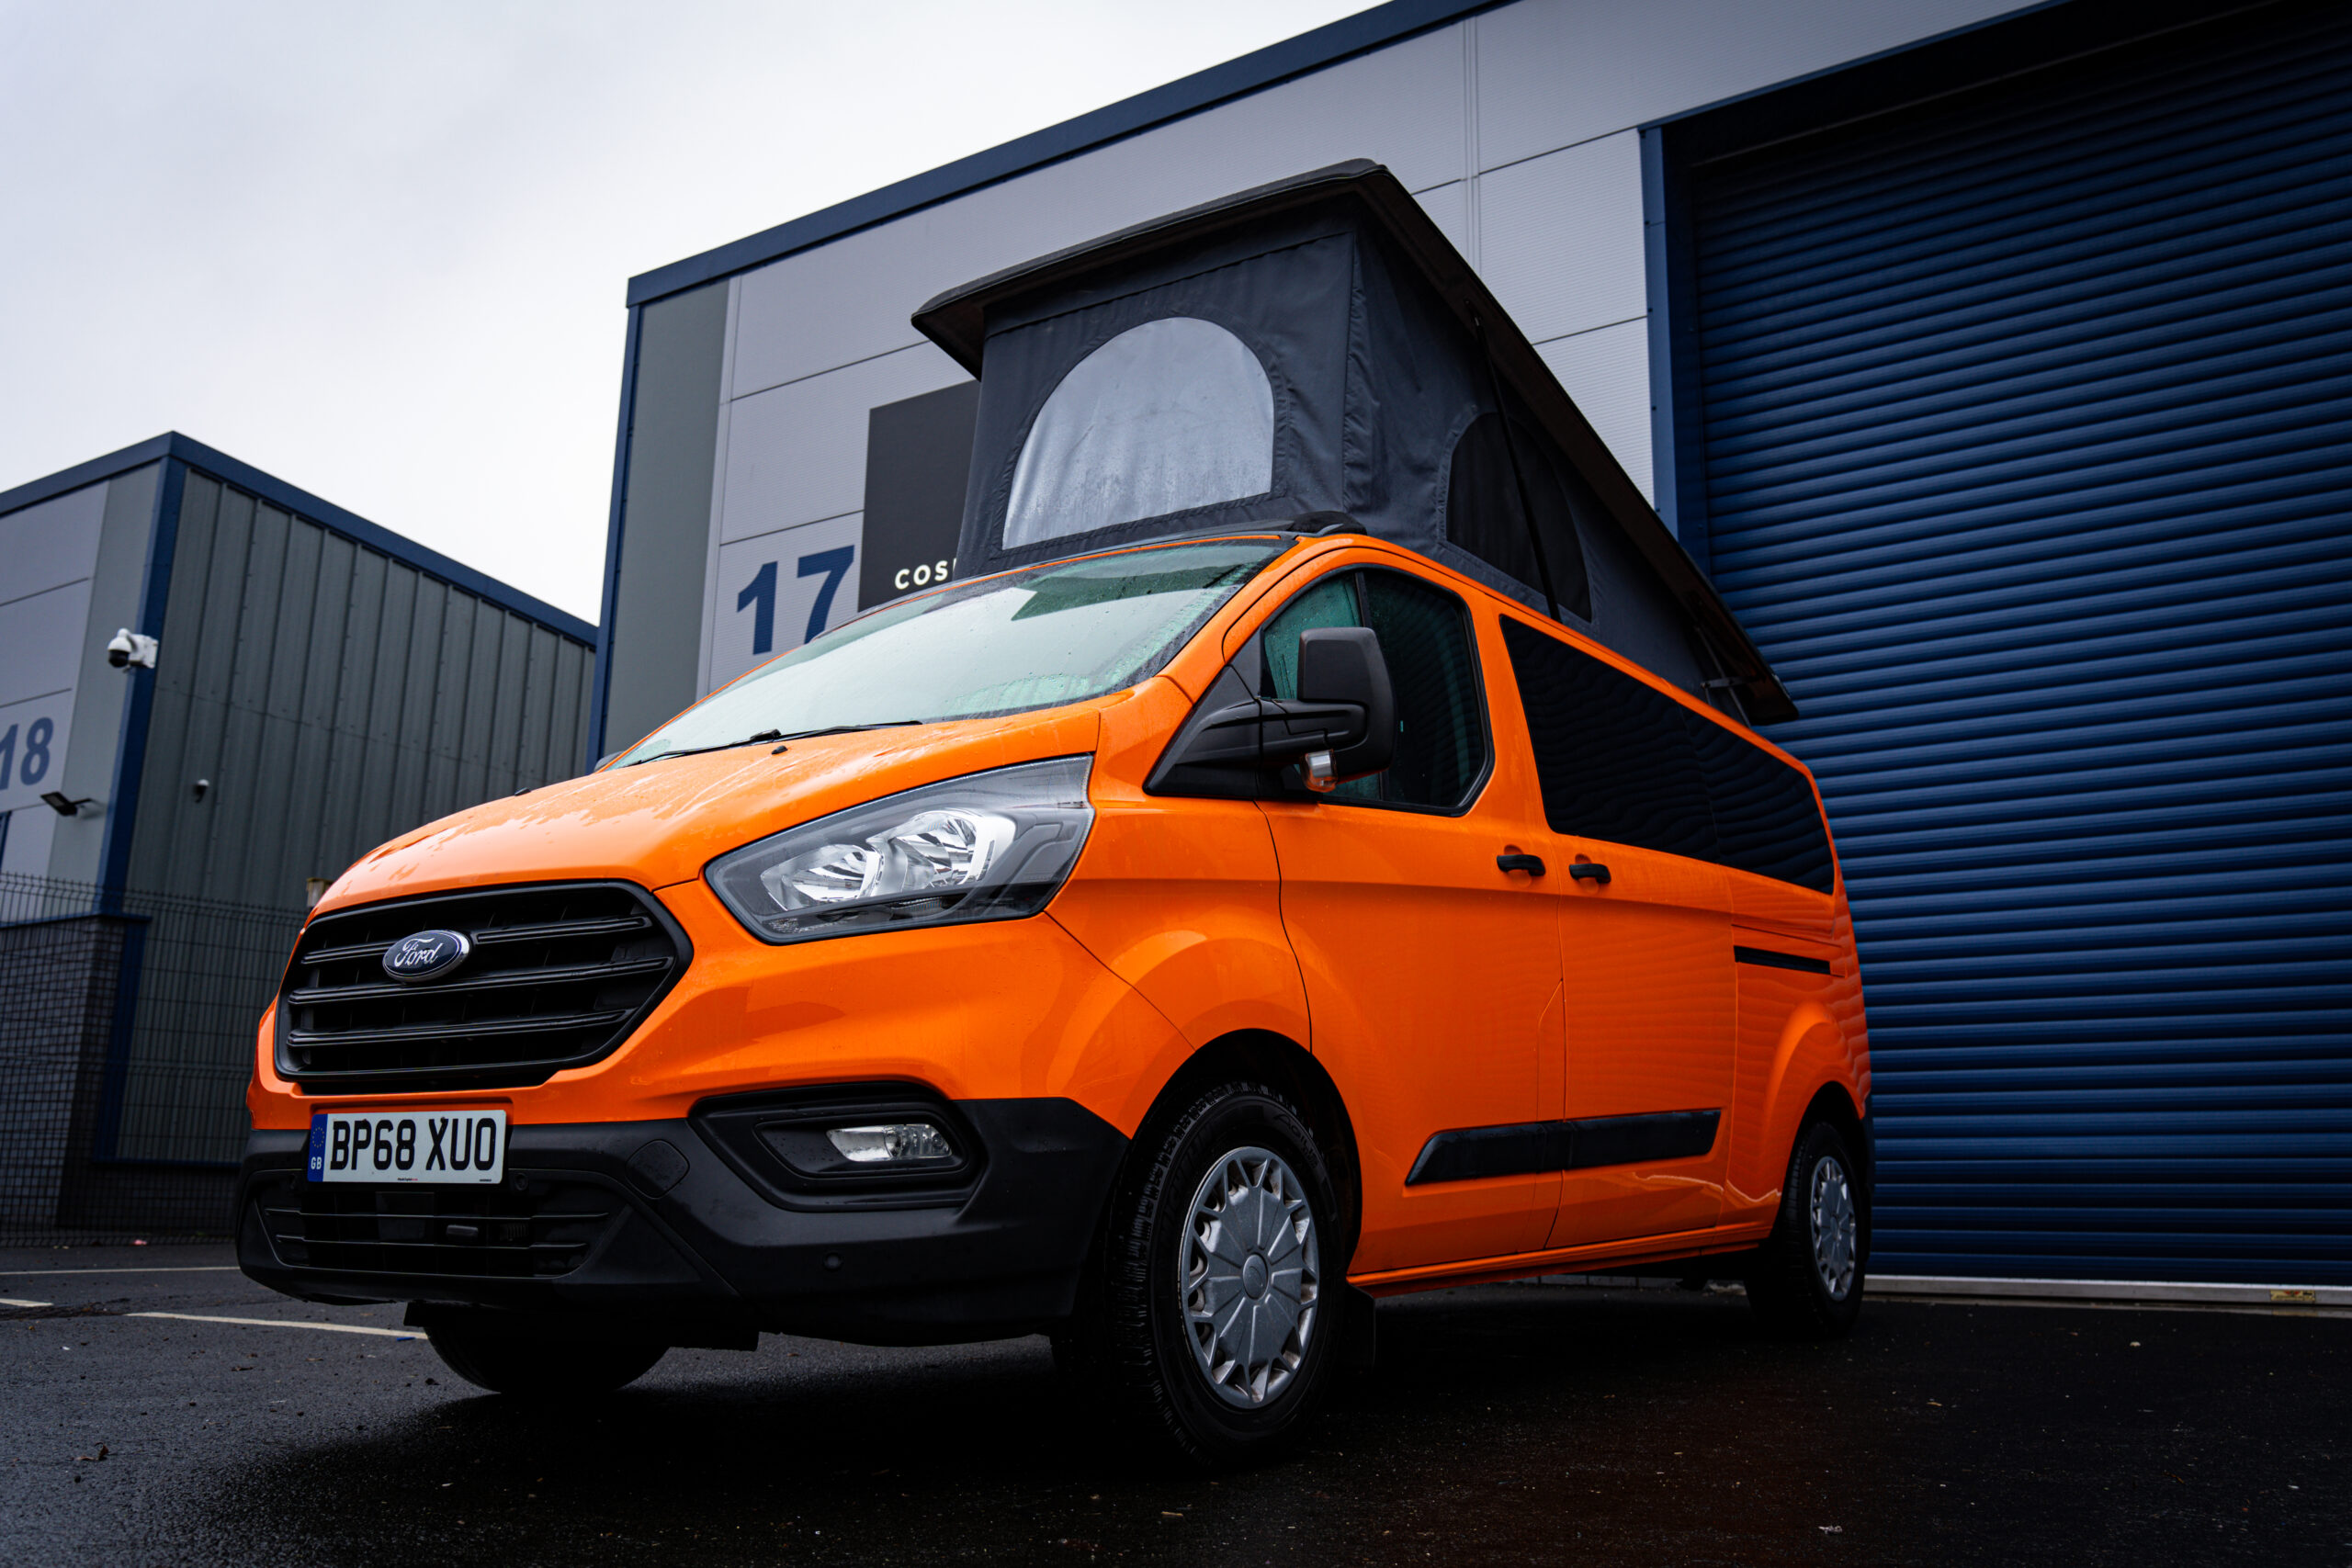
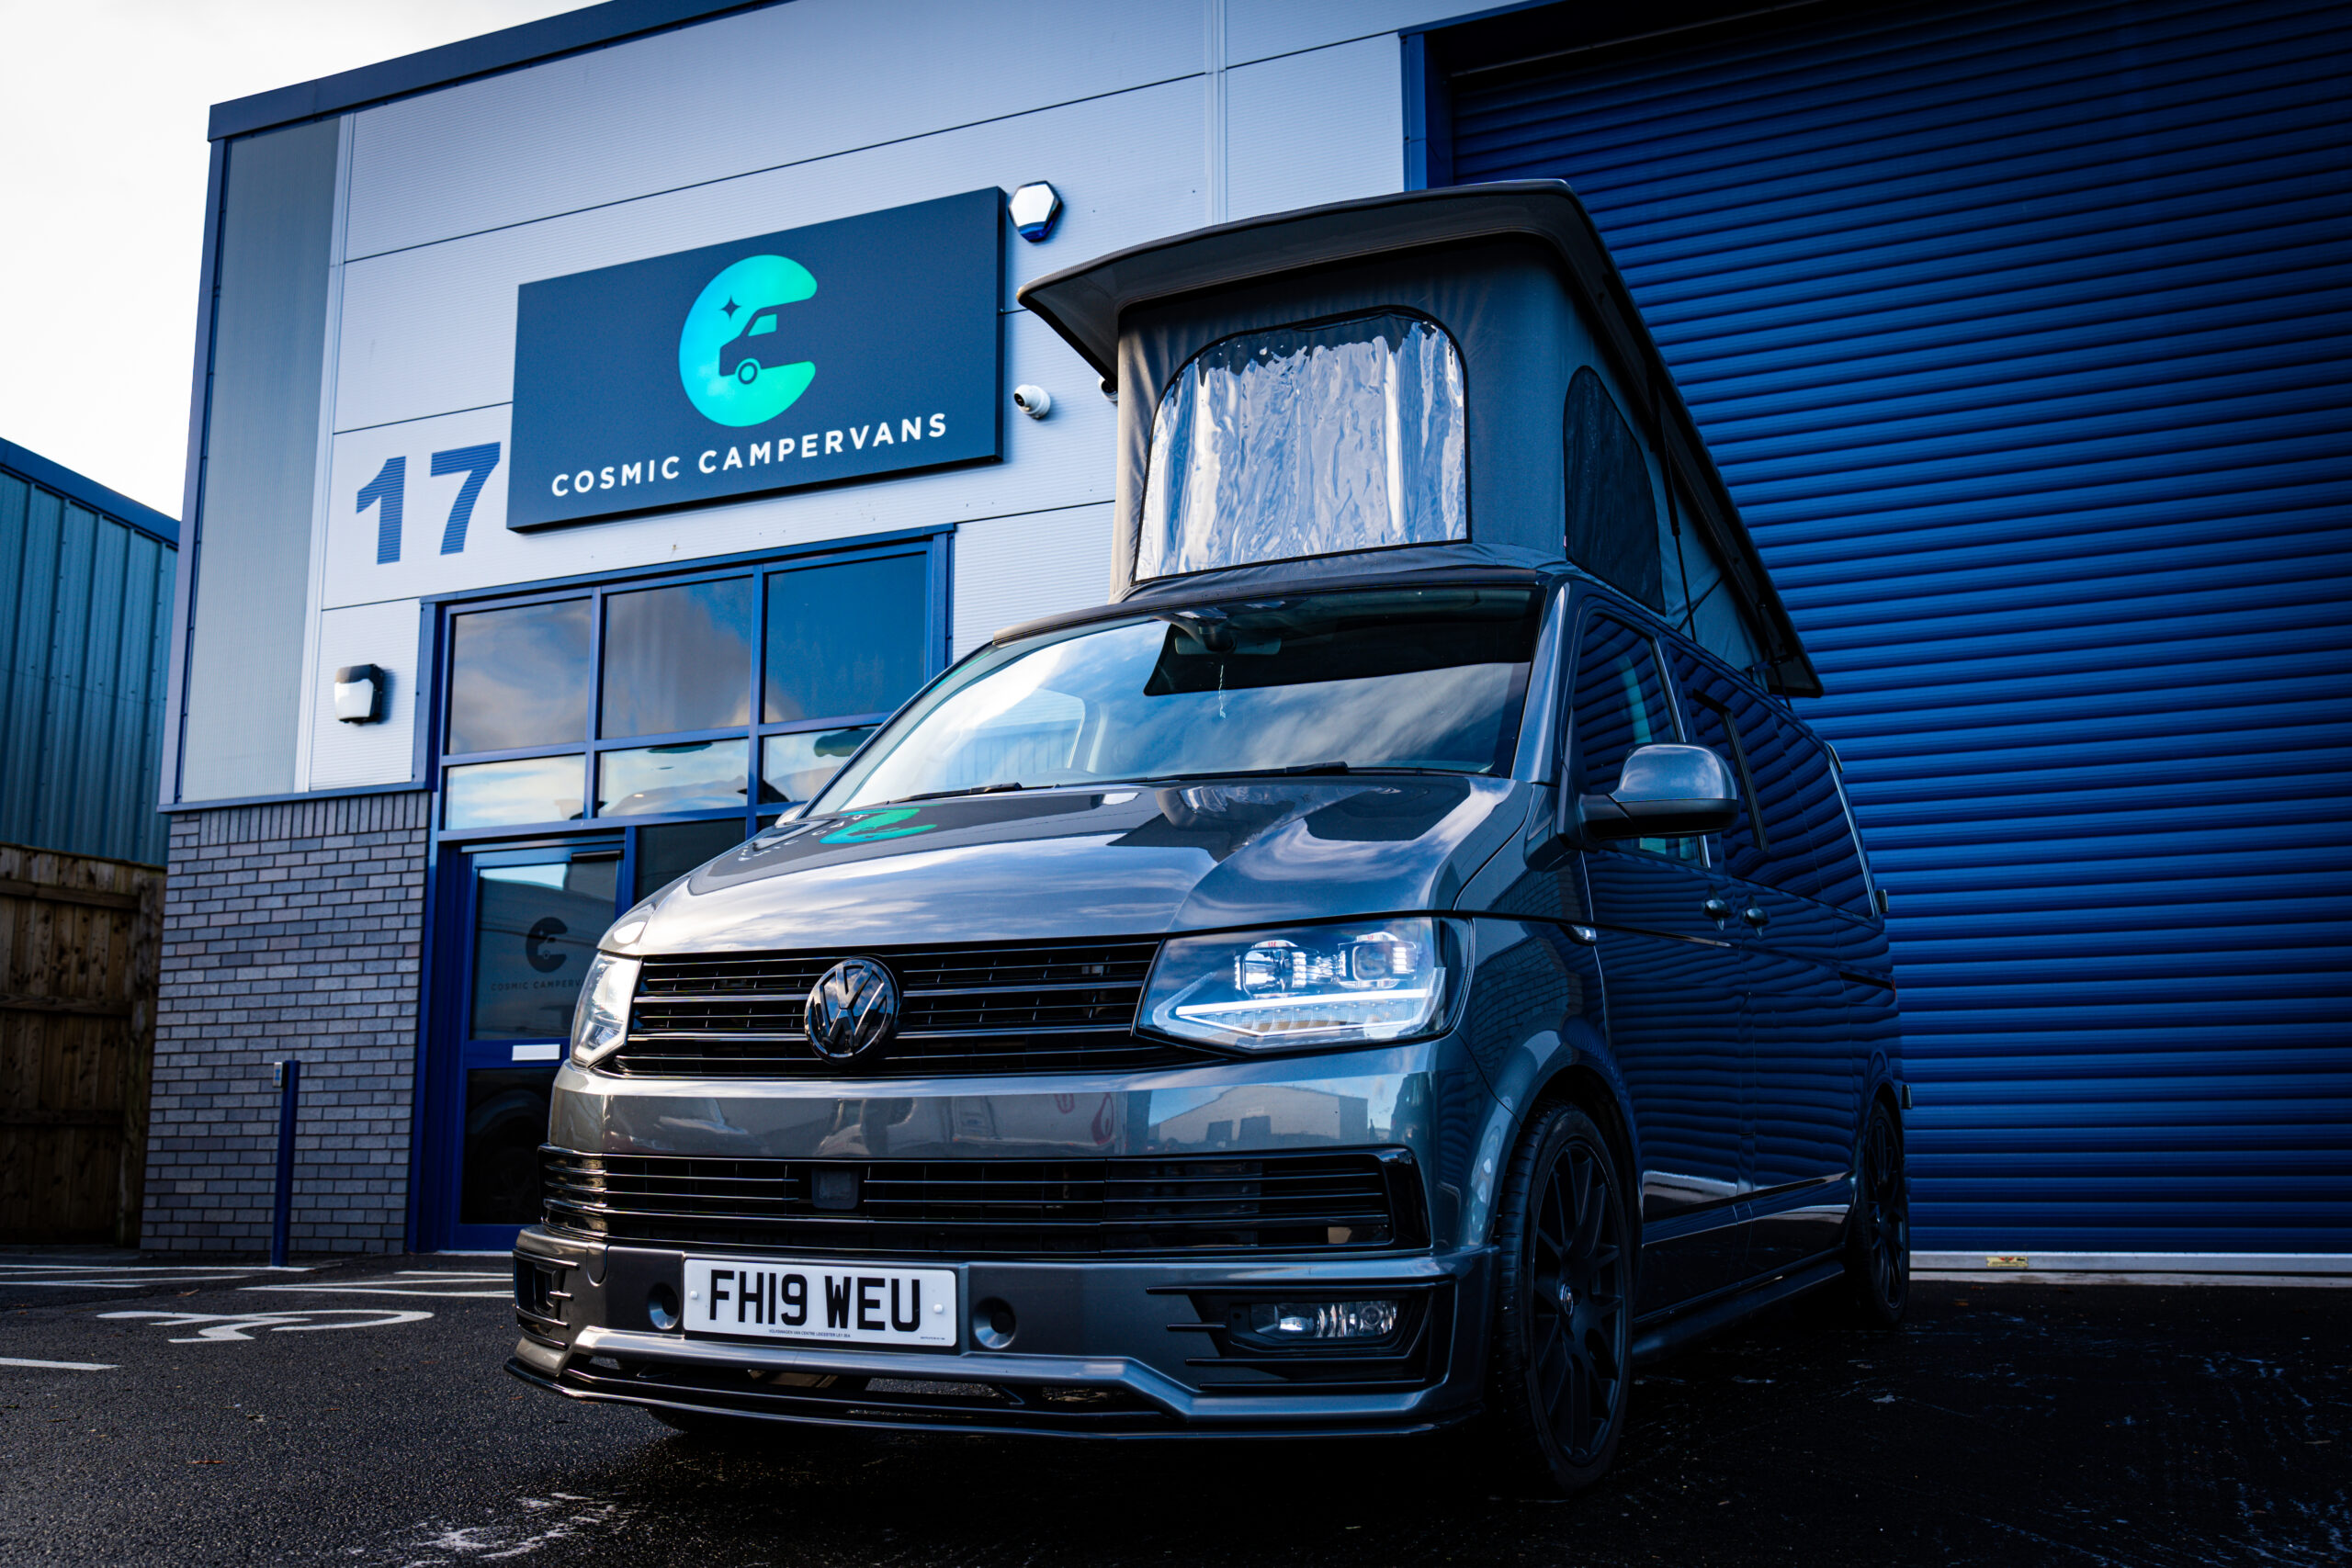
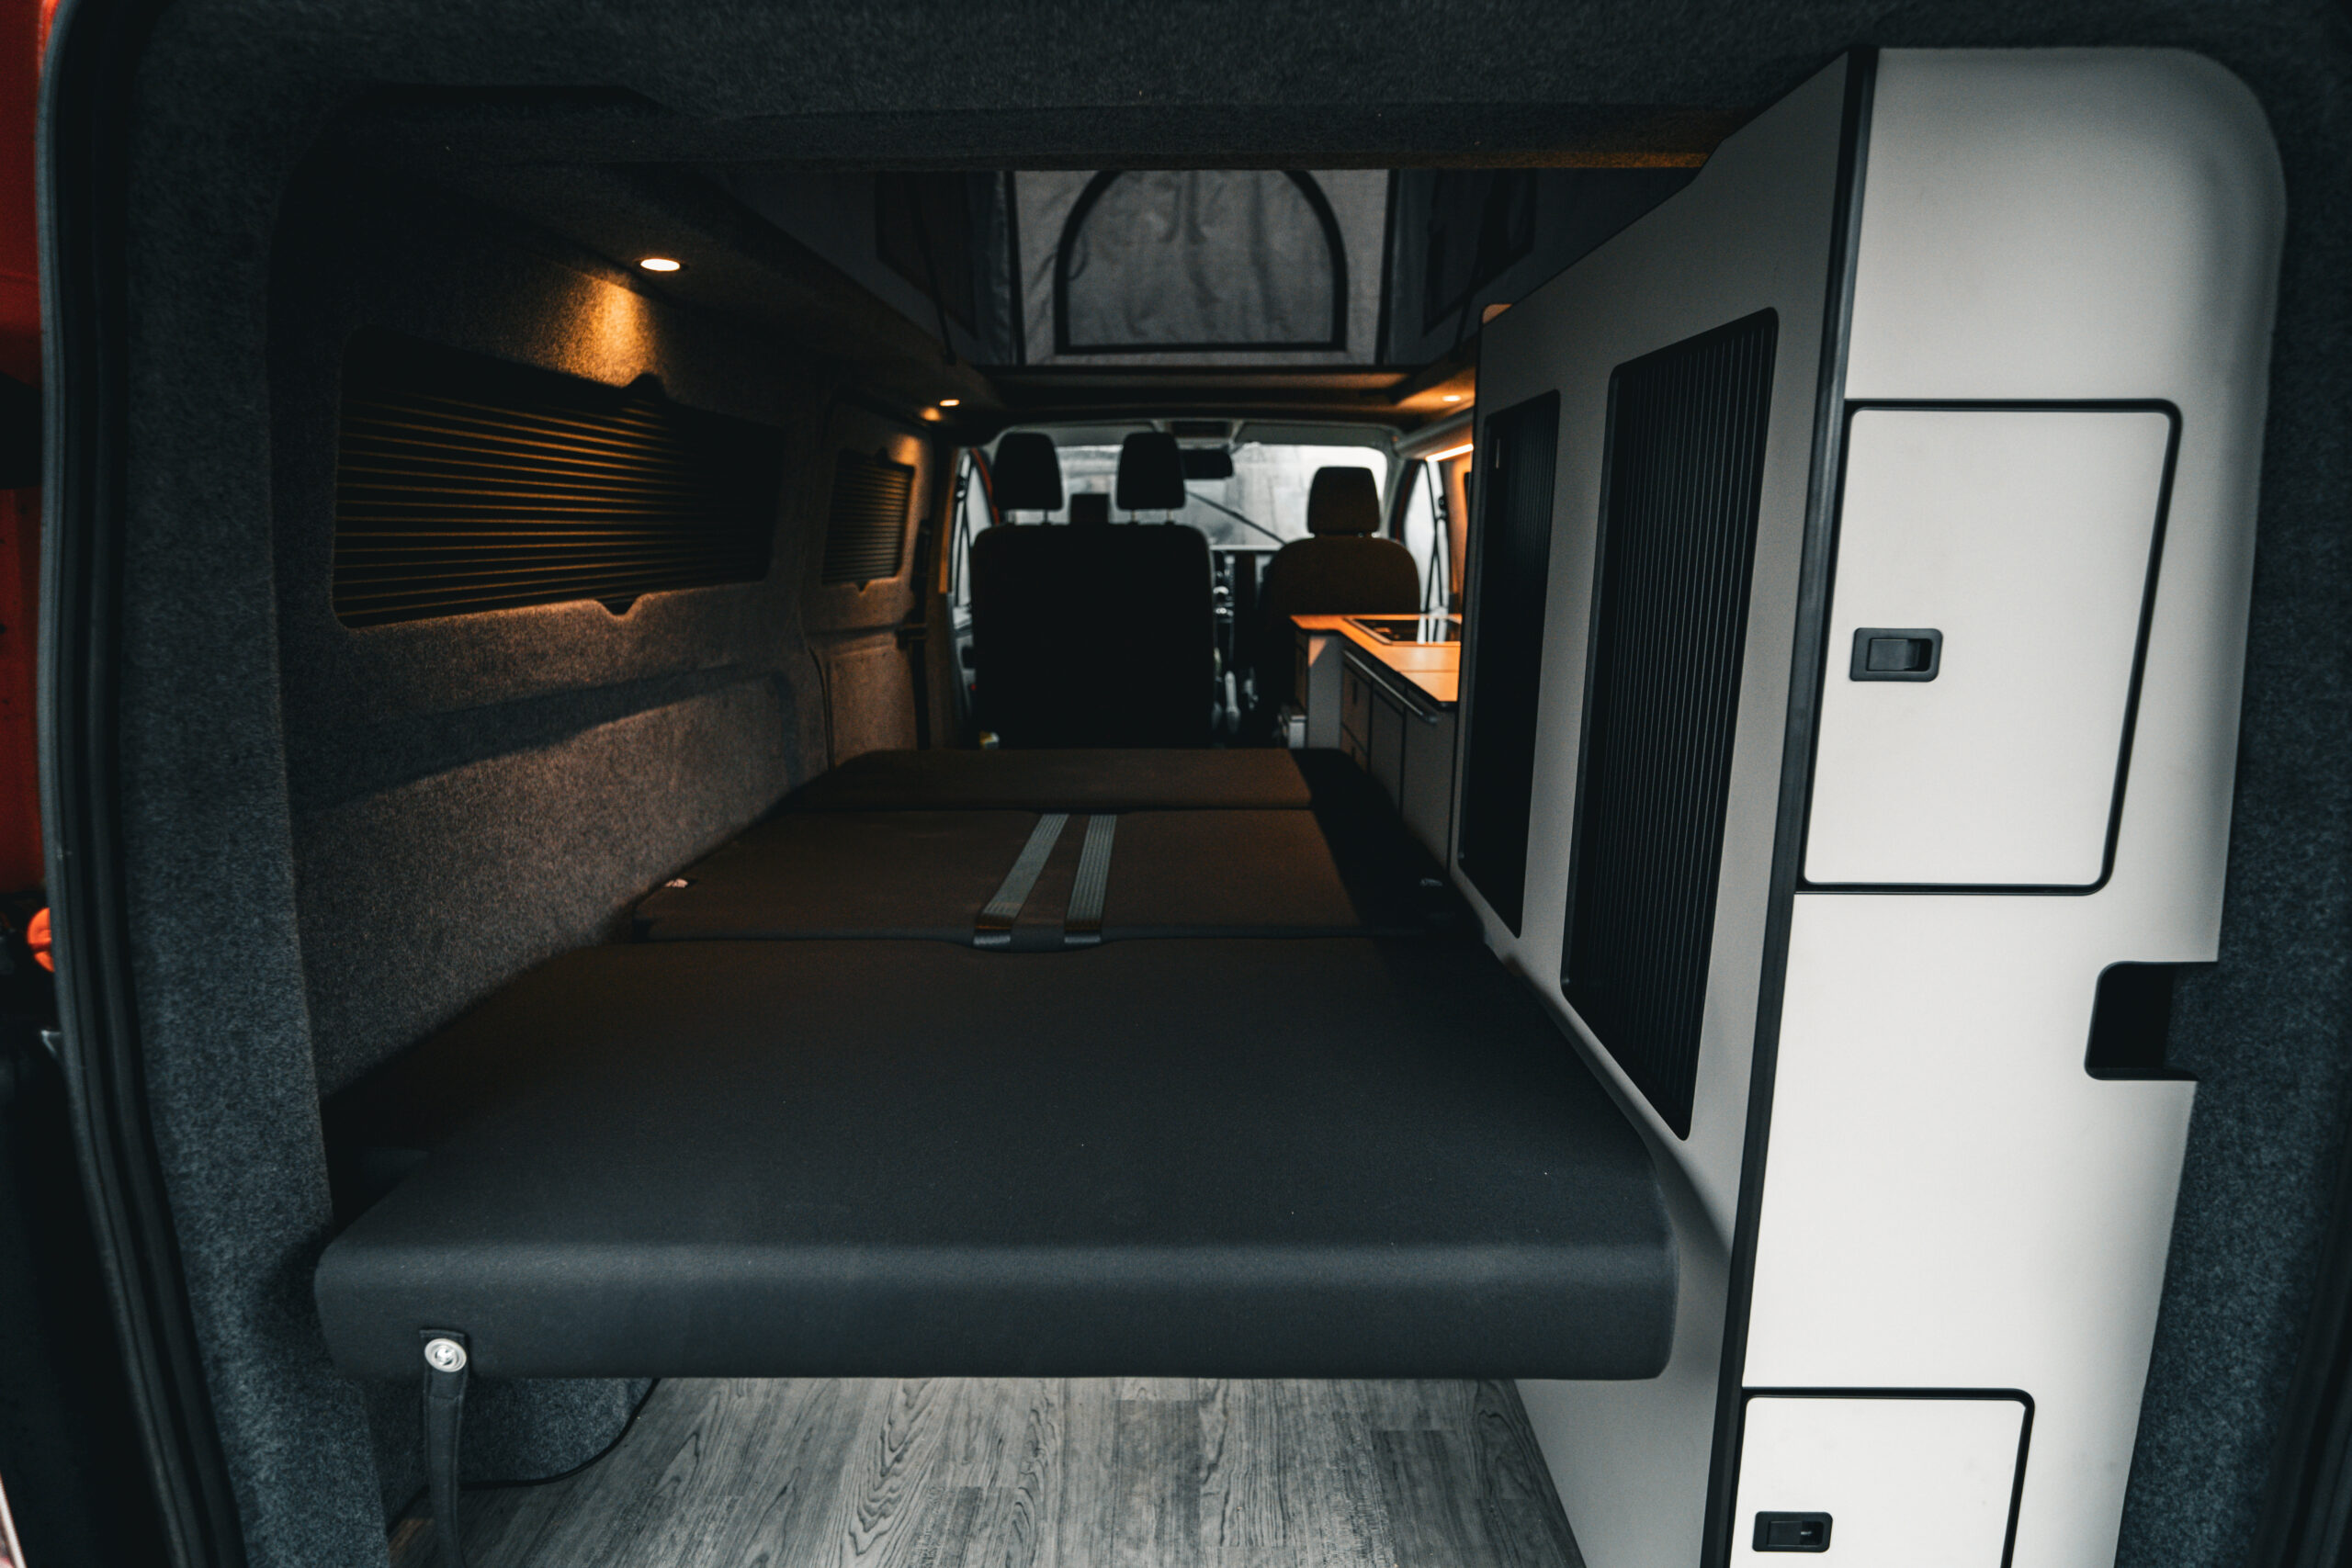
DIY VW Transporter Pop-Top Roof: Mistakes We See Everyday
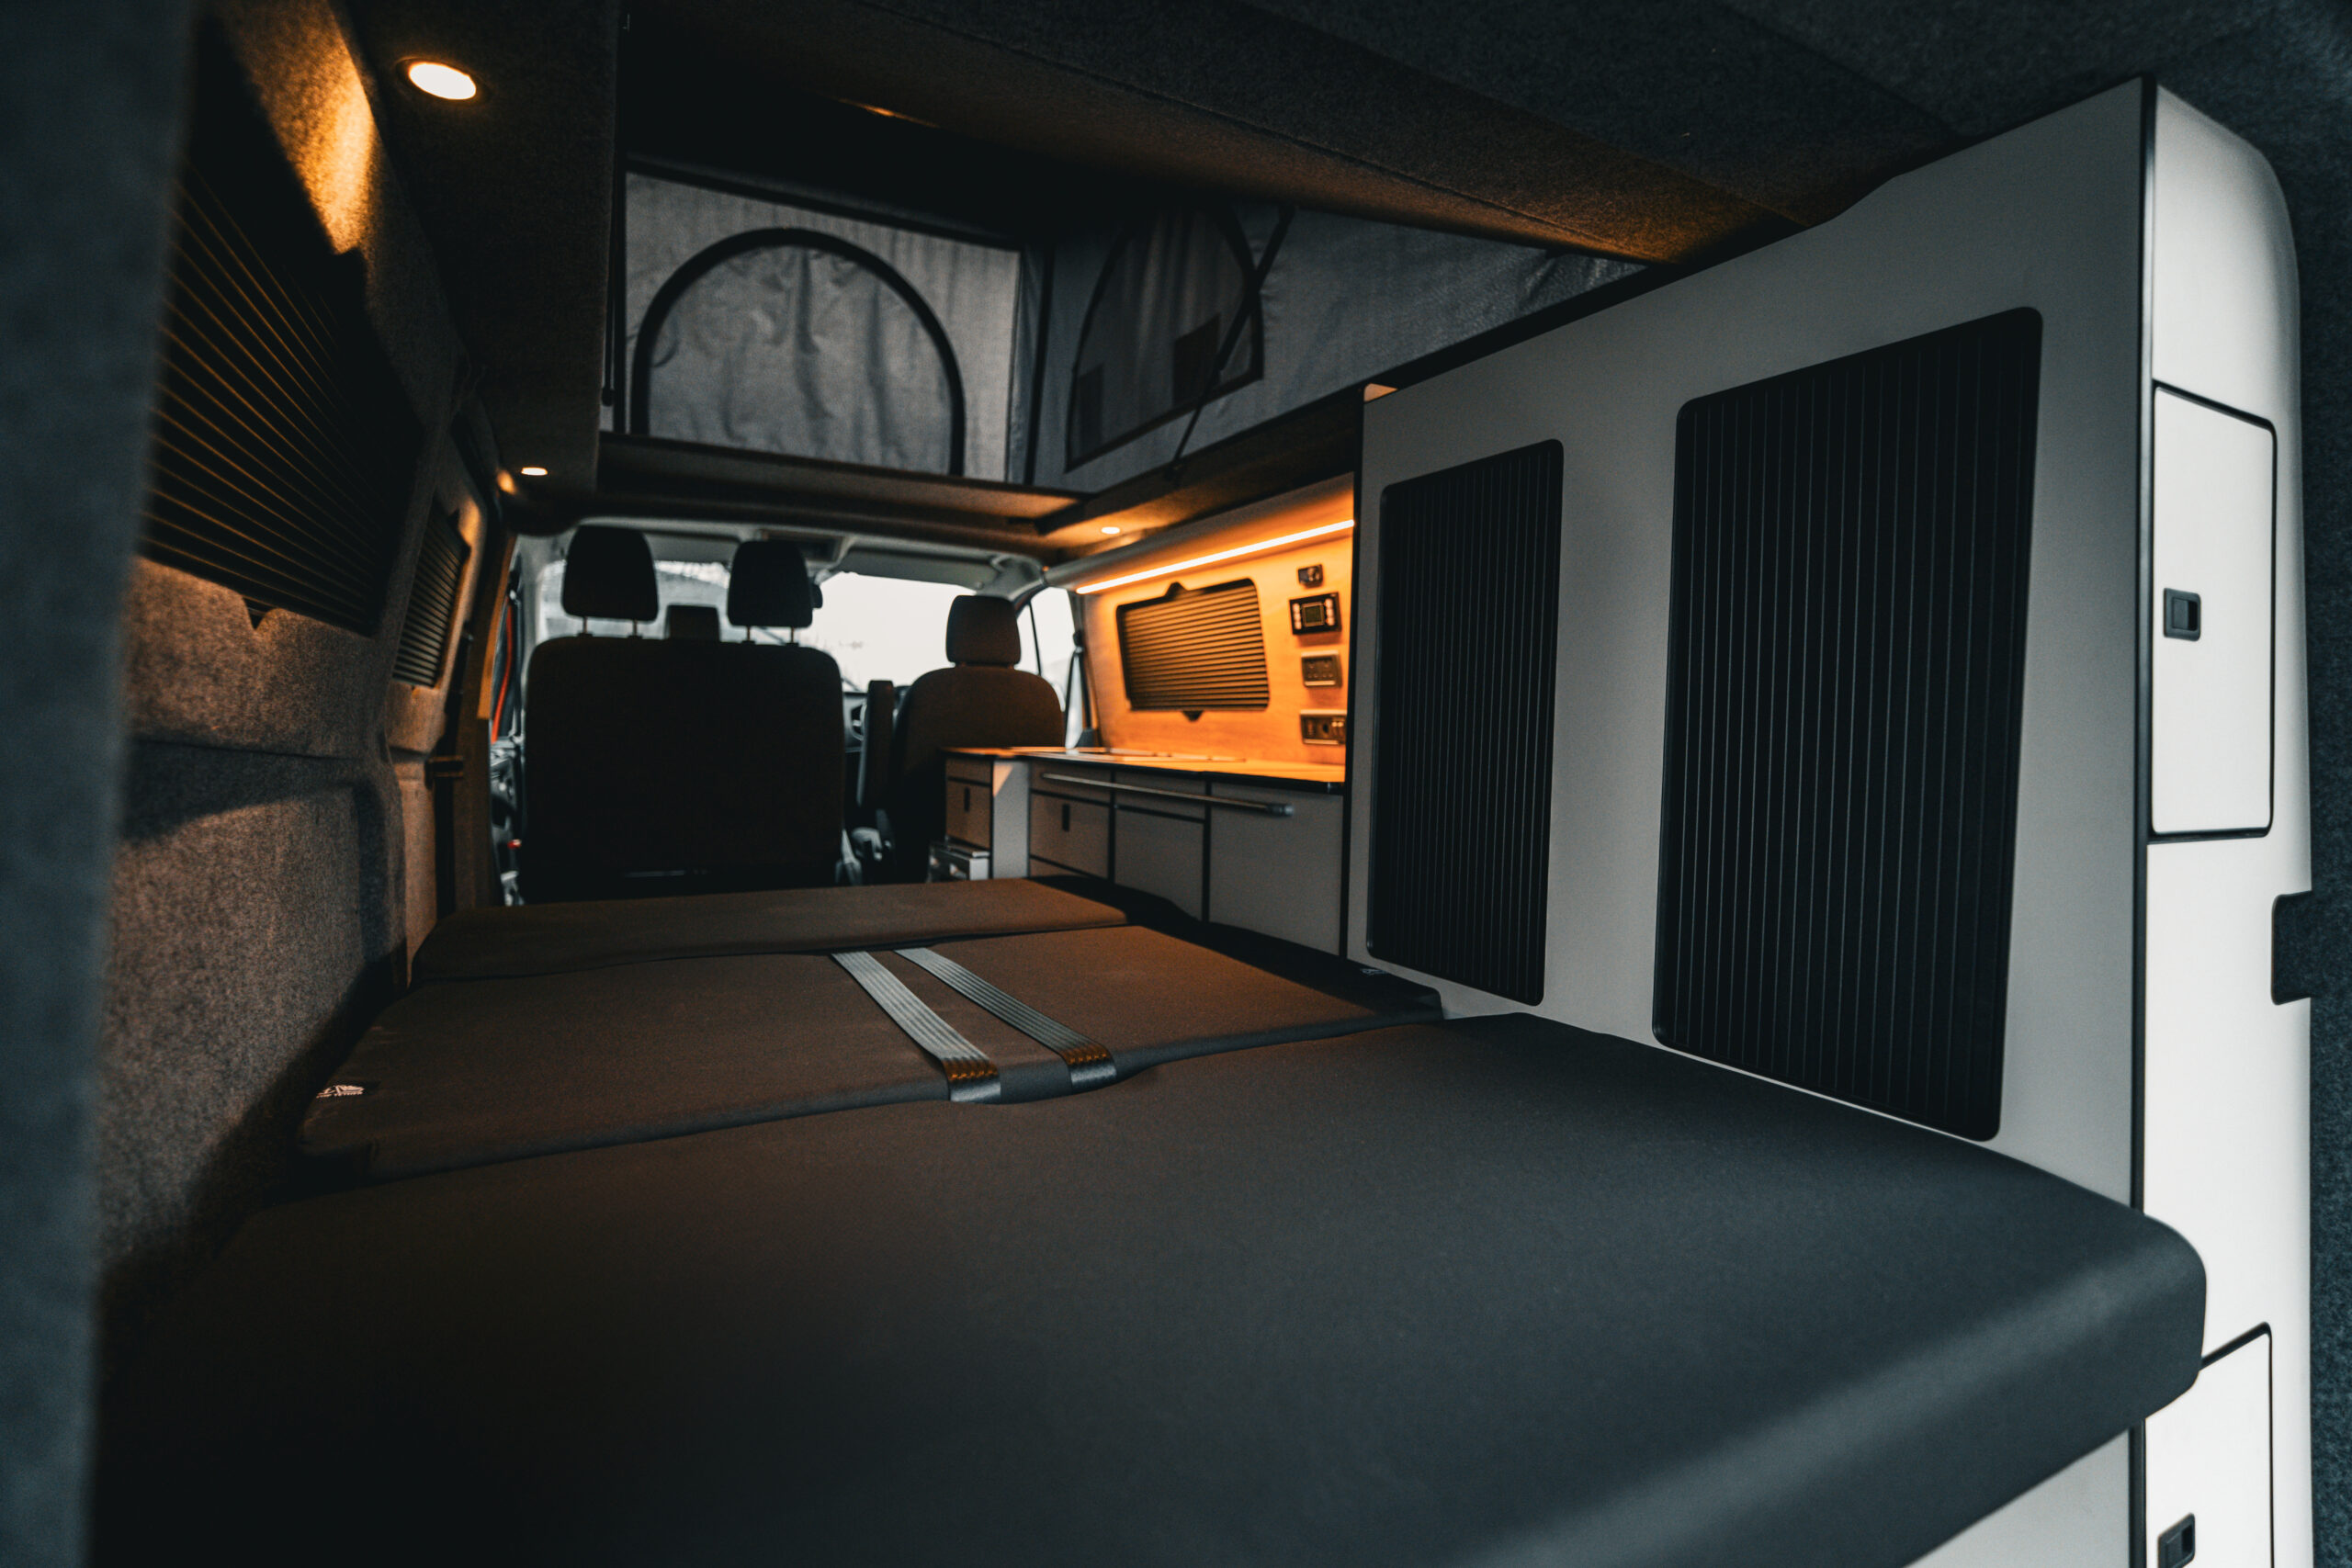
There’s nothing quite like the freedom of hitting the open road in a camper van, and adding a pop-top roof to your VW Transporter is one of the best ways to make the most of van life. In my experience as a professional campervan converter, a pop top is the most important upgrade that makes your van feel like home.
But while installing a pop-top roof yourself can be rewarding, it’s also riddled with potential pitfalls. From measurement mishaps to sealing slip-ups, it’s easy to make mistakes that can cost you time, money, and peace of mind. In my opinion, pop top installation is actually the most complicated (and risky) part of the whole conversion.
That’s why we’ve put together this guide to highlight the most common errors we see every day, and how you can avoid them. Whether you’re planning your first pop-top install or looking to learn from others’ missteps, this blog is here to help!
1. Measurement and Cutting Errors
Believe it or not, you might not be as accurate as you think… Take a look at this photo of how we have to measure up precisely to fit the pop top. If you are even a few millimetres out, then this can cause all sorts of problems like leaks, drafts and more.

Taking time to measure the roof cutting correctly using tape as a guide.
You could misjudge your measurements
When it comes to installing a pop-top roof on your VW Transporter, the saying “measure twice, cut once” couldn’t be more important.
One of the most common mistakes I see is misjudging measurements. It might seem straightforward, but all it takes is one misplaced mark or a rushed measurement to create problems like gaps, misalignment, or even cutting away more material than you intended.
There are some very important wires in your van, and if you misjudge and cut through one of these, it’s going to be a very costly mistake.

Wires that must be avoided not to cut through.
You might make a crooked cut on your van roof
Crooked cuts are another issue that pops up (no pun intended). If you’re not used to using power tools, it’s surprisingly easy to stray from a straight line while cutting.
This can lead to edges that don’t match up properly, making it tricky to attach the pop-top securely and leaving you with a frustrating headache to fix. In the end, this could actually end up costing you more than you realise. You only have the option to cut once, and if it’s crooked then you might be leaving your pop top prone to problems.
Simply cutting too much of your roof away
This is probably the most serious error you can make – cutting away too much. This isn’t just an inconvenience, it can compromise the structural integrity of the roof. Keeping a VW transporter roof strong and secure is key to making it road-ready and safe for your adventures.
So, if you’re tackling this DIY project, take your time, double-check those measurements, and don’t rush the cutting. It’ll save you a lot of trouble in the long run.
Seriously, if you do take away too much, you may need to consider a serious professional fix, or buying an entire new van altogether. I call this, ‘the dreaded overcut’. It’s a nightmare for all, including me when customers come to ask me to fix it.
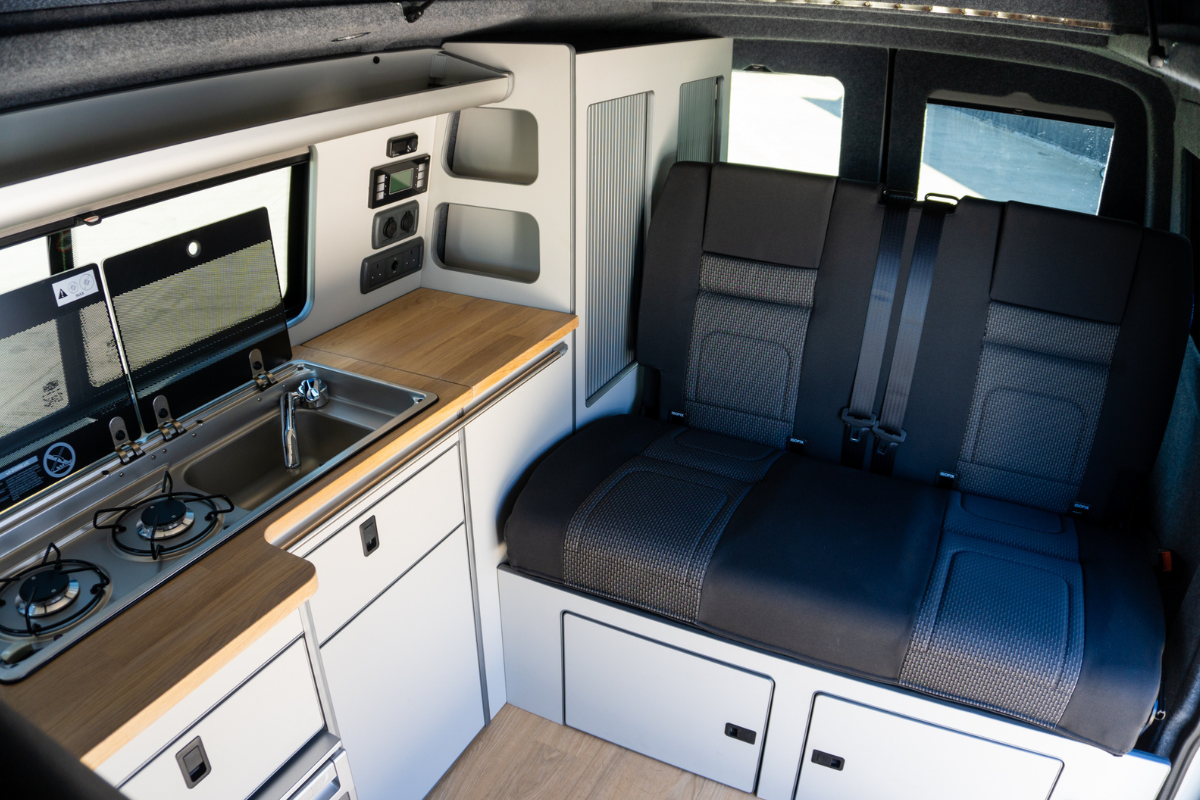
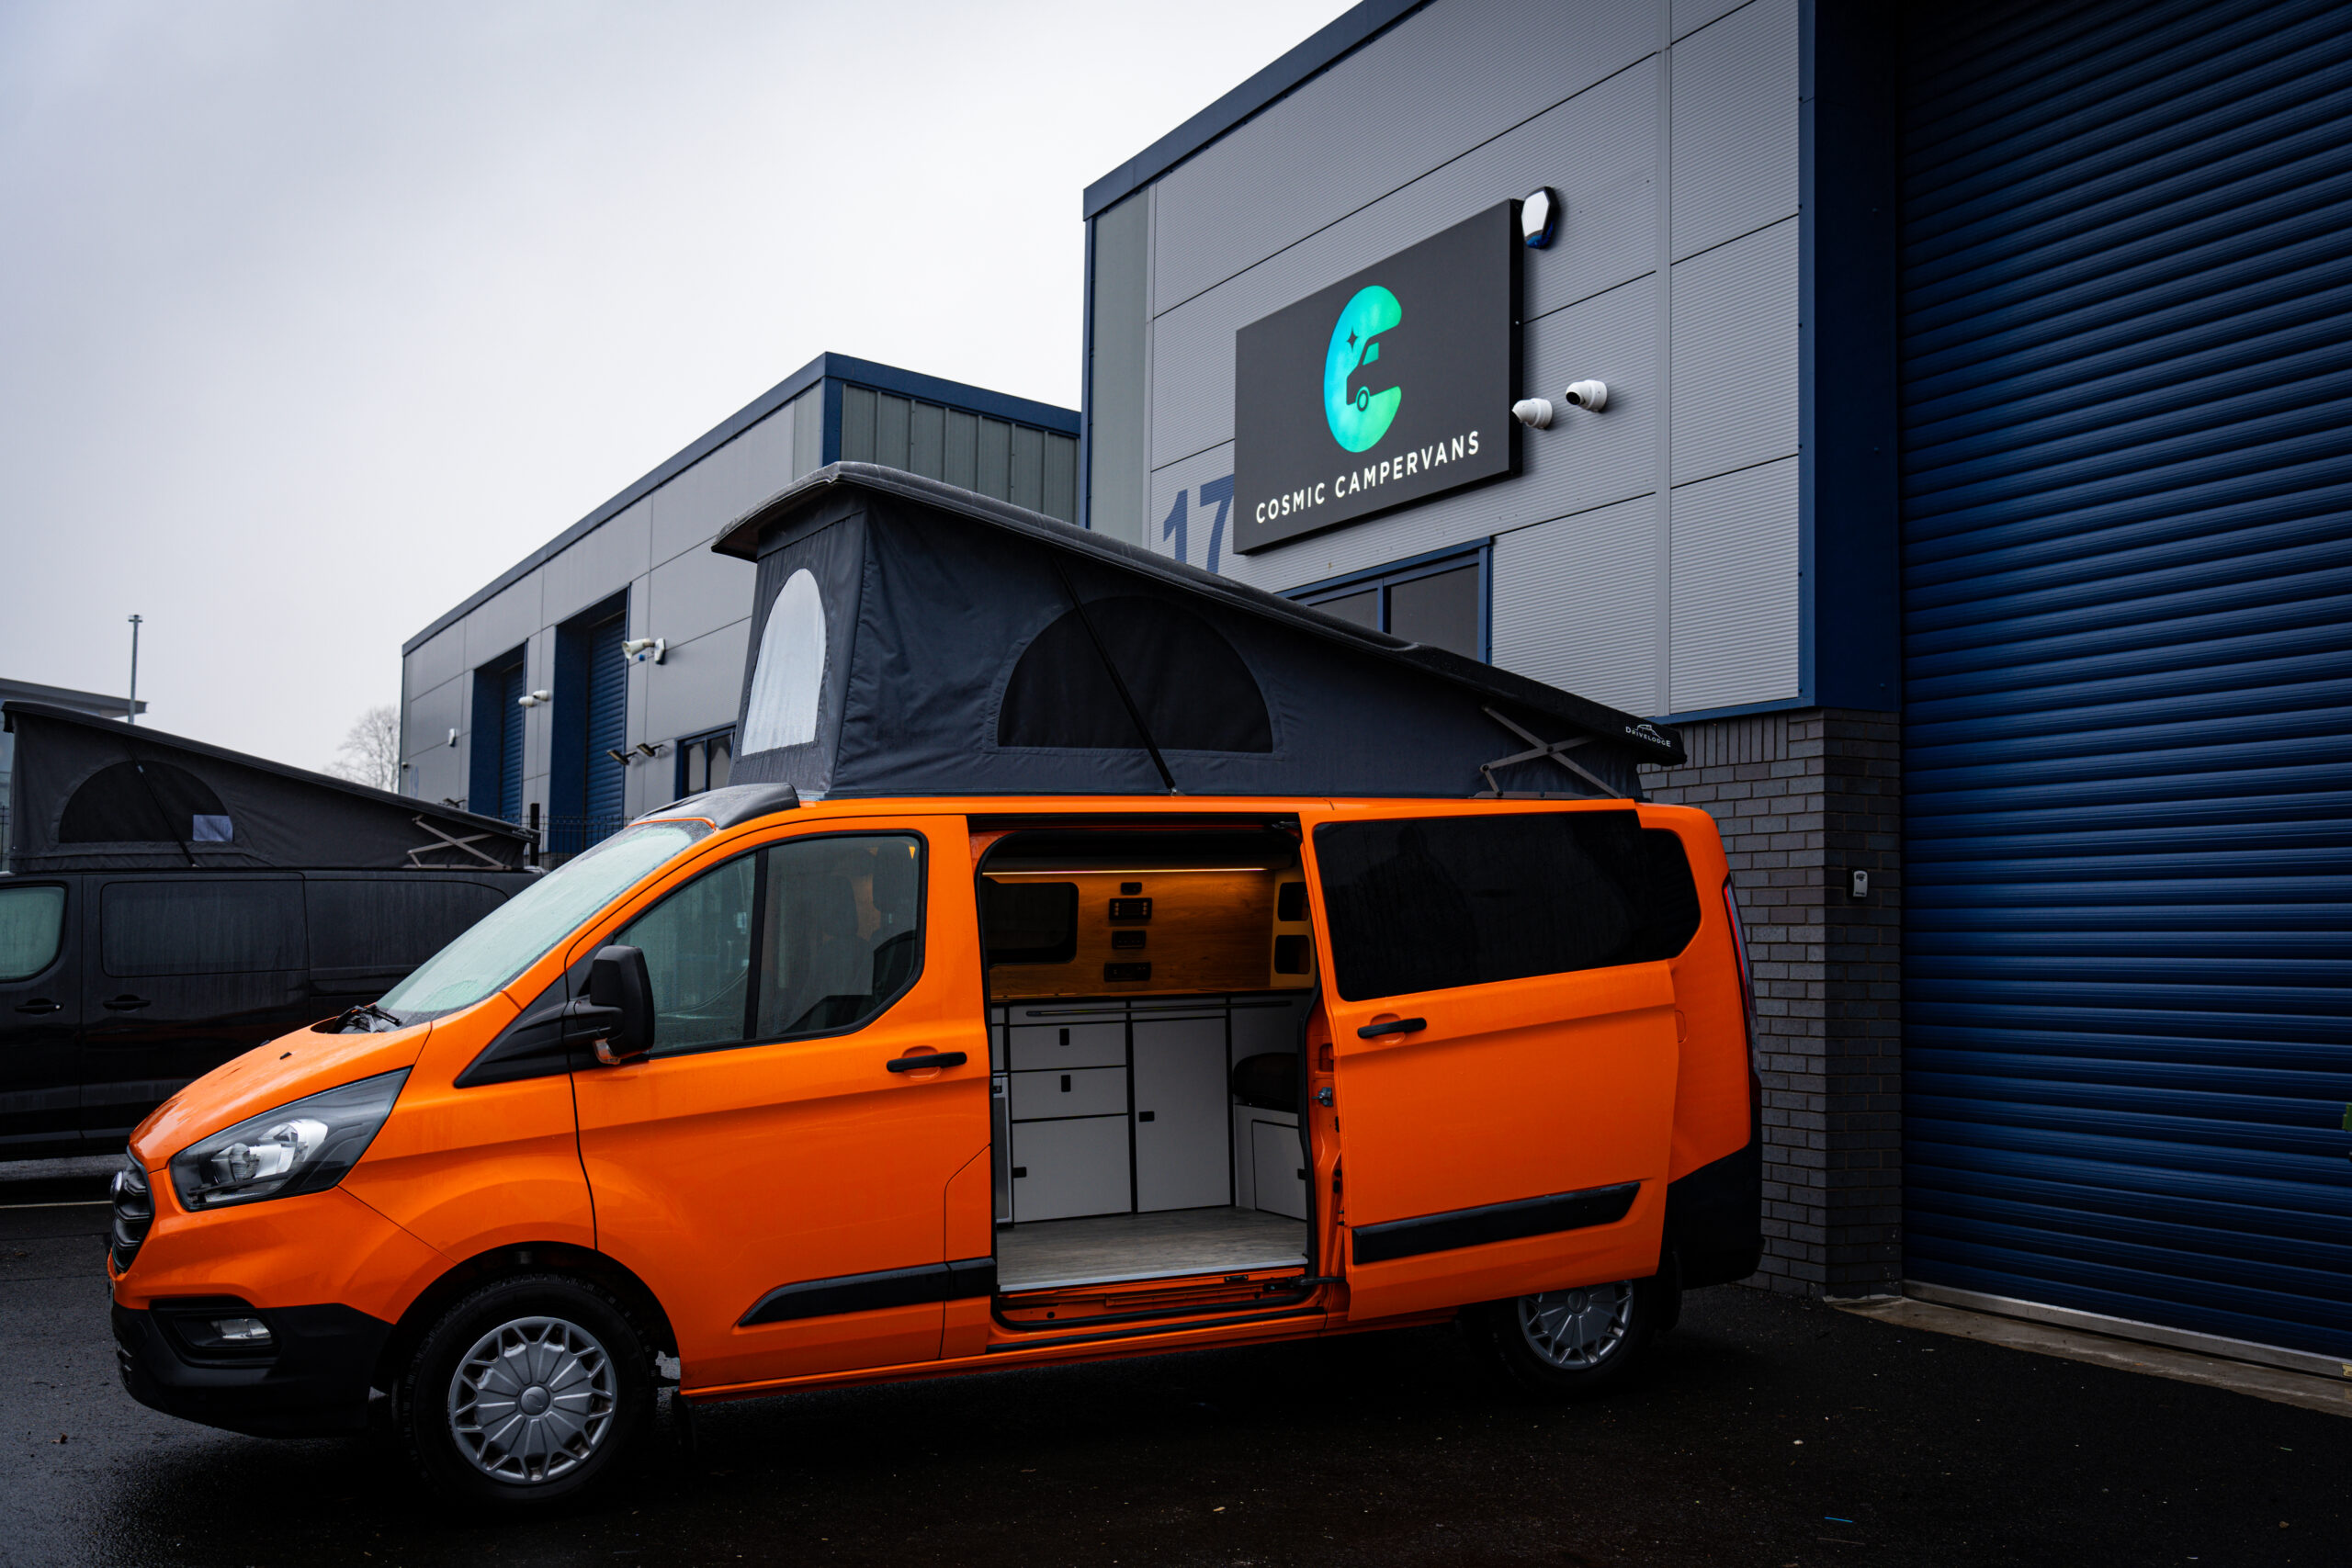
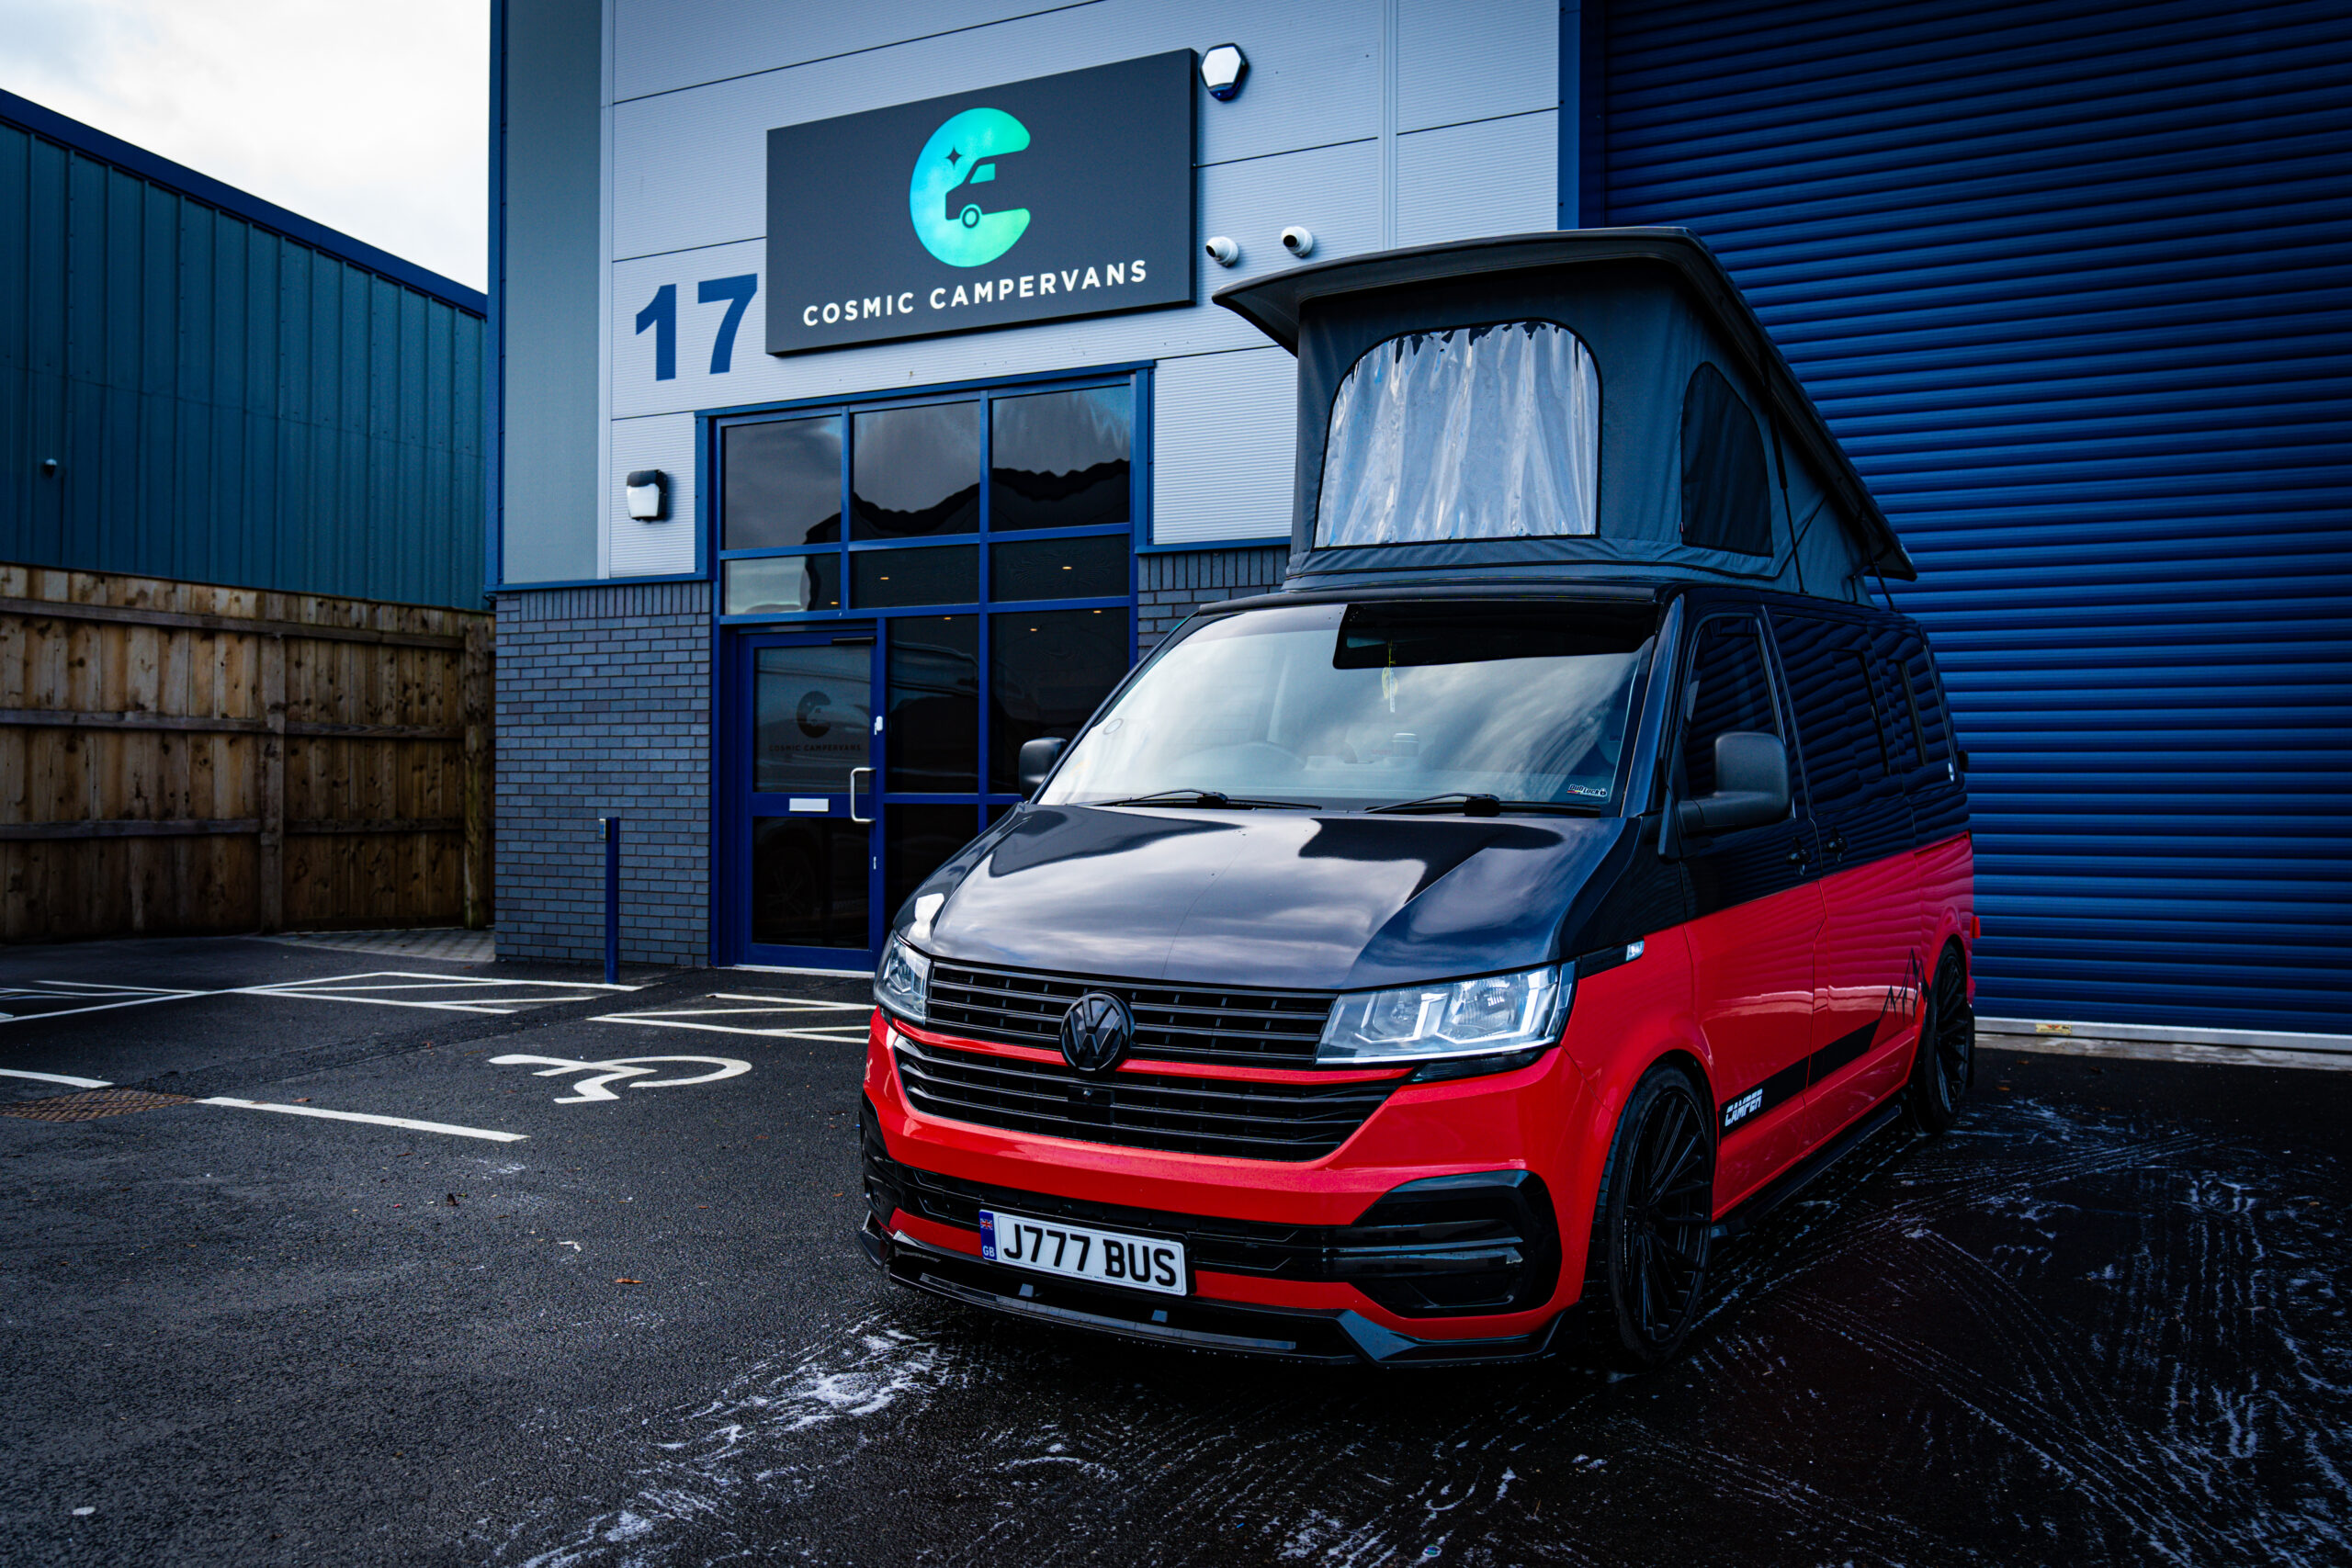
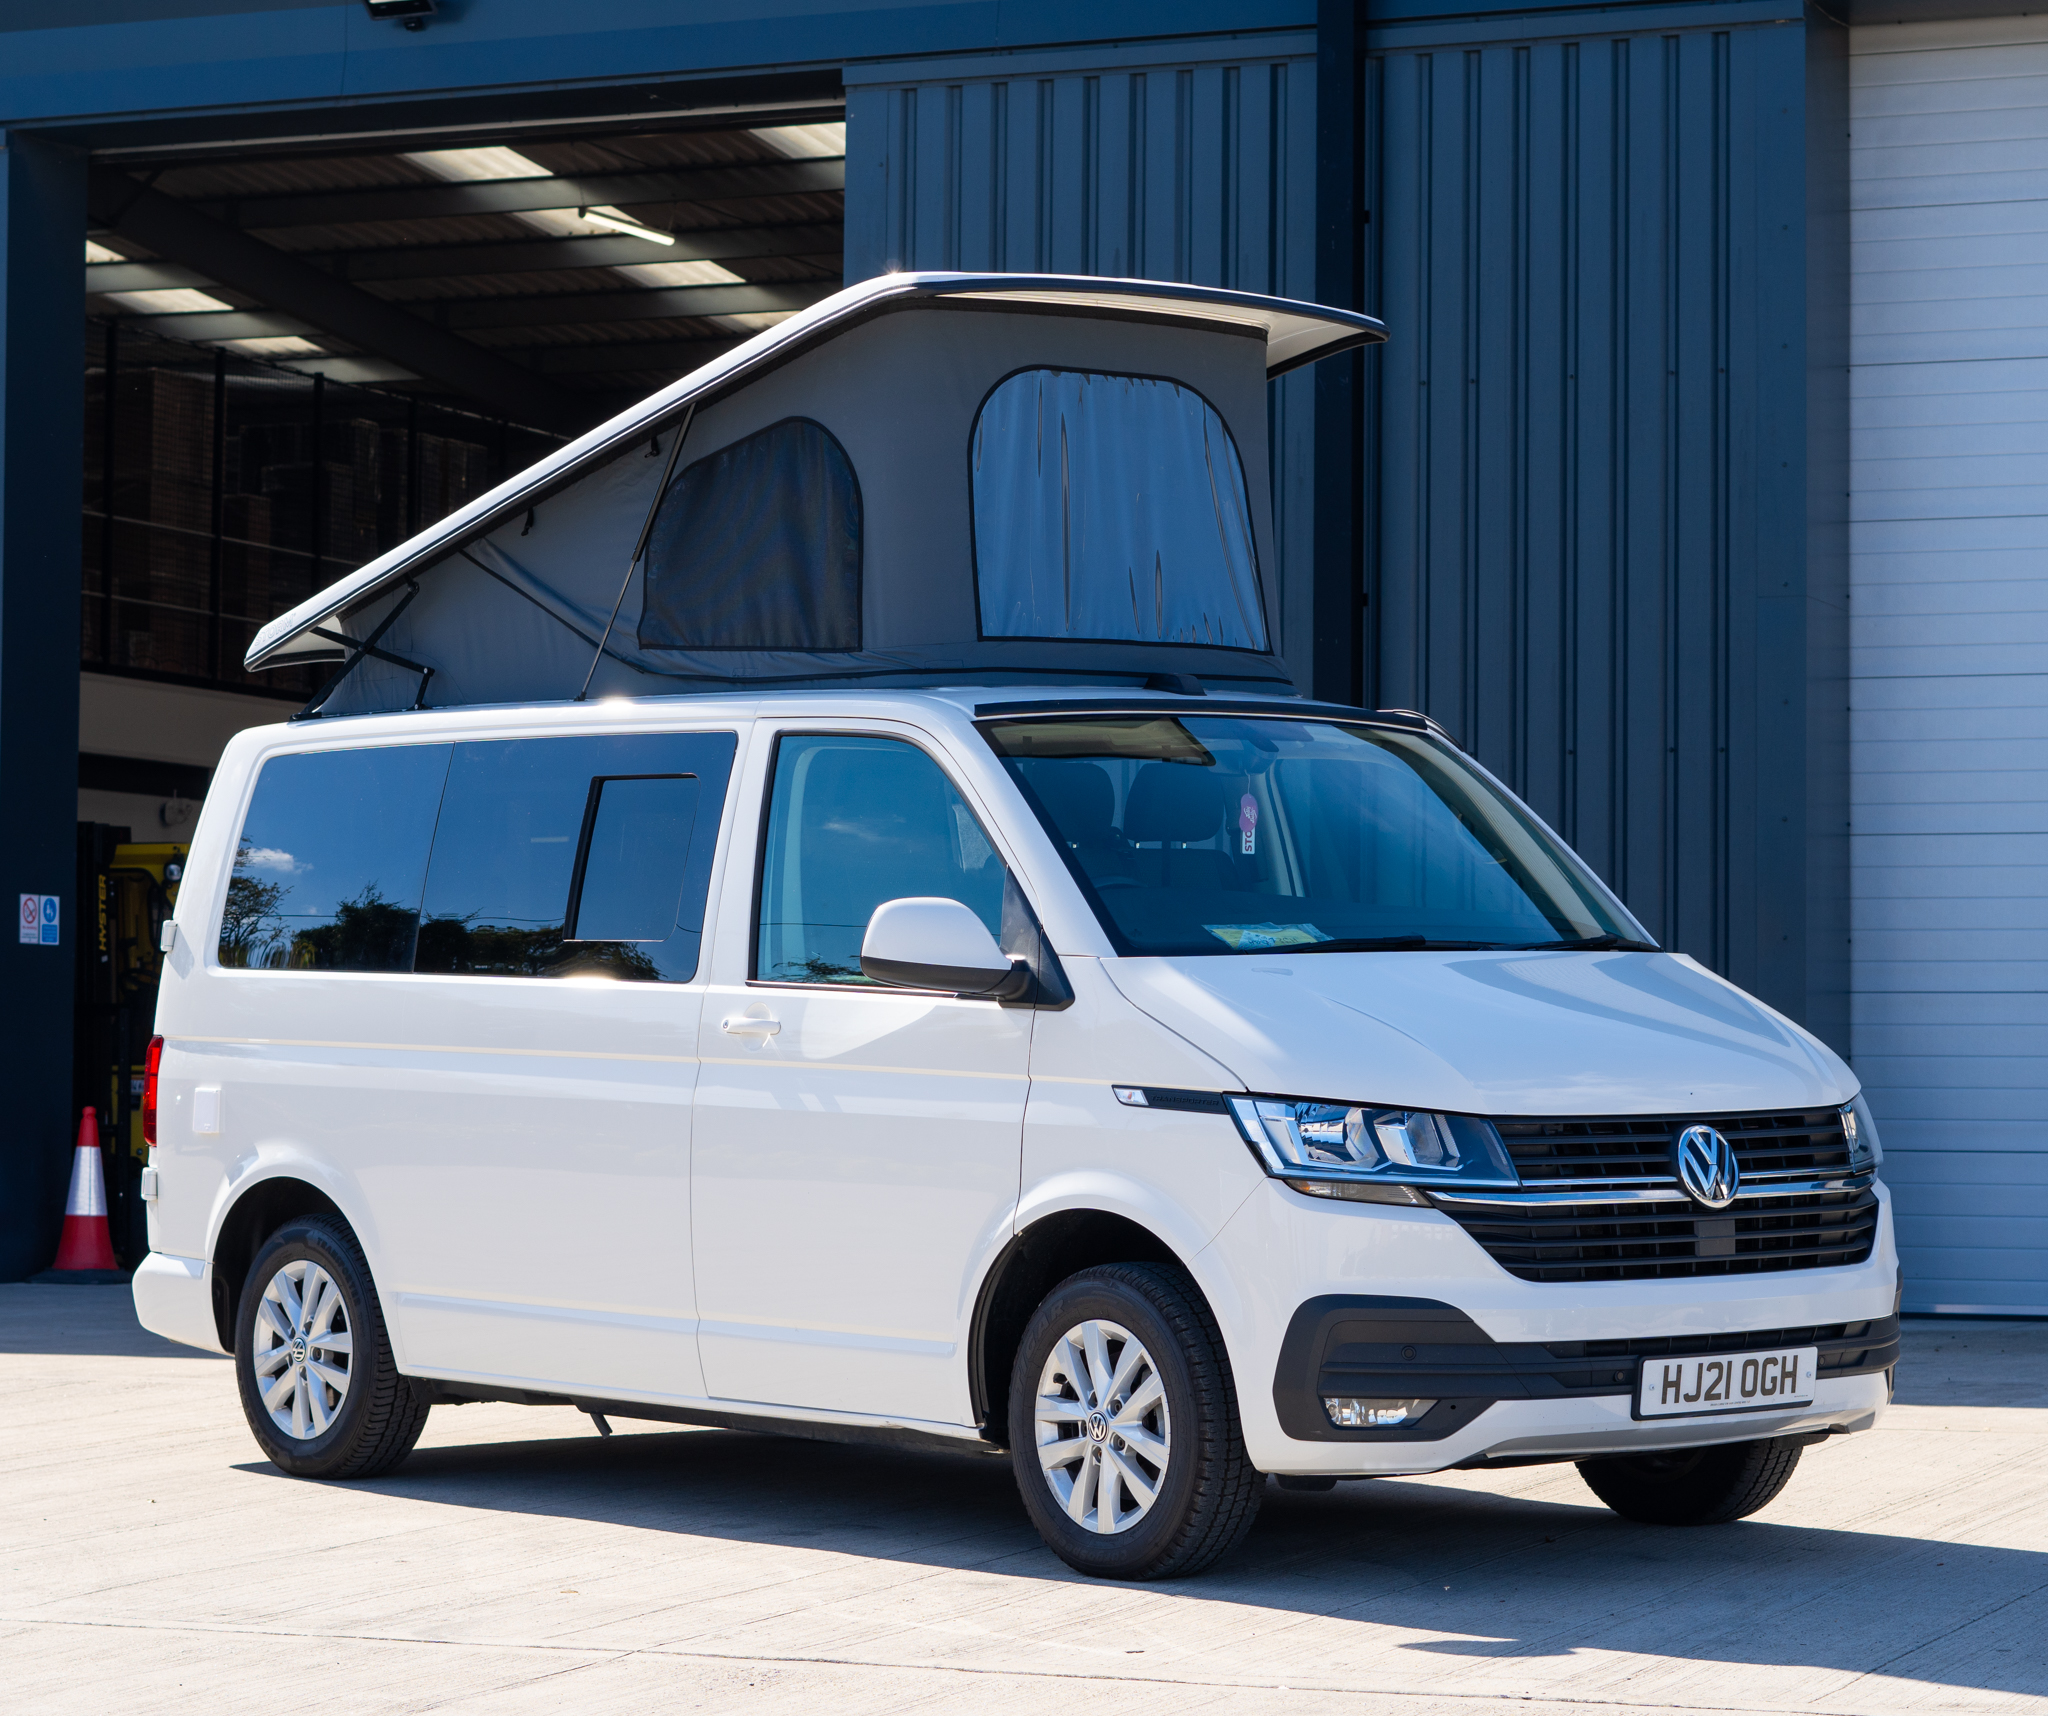
Transform Your VW into the Ultimate Camper
Save yourself the headache and let us do the heavy lifting! We’ve converted over 500+ VW Transporters.
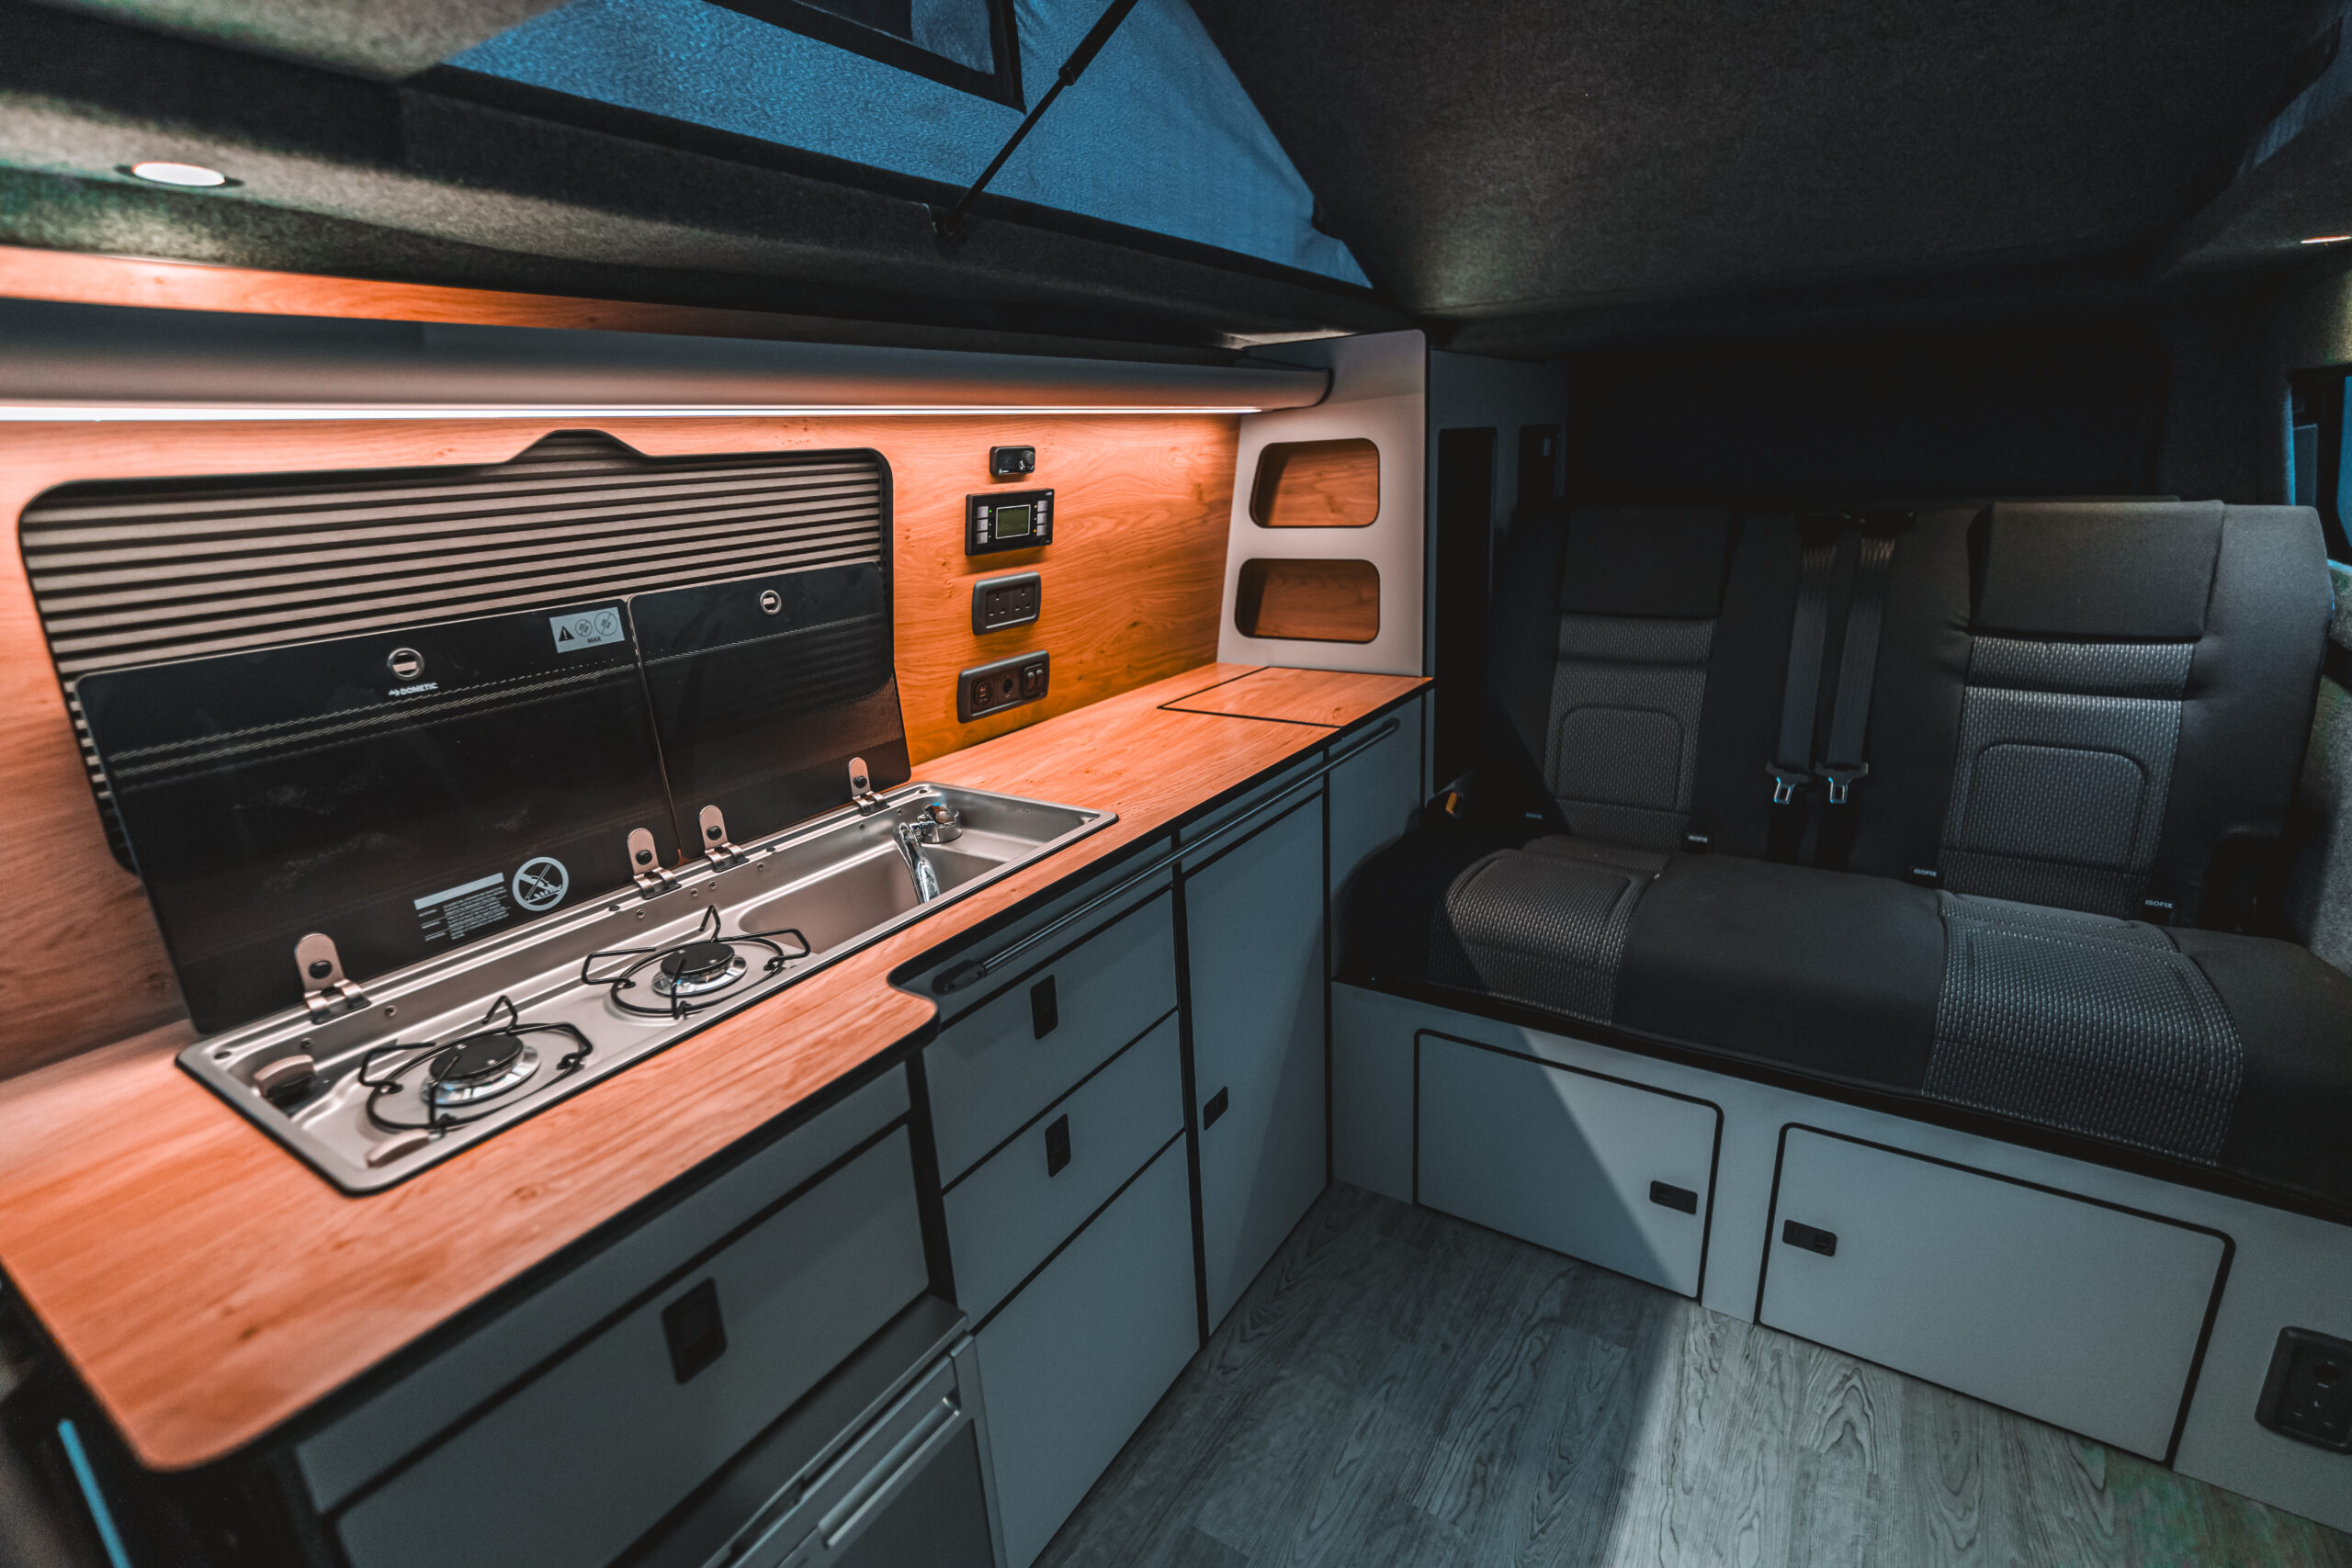
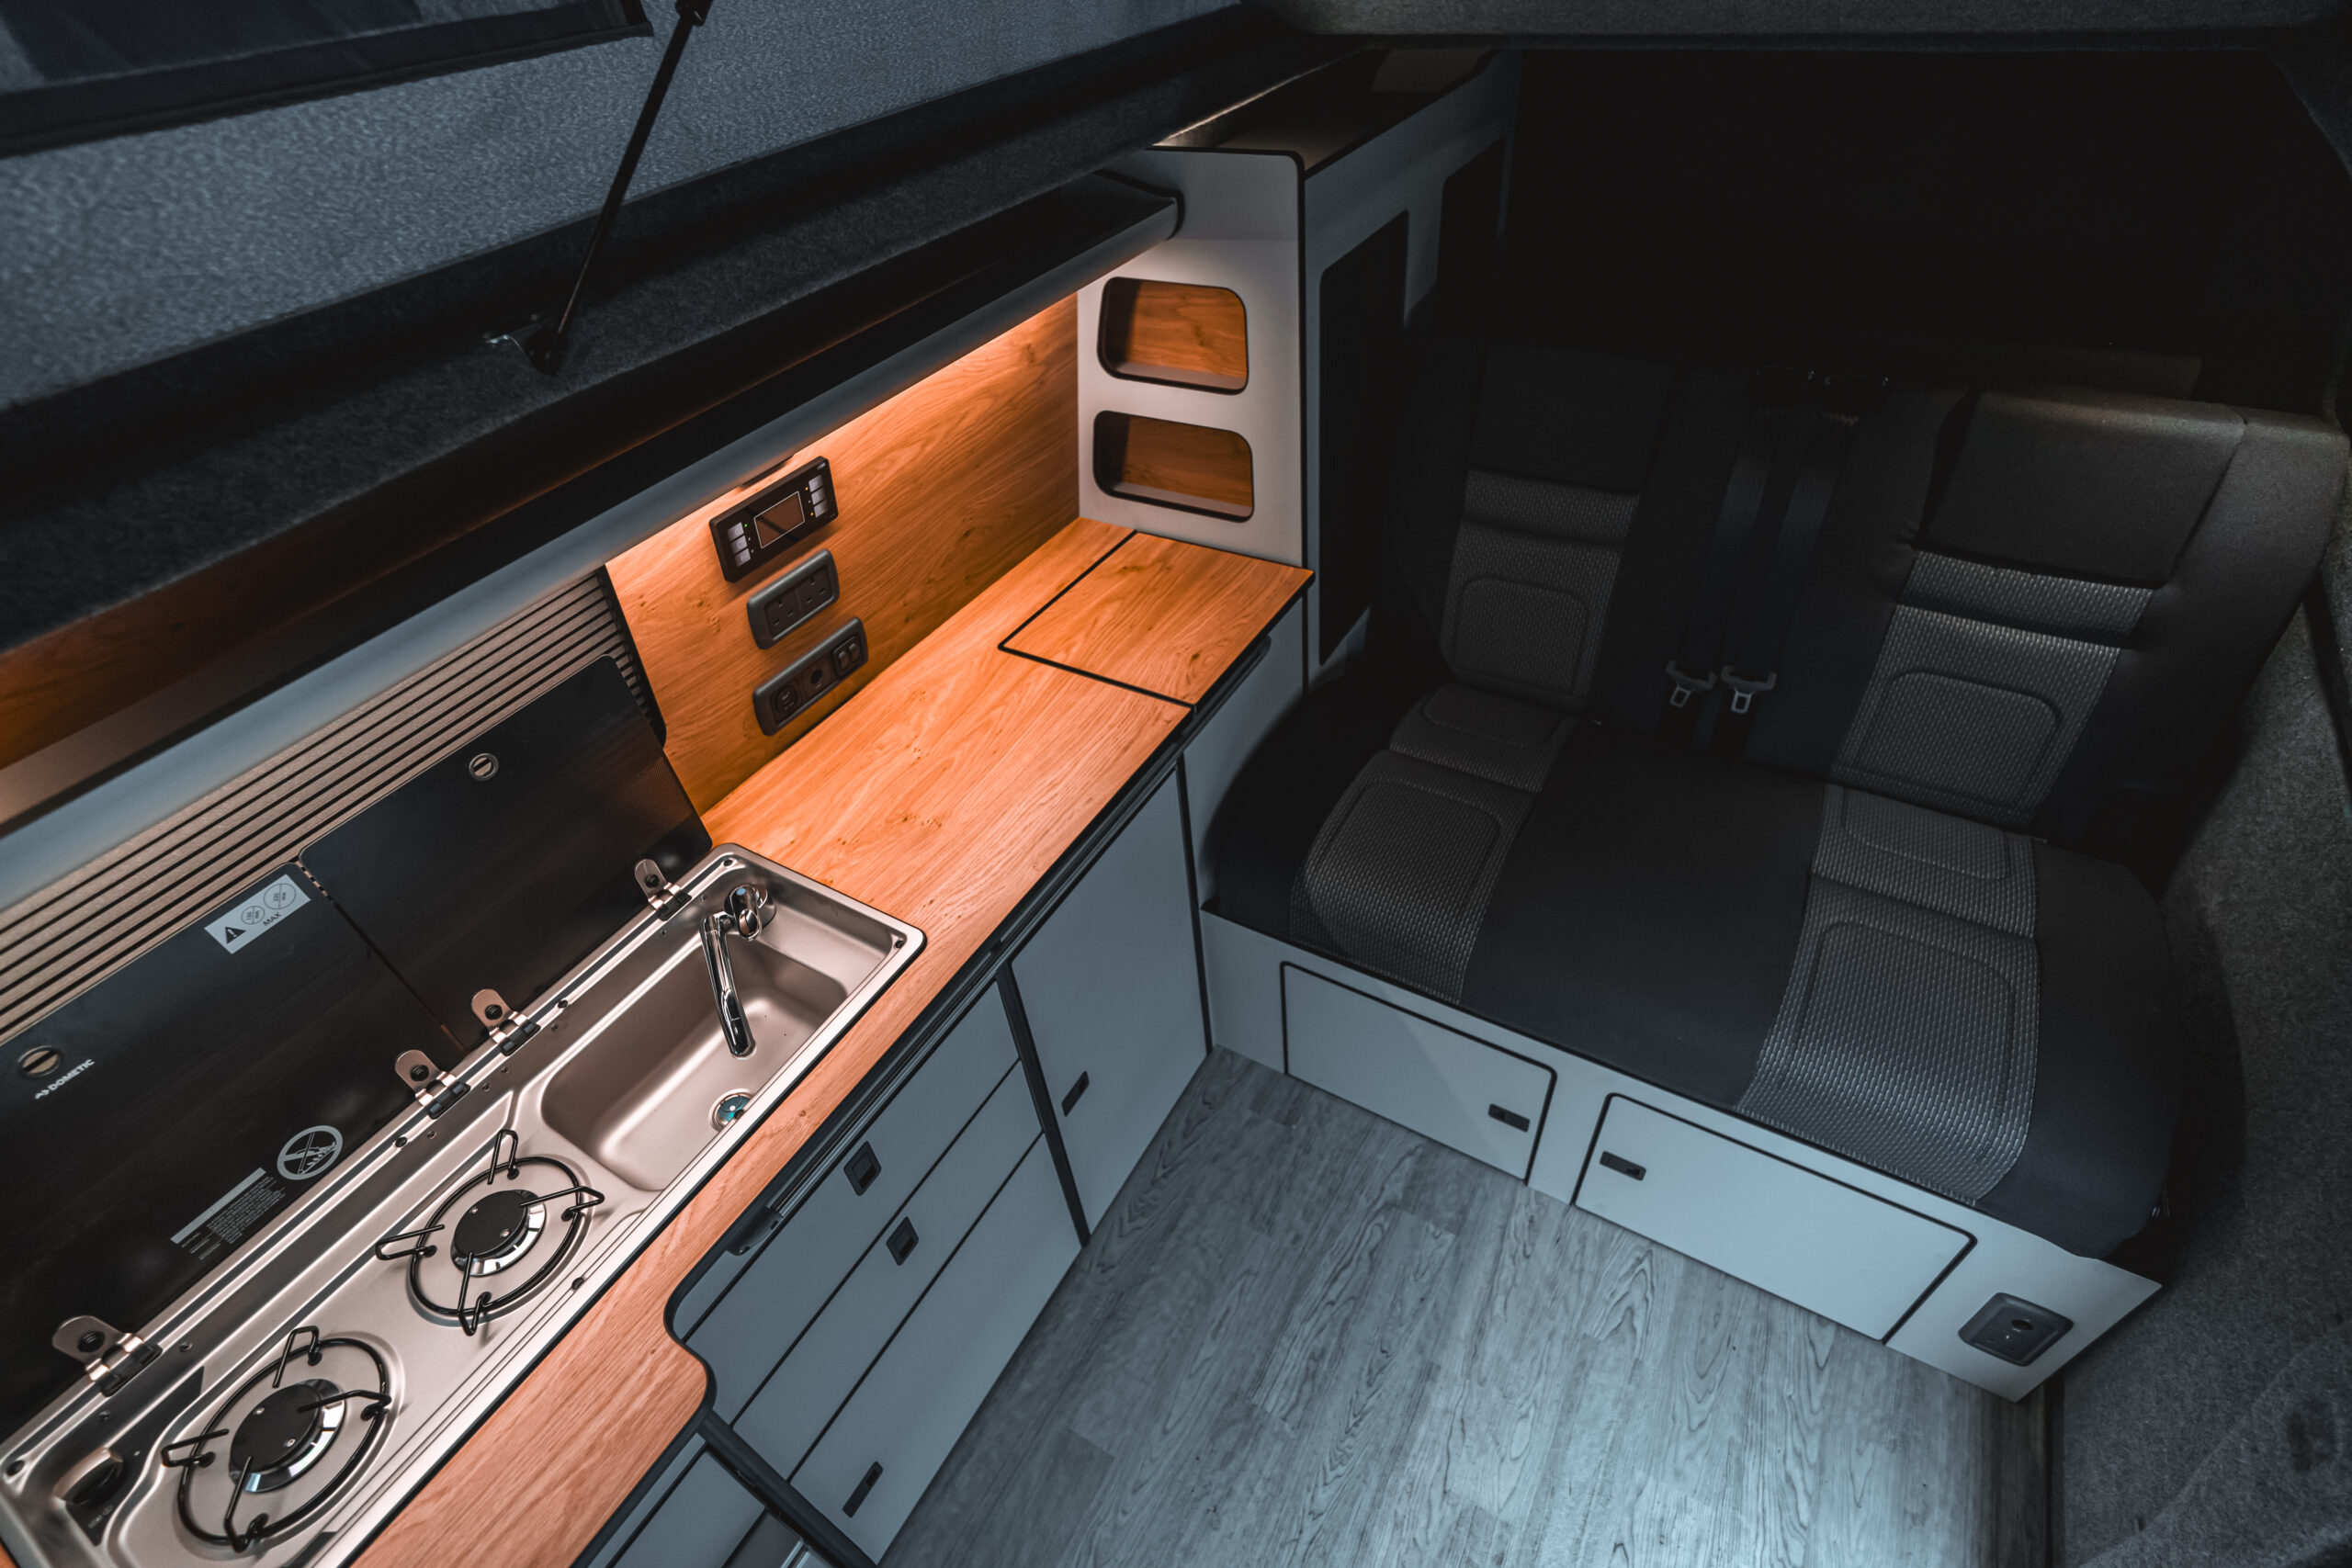
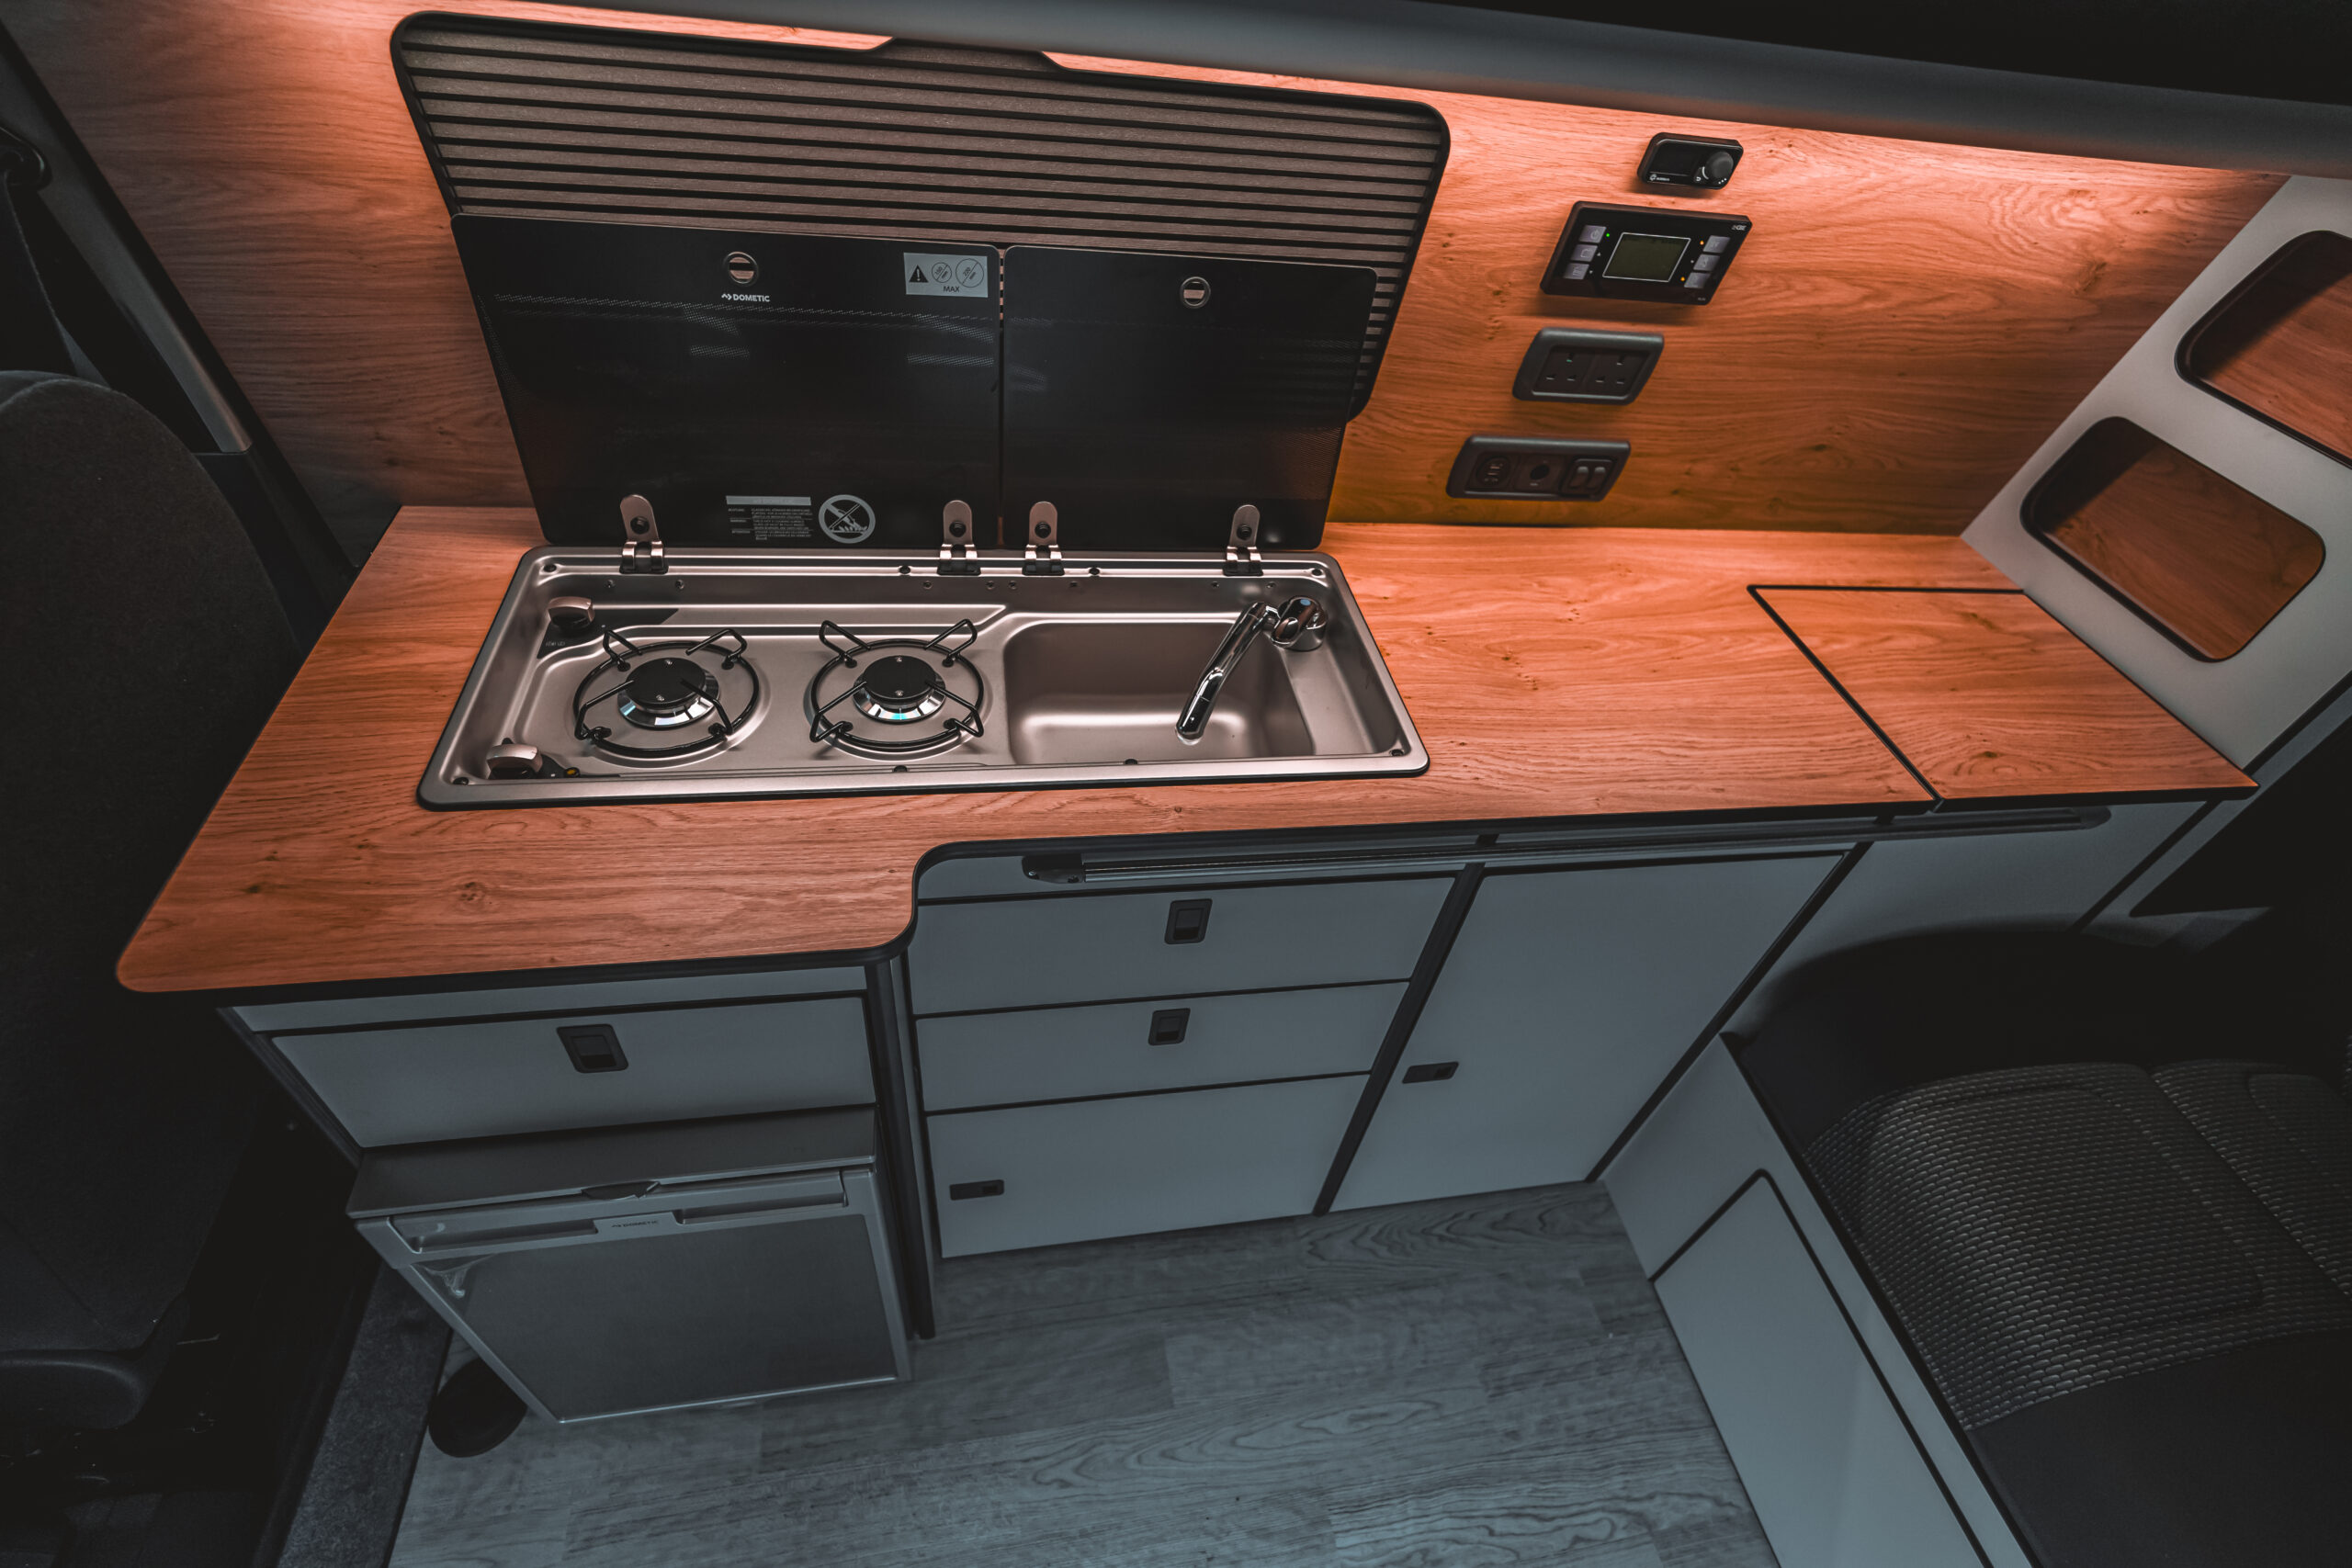
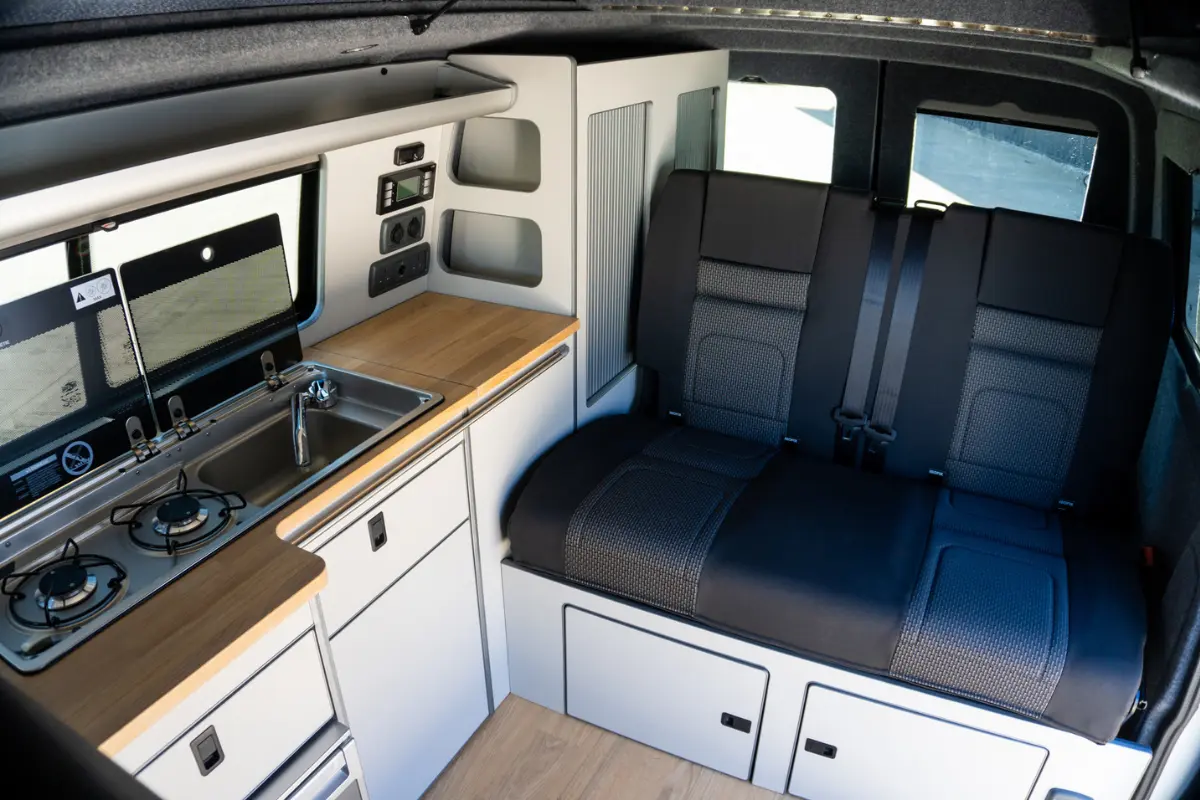
2. Incorrect Sealing and Weatherproofing
When you’re adding a pop-top roof to your VW Transporter, sealing and weatherproofing are crucial steps that can make or break the project (We all basically know this right?). Unfortunately to say, there are plenty of pitfalls that DIYers fall into, and these can cause serious headaches down the road.
I’ve seen firsthand how annoying leaks are in your new van. Not long ago, I saw a client who had spent £2,000 on a pop-top and installed it himself. Unfortunately, he did a bad sealant job and within 18 months the leaks had gotten so bad he needed a new pop top – which cost him another £5000.
Water got into the van, ruined the carpet, and even damaged the furniture. It was a disaster and led to some very costly camper van repairs. Trust me, if there’s one thing that can ruin your van life dreams, it’s leaks.
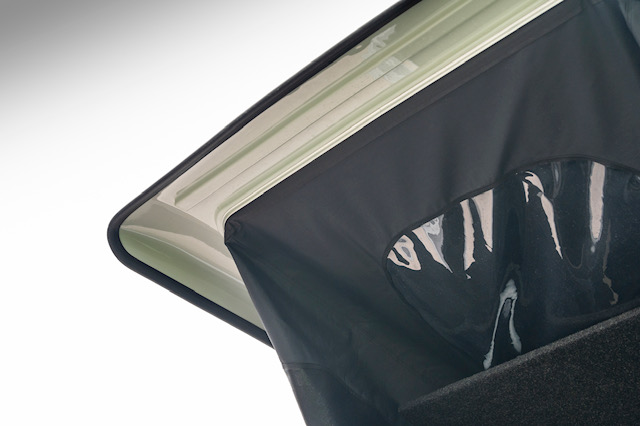
Not applying your sealant properly
One of the most common issues is simply not using enough sealant or failing to apply it thoroughly. If even a small gap is left unsealed, water can creep in, leading to leaks. Even the tiniest openings around screws, edges, or brackets can cause major trouble if ignored.
To be honest, it’s difficult for people without experience to know what to seal and what to not, how much to use or how little to use. You get where I’m coming from.
And if you think that’s bad, it gets worse – too little silicon can also mean your pop-top frame squeaks or rattles as you’re driving, which will drive you nuts on long road trips.
Taking the time to apply the right amount of sealant and covering all gaps is a must. Be very careful not to use too little, or use too much as this can really cause some problems later for your van, and maybe even mean you need a new roof in the future.

Correctly and safely applying high quality sealant to the rivet holes.
Using the wrong sealant
Not all sealants are created equal! Picking one that isn’t flexible or weatherproof is a big mistake. Remember, your van is constantly exposed to vibrations, temperature swings, and sometimes harsh weather conditions. If your sealant can’t handle all that, you’ll end up with cracks or gaps where water can sneak in.
I always stick with Sika (Sikaflex) for the sealant that we use as we find it highest for performance and long lasting. Again, this goes back to buying cheap, buy twice. Don’t buy a cheap brand or it might only last a few years, or even just a few months… (I’ve seen it happen).
Skipping prep work to prevent roof rust
This one’s a biggie. After you’ve cut the roof hole but before you fit the pop-top frame, you need to prep the exposed metal with a rust preventer. Skipping this step can lead to rust forming under the pop-top.
Even worse, once rust sets in, it can damage the van’s main structure, making it a nightmare to fix. Even replacing the pop-top won’t help at that point because the damage is already done.
Simply put… Don’t let this happen 😅

Here we are prepping the roof to prevent rust after installation.
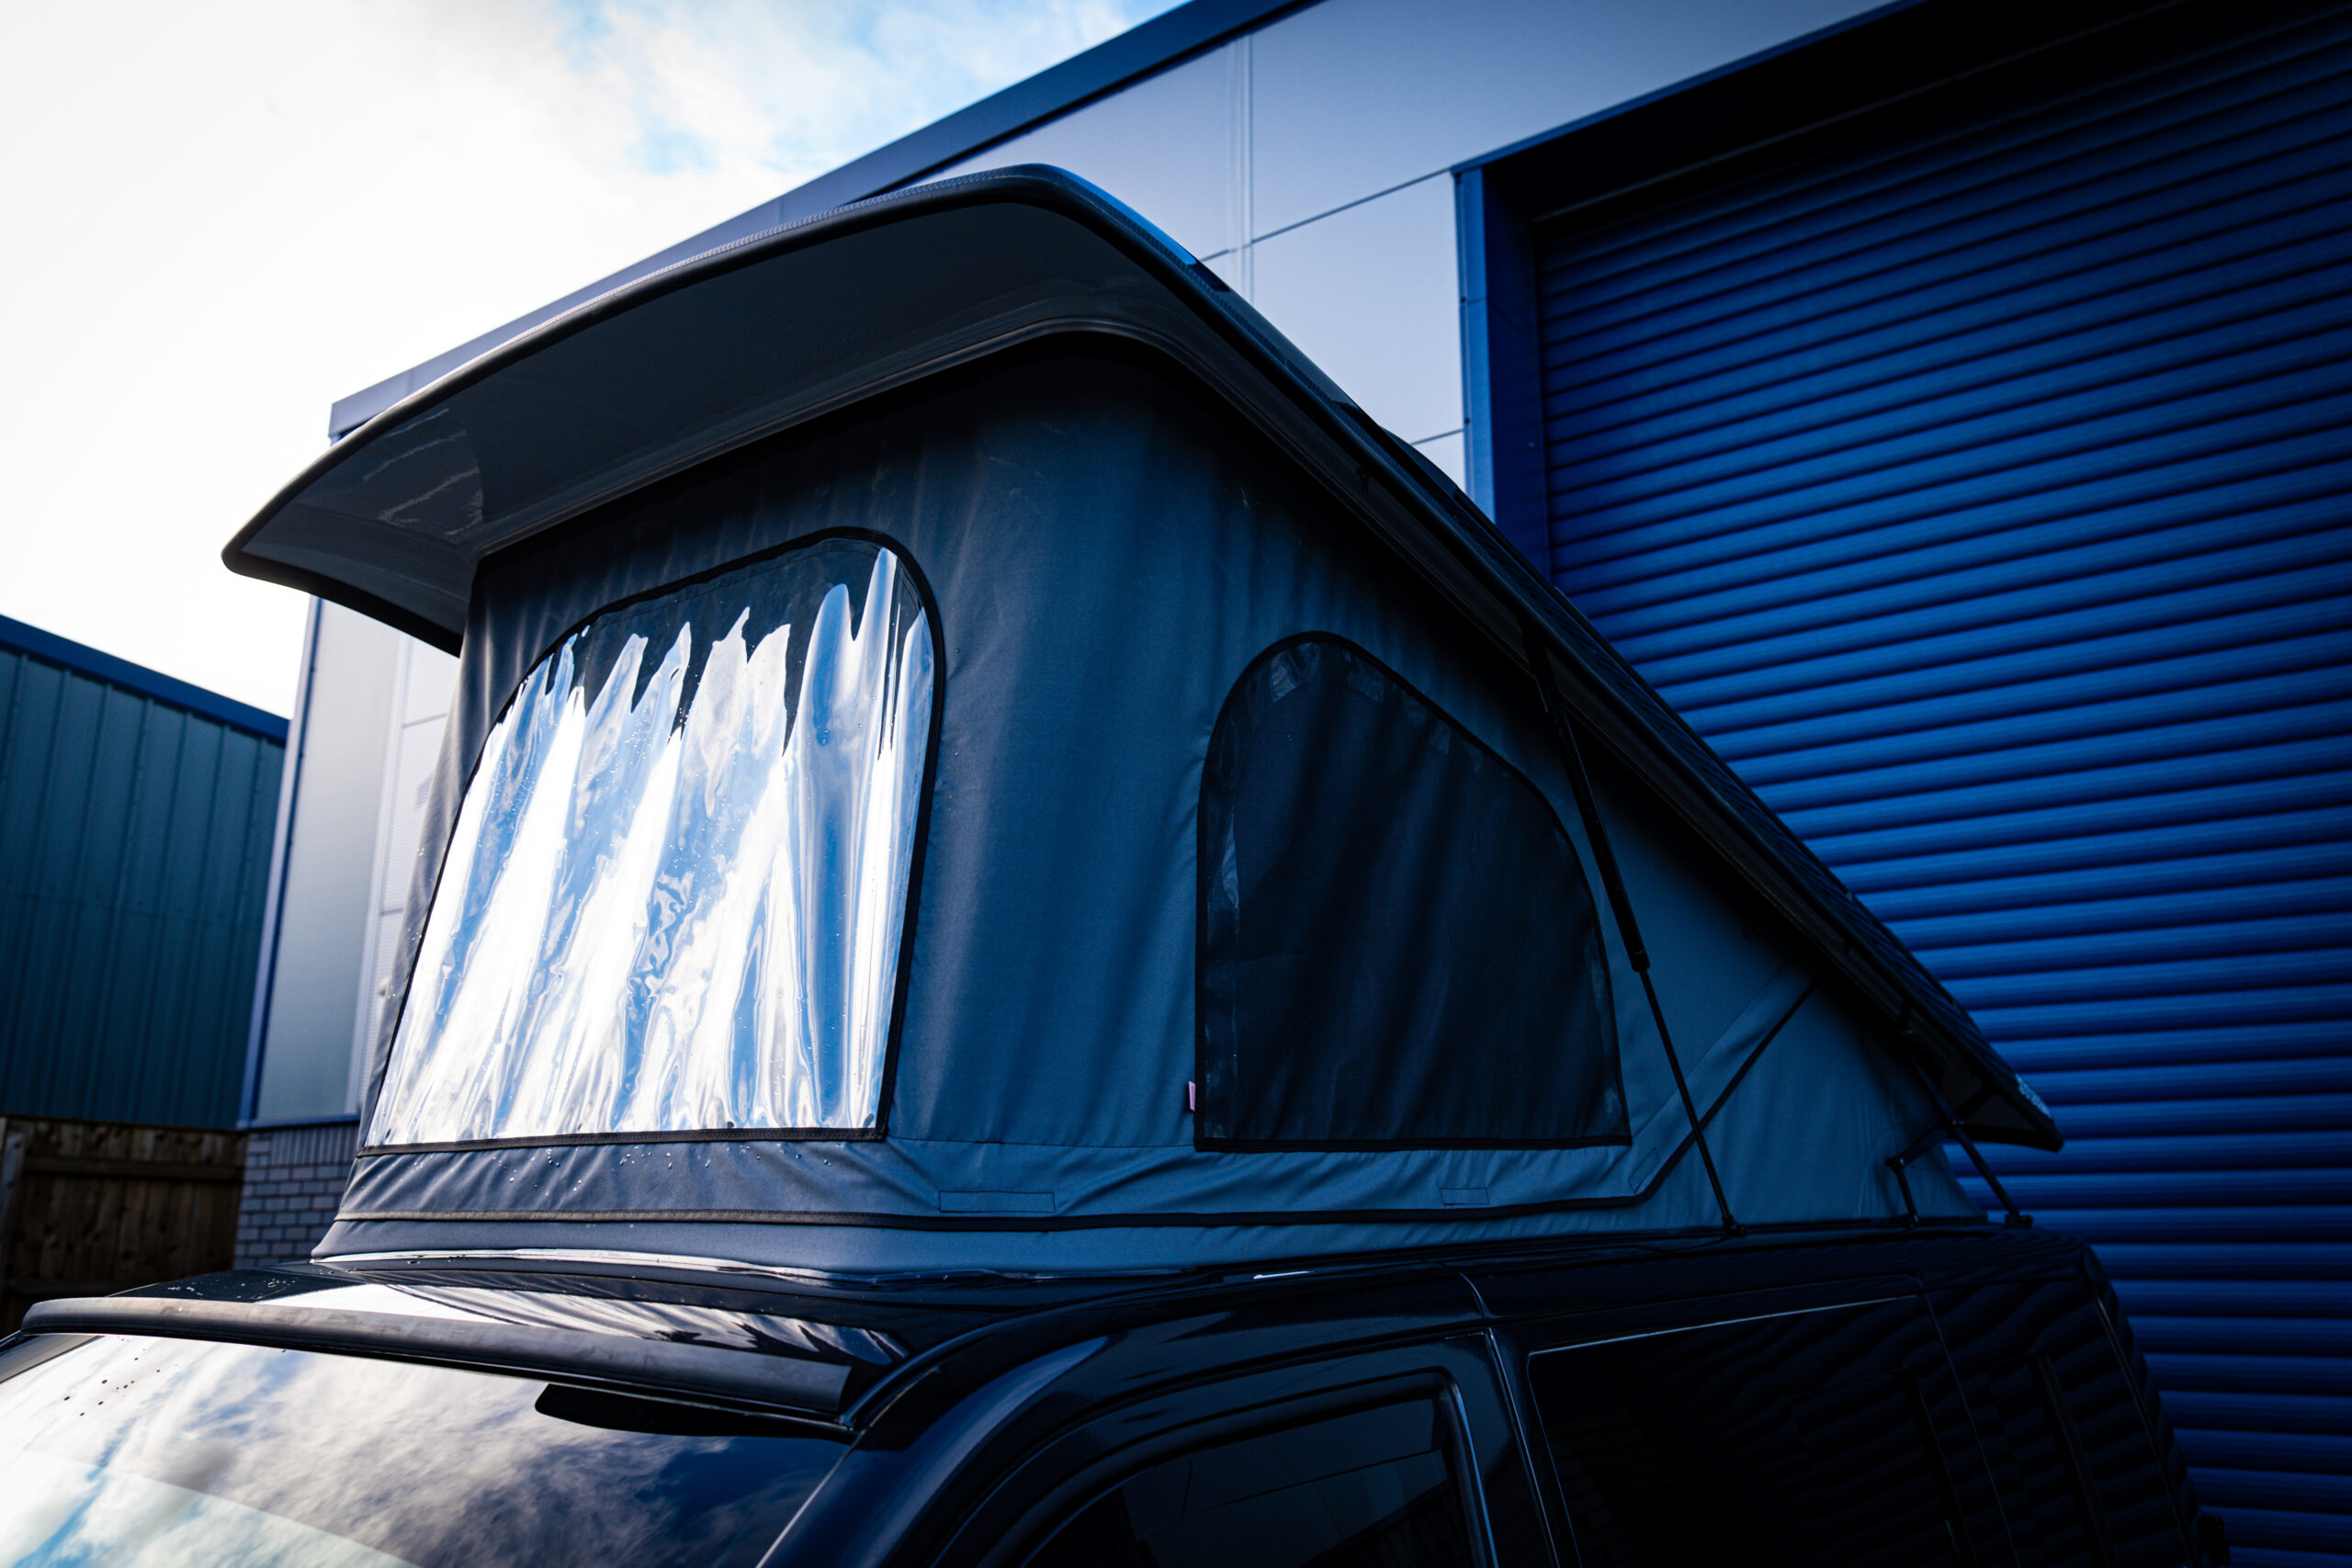
3. Misalignment Issues
Getting everything aligned properly during a pop-top installation is crucial, but it’s also an area where I’ve seen DIYers struggle. Misalignment might seem like a small mistake at first, but it can lead to some big problems down the road.
Mounting your pop top unevenly
In my experience, one of the most common issues is mounting the pop-top unevenly. If the frame isn’t lined up perfectly with the cutout in the roof, you’re asking for trouble. Not only can this create gaps or instability, but it can also make opening and closing the roof a real hassle.
The reason you want to avoid this is because it could cause the pop top to open while driving. And let’s be honest—the last thing you want is for your pop-top roof to fly open while you’re cruising down the highway. That’s a surefire way to ruin your road trip vibes.
Not only is that going to cause you serious stress, but it can also be a danger to others on the road and a danger to you in the van. Take this one seriously guys as I’ve heard stories of it happening to others before.

3 professionals carrying and aligning the pop top correctly on the van roof.
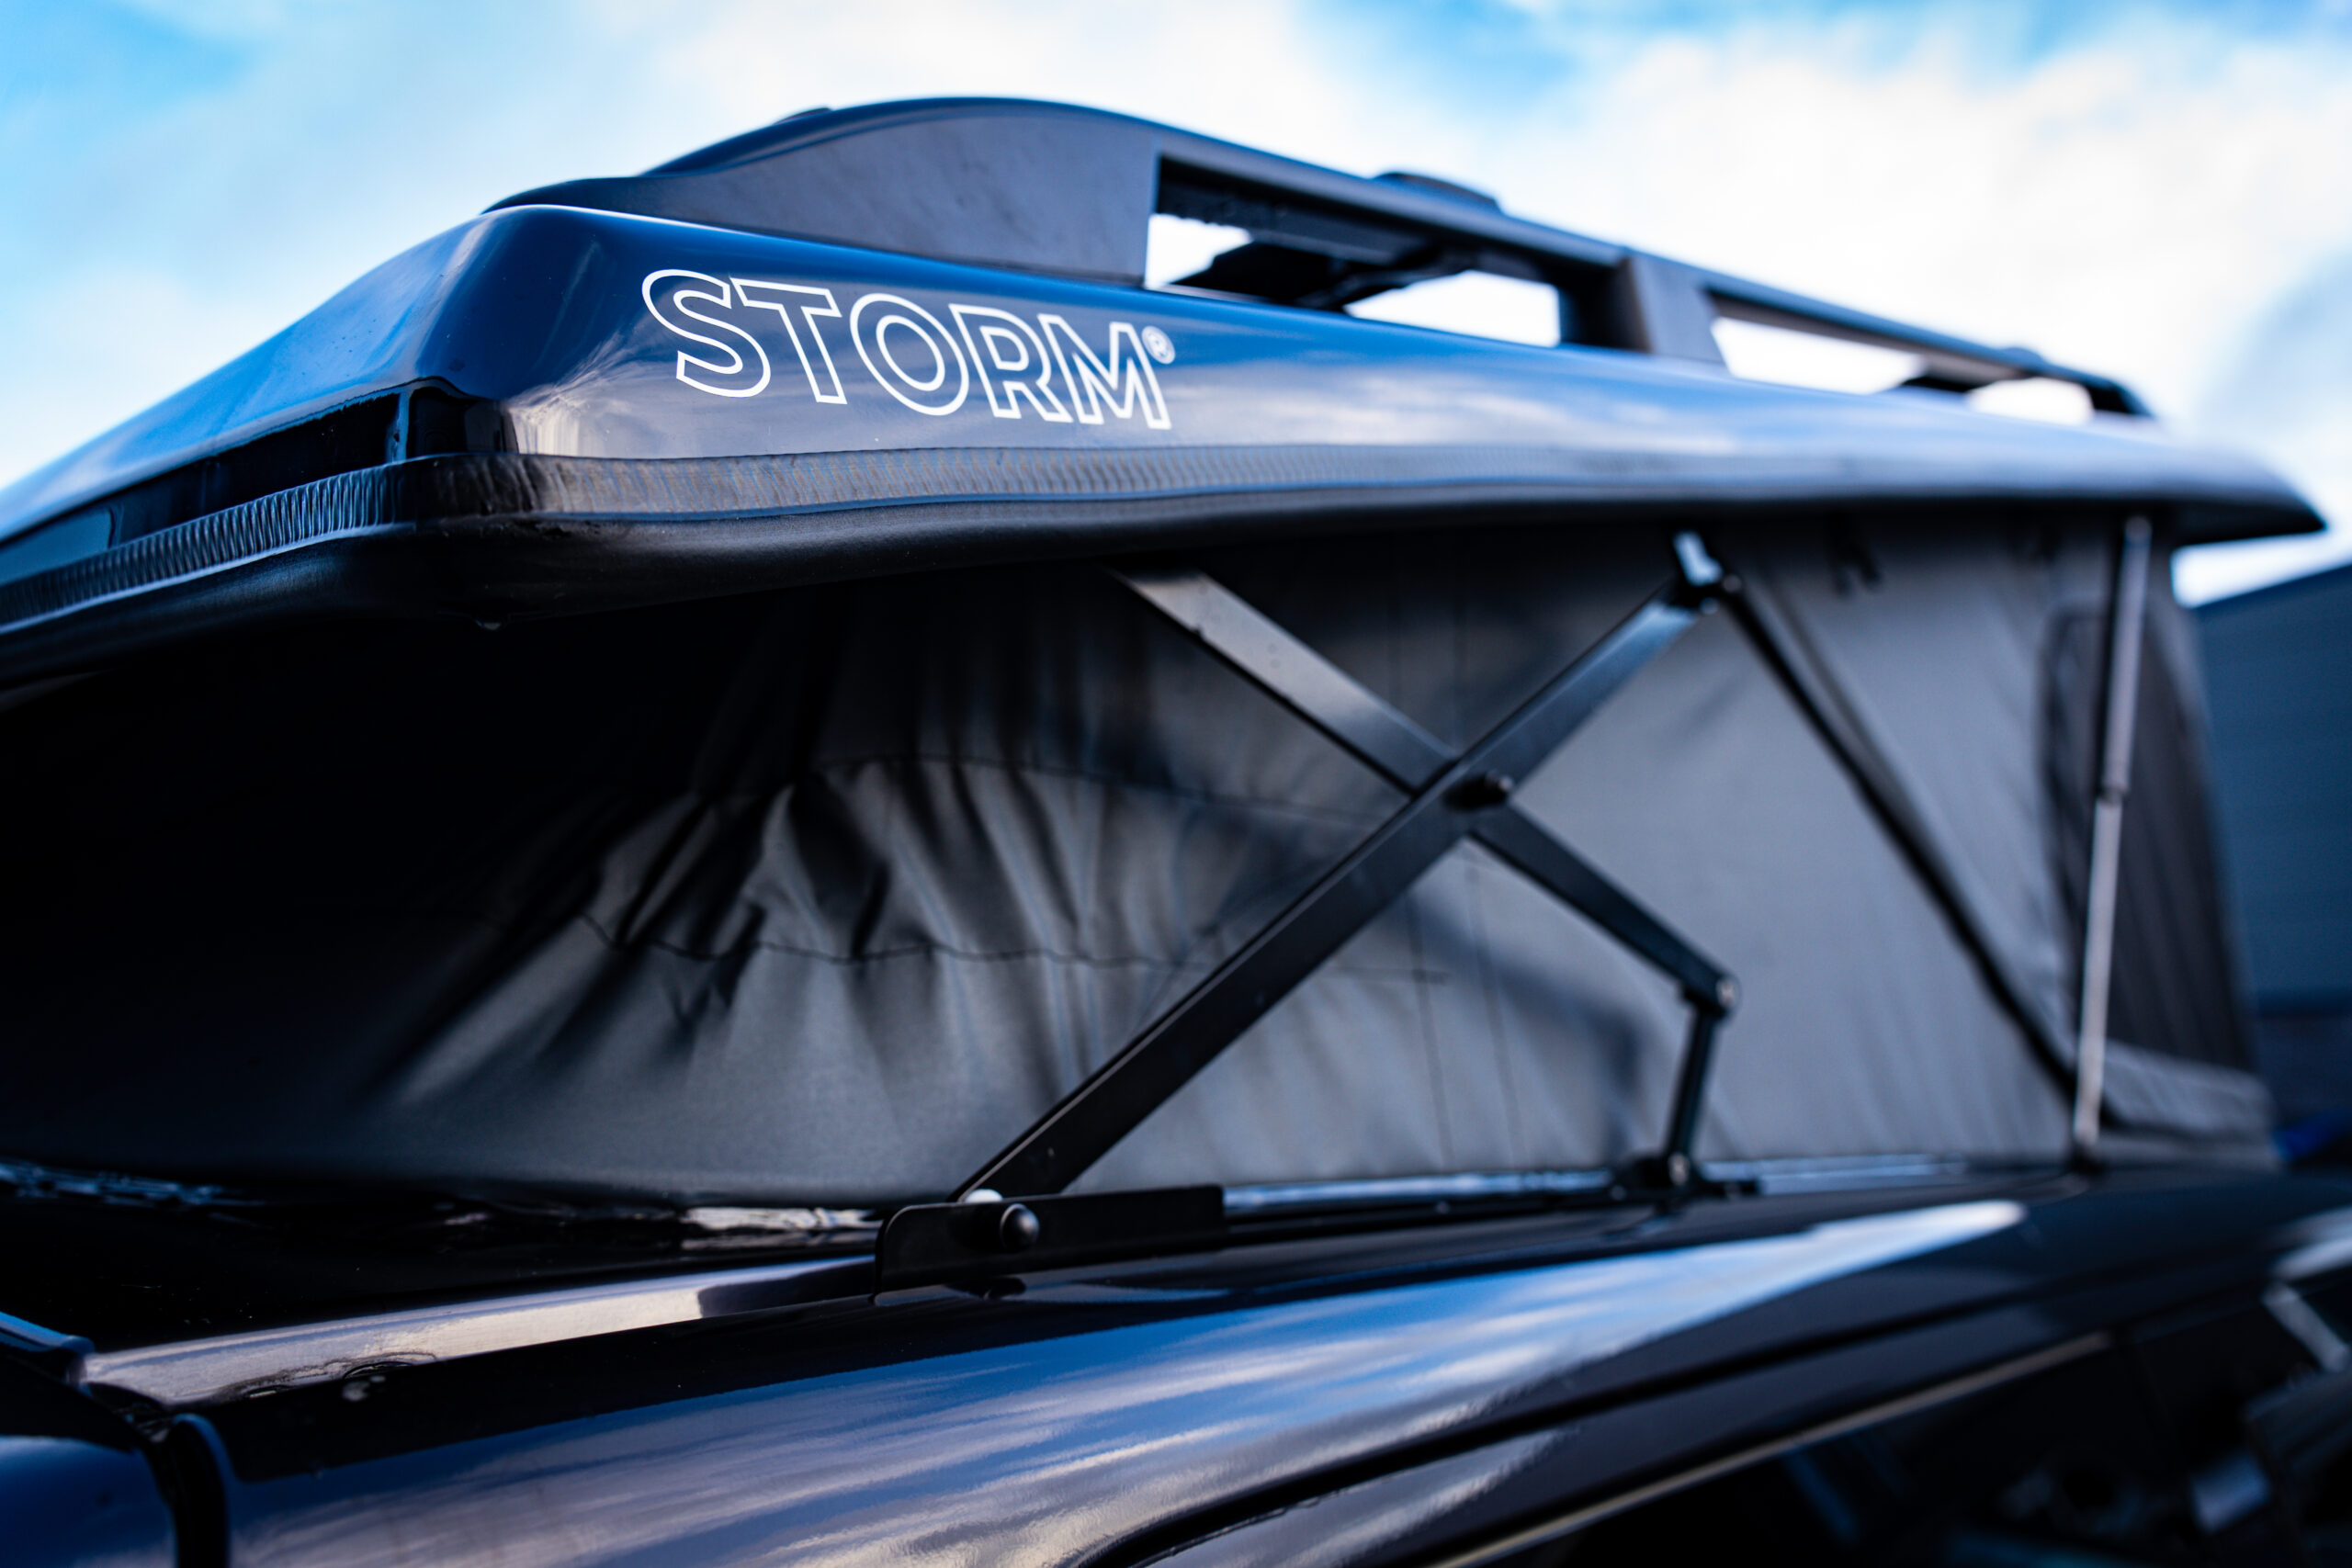
Misaligning your gas strut… (Don’t do this!)
Then there are the gas struts. These little components do a big job, helping to lift and support the roof. If you install them at the wrong angle, they can get stressed out pretty quickly. This can lead to sagging, or worse, cause the struts to fail entirely.
Trust me, dealing with a sagging pop-top isn’t fun—and neither is replacing gas struts that could have lasted way longer with a proper install. Taking the time to double-check your alignment during the installation process can save you a ton of hassle and ensure your pop-top works smoothly for years to come.
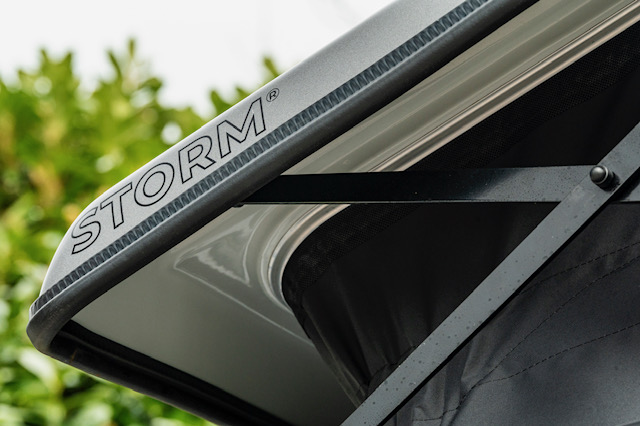
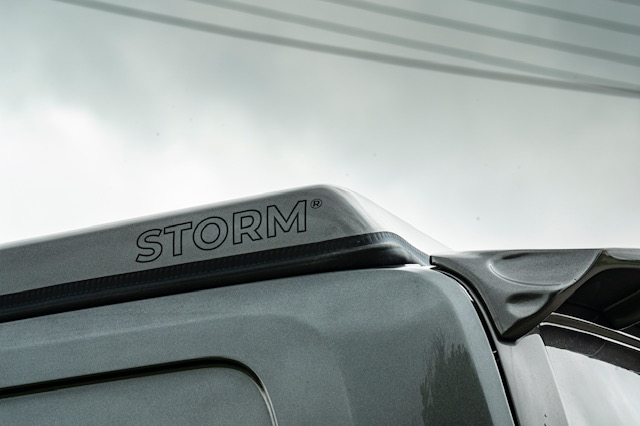
By the way, if you’re interested to hear my thoughts on which pop top brands are best for avoiding issues like sagging, make sure to check out my Storm pop top review and Austop pop top review.
4. Safety Negligence During Installation
Installing a pop-top roof on your VW Transporter can be an exciting DIY project, but it’s not worth cutting corners when it comes to safety. Overlooking basic precautions can quickly turn a fun project into a risky situation, and no one wants that.
To be fair, I always see people wanting to cut corners and I simply don’t understand why. It’s not worth it, and most end up coming to me with a huge regret having to fork out more money in repairs or replacements.
Trying to lift the roof on your own
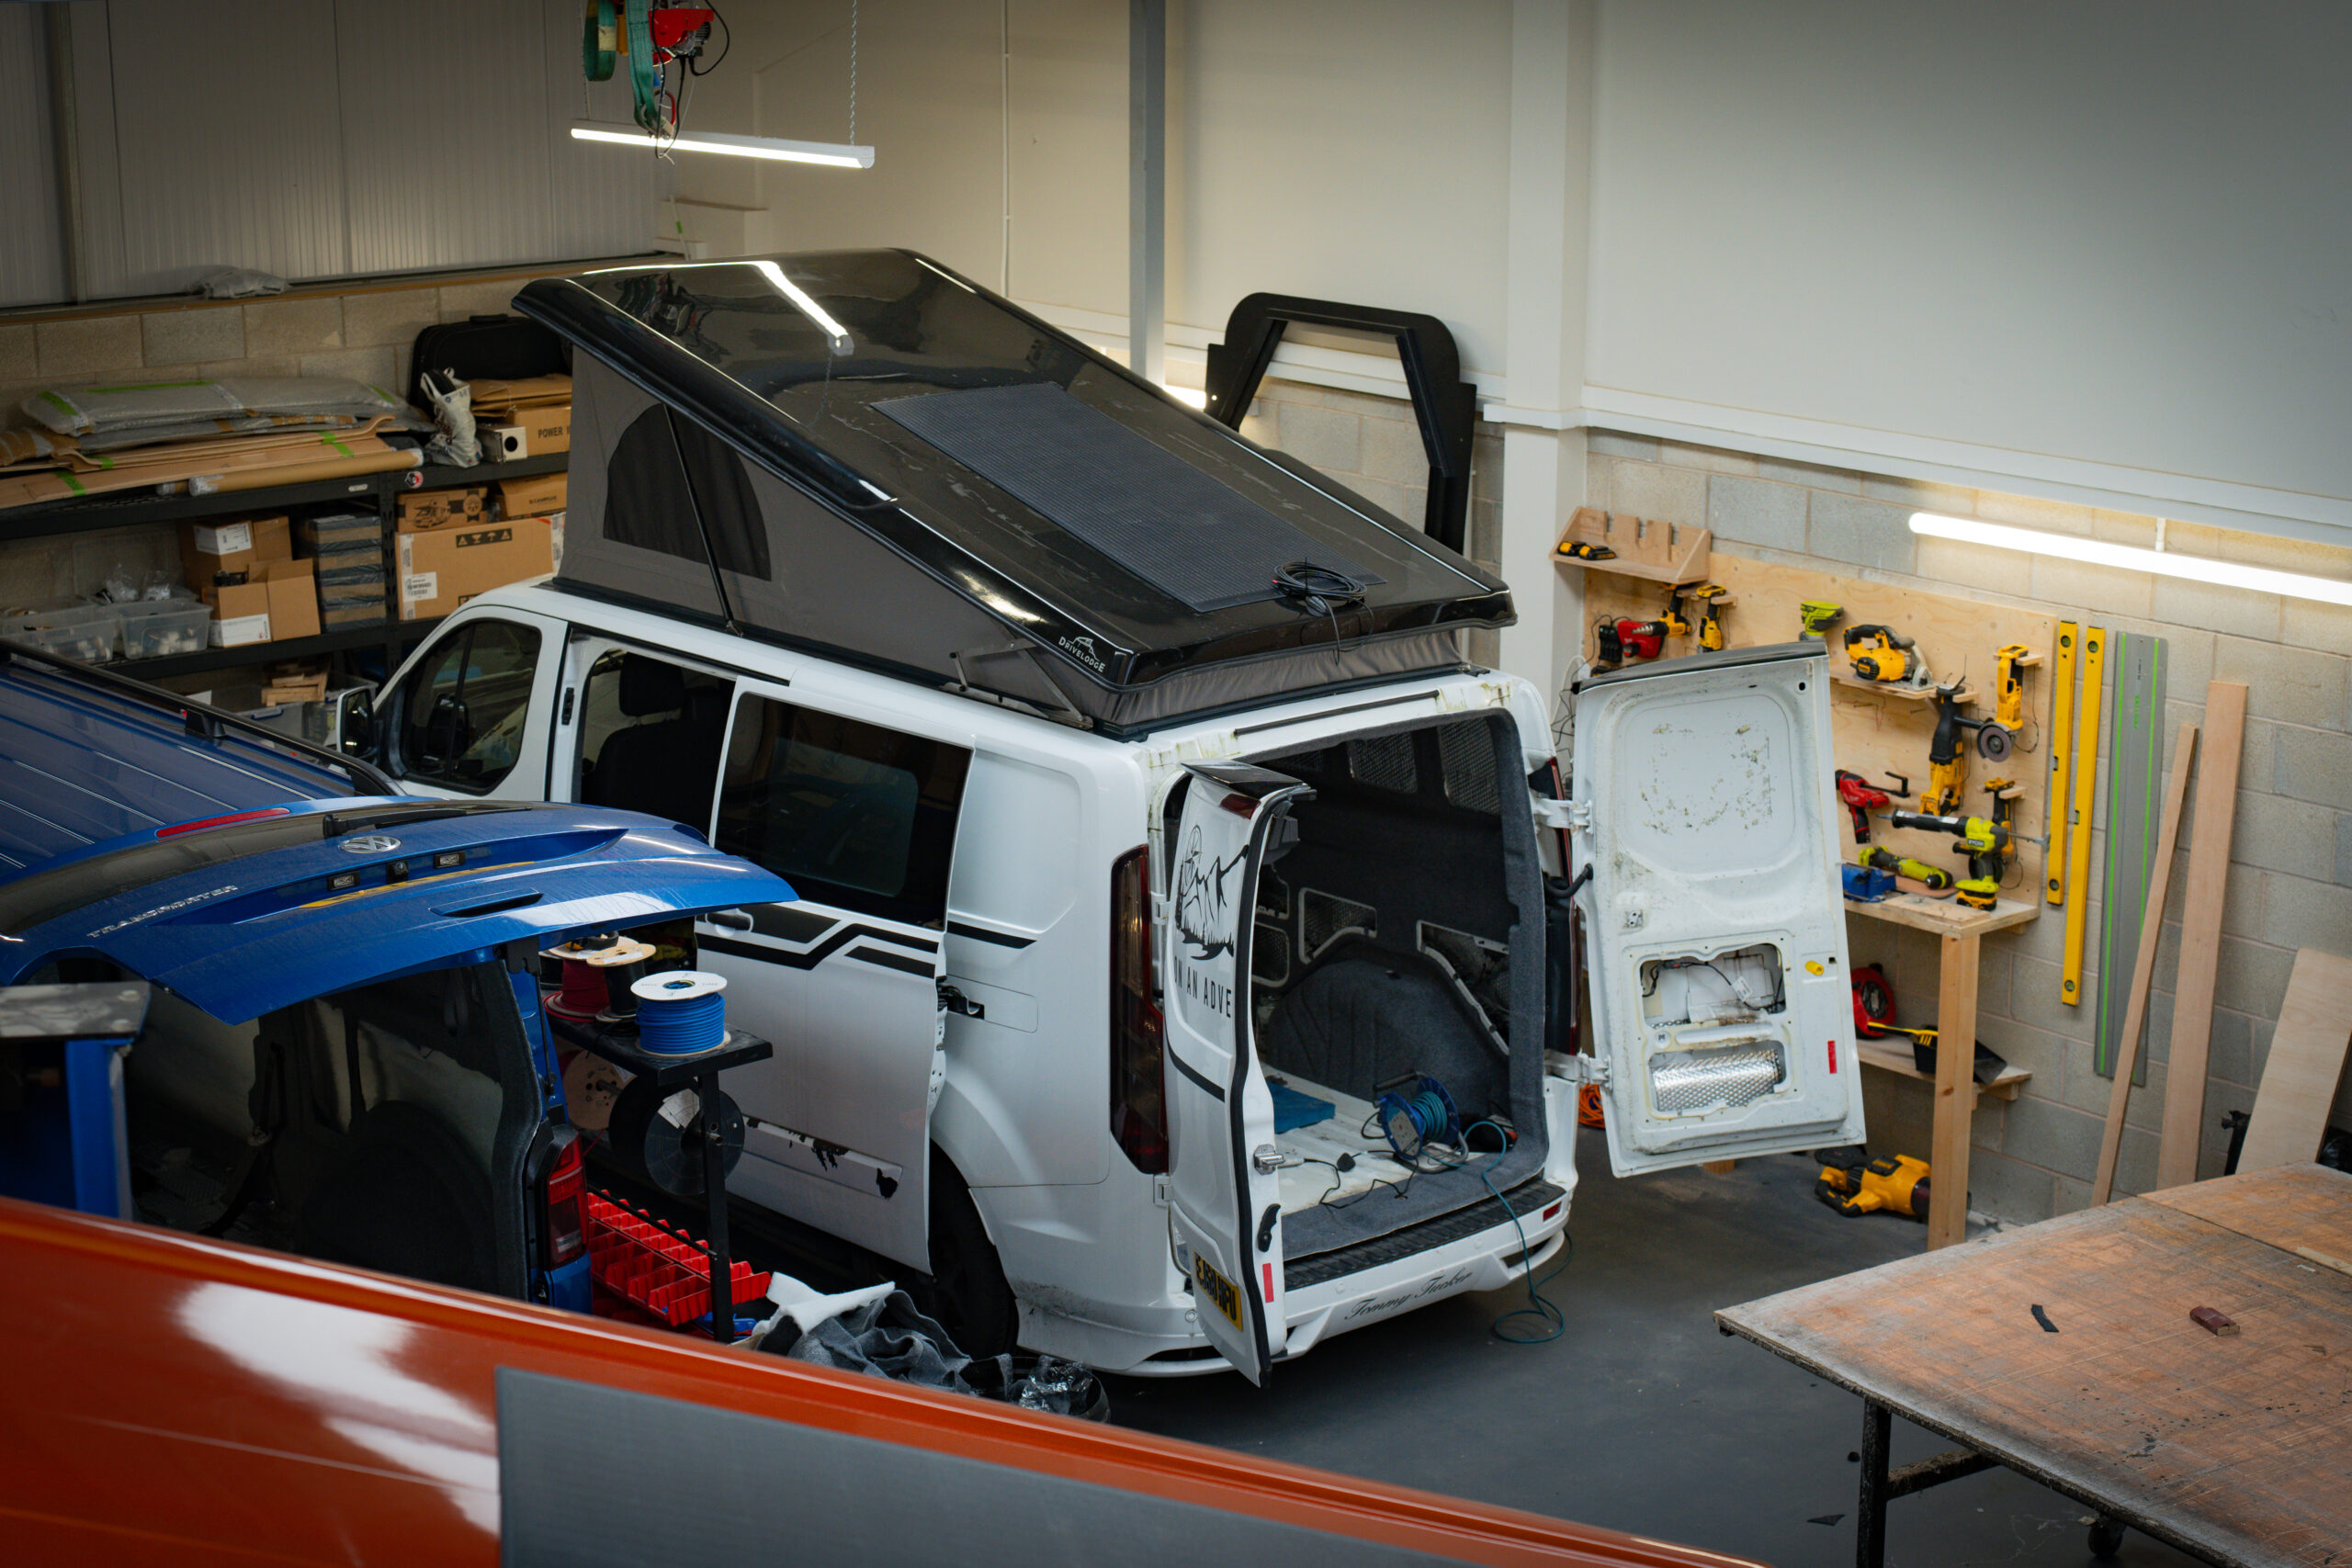
One of the biggest mistakes is trying to lift and fit the pop-top roof on your own. These roofs are heavy, awkward to handle, and almost impossible to position correctly without a helping hand. Put it this way, it takes 3 of me and my team to do 1 roof…
Trying to go solo not only risks dropping the roof (and potentially damaging it) but also puts you at risk of serious injury. Save your back—and your roof—by roping in some extra help or using lifting equipment.
Doing it by yourself, you’re likely going to cause misalignments as well, as I mentioned above. Not only that, but it’s probably going to take you ages. Hours if not days 😂.

We use a full team of professionals to help install the pop top together.
Falling off your roof and hurting yourself
Another all-too-common hazard is working on the roof without proper safety gear. Balancing on the top of your van might feel stable at first, but one misstep or moment of distraction could lead to a nasty fall.
Yes, it doesn’t happen too often, but it’s true that it happens. Especially with older aged DIYers they might find that they are more prone to fall off.
Investing in safety harnesses or scaffolding might feel like overkill, but it’s a lot better than dealing with an injury. Just saying.
Not using the correct tools that are good brands as well
DIYers sometimes get creative with tools, but this isn’t the time for makeshift solutions. Using the wrong tools, like a dull saw instead of a proper metal-cutting one or skipping out on a rivet gun, can lead to accidents and a sloppy installation.
The right tools not only make the job safer but also help you achieve a professional-looking finish that lasts. Not only this, but a true skilled workman knows the quality of tools and brands. Some are much better than others, and make a difference in your pop top installation.
I equip me and my team with Makita (Jigsaw) for cutting, Fein Multimaster for getting into the small little spaces and trimming, and finally DeWalt and Makitia drills for screws and holes. Lastly, don’t forget a quality rivet gun, this is important. I use Milwaukee.

Correctly using a rivet gun on the pop top for safe and secure installation.
5. Time and Budget Miscalculations
What do I mean by this? Well, I’m not here to scare you off. Of course it’s possible to install your own pop-top. But I’d be doing you a disservice if I didn’t point out the risks.
DIY pop-top installations take time, patience, and a well-thought-out budget. If you’re meticulous, confident with power tools, and ready to handle setbacks, go for it.
But if you’re after a flawless, stress-free finish, consider leaving it to professionals who’ve done it hundreds of times. I’ve seen the mistakes people make when they try to cut corners and trust me, fixing those mistakes often costs more than the installation itself.
Not calculating the time it takes to install a pop top roof
One of the most common pitfalls I see is underestimating how long the project will take. It’s easy to think, “How hard can it be?” but between cutting the roof, prepping the edges, installing the pop-top, and sealing everything properly, it’s a lot of work.
And that’s if everything goes smoothly. If you hit a snag or need to redo a step, those delays can add up quickly. Before you know it, your van is out of commission for weeks (or even months) leaving you stuck without your beloved wheels.
Shall we do a quick breakdown? You can spend hours or even days double-checking measurements because getting this wrong can result in a pop-top that’s misaligned.
Cutting the roof for someone’s first time might even take weeks… Using a low-quality jigsaw blade can slow you down or even cause jagged cuts. You spend way more time than expected swapping blades or redoing cuts to smooth things out.
See what I mean?
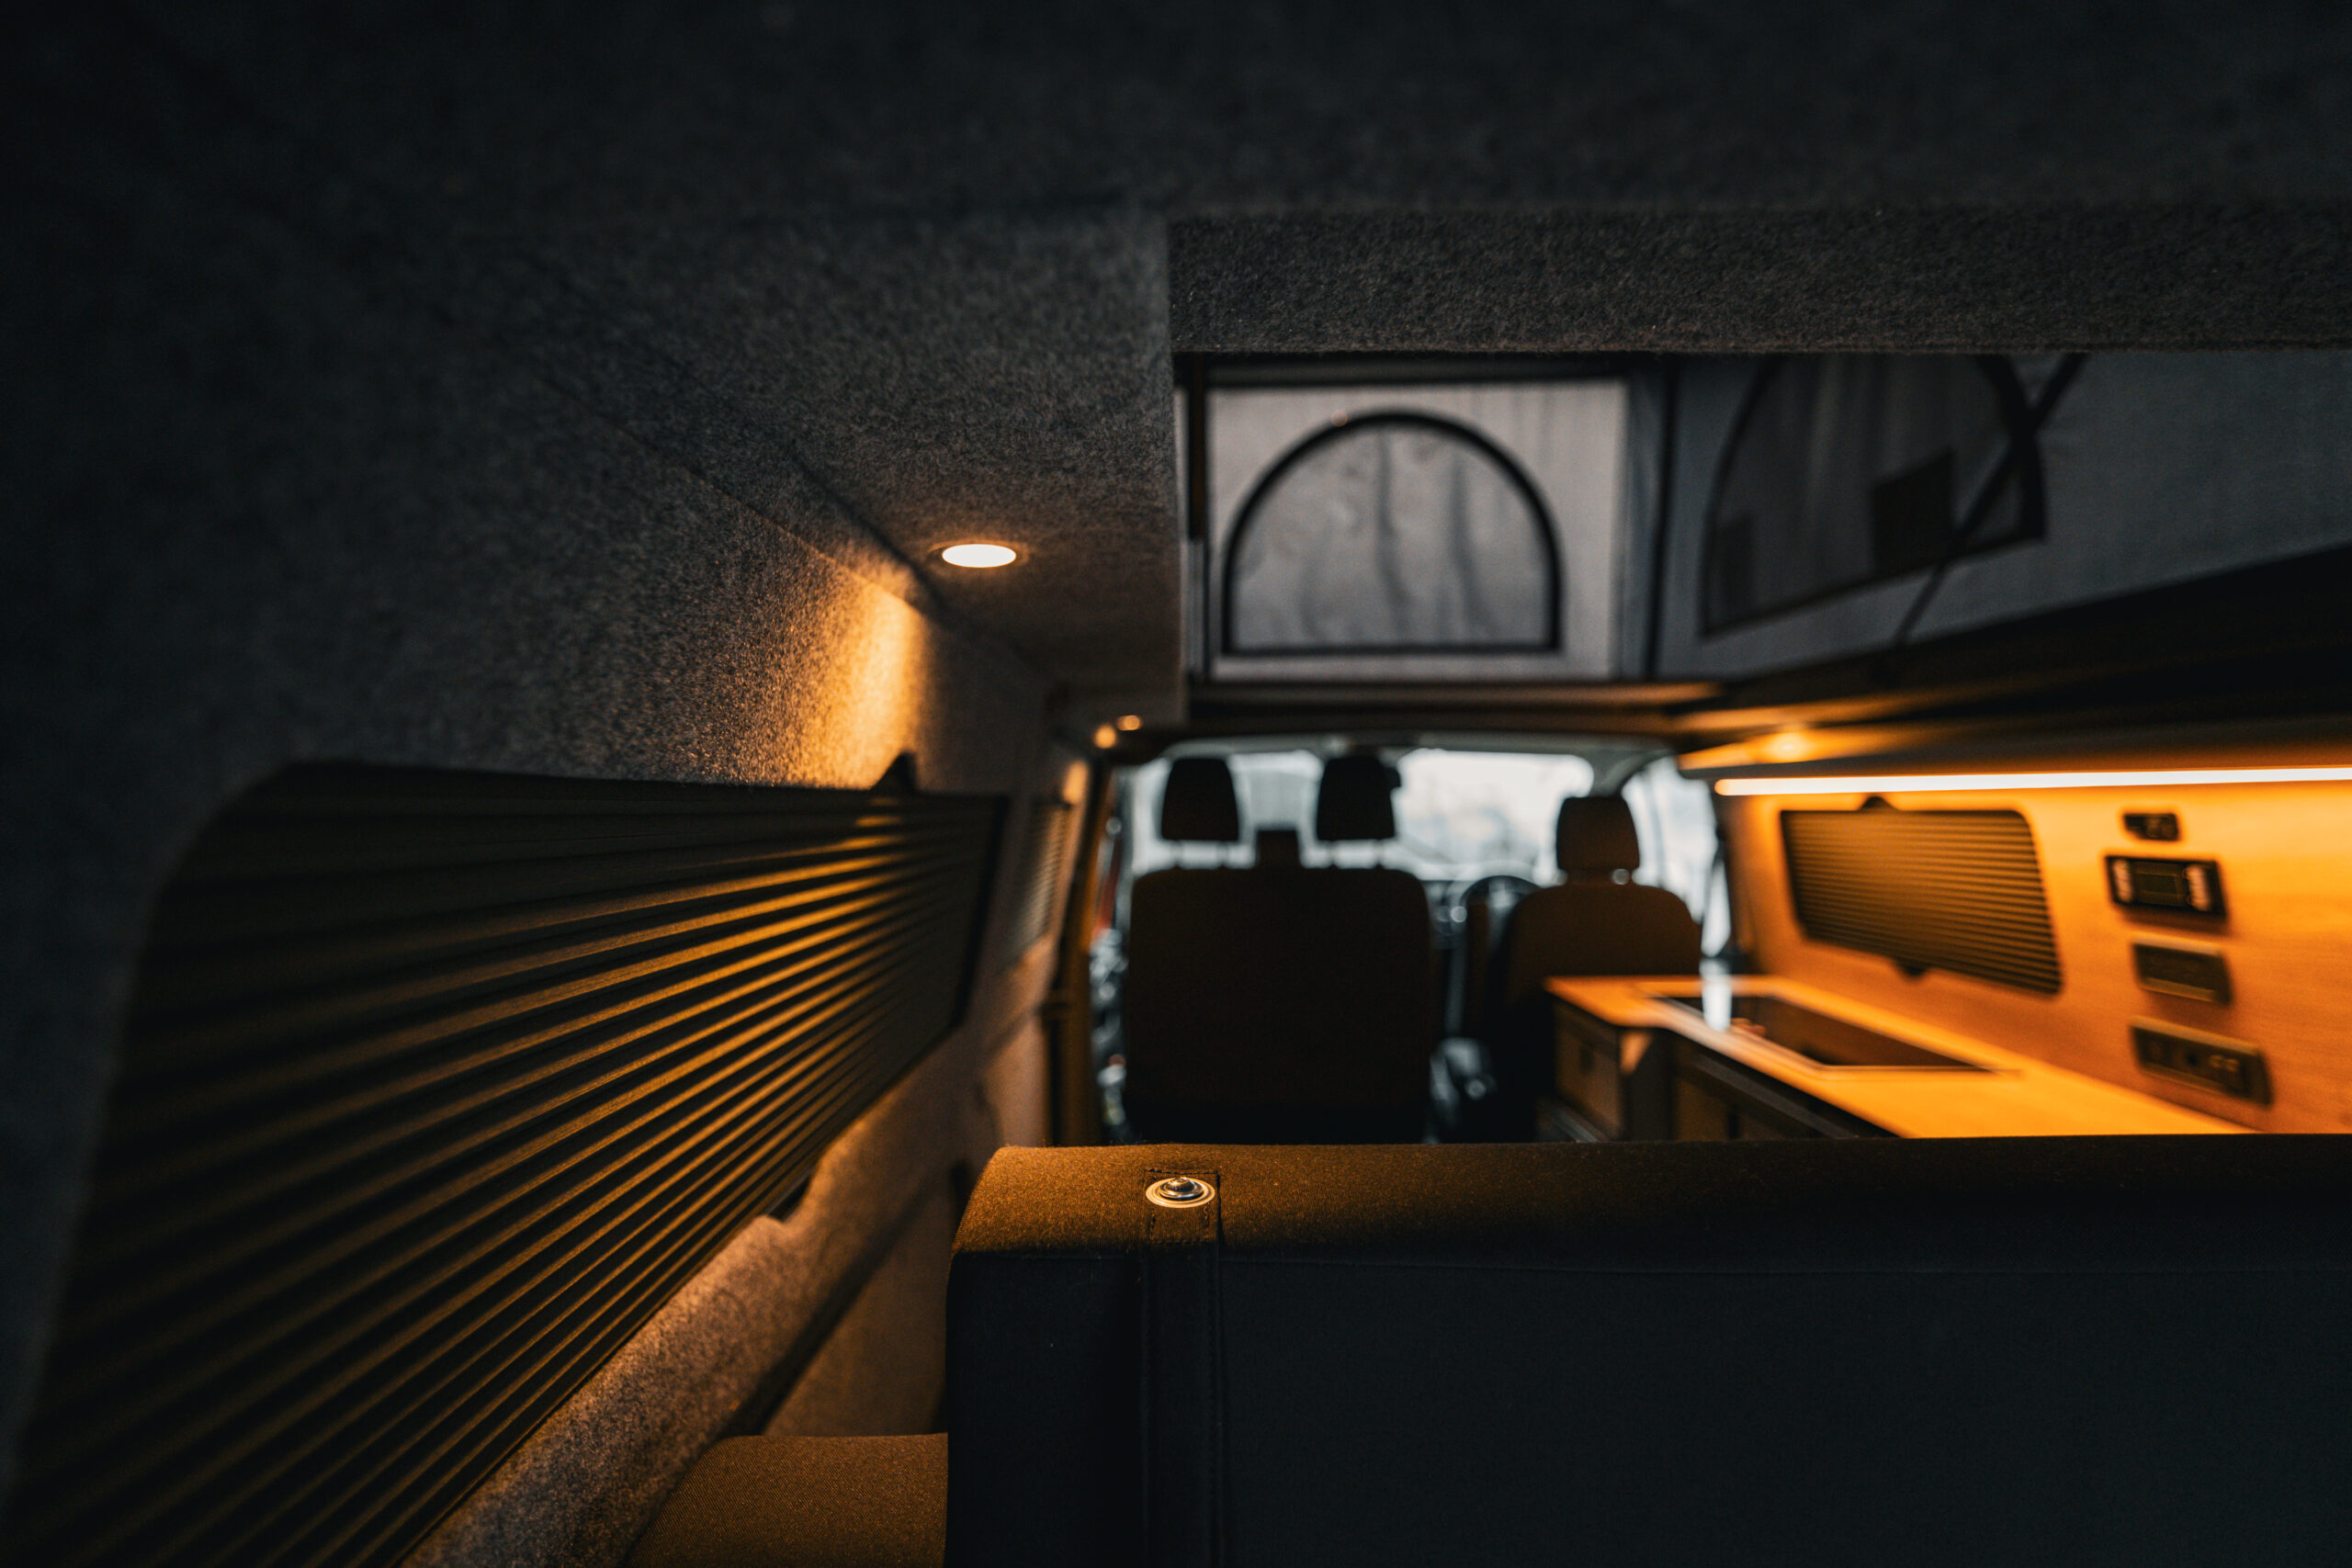
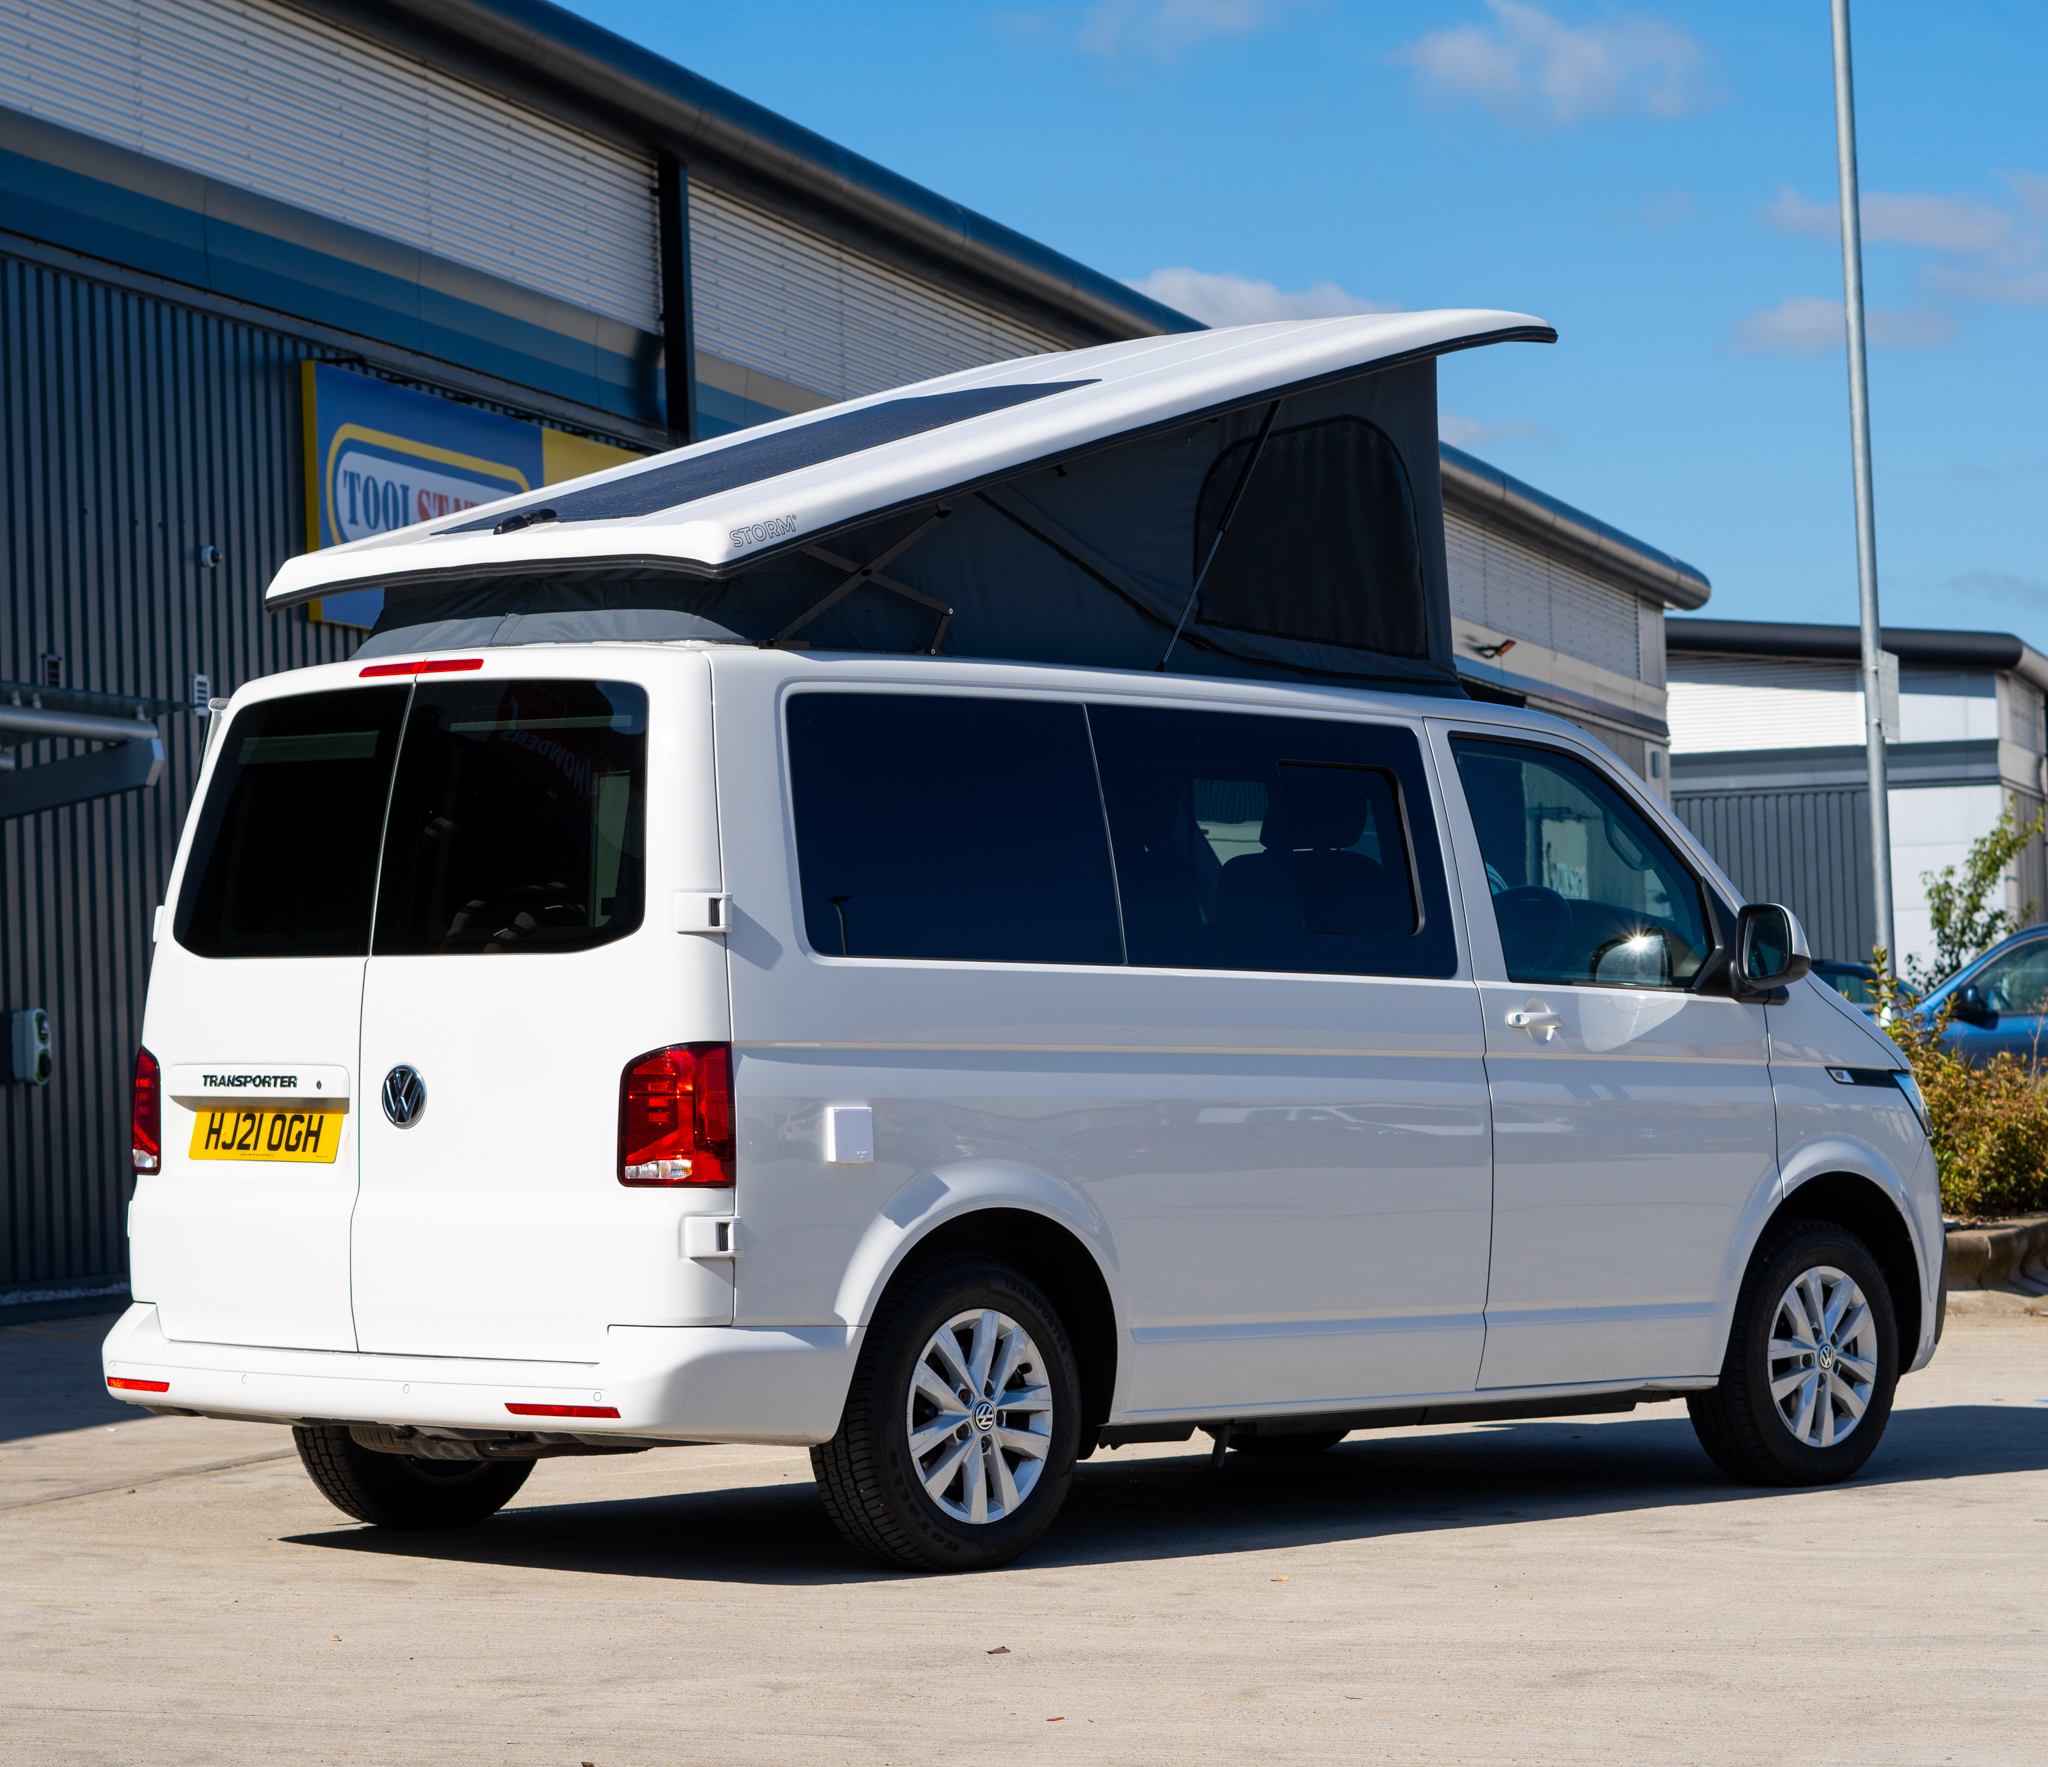
Upgrade Your Camper with a Pop-Top Roof
Transform your van into a multi-level living space. Pop-Top Roofs add a second sleeping area and more space.
Spending way more on things you didn’t know you needed…
Another classic mistake is underestimating the cost of a pop top DIY installation. Pop-top kits aren’t cheap, but many DIYers forget about the hidden costs that creep up. Here’s where things often go wrong:
Tools you didn’t think you’d need. Unless you’ve got a fully equipped workshop, chances are you’ll need to buy or rent tools like a rivet gun, angle grinder, or high-quality drill. On top of that, you’ll need extras like clamps, sealant guns, and protective gear.
Some DIYers think they can get by with cheaper tools or borrow from a friend. But when you’re cutting into a van roof, you need the best, you only get one shot.
Mistakes can be expensive. If you accidentally damage the pop-top trim or over-cut your roof, you could be looking at costly replacements. One story comes to mind: I helped someone who tried to “patch up” an uneven cut with extra sealant. It ended up leaking within months, and the repair was pricier than if they’d done it right the first time.
You might not budget for things like anti-rust treatment for exposed metal edges, extra insulation, or trim kits. These “little extras” add up quickly.

This is a broken pop top from using low quality tools and rushing it.
Key Takeaways
If you’re confident with tools, have plenty of patience, and are ready to handle setbacks, a DIY pop-top installation can be a rewarding challenge. But if you’re short on time, don’t have access to pro-grade tools, or just want the peace of mind that comes with a perfect fit and finish, then let’s be honest it’s worth calling in an expert.
Look, at the end of the day, the goal is to get you enjoying your van—without the stress of leaks, rattles, or endless adjustments. I’ve done countless pop-top installs and know how much precision it takes to get it right. If you’re unsure, I’m always happy to chat about your options and what’s involved.
So, whether you go the DIY route or leave it to the pros, make sure you’ve got a solid plan, and don’t be afraid to reach out for advice. After all, your van is your home on wheels. You want to get it right from the start, don’t you?
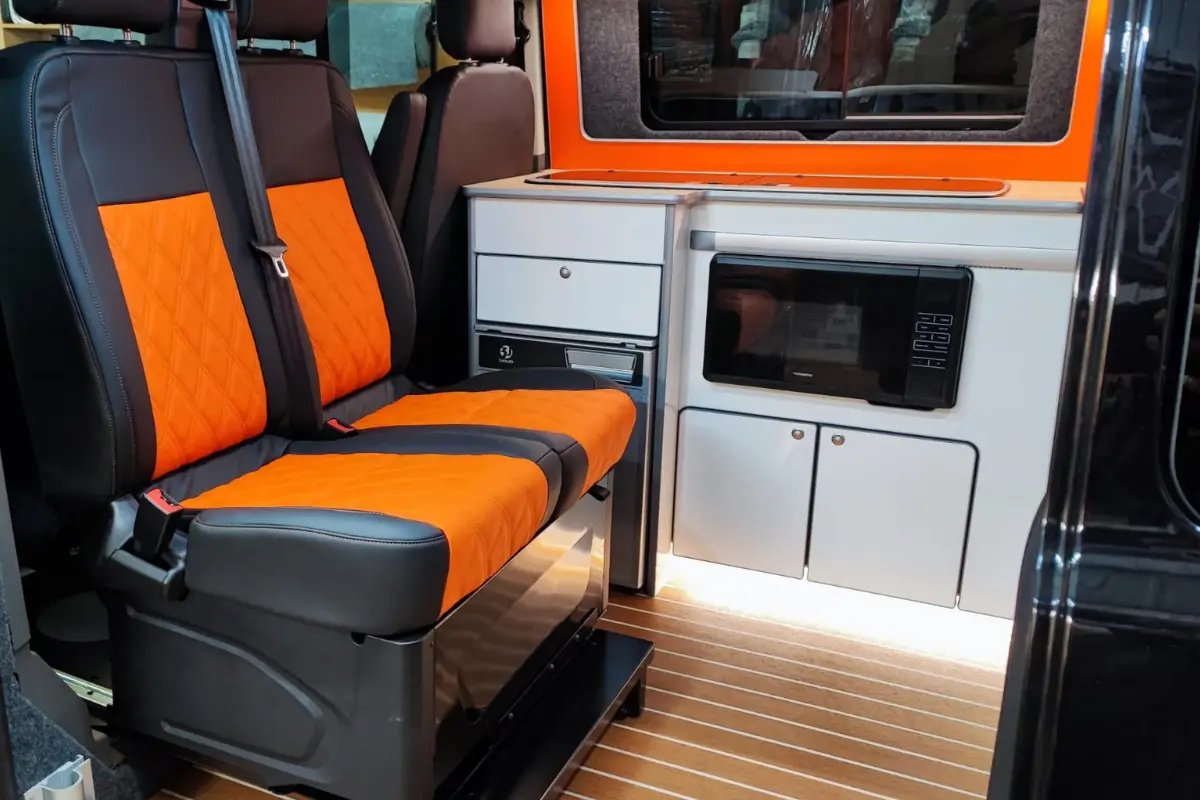
Looking for a Complete Van Makeover?
Our Full Conversion packages transform your empty van into a fully functional camper with all the amenities.